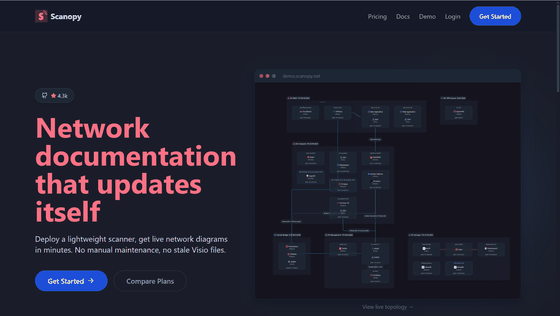
Scanopy is a free tool that automatically updates network diagrams. Once configured, it requires no maintenance, scans the network to detect hosts and services, and interactively visualizes connectivity relationships. It's open source and self-hostable.
One common problem for network administrators is the tedious process of updating network diagrams. Scanopy is a tool that scans your network to detect hosts and services and interactively visualizes their connectivity. Once configured, it requires no maintenance and automatically updates network diagrams.
Scanopy - Automatic Network Documentation
◆Demo
https://demo.scanopy.net/
◆ How to set it up
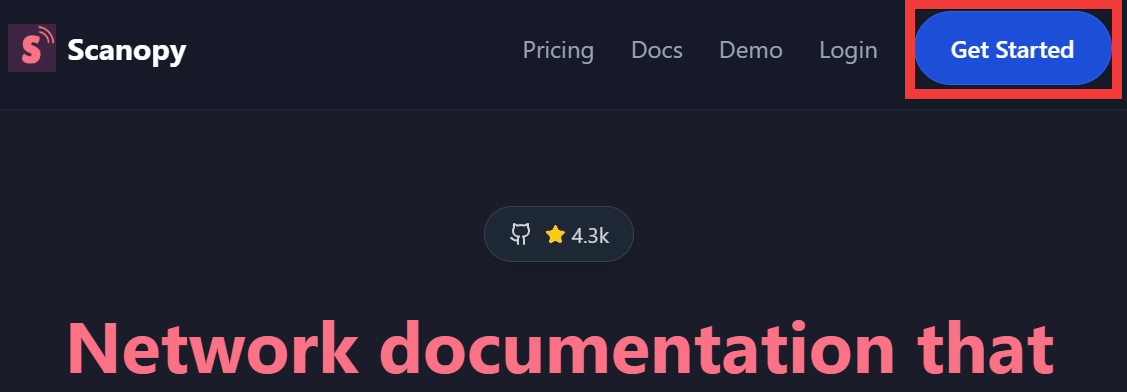
This time, we'll configure it for your home network. From the menu on the official Scanopy page, click 'Get Started'.
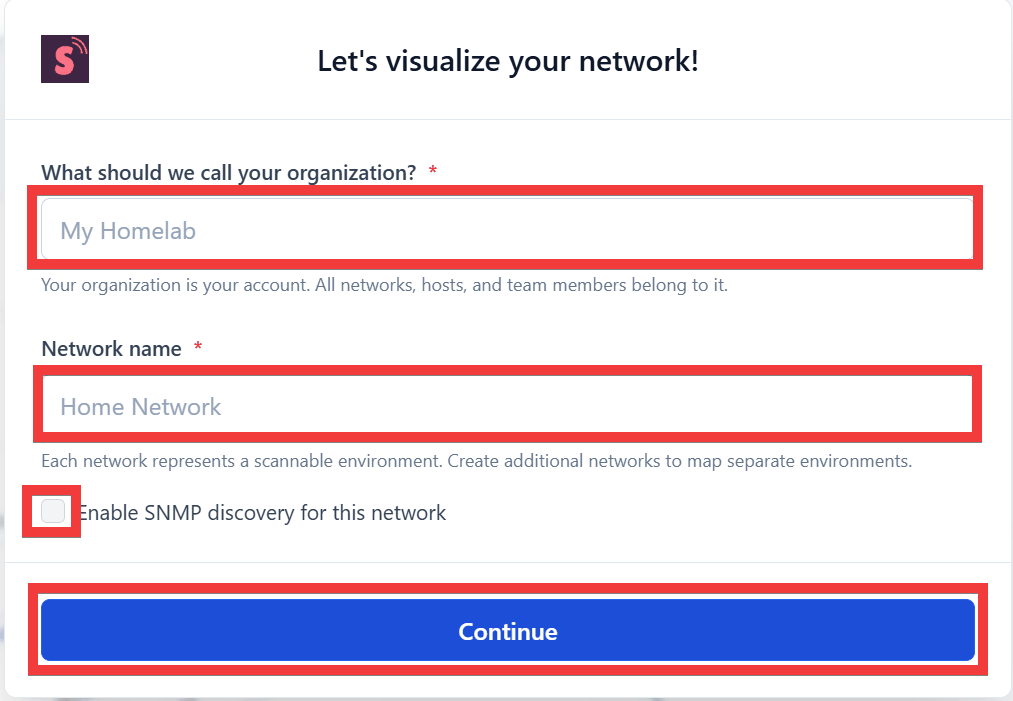
A registration form will appear. Enter your organization name in 'What should we call your organization?', enter your network name in 'Network name', and click 'Continue' without checking 'Enable SNMP discovery for this network'.
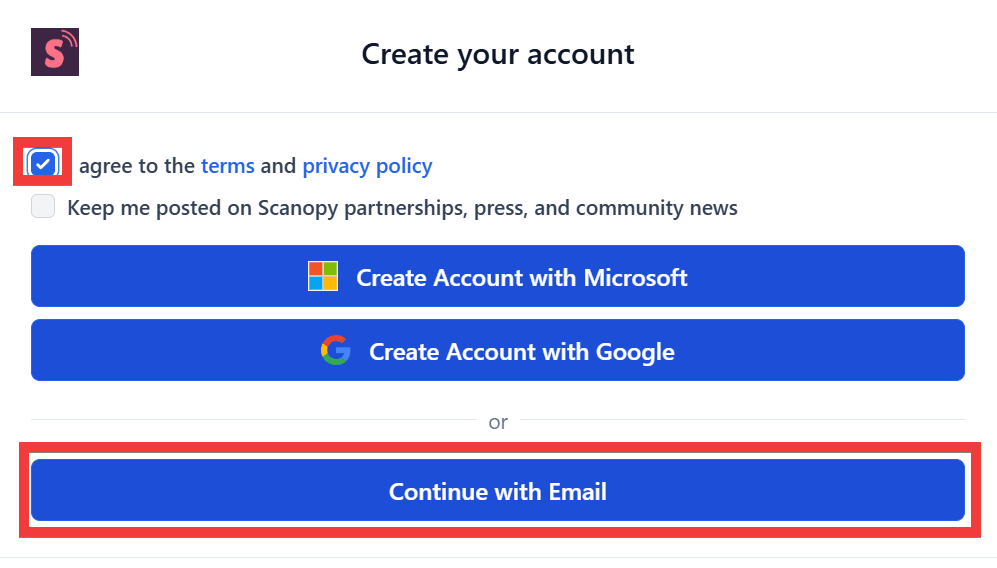
After reviewing the terms and conditions and privacy policy, check the checkbox and click 'Continue with Email'.
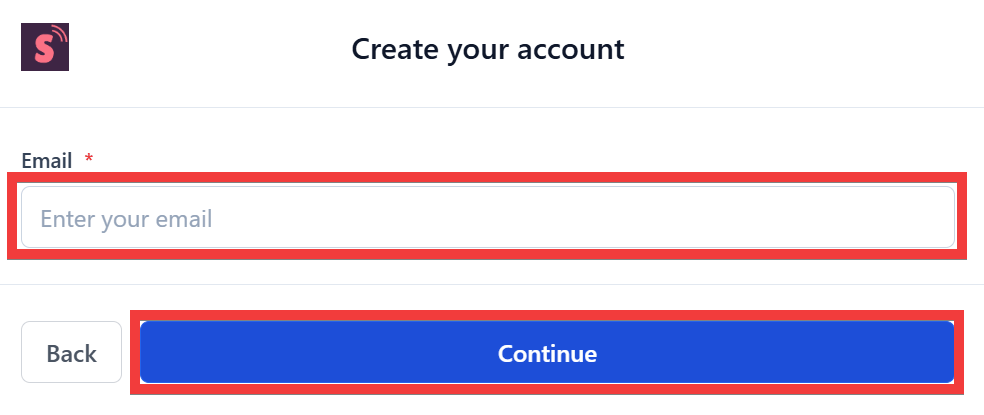
Enter your email address in the 'Email' field and click 'Continue'.
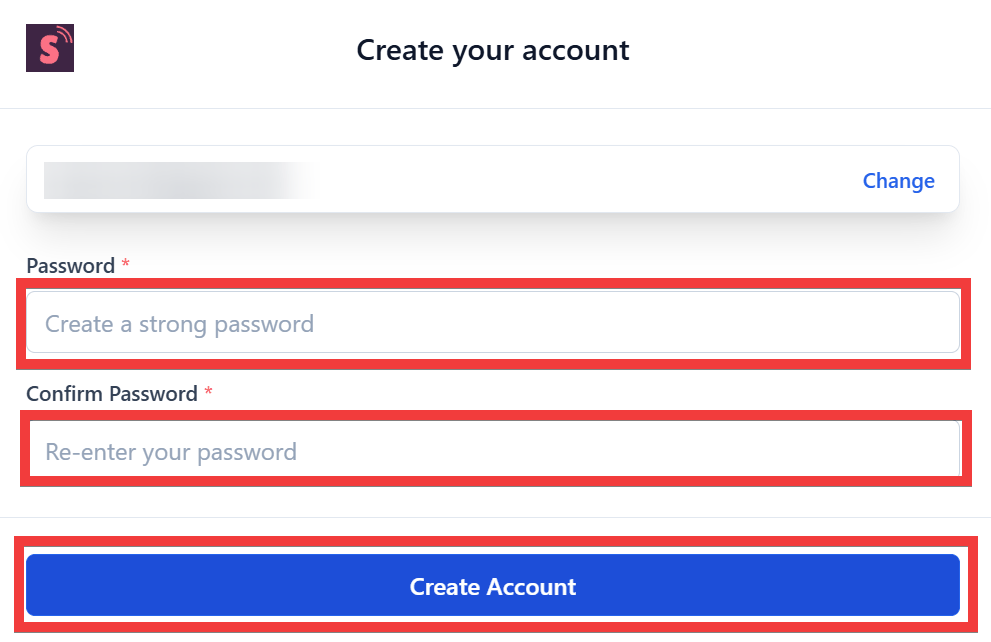
Enter your password in the 'Password' and 'Confirm Password' fields and click 'Create Account'.
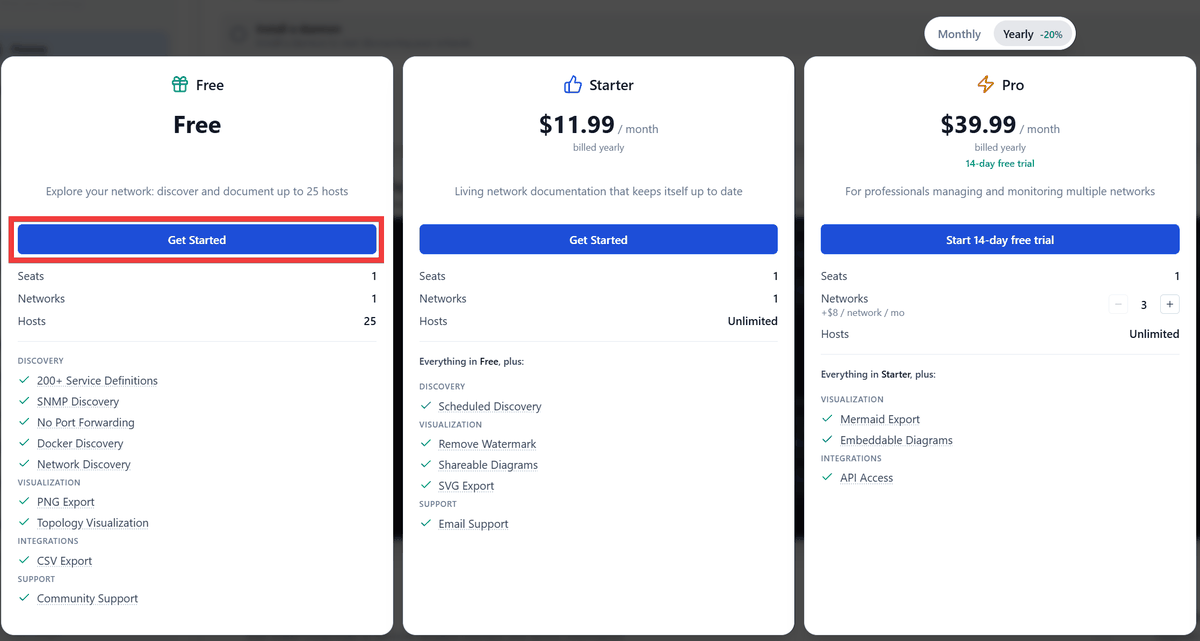
A list of plans will be displayed, so click 'Get started' for the Free plan.
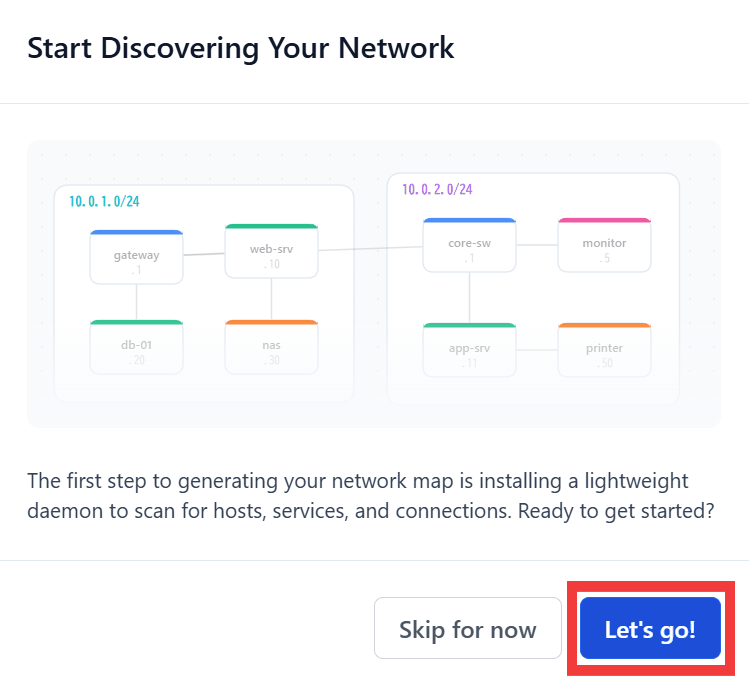
The start screen will appear, so click 'Let's go!'.
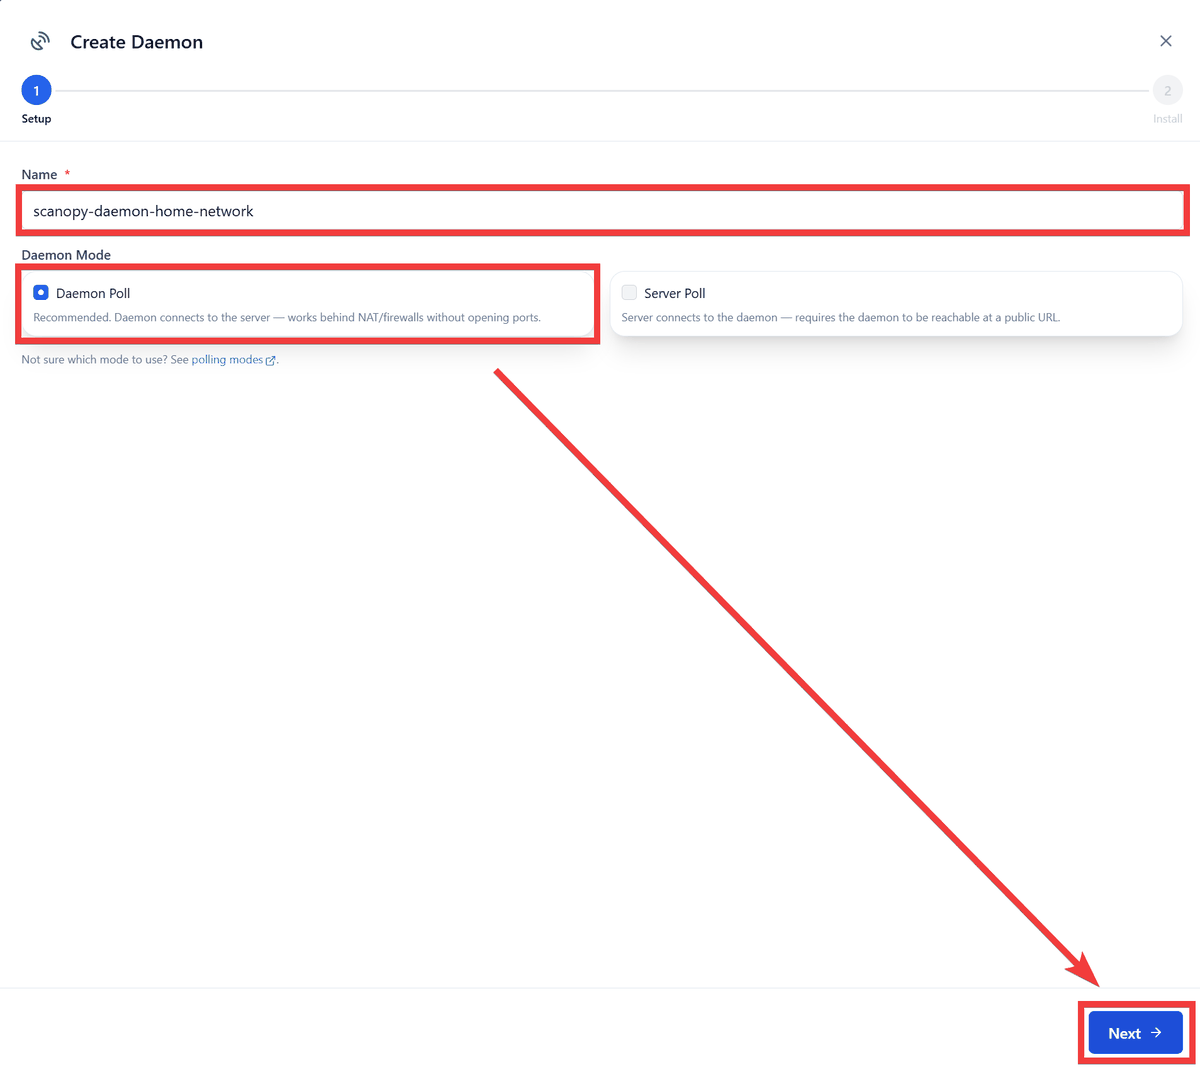
A registration form for the daemon that investigates network configurations will appear. Enter a name of your choice in 'Name,' select 'Daemon Poll' for 'Daemon mode,' and click 'Next.'
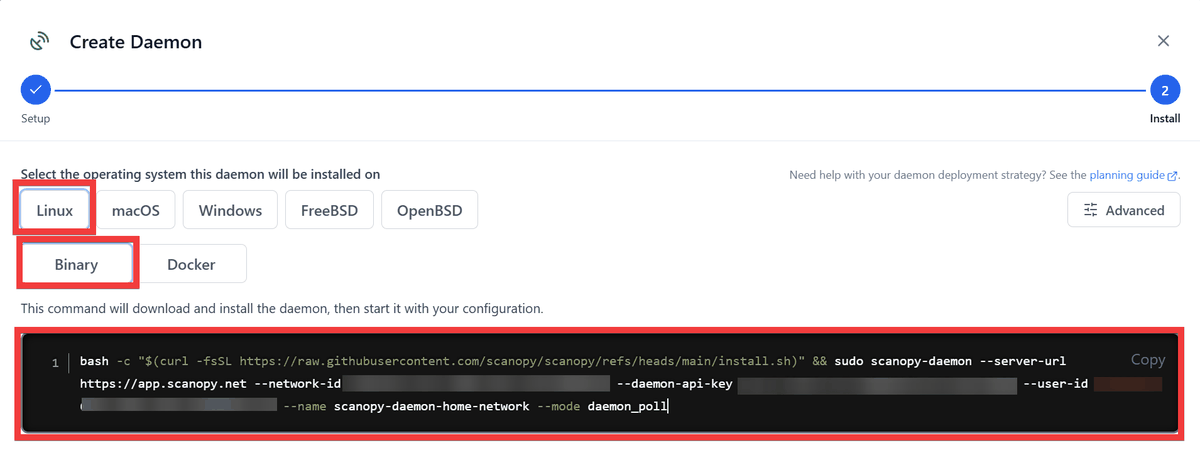
Installation commands for Linux, macOS, Windows, FreeBSD, and OpenBSD will be displayed. Copy and execute the command to start the daemon.
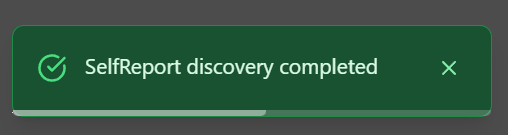
Once the daemon starts, it will be automatically recognized, and a message indicating successful recognition, such as 'SelfReport discovery completed,' will be displayed on the browser screen.
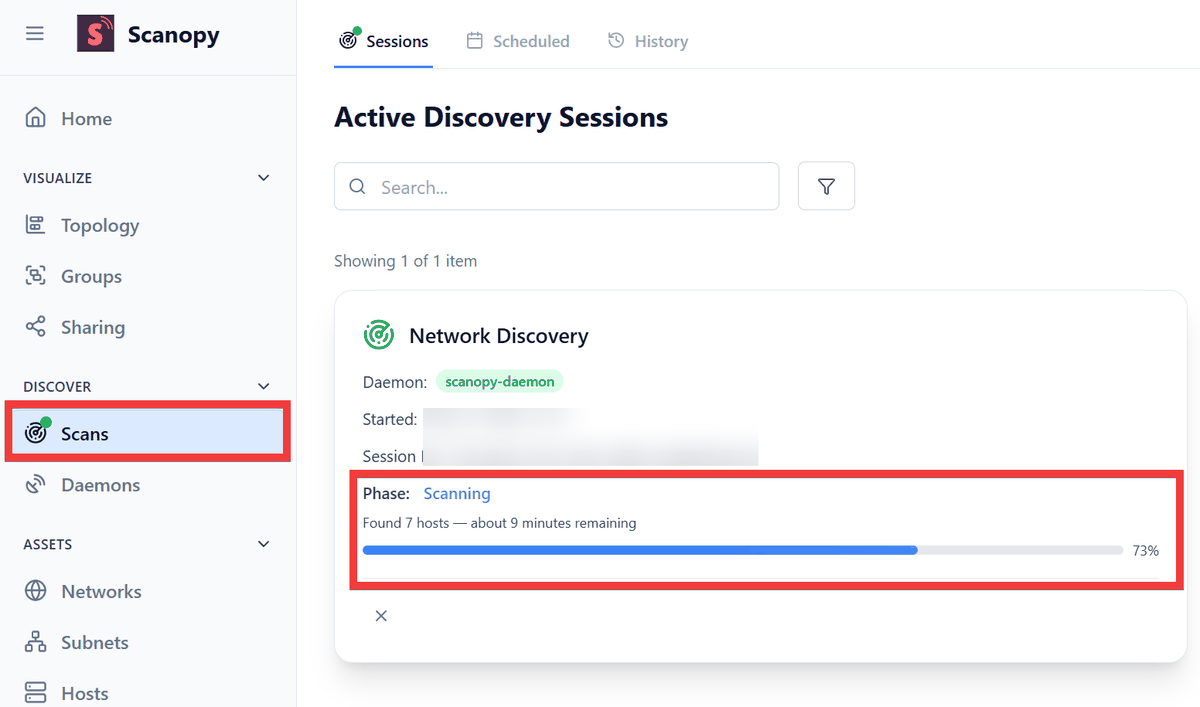
Once recognition is complete, click 'I've run the install command' in the lower right corner of the form screen where the command is displayed to close the registration form.

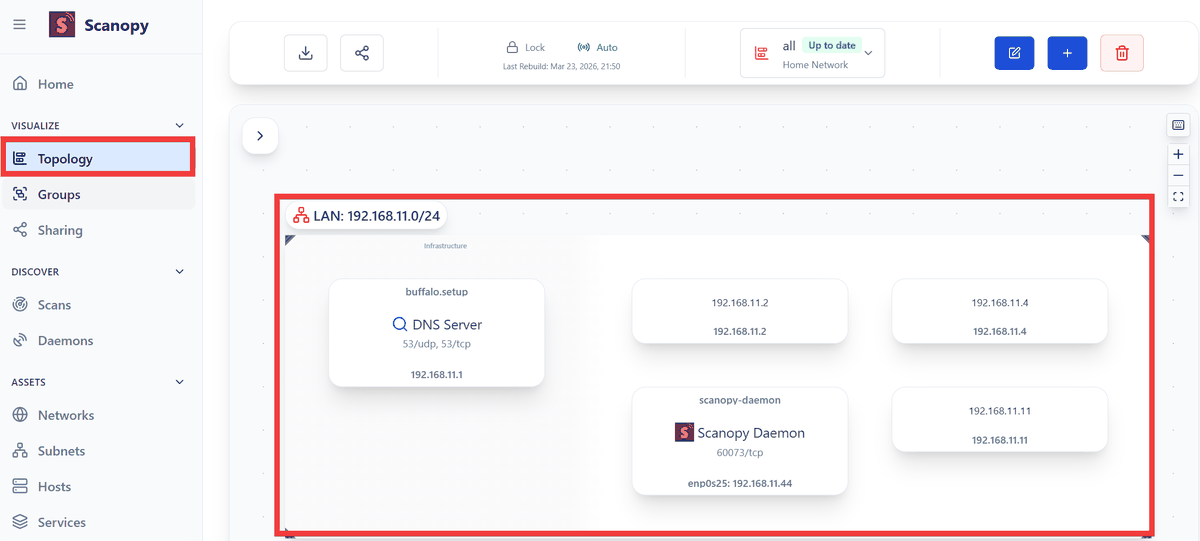
The management screen will appear, and you can check the progress of the network scan by clicking 'Scan' in the menu.
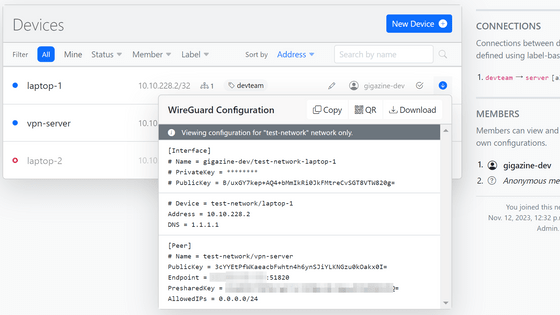
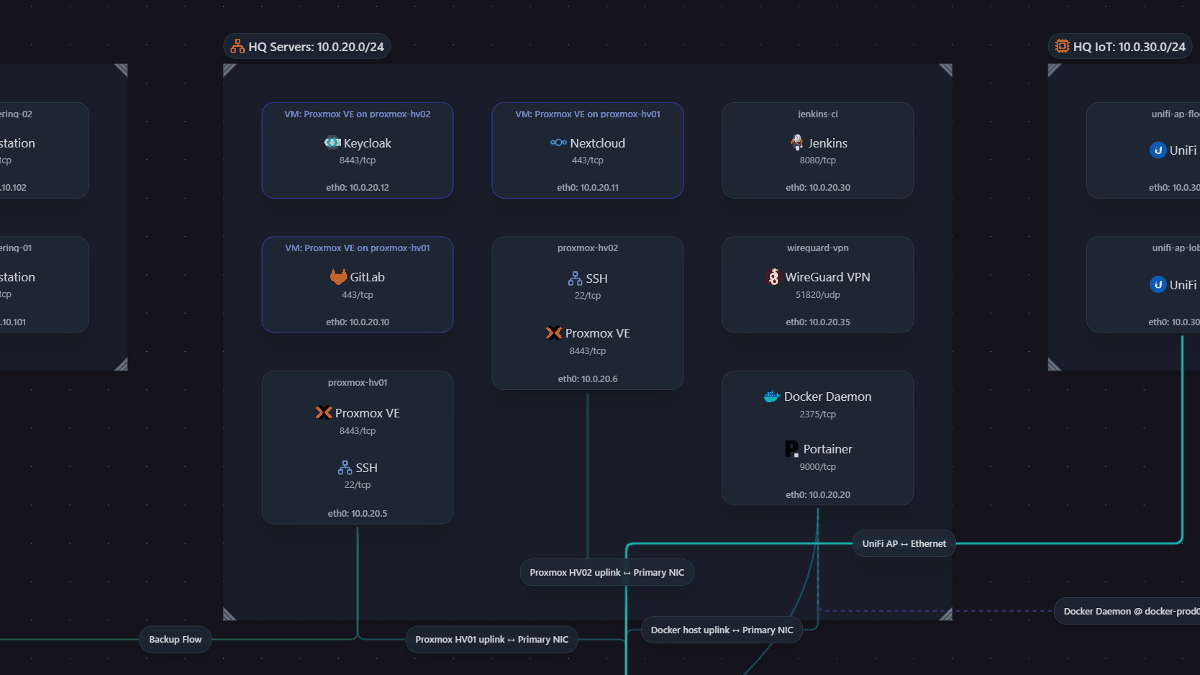
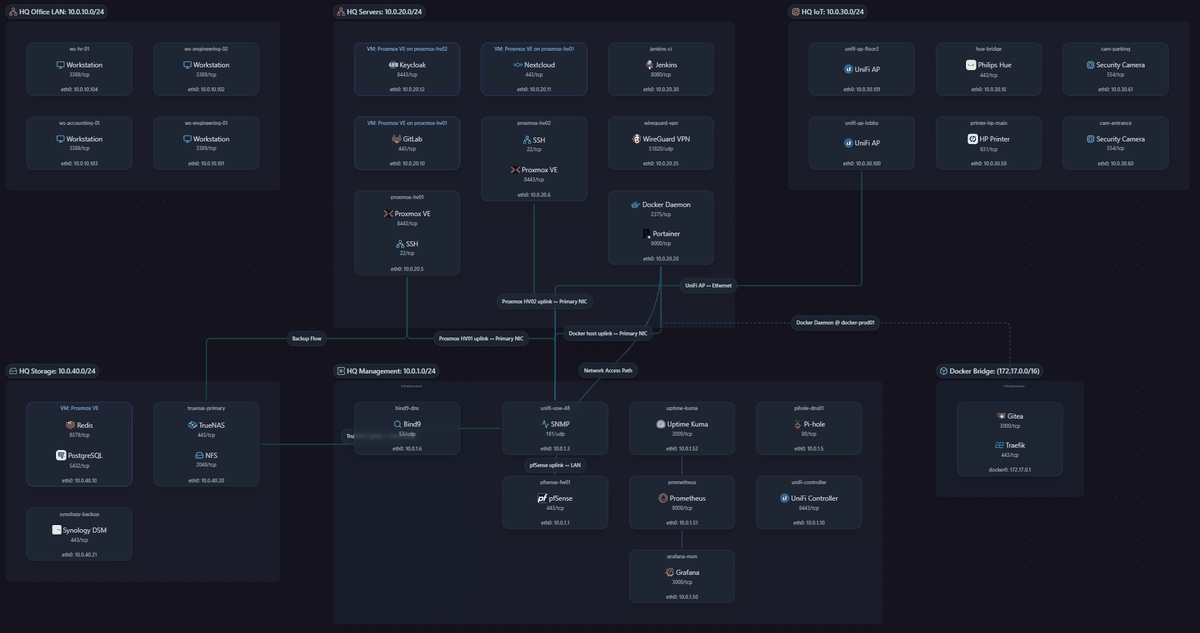
Once the scan is complete, clicking 'Topology' in the menu will display the hosts and services acquired during the network scan. For devices with public TCP and UDP ports, port information will also be displayed.
If
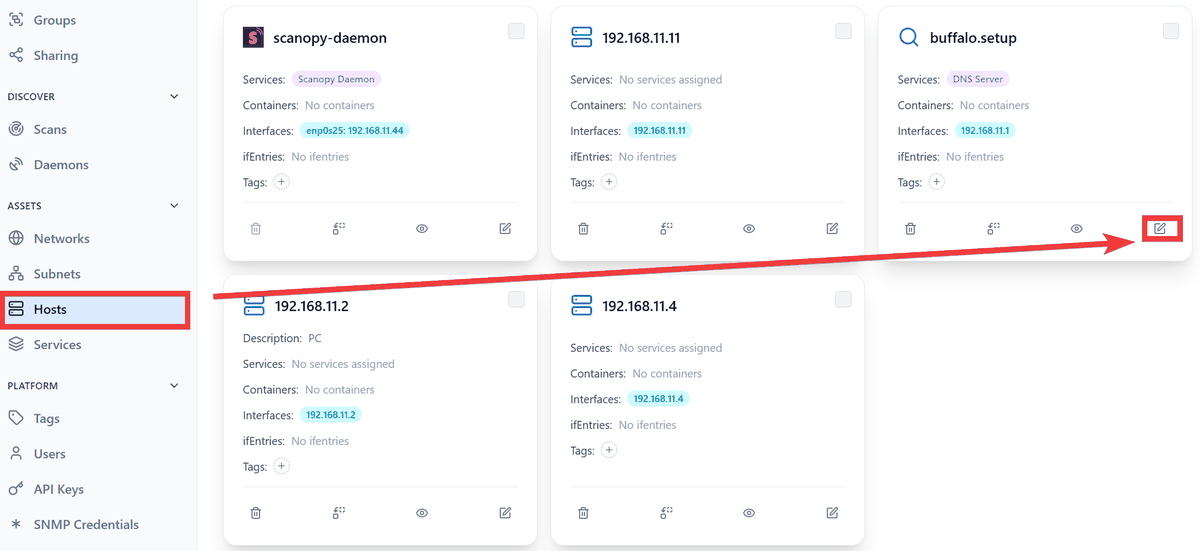
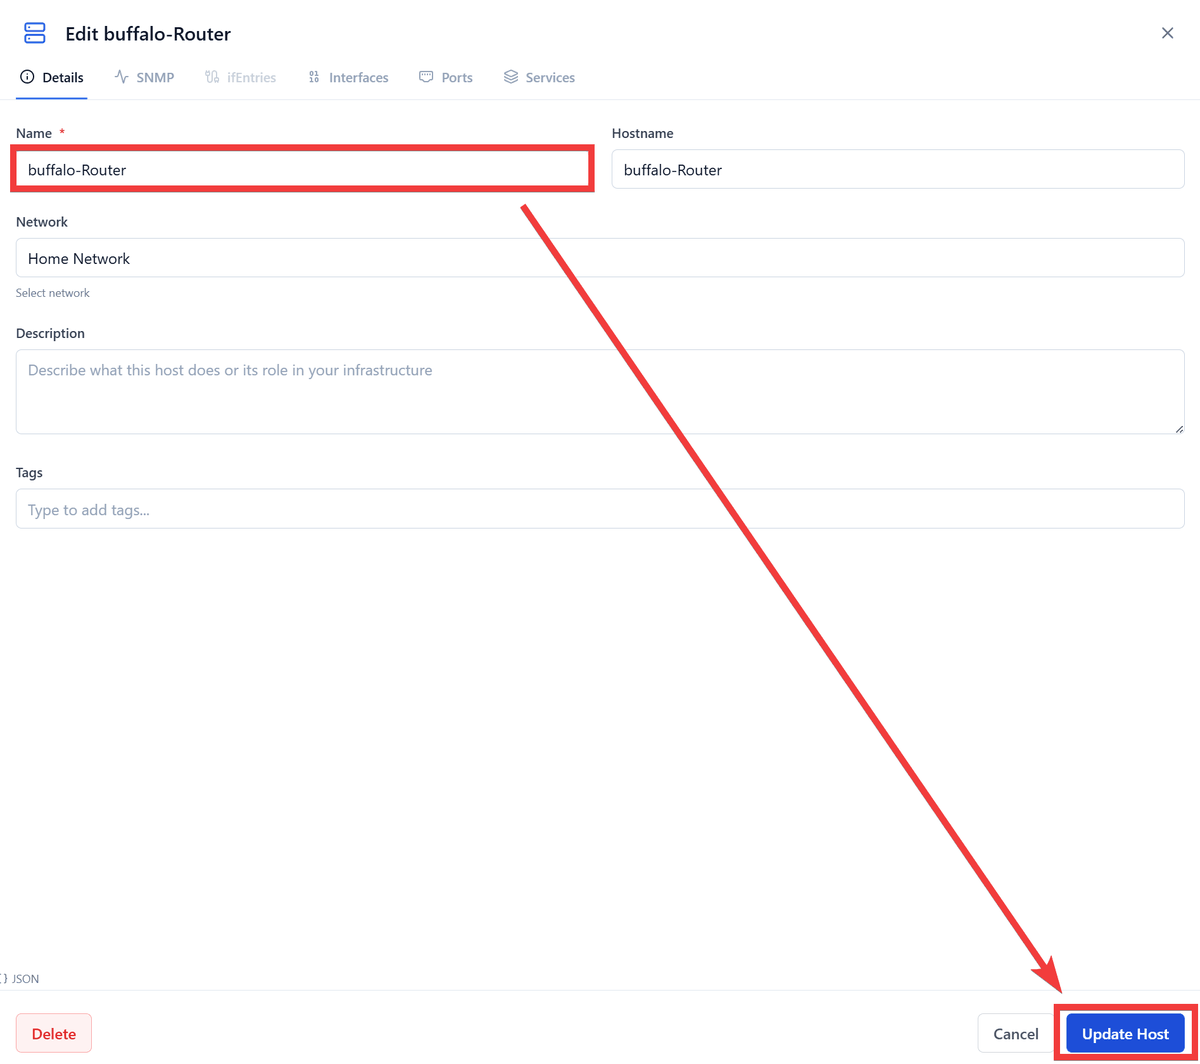
You can set the hostname in the configuration diagram in 'Name'. Enter a name of your choice and click 'Update Host'.
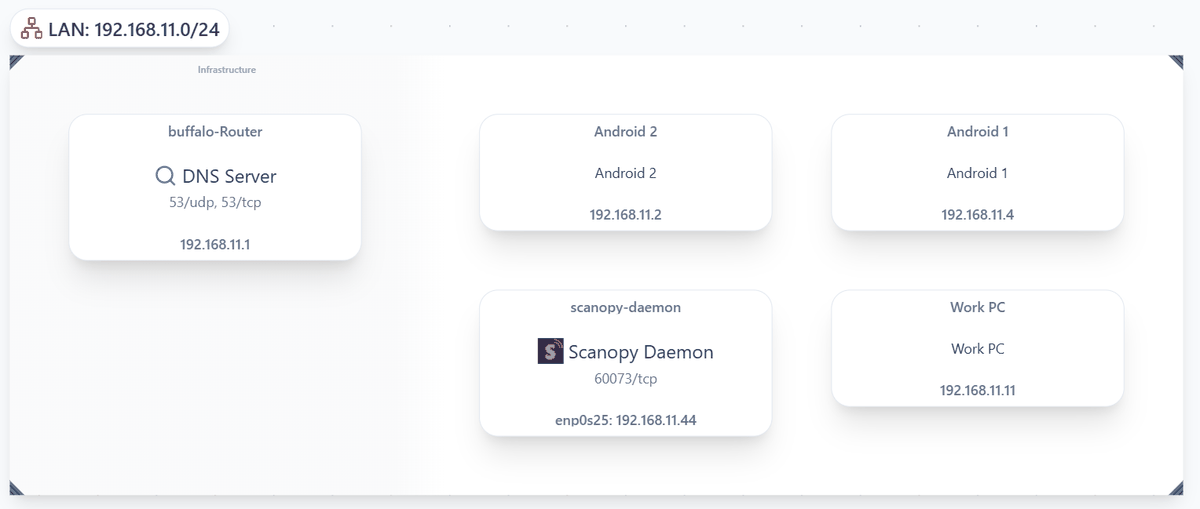
Returning to 'Topology,' you can confirm that the hostname has been changed.
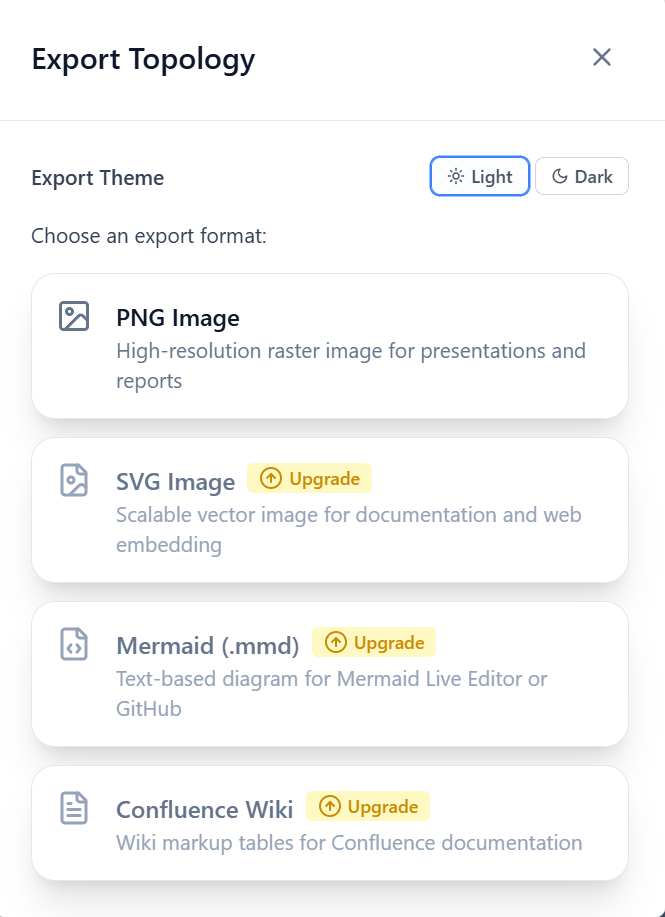
To export the configuration diagram, click the 'Export' icon in the upper left corner.
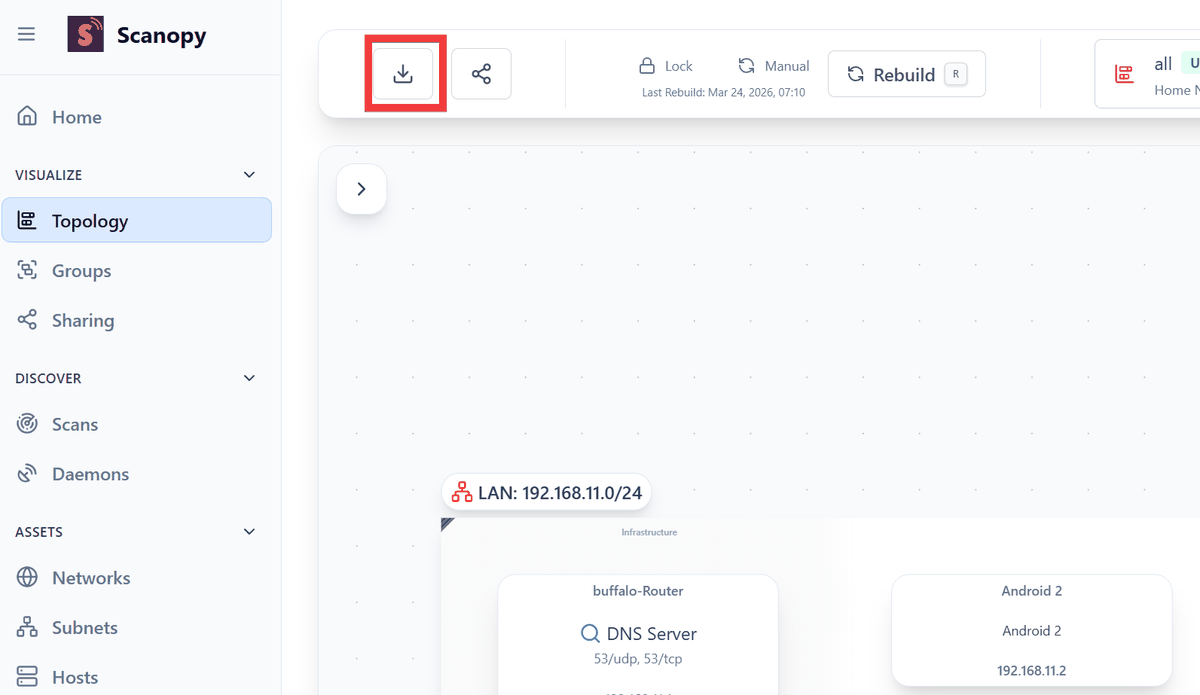
When you select the type of file to export, a dialog box for the save location should appear, but an error occurred and I was unable to export using the Free plan.
The configuration diagrams are automatically updated and have a standardized format, making them an extremely useful tool for corporate network administrators as they reduce the effort required to create configuration diagrams and help identify unintentionally open ports, especially as the network size increases.
Furthermore, a self-hosted server version using Docker is also available. It is free of charge, has no restrictions on the number of registered hosts or export capabilities, and allows for a more secure implementation as it does not send information externally.
Related Posts: