Dokploy makes deploying apps with Docker super easy, open source and self-hosted
When building an internet application in an environment where only the OS is provided, such as your own PC server or
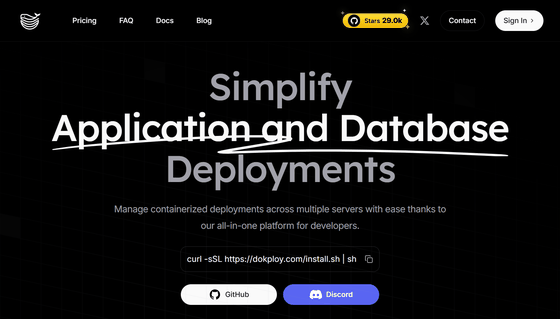
Dokploy - Deploy your applications with ease
https://dokploy.com/
Dokploy/dokploy: Open Source Alternative to Vercel, Netlify and Heroku.
◆ Main features of Dokploy
One-click application deployment
One-click deployment from templates or docker compose files.
Application and Docker Compose management
It allows you to manage applications such as starting and stopping, connect to containers via a terminal, and obtain source code from source providers such as GitHub , Git , and Docker, and build it in formats such as Docker, Nixpacks , Heroku Buildpacks , and Paketo Buildpacks .
・Database management
Supports MySQL , PostgreSQL , MongoDB , MariaDB , and Redis .
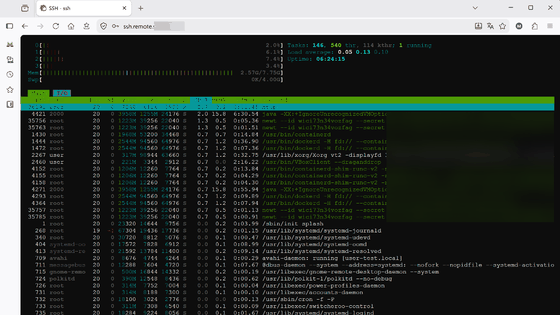
- Monitoring and logging functions
You can check the CPU usage, memory usage, disk usage, network traffic and logs of each service of launched applications and databases in real time.
・Backup function
Backups of databases and various data can be automated.
Domain management
You can configure Traefik in detail, such as adding or deleting domains, setting redirects, and setting ports.
◆Feature comparison with similar services
This is a list of features compared to CapRover , Dokku , and Coolify . △ indicates that it is possible with a plugin.
| function | Dokploy | CapRover | Dokku | Coolify |
|---|---|---|---|---|
| User Interface | 〇 | 〇 | × | 〇 |
| Docker Compose support | 〇 | × | × | 〇 |
| API/CLI | 〇 | 〇 | 〇 | 〇 |
| Multi-node support | 〇 | 〇 | × | 〇 |
| Traefik integration | 〇 | 〇 | △ | 〇 |
| User Permission Management | 〇 | × | × | 〇 |
| Bitbucket integration | 〇 | × | × | × |
| GitLab integration | 〇 | × | × | × |
| Gitea integration | 〇 | × | 〇 | × |
| Advanced User Permissions Management | 〇 | × | × | × |
| Terminal Access | 〇 | × | × | 〇 |
| Database Support | 〇 | 〇 | × | 〇 |
| monitoring | 〇 | 〇 | × | × |
| backup | 〇 | △ | △ | 〇 |
| Open Source | 〇 | 〇 | 〇 | 〇 |
| notification | 〇 | × | × | 〇 |
| Multi-Server Support | 〇 | × | × | 〇 |
| Open Source Templates | 〇 | 〇 | × | 〇 |
| Rollback | 〇 | 〇 | × | 〇 |
| Shared Environment Variables | 〇 | × | × | 〇 |
| Individual environment variables | 〇 | × | × | 〇 |
| Scheduled Jobs | 〇 | × | × | 〇 |
| Cloudflare Tunnel | 〇 | × | × | 〇 |
| Custom Build Server | 〇 | × | × | 〇 |
| Volume Backup | 〇 | × | × | × |
| Deployment Preview | 〇 | × | × | 〇 |
| team | 〇 | × | × | 〇 |
| Cloud/Paid version | 〇 | 〇 | 〇 | 〇 |
◆Installation method
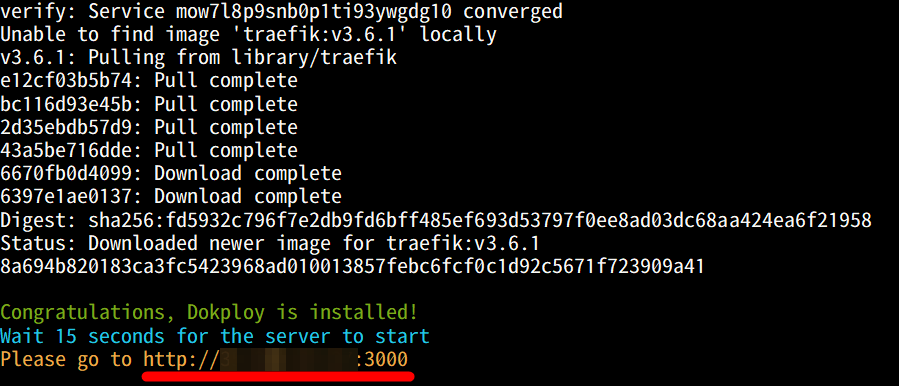
This time, we will create an environment where Docker can be used with Ubuntu on a VM instance on Google Cloud and install Dokploy. Execute the following command as the root user.
curl -sSL https://dokploy.com/install.sh | sh
Once the installation is complete, a URL to access the admin page will be displayed, so copy it.
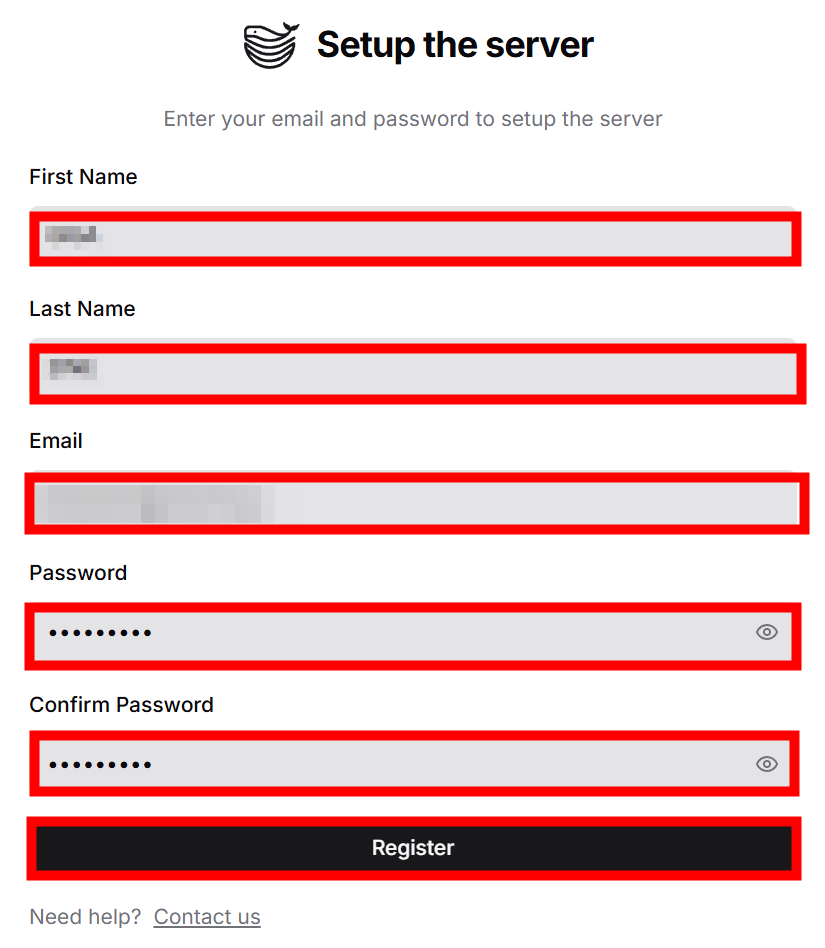
When you enter the URL in your browser and access it, the administrator registration form will be displayed. Enter 'First Name', 'Last Name', 'Email', 'Password' and 'Confirm Password' and click 'Register'.
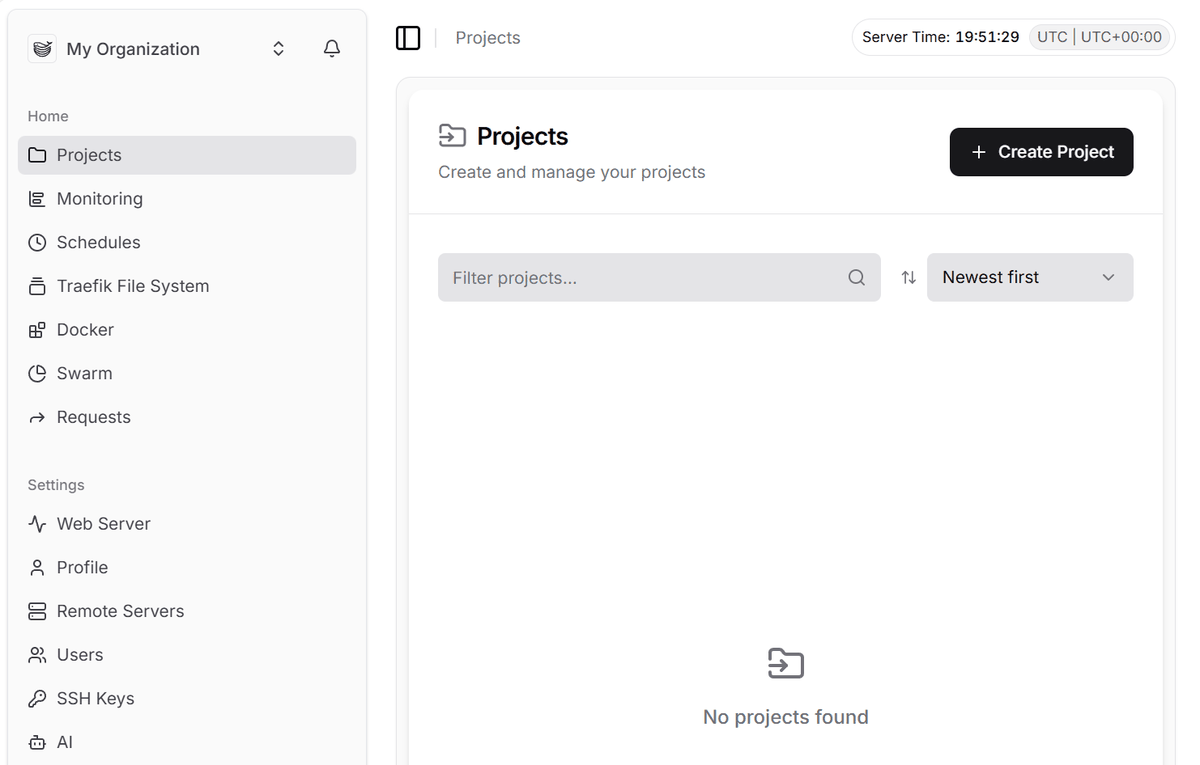
Once registration is complete, the management screen will be displayed.
◆Build WordPress
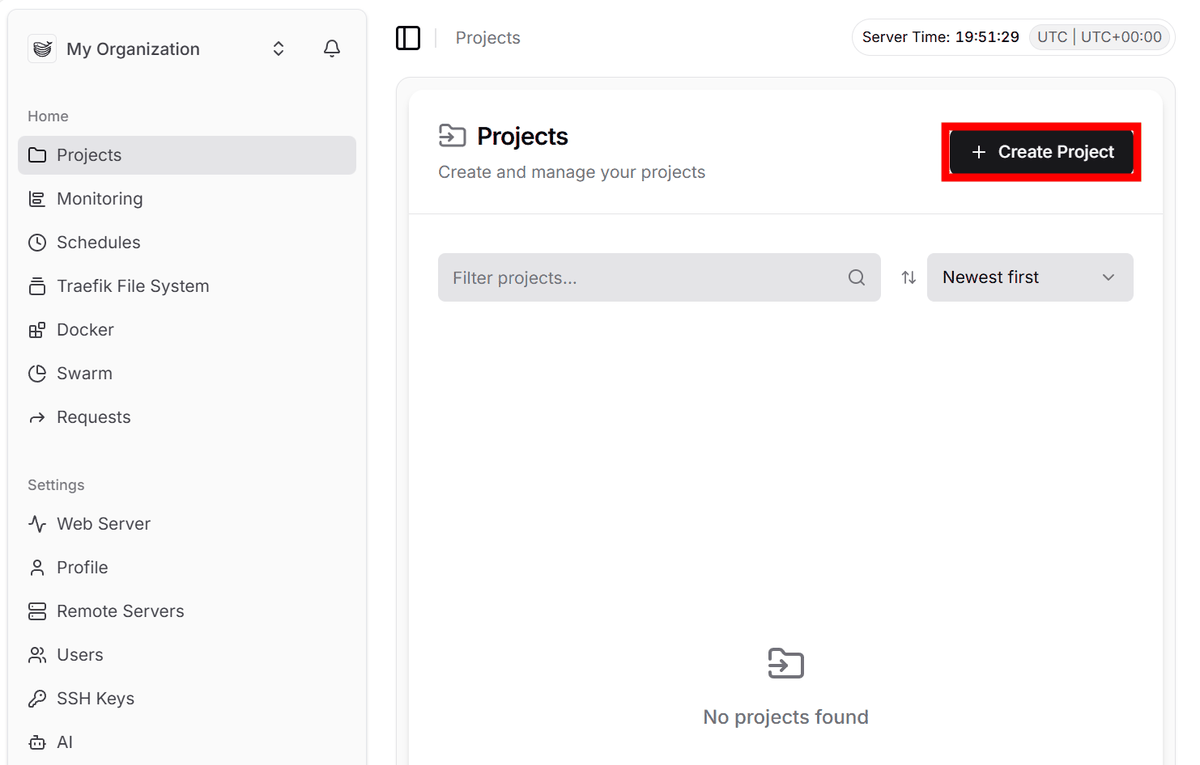
We will introduce WordPress as an example of application construction. First, click “Create Project” on the admin screen to create a project.
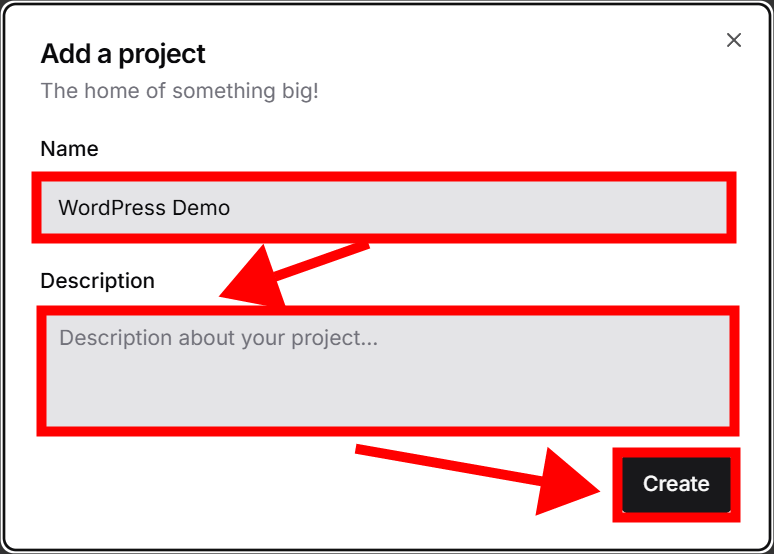
Enter an arbitrary project name in 'Name', enter an arbitrary description in 'Description', and click 'Create'.
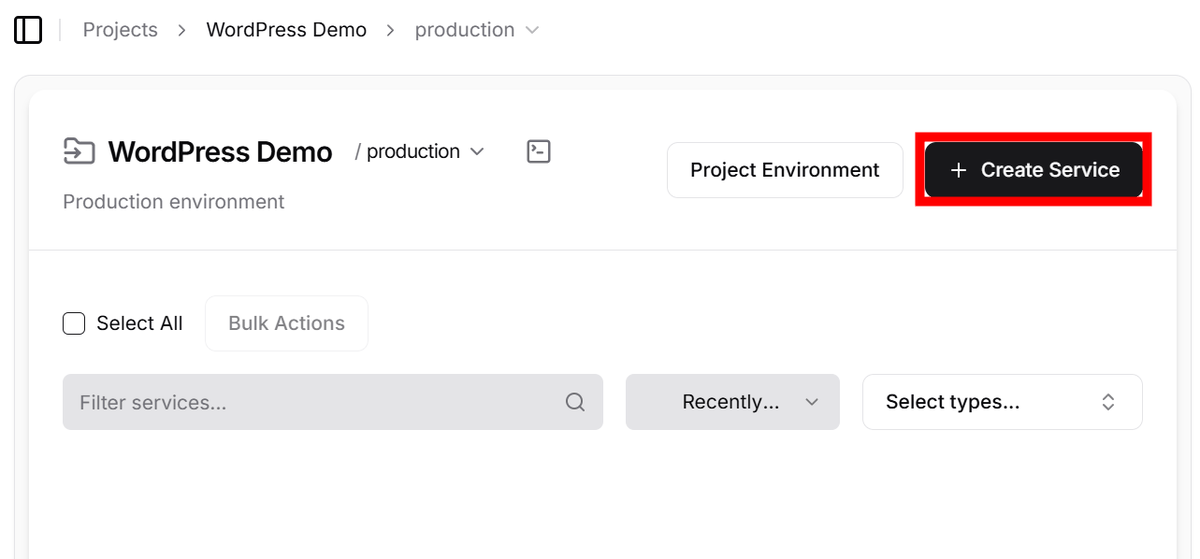
The project will be created, so click 'Create Service'.
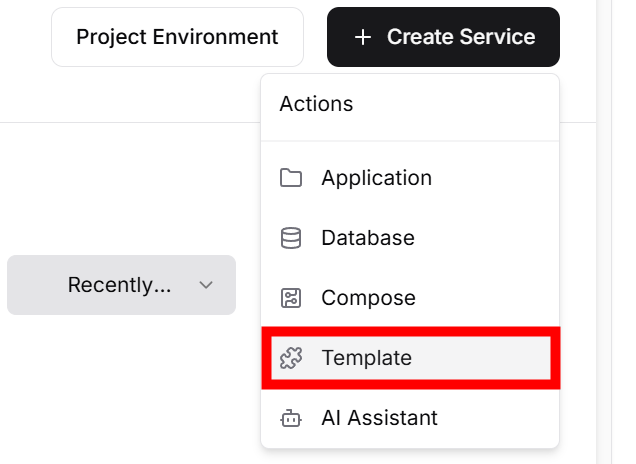
You can choose how to build the service, so select 'Template'.
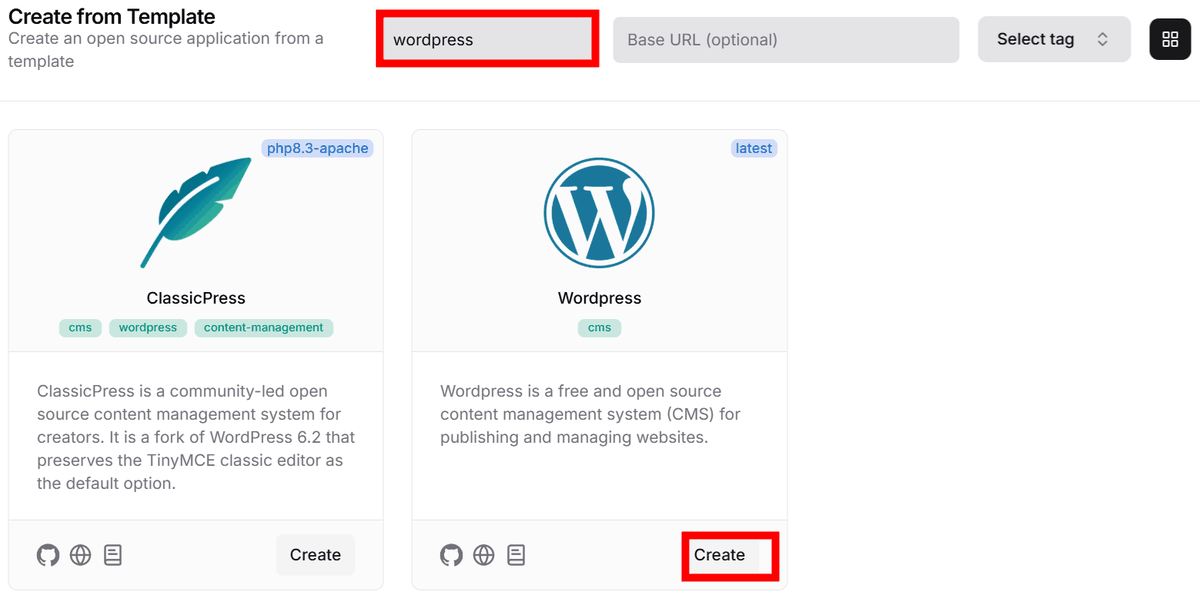
The template selection screen will appear, so search for 'wordpress' and when WordPress is found, click 'Create'.
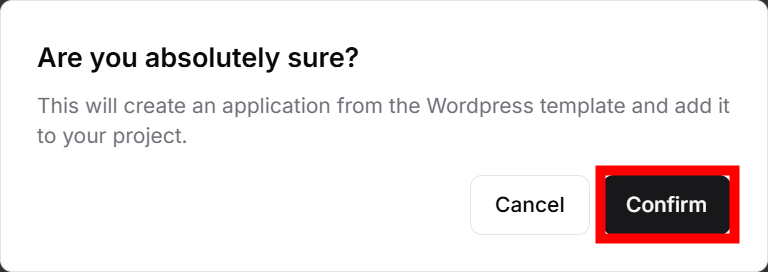
A confirmation dialog will appear, so click 'Confirm'.
The service 'wordpress' will be added to the admin screen, so click on it.
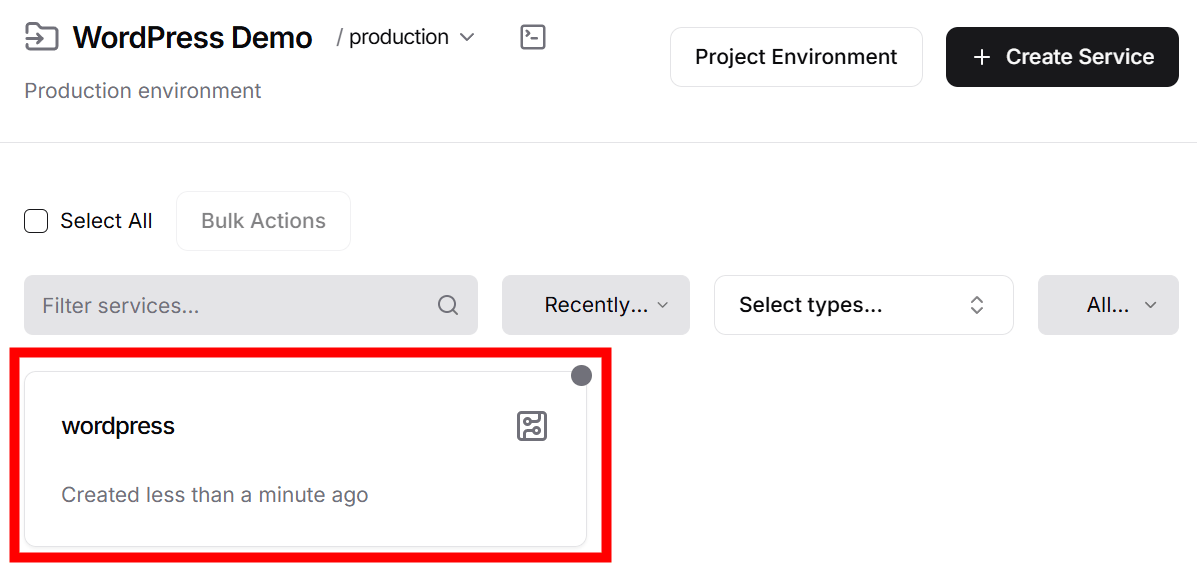
The service settings screen will be displayed, so click 'Deploy'.
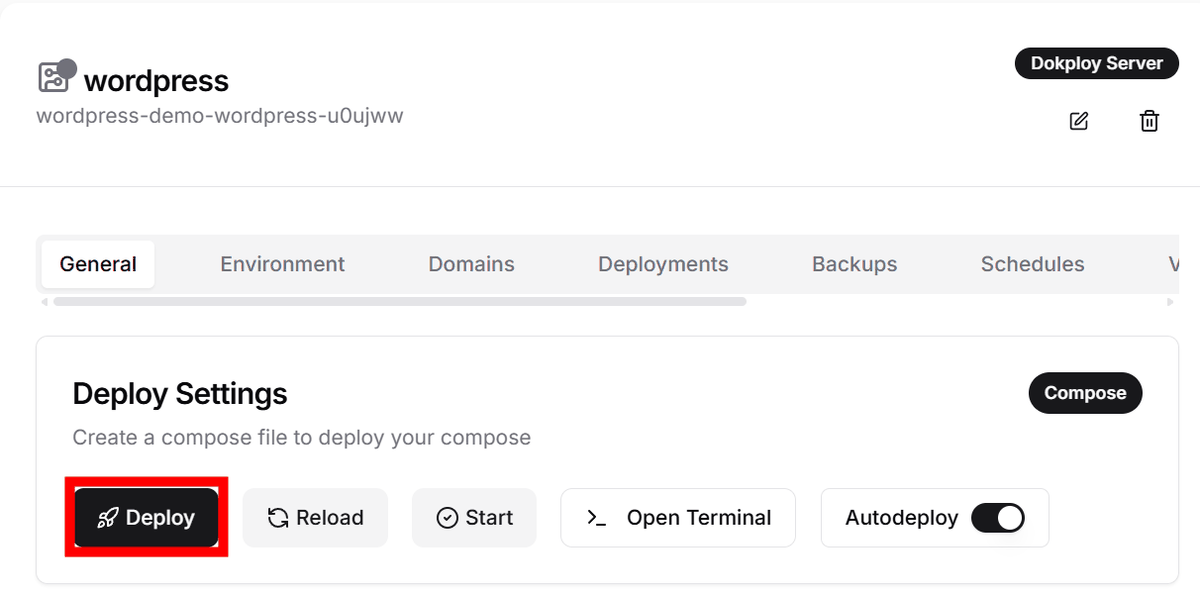
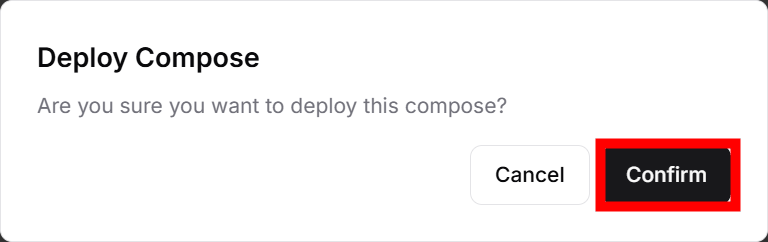
A confirmation dialog will appear, so click 'Confirm'.
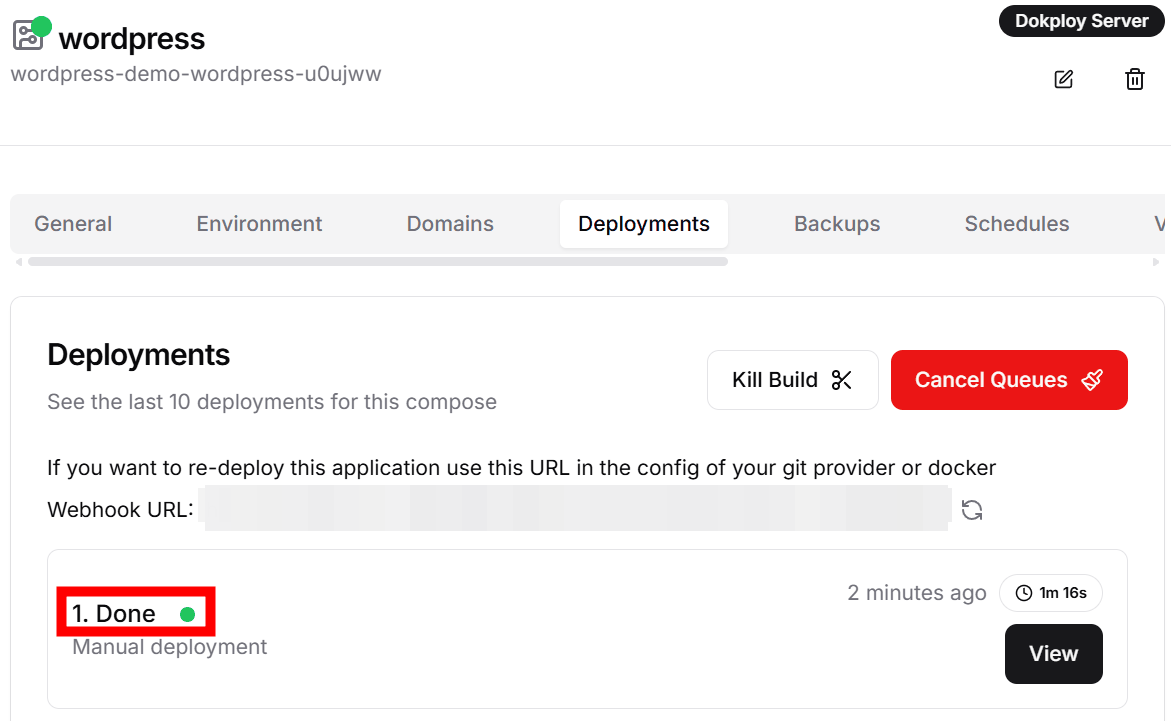
When the construction was complete, a green badge saying 'Done' was displayed.
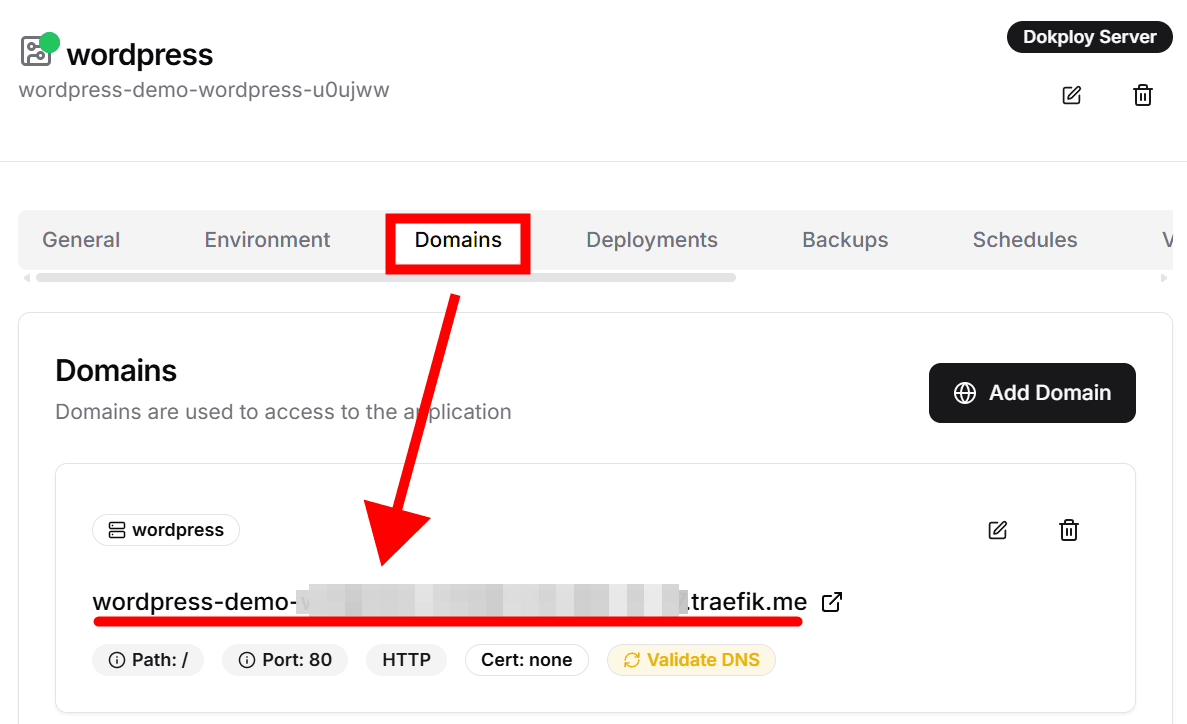
Click 'Domains' to see the domains that can access this service, and copy them.
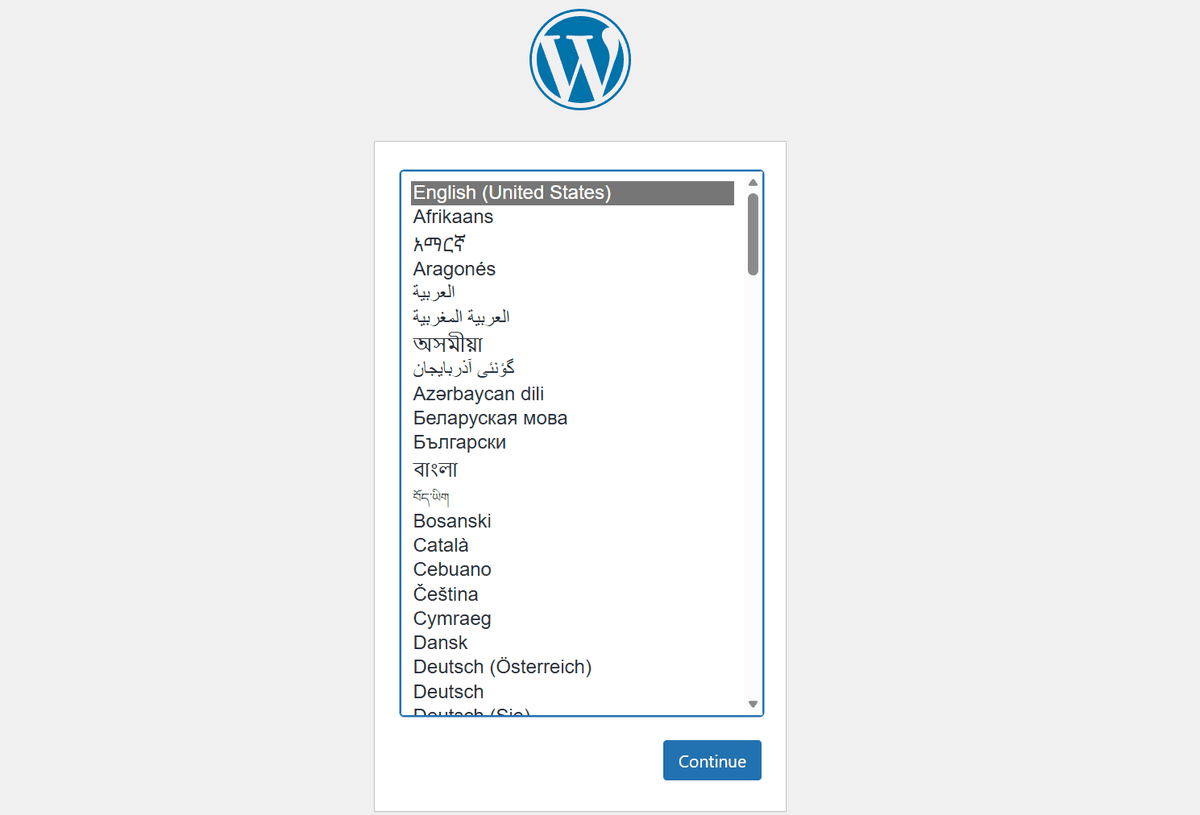
When I entered the copied domain into my browser and accessed it, the WordPress installation screen was displayed.
◆ Assigning your own domain and HTTPS
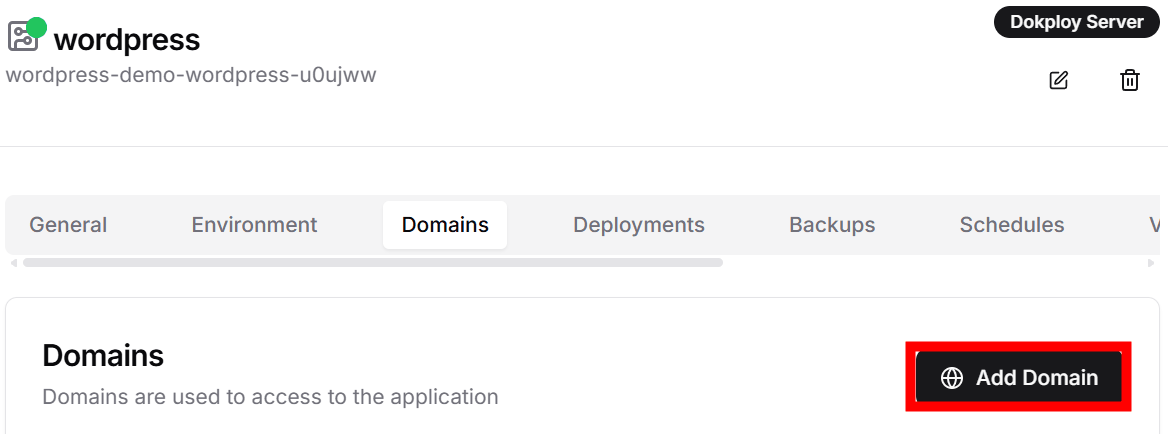
The automatically assigned domain will be accessed via HTTP and communication will not be encrypted. To use encrypted communication, you will need your own domain. If you have a domain for the service, you can assign it using the following method. Click 'Add Domain' on the 'Domains' settings screen.
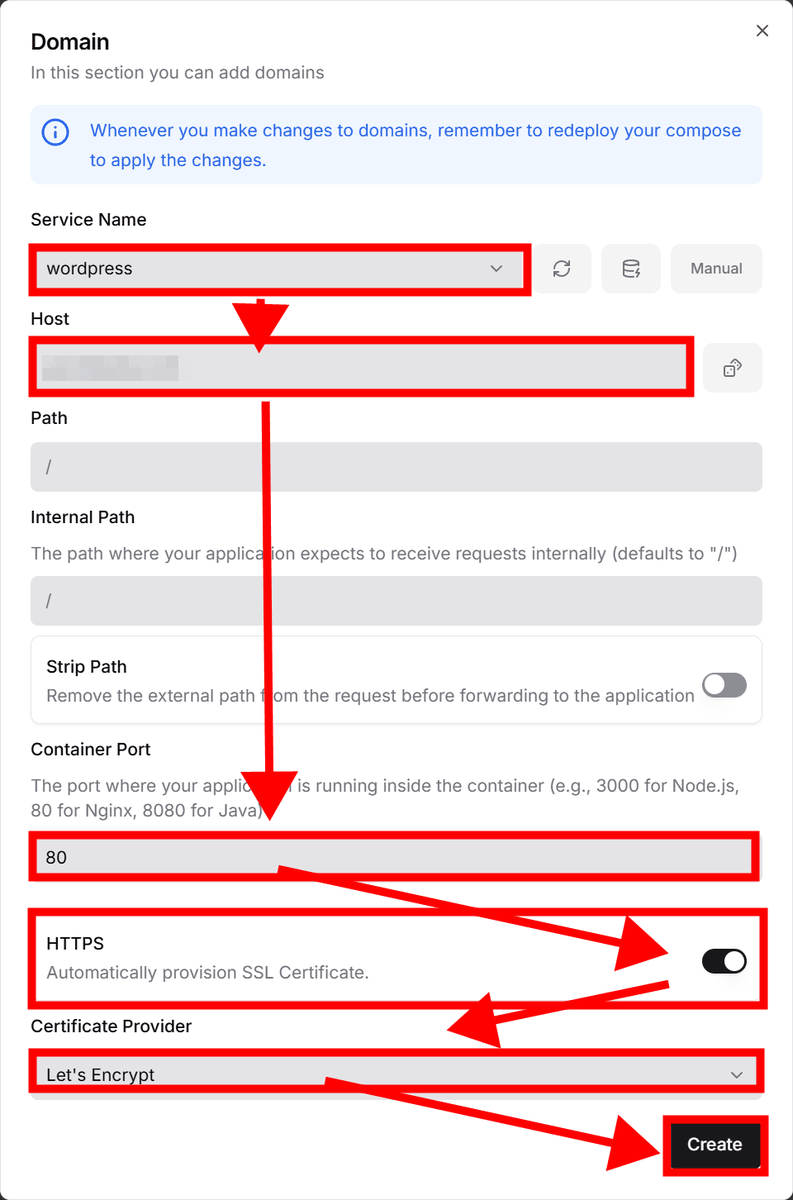
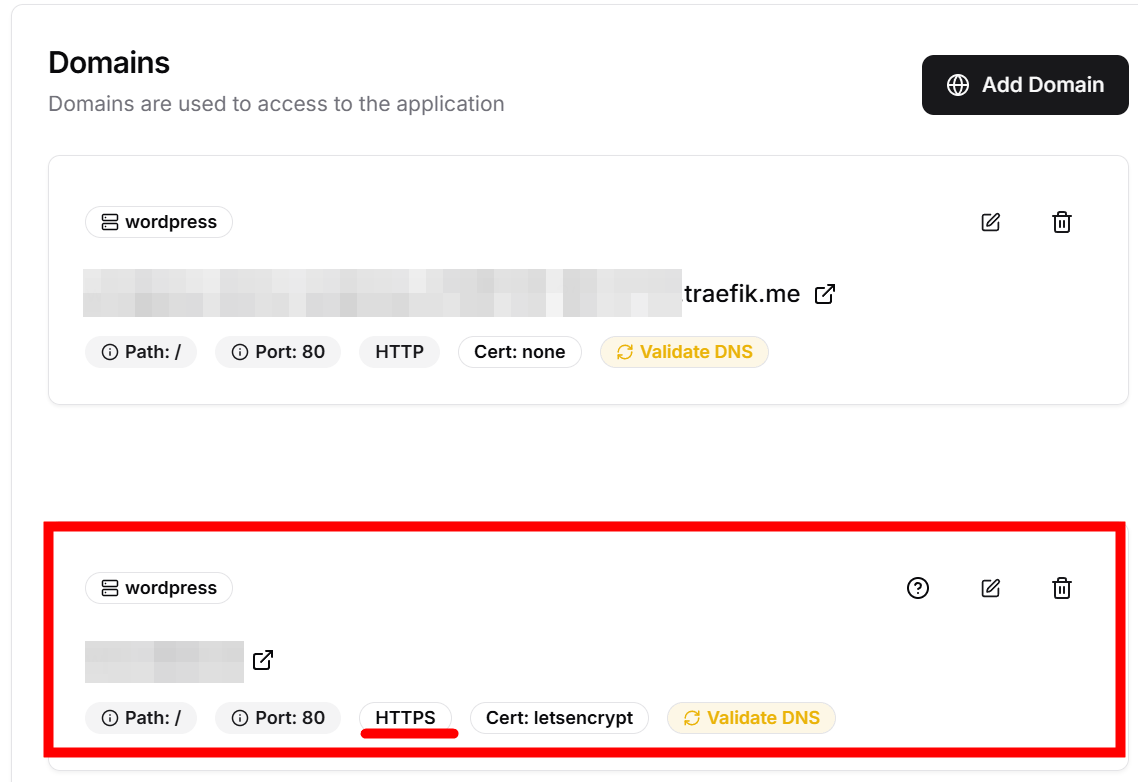
Select the service for which you want to set up the domain in 'Service Name,' enter your own domain in the 'Host' field, enter 80 in 'Container Port,' turn the toggle in the 'HTTPS' field to 'ON,' select 'Let's Encrypt' in 'Certificate Provider,' and then click 'Create.'
The domain has been added and is ready to be accessed via 'HTTPS'.
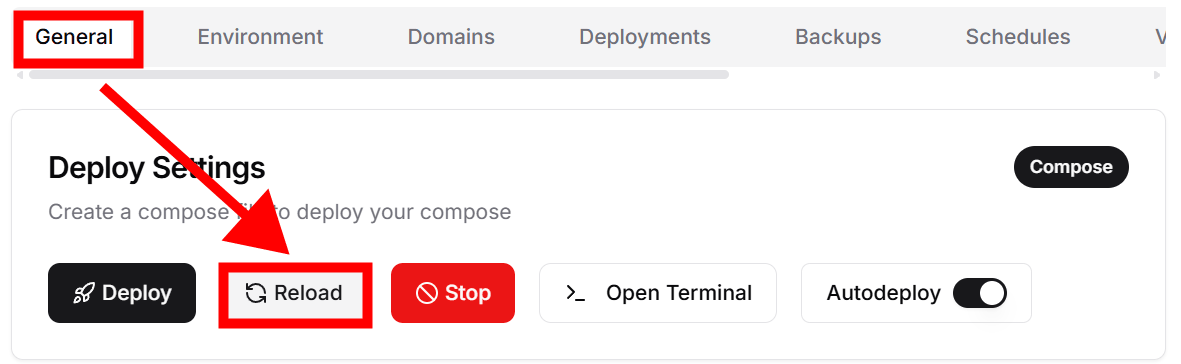
The service needs to be restarted, so click 'Reload' under 'General'.
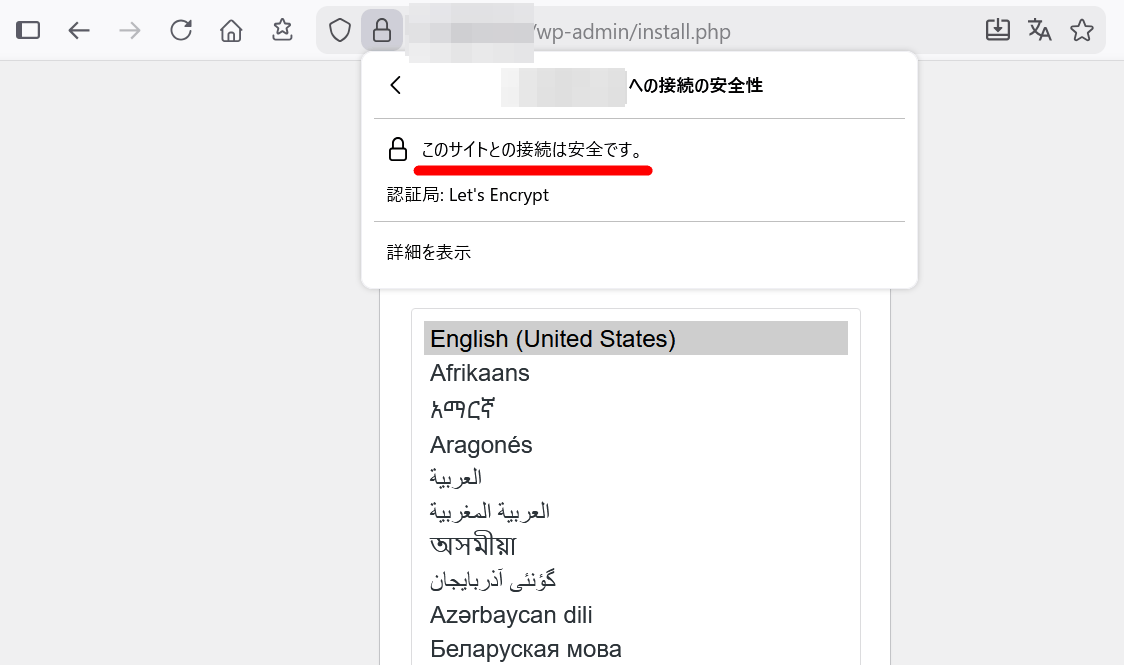
After restarting, I entered my own domain in HTTPS format in the browser and accessed it, and the WordPress installation screen was displayed correctly.
Related Posts: