I tried using 'Subtitle Edit,' an open source subtitle editor that can automatically transcribe, edit, edit, and translate subtitles for any video for free.
Subtitle Edit is an open-source subtitle editor that is available for free and uses AI to automatically transcribe and create subtitles for videos, and can also be edited or translated directly, so I decided to give it a try.
Nikse - Subtitle Edit
GitHub - SubtitleEdit/subtitleedit: the subtitle editor :)
https://github.com/SubtitleEdit/subtitleedit
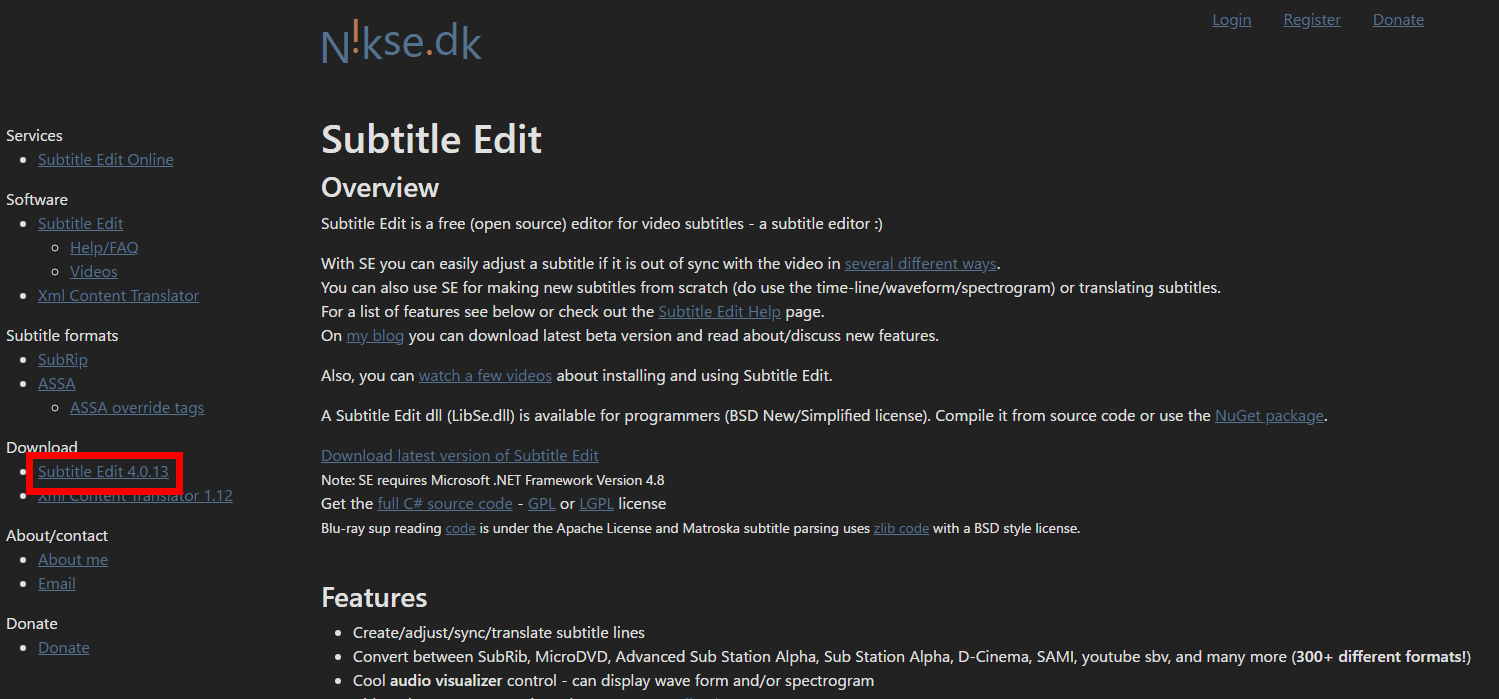
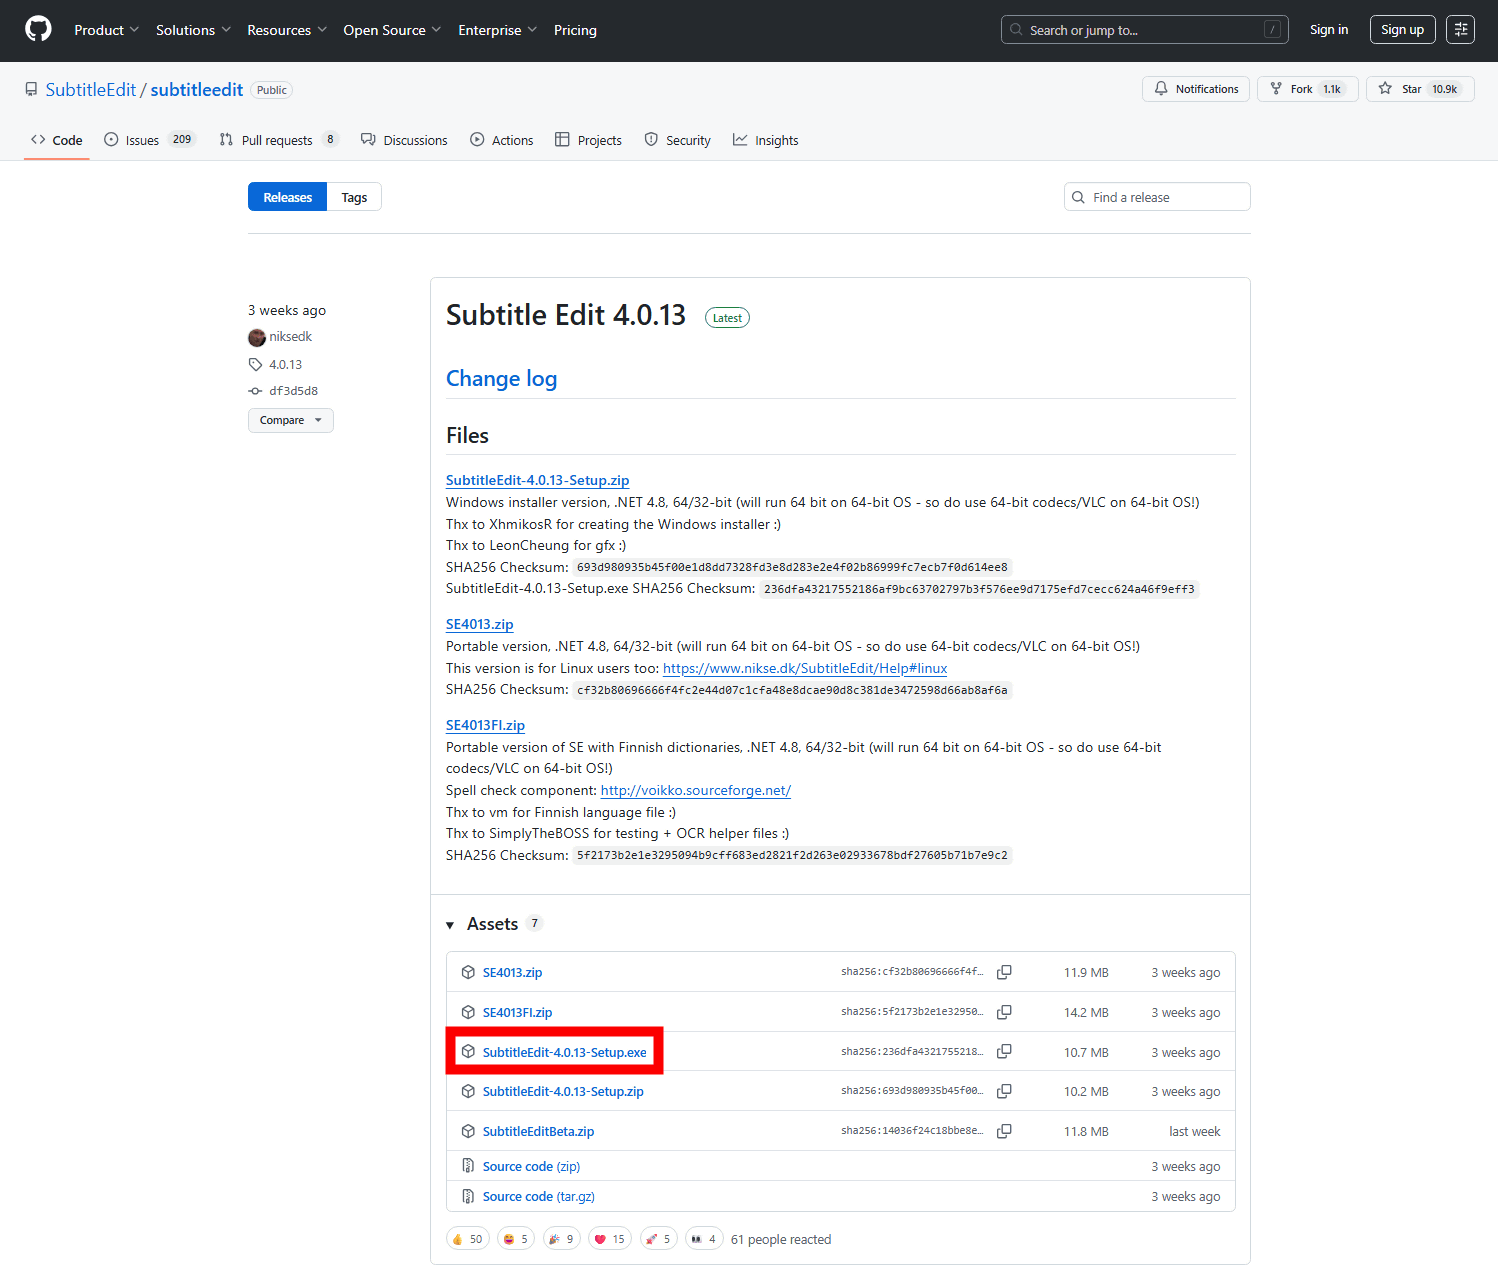
Visit the official website and click on 'Subtitle Edit 4.0.13' in the left column.
The GitHub
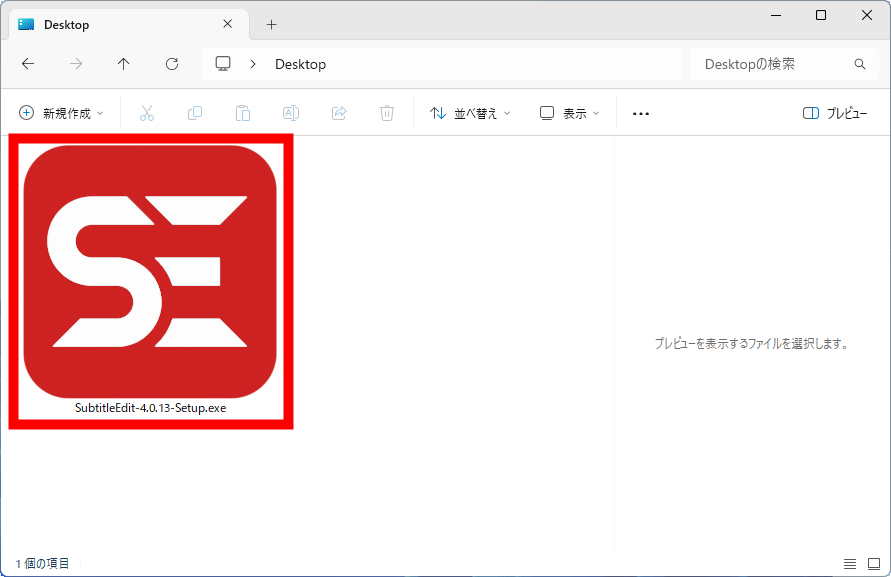
Launch the downloaded SubtitleEdit-4.0.13-Setup.exe.
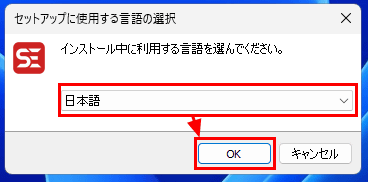
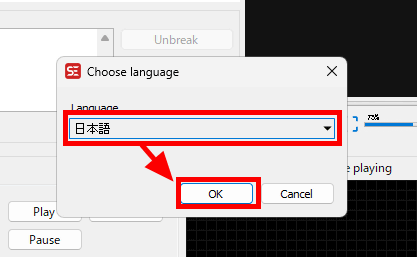
The installer will start, so select 'Japanese' and click 'OK'.
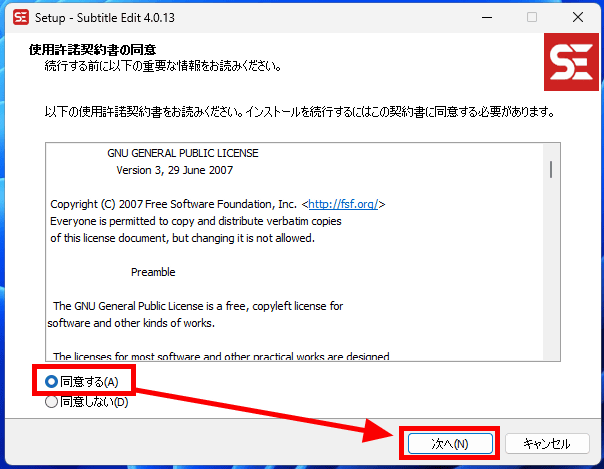
Select 'I accept' and click 'Next'.
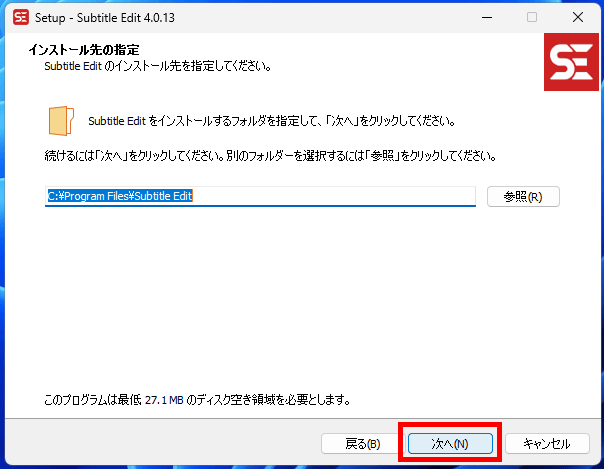
Click 'Next' to specify the installation location. Note that Subtitle Edit requires at least 27.1MB of free storage space.
Click “Next”.
Click Next.
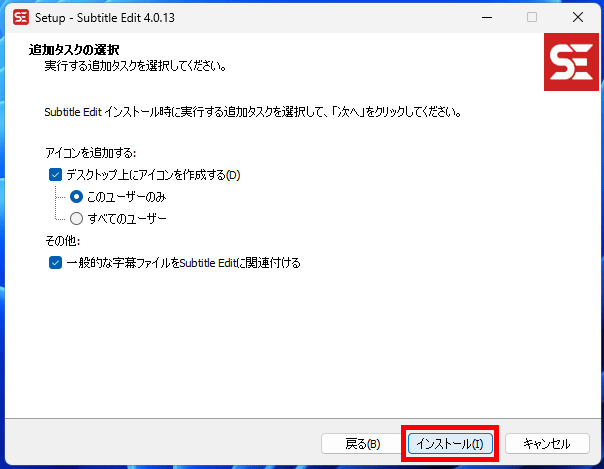
Click 'Install' to begin the installation.
When the installation is complete, click 'Next.'
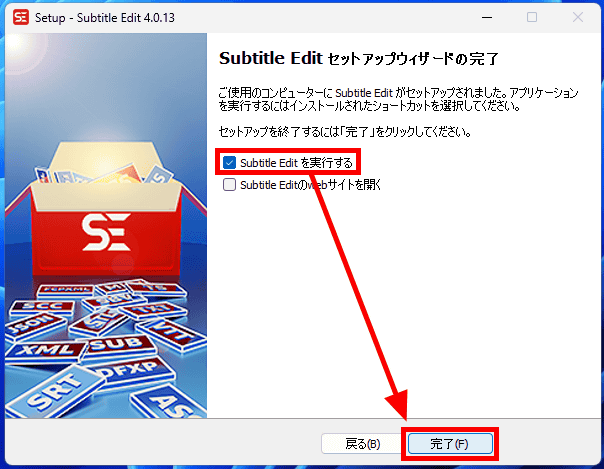
Check 'Run Subtitle Edit' and click 'Finish.'
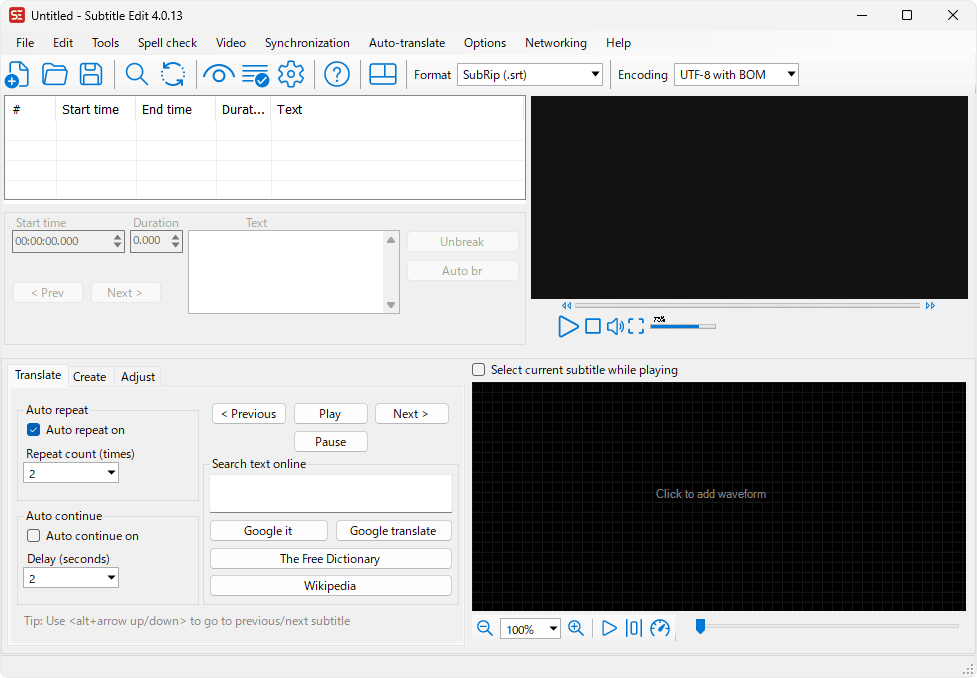
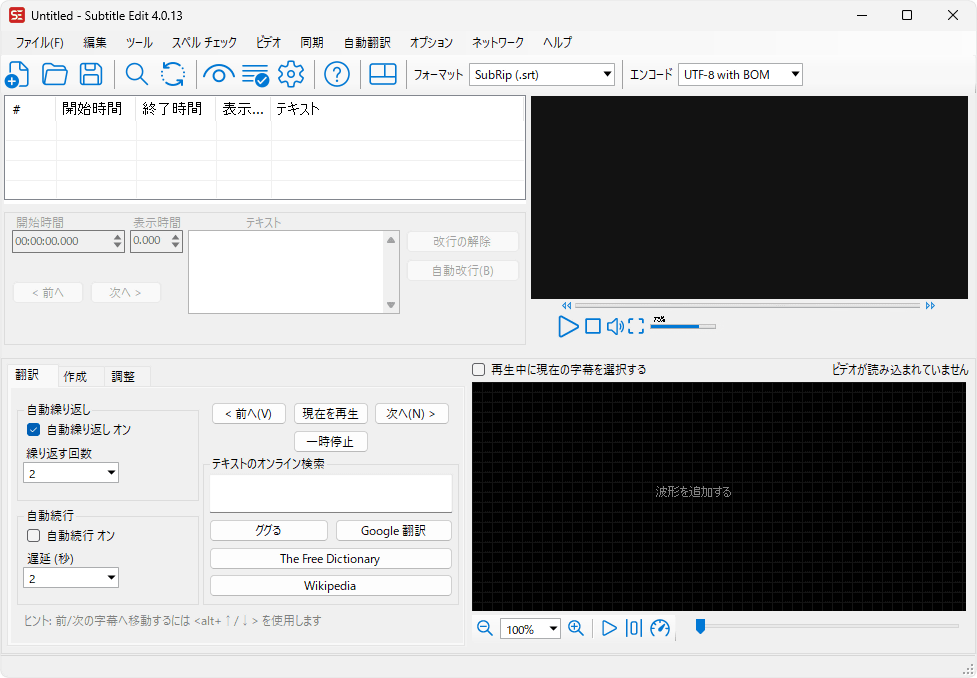
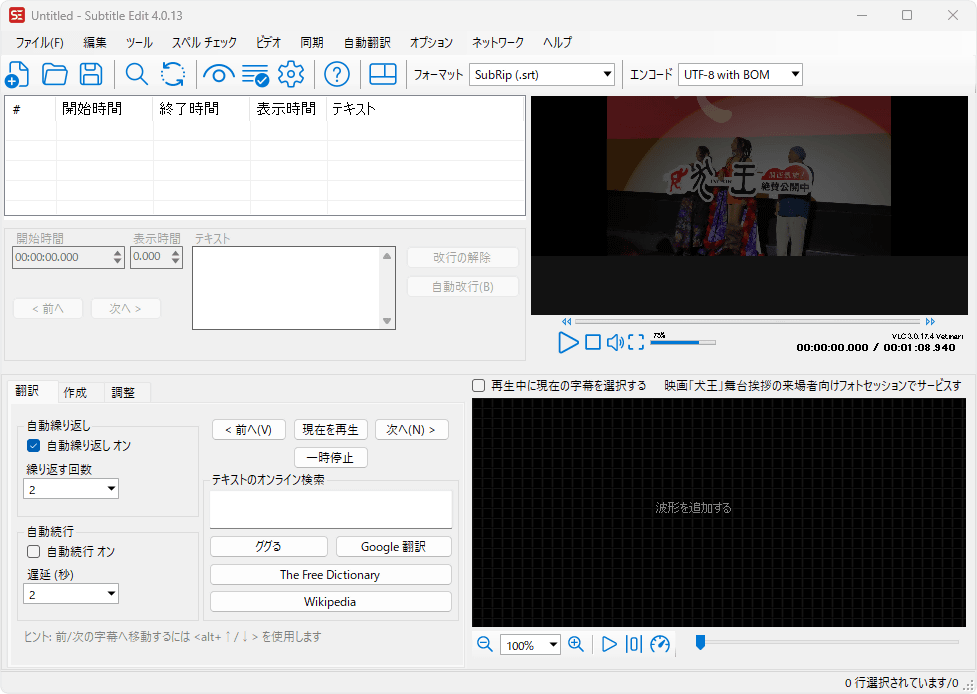
The UI of the launched Subtitle Edit looks like this.
Select 'Choose language' from 'Options' on the top toolbar.
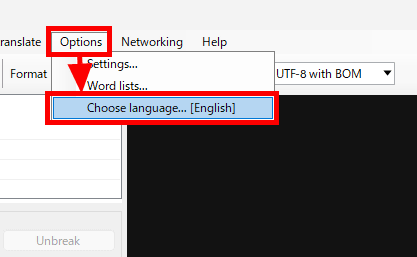
Select 'Japanese' and click 'OK'.
The UI is now in Japanese. However, please note that at the time of writing this article, it is not completely translated into Japanese, and only a small part remains in English.
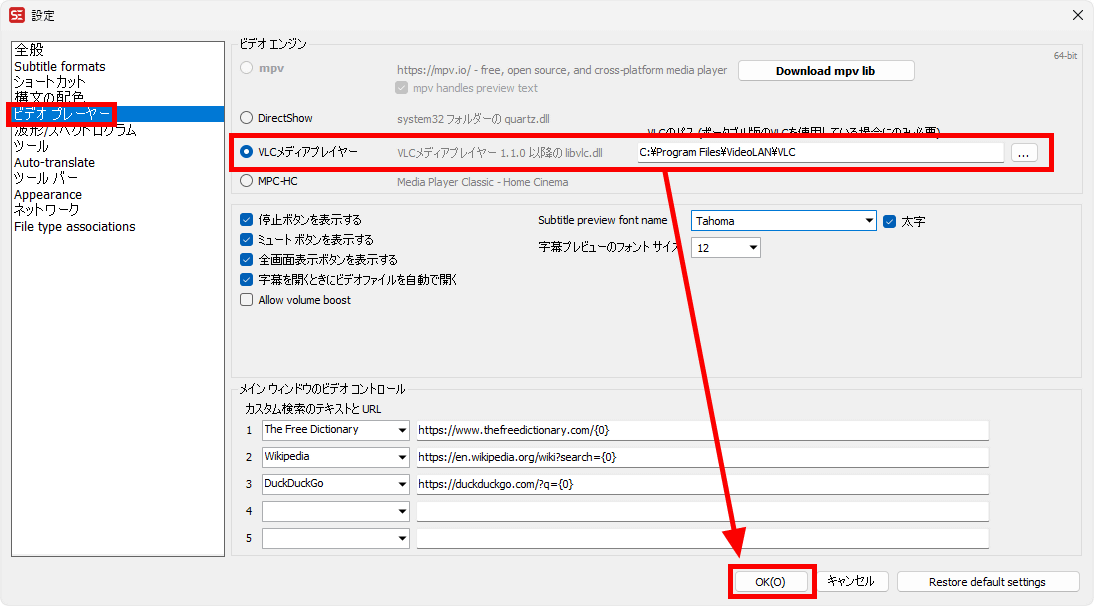
Next, select 'Options' and then 'Settings' to configure the video player.

Select 'Video Player' from the options on the left. Subtitle Edit allows you to choose from
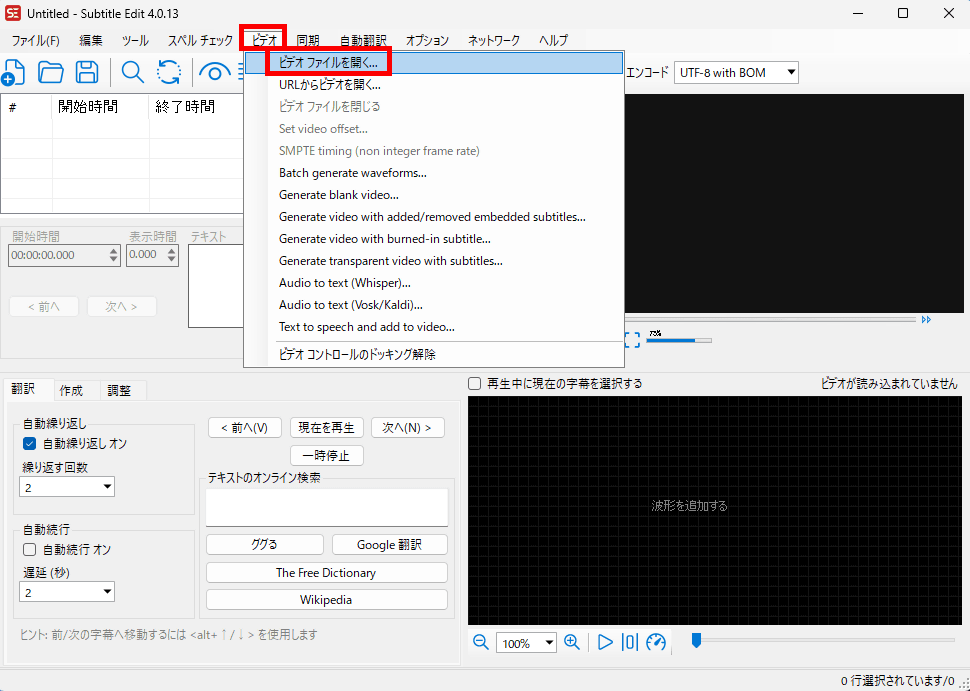
To add subtitles to a video, you must first load the video. Click 'Video' from the top toolbar and select 'Open Video File' to launch File Explorer.
Select the video file you want to load from File Explorer and it will be loaded into Subtitle Edit. If the video appears in the preview screen in the upper right corner, as shown below, it's OK.
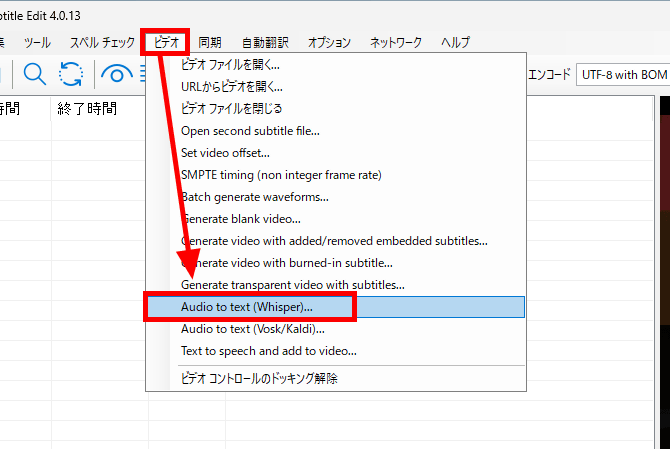
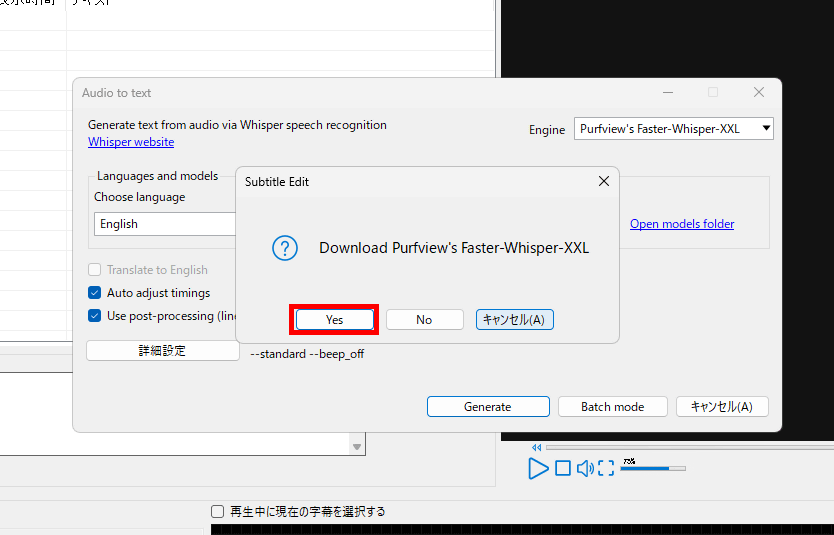
Next, select 'Audio to text (Whisper)' from 'Video' to create subtitles using OpenAI's automatic transcription AI 'Whisper.'
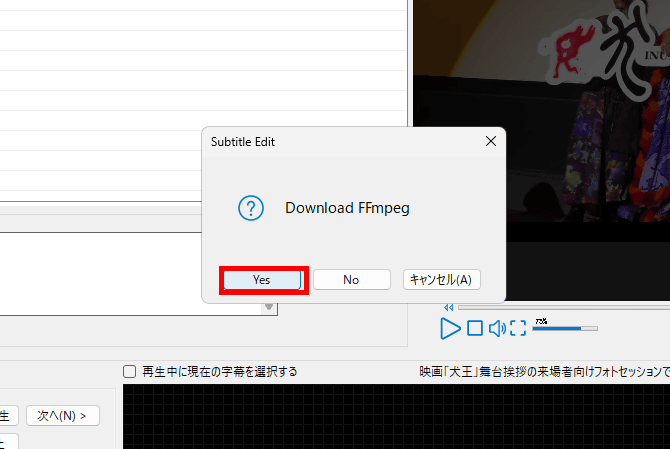
The first time you install FFmpeg, you will need to install it, but Subtitle Edit will automatically install it for you. Click 'Yes.'
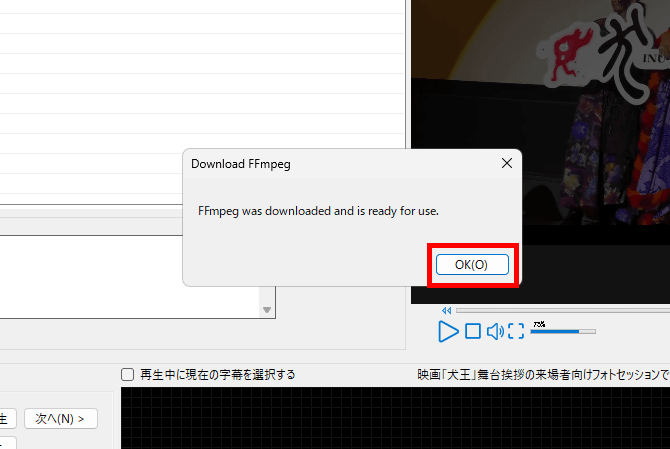
Once the installation is complete, or if it is already installed, the following pop-up will appear, so click 'OK'.
Next, Whisper will be installed automatically. The version installed is
This time, the video I loaded was the talk segment from
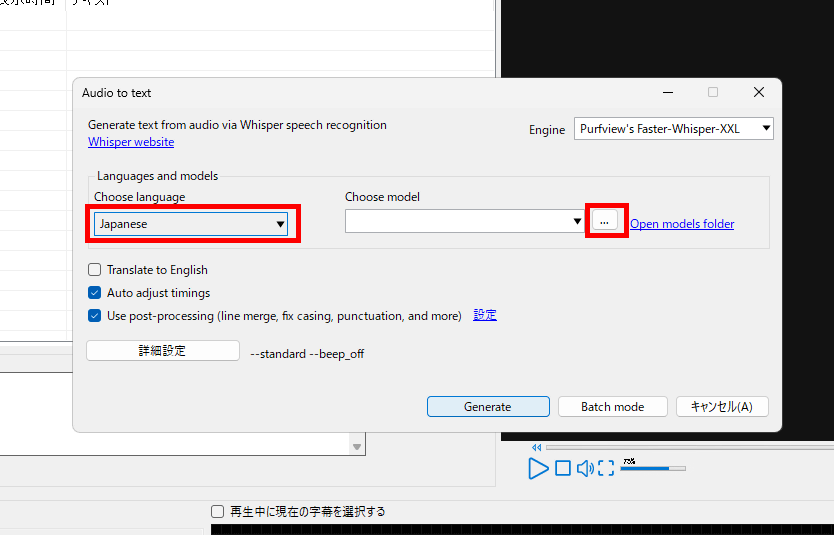
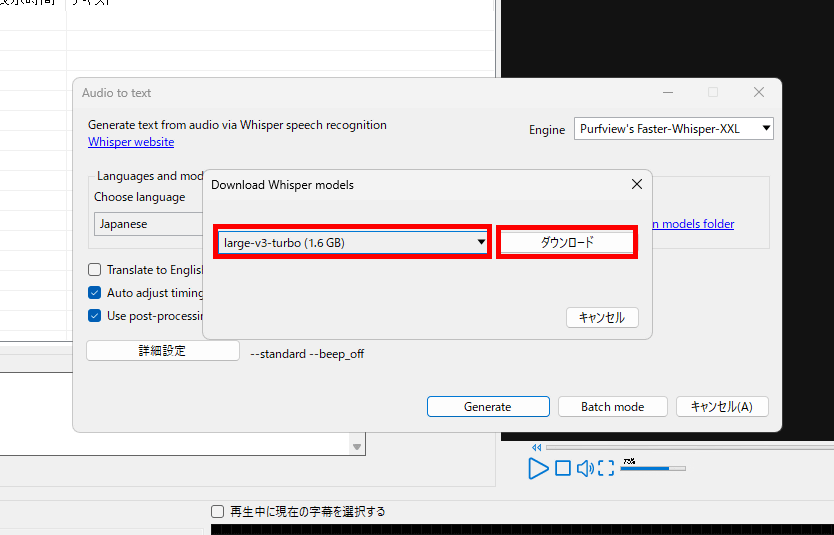
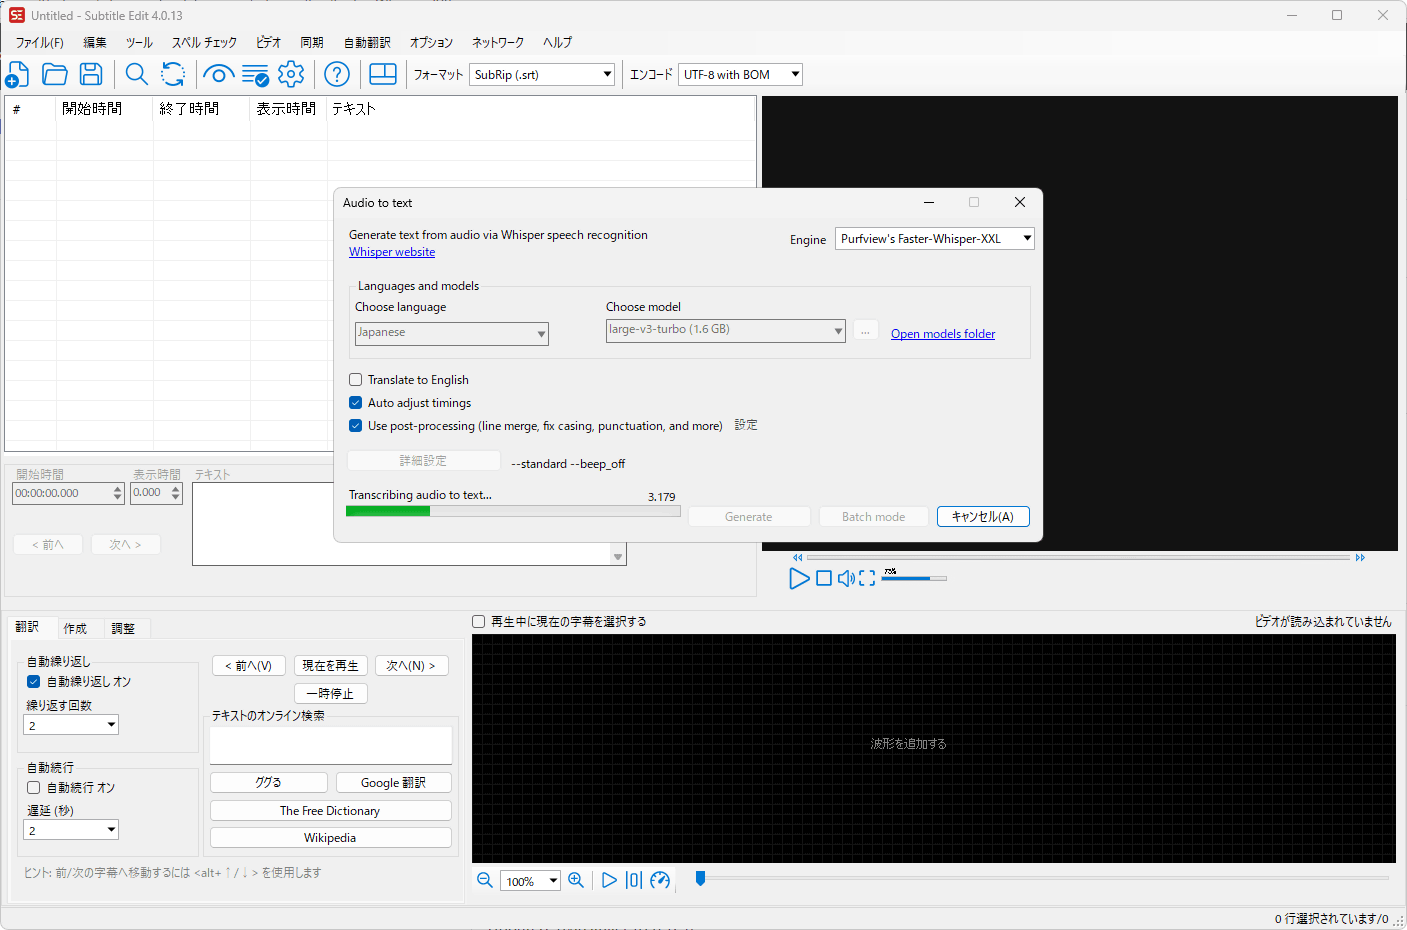
The first time you download the Whisper model, select 'large-v3-turbo (1.6GB)' and click 'Download.'
Once the download is complete, click 'Generate.'
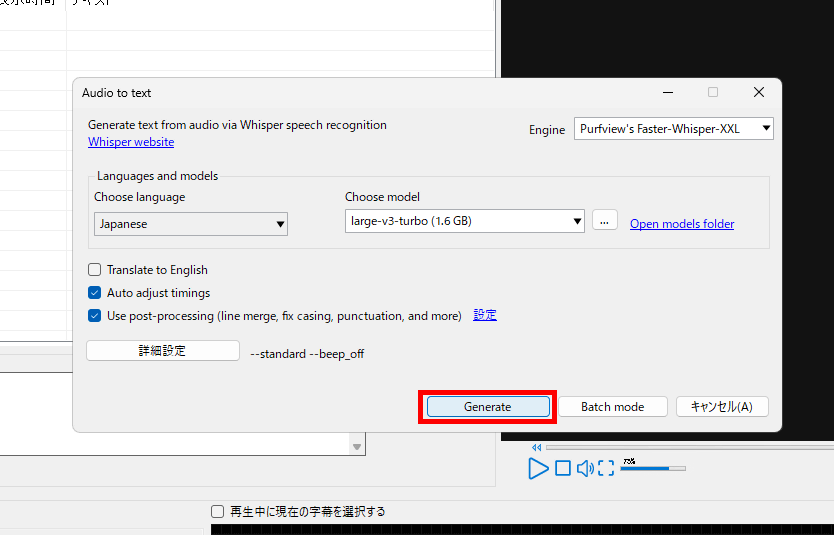
Whisper now automatically transcribes video audio.
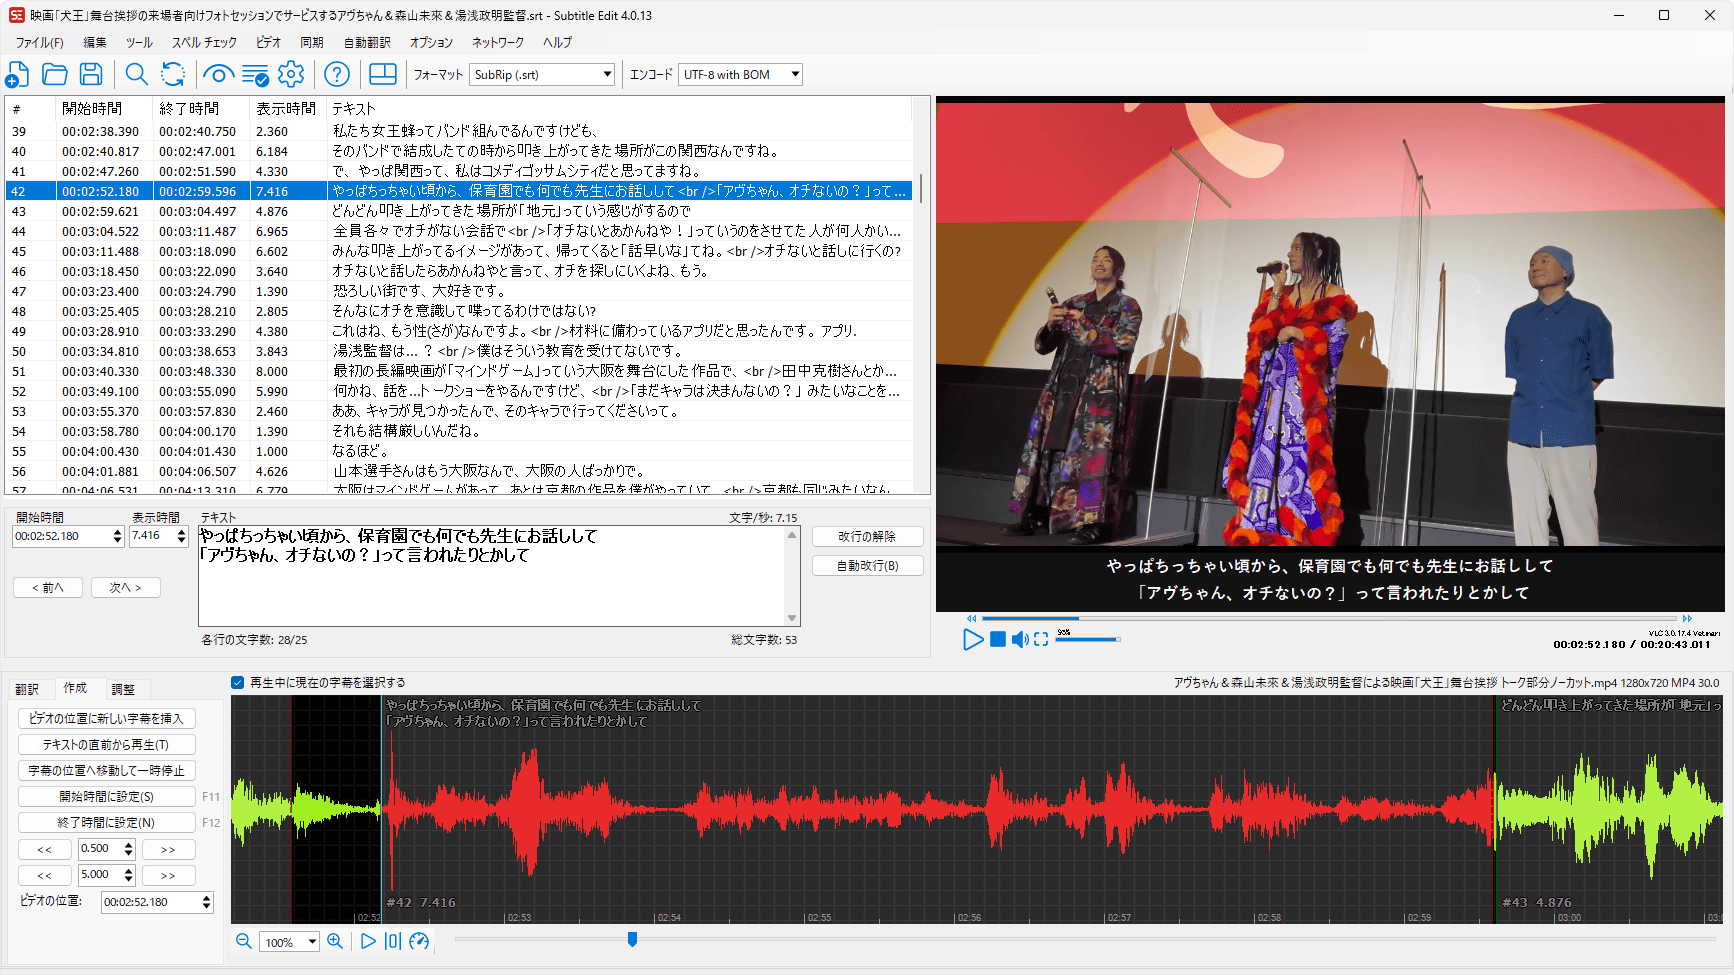
Once the transcription is complete, the automatically generated subtitle text will be displayed in the upper left corner, and the audio waveform will be displayed below the preview. The subtitles will be automatically aligned to the playback time.
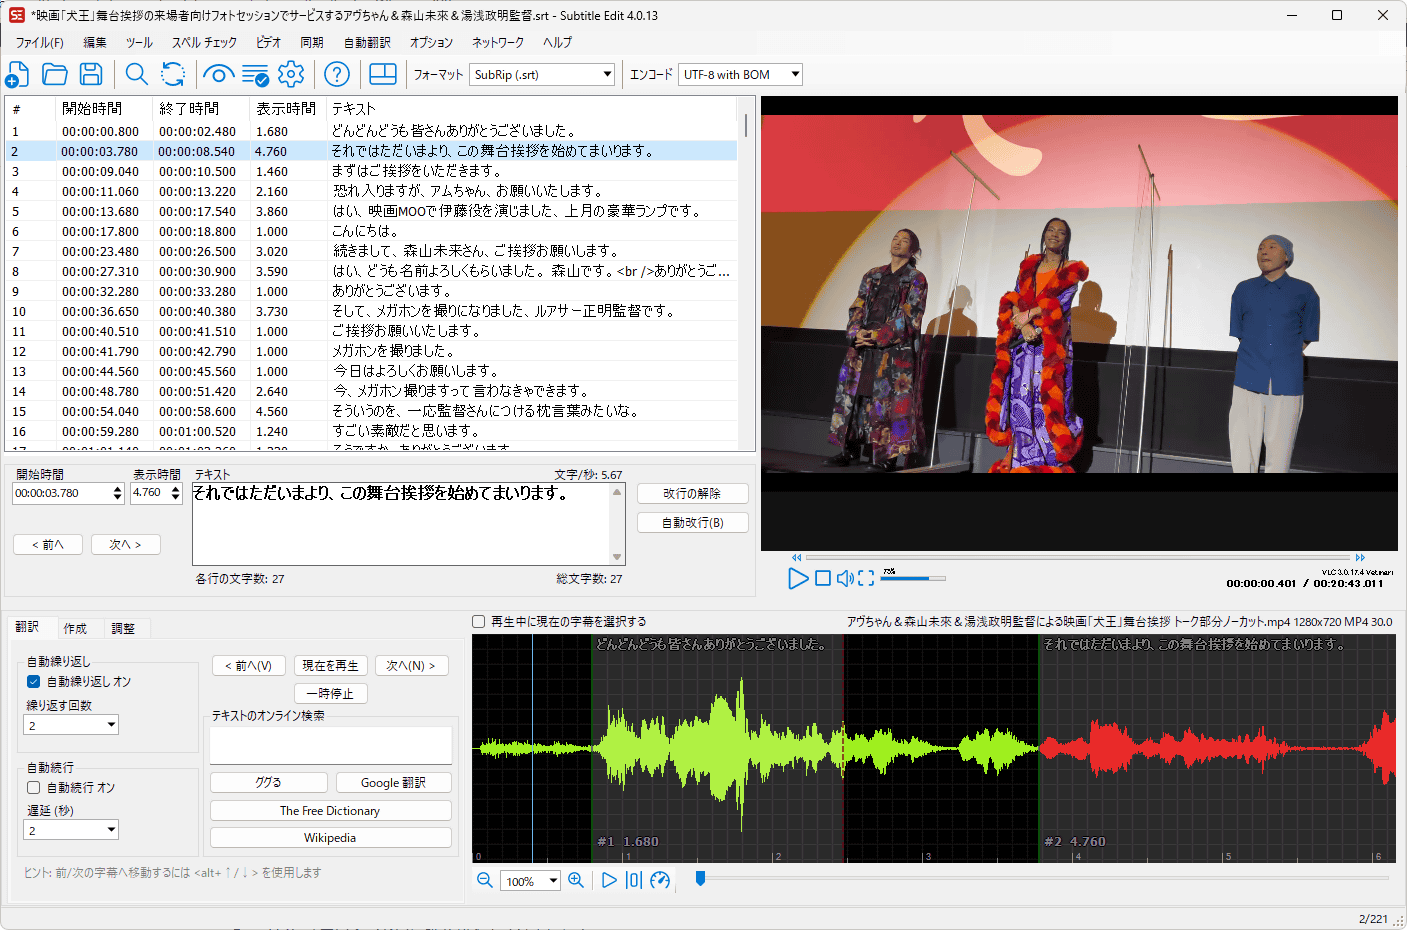
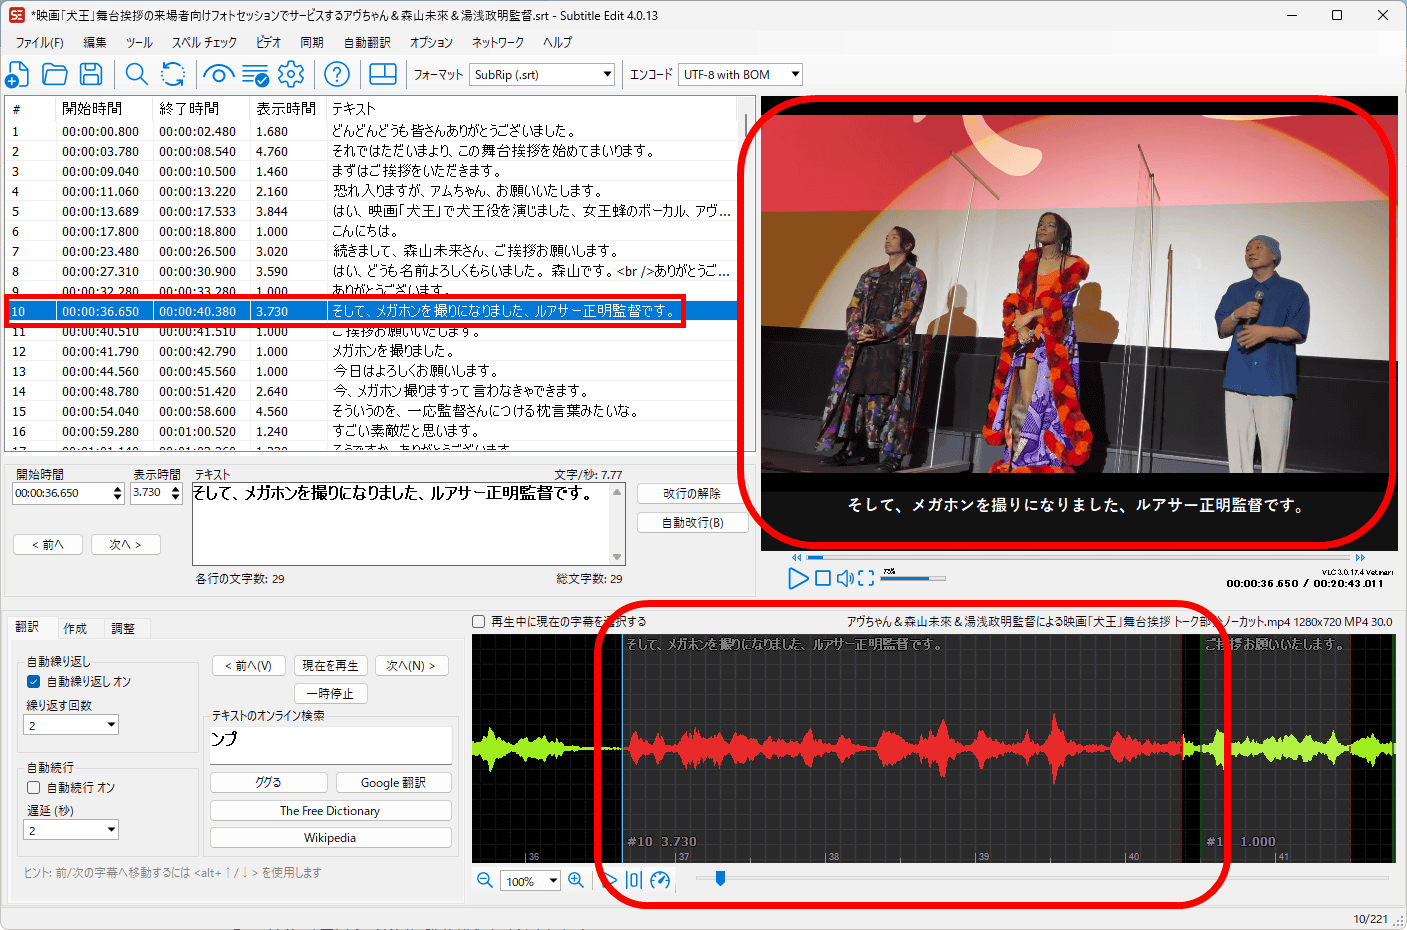
When you click on a specific subtitle, the video playback position will automatically jump to the beginning of the subtitle, and the audio waveform for that section will be selected and turn red.
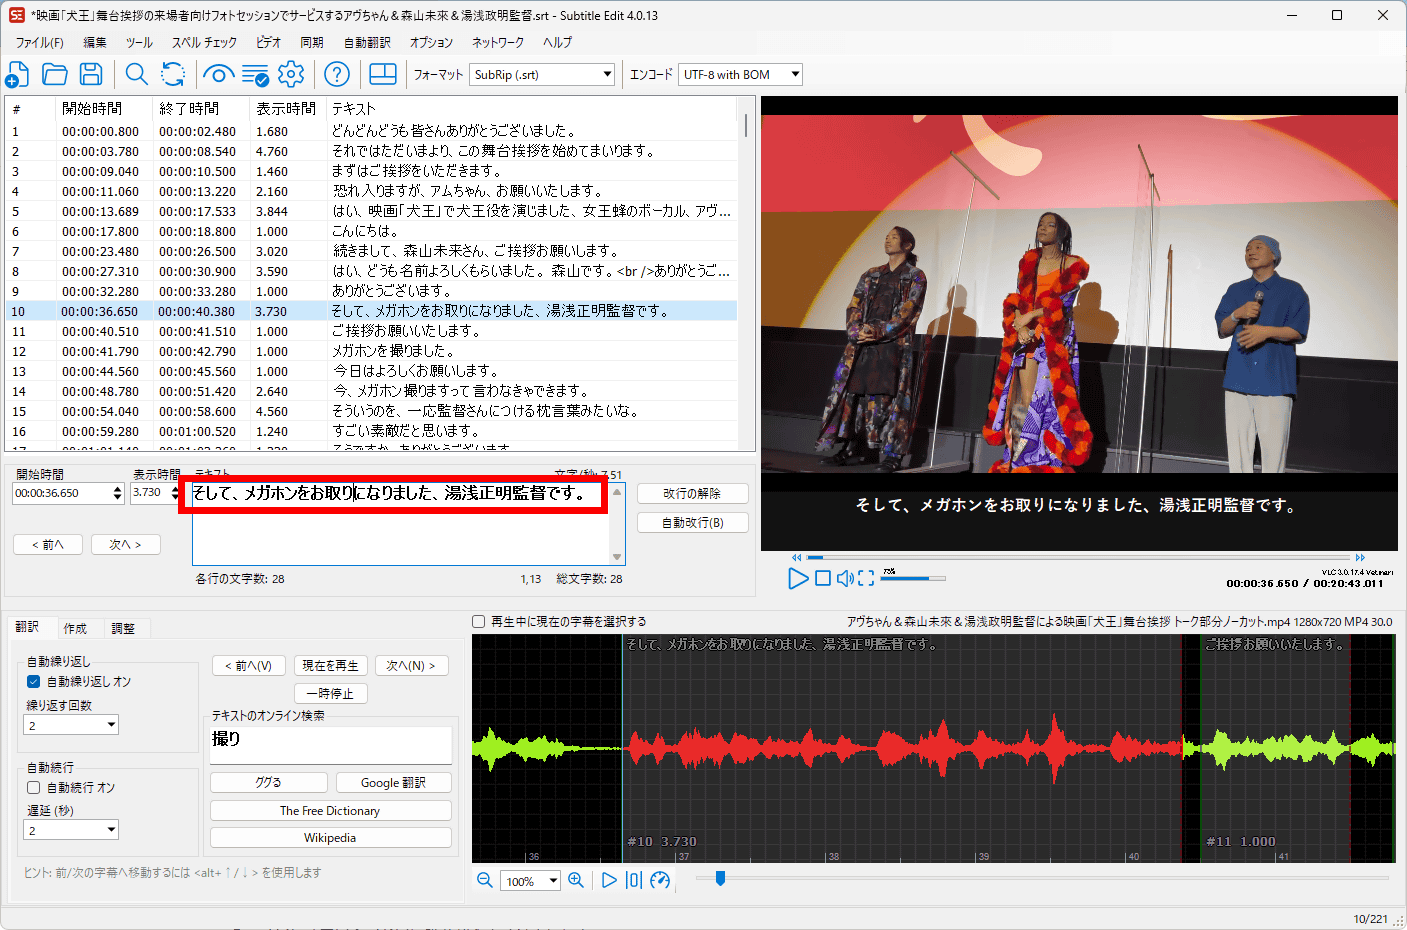
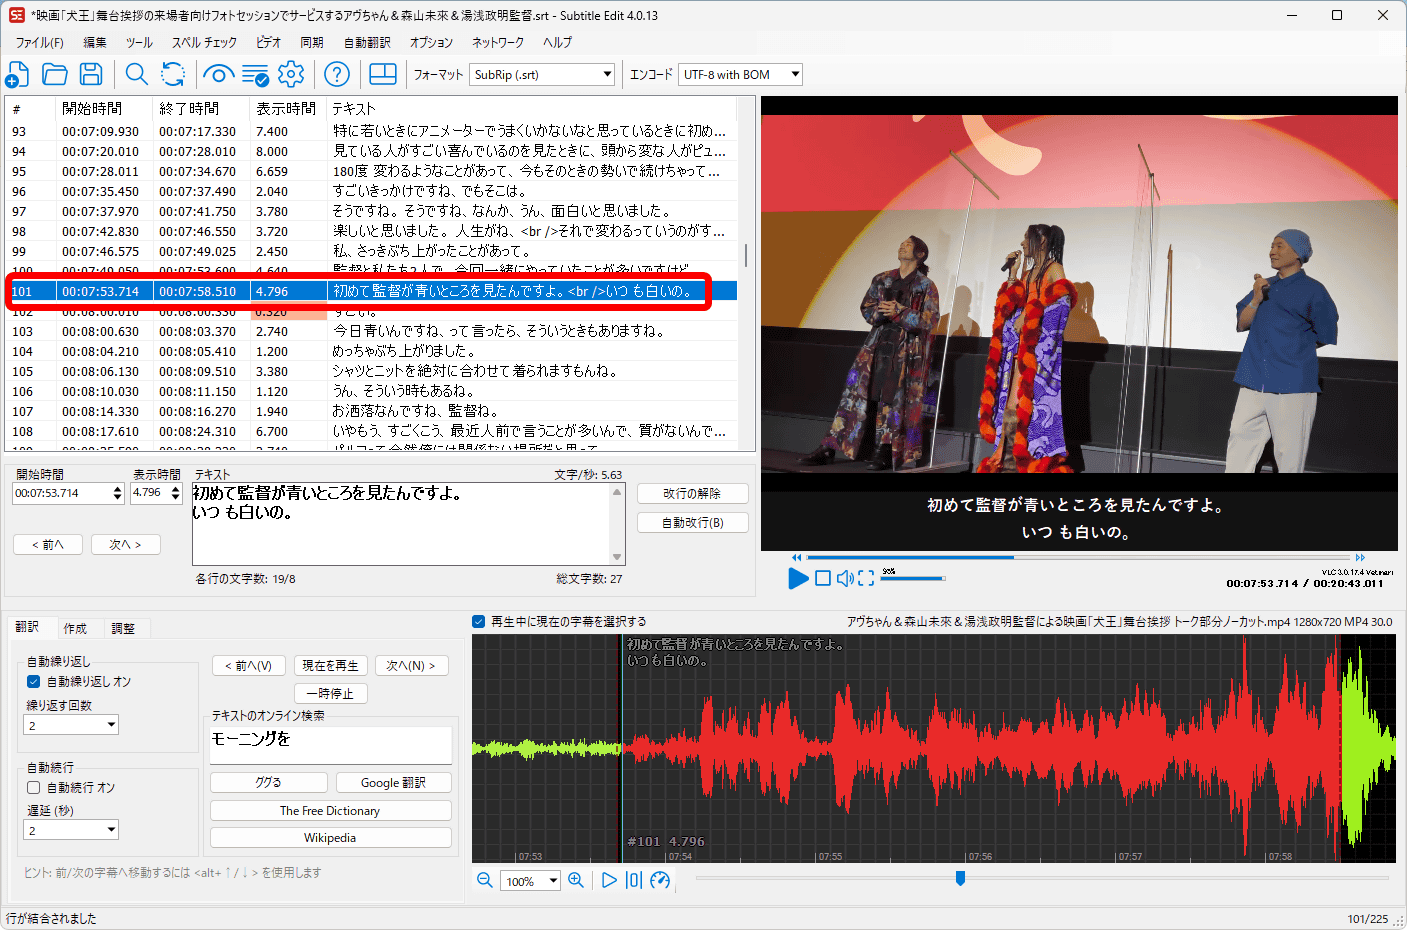
If there are any mistakes in the subtitles, you can edit them directly in the text field in the center left.
Also, the red parts in the subtitle text list mean that the subtitle display time or the subtitle itself is too long. This can cause the subtitles to not display properly, so you need to adjust them accordingly.
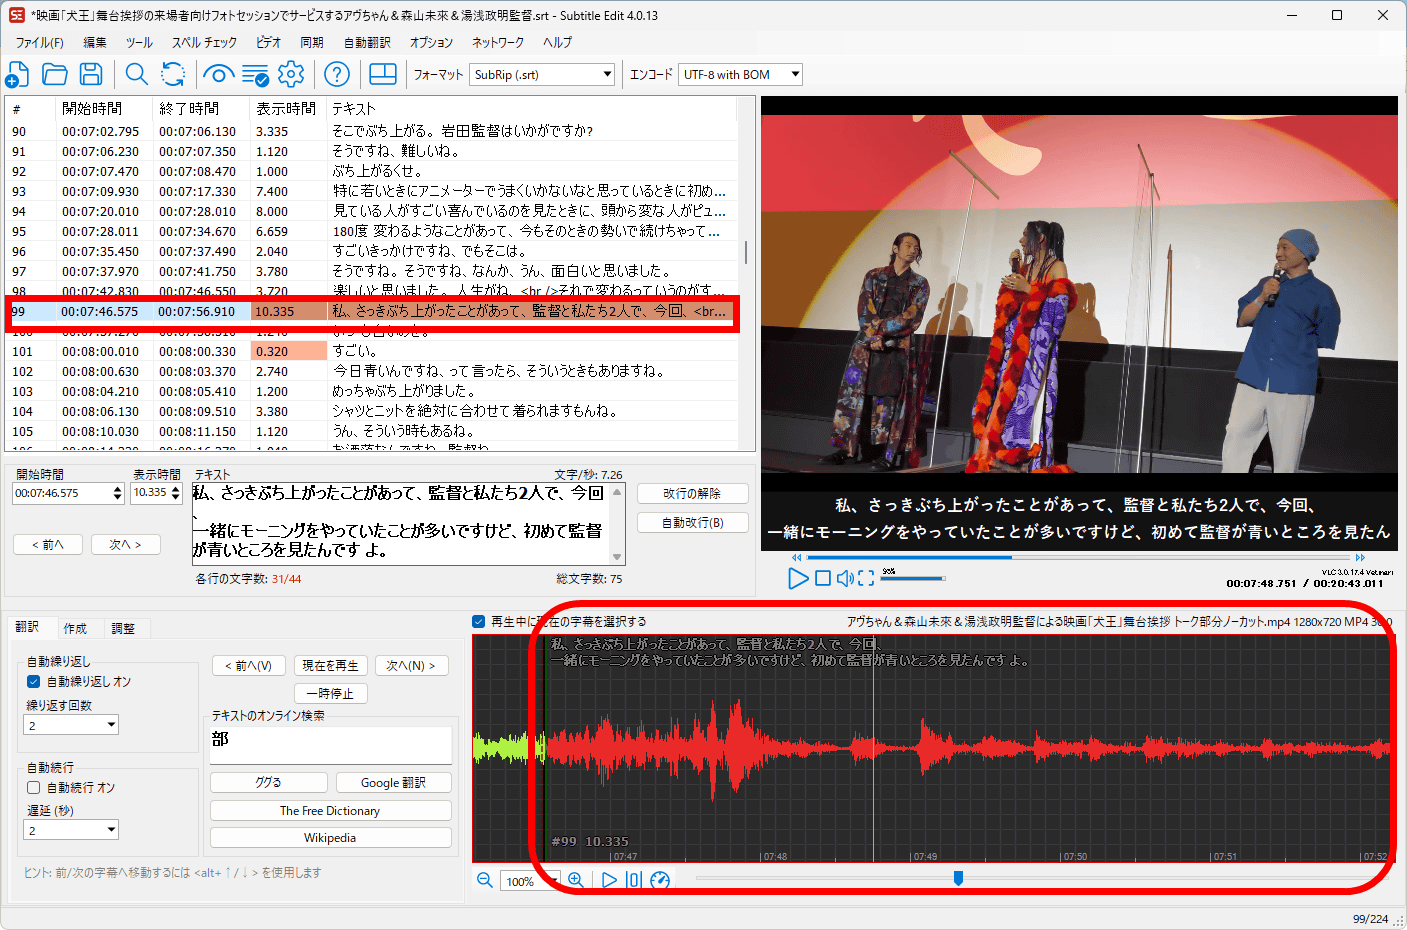
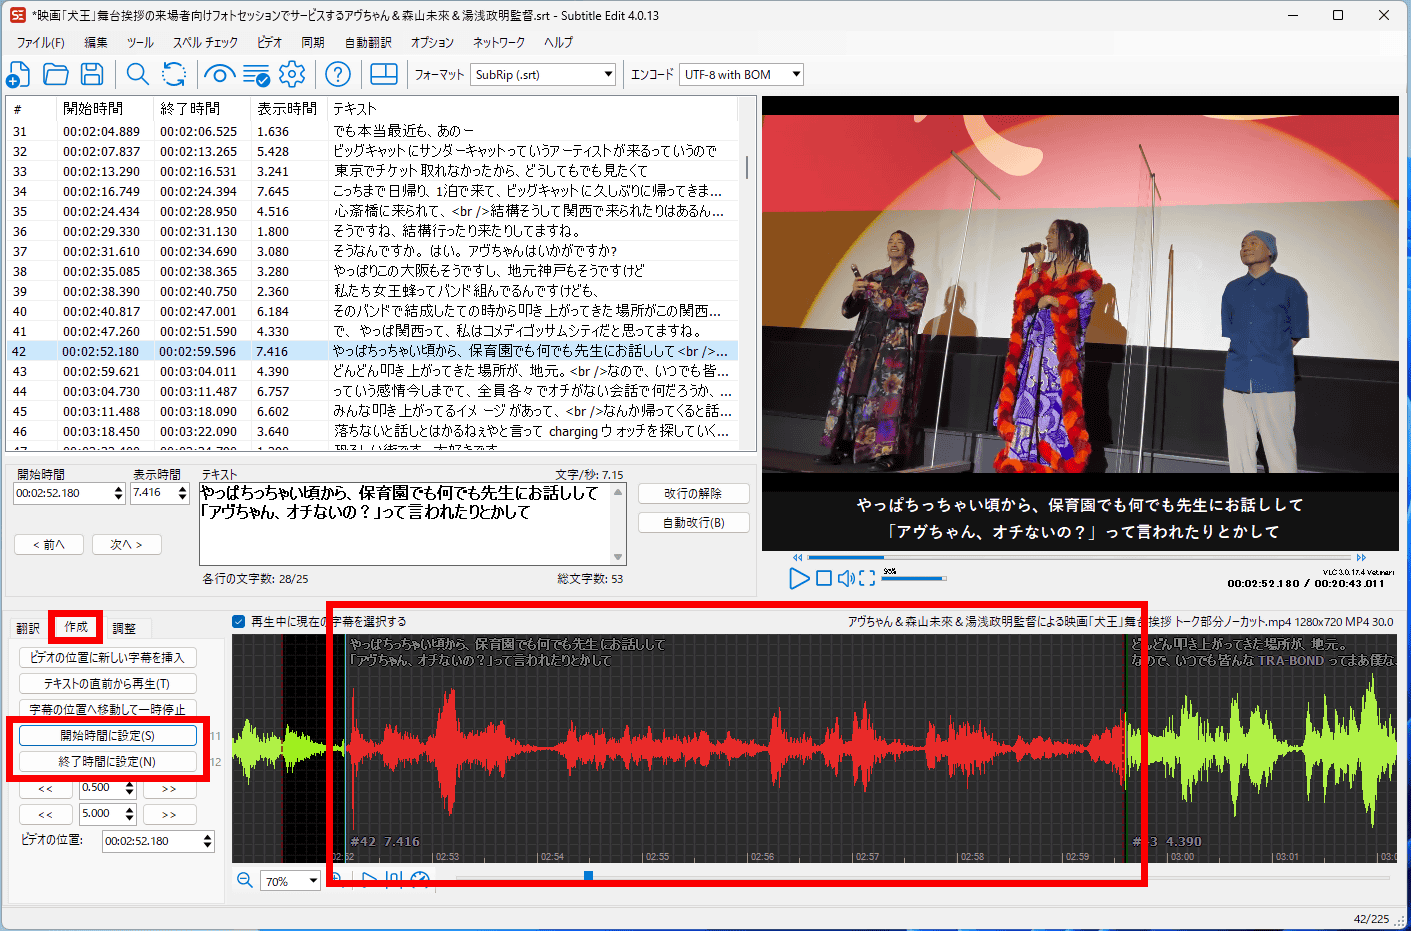
You can adjust the start and end times of the subtitles by selecting the 'Create' tab on the left of the waveform editing screen. You can also change the range displayed on the waveform editing screen by directly dragging it.
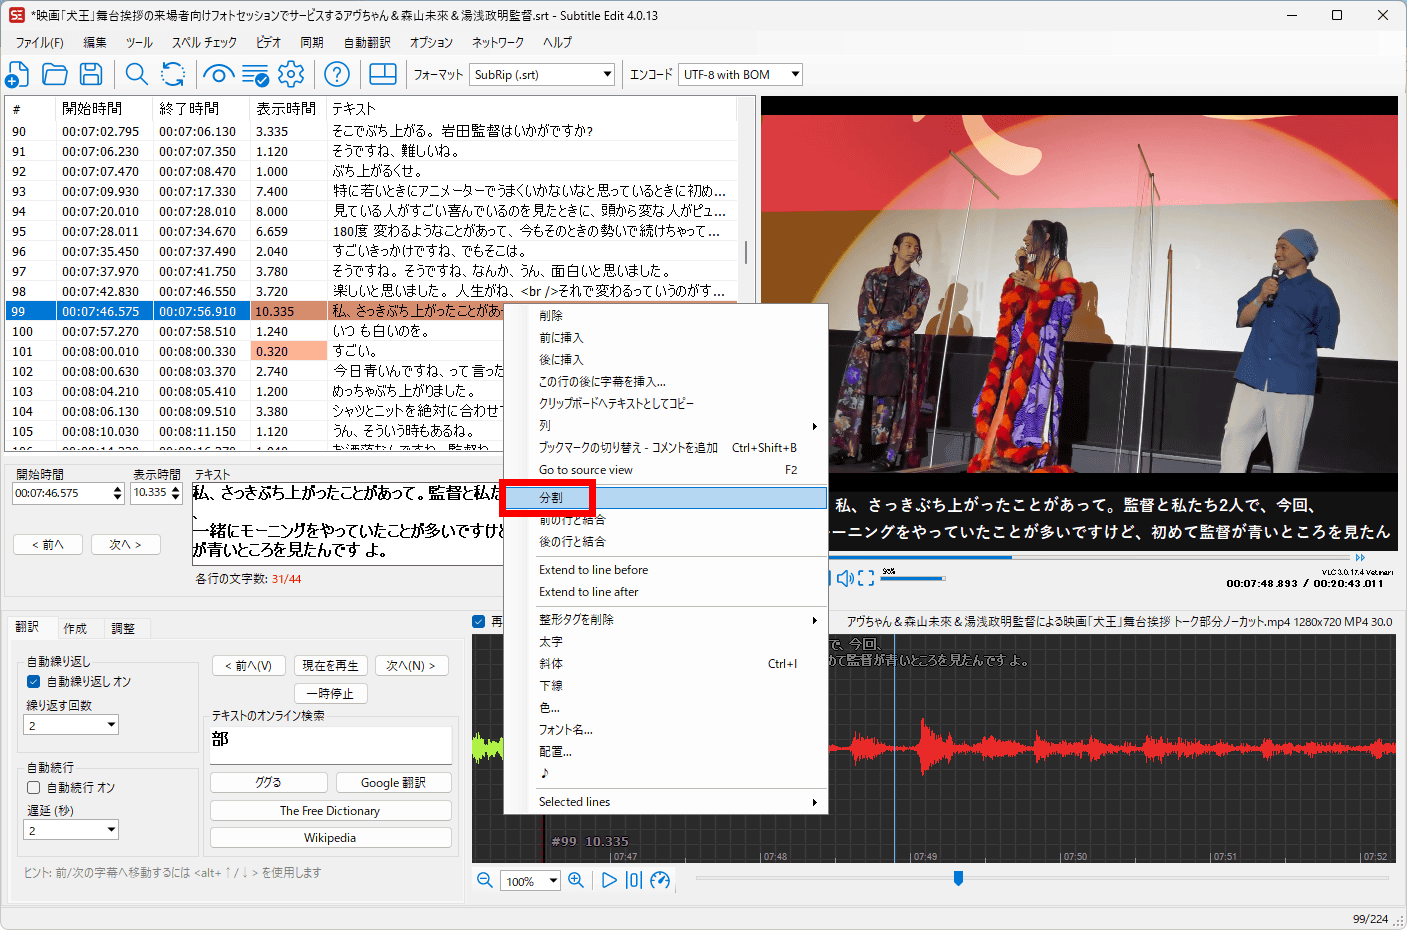
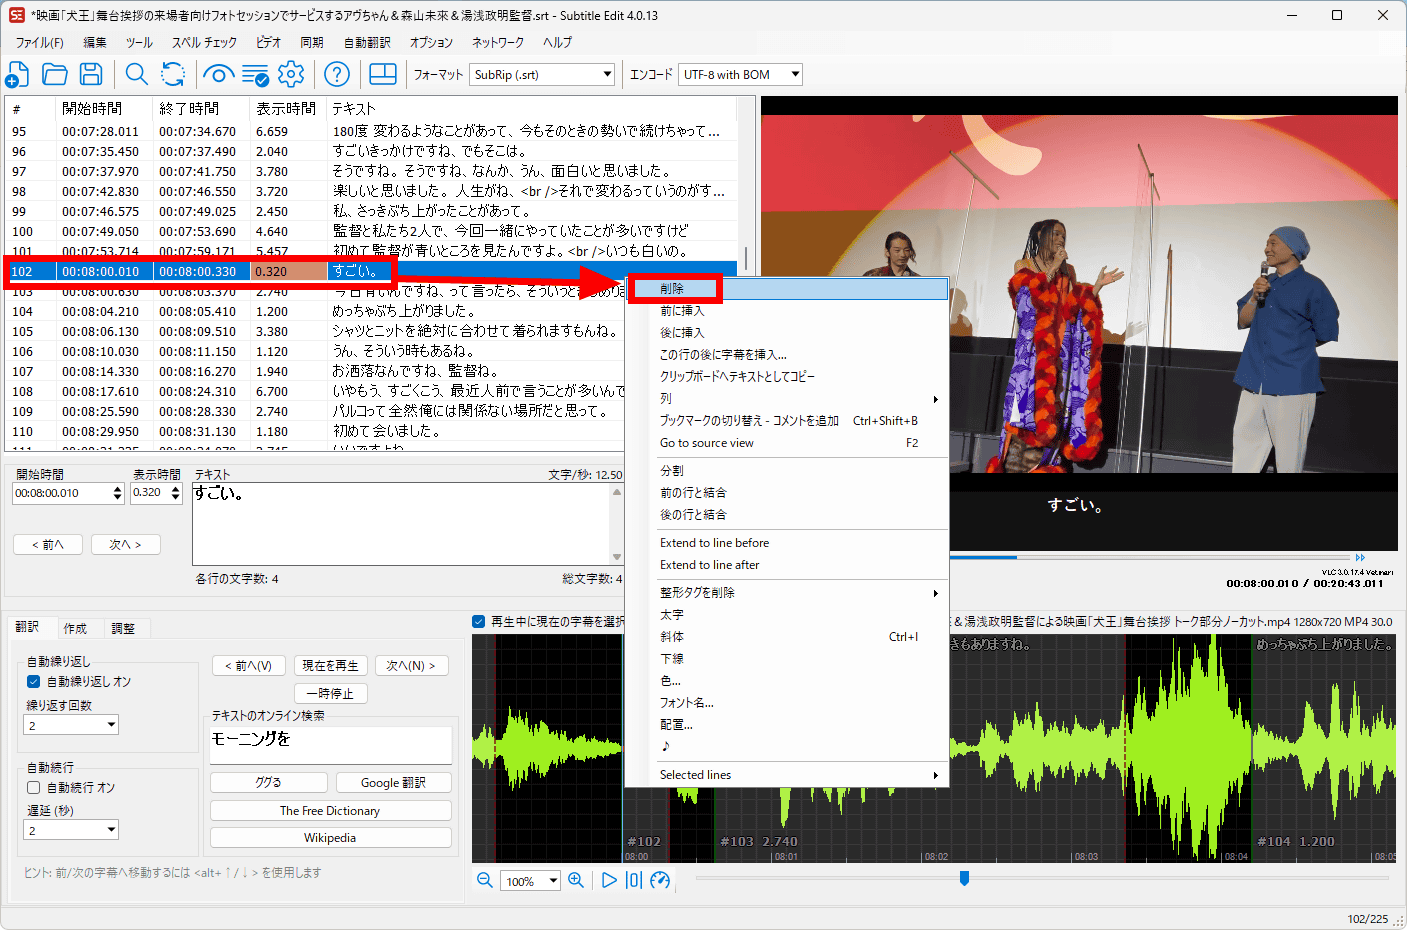
If a subtitle is too long, you can split it into two by right-clicking on it in the text list and clicking 'Split'.
You can also combine multiple subtitles into one by selecting them and choosing 'Merge Selected Lines' from the right-click menu.
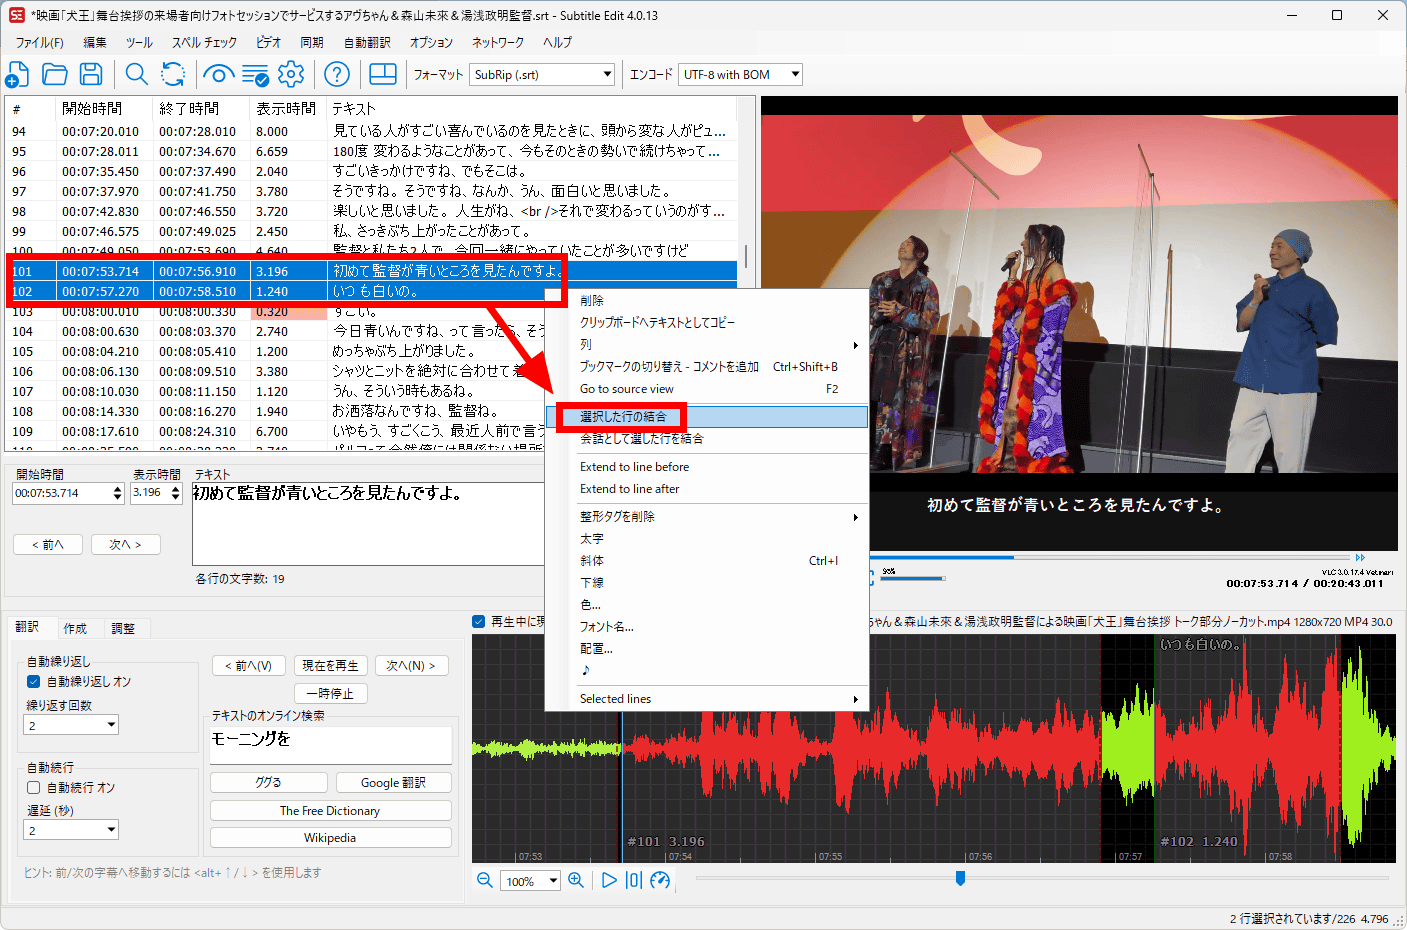
It looks like this when combined and put together. In addition to transcribing, you can also edit, split, and combine subtitle content to easily create subtitles that are easier for viewers to read and understand. The biggest appeal of Subtitle Edit is that you can complete the entire process in one go.
Of course, if there are any filler or other parts of the
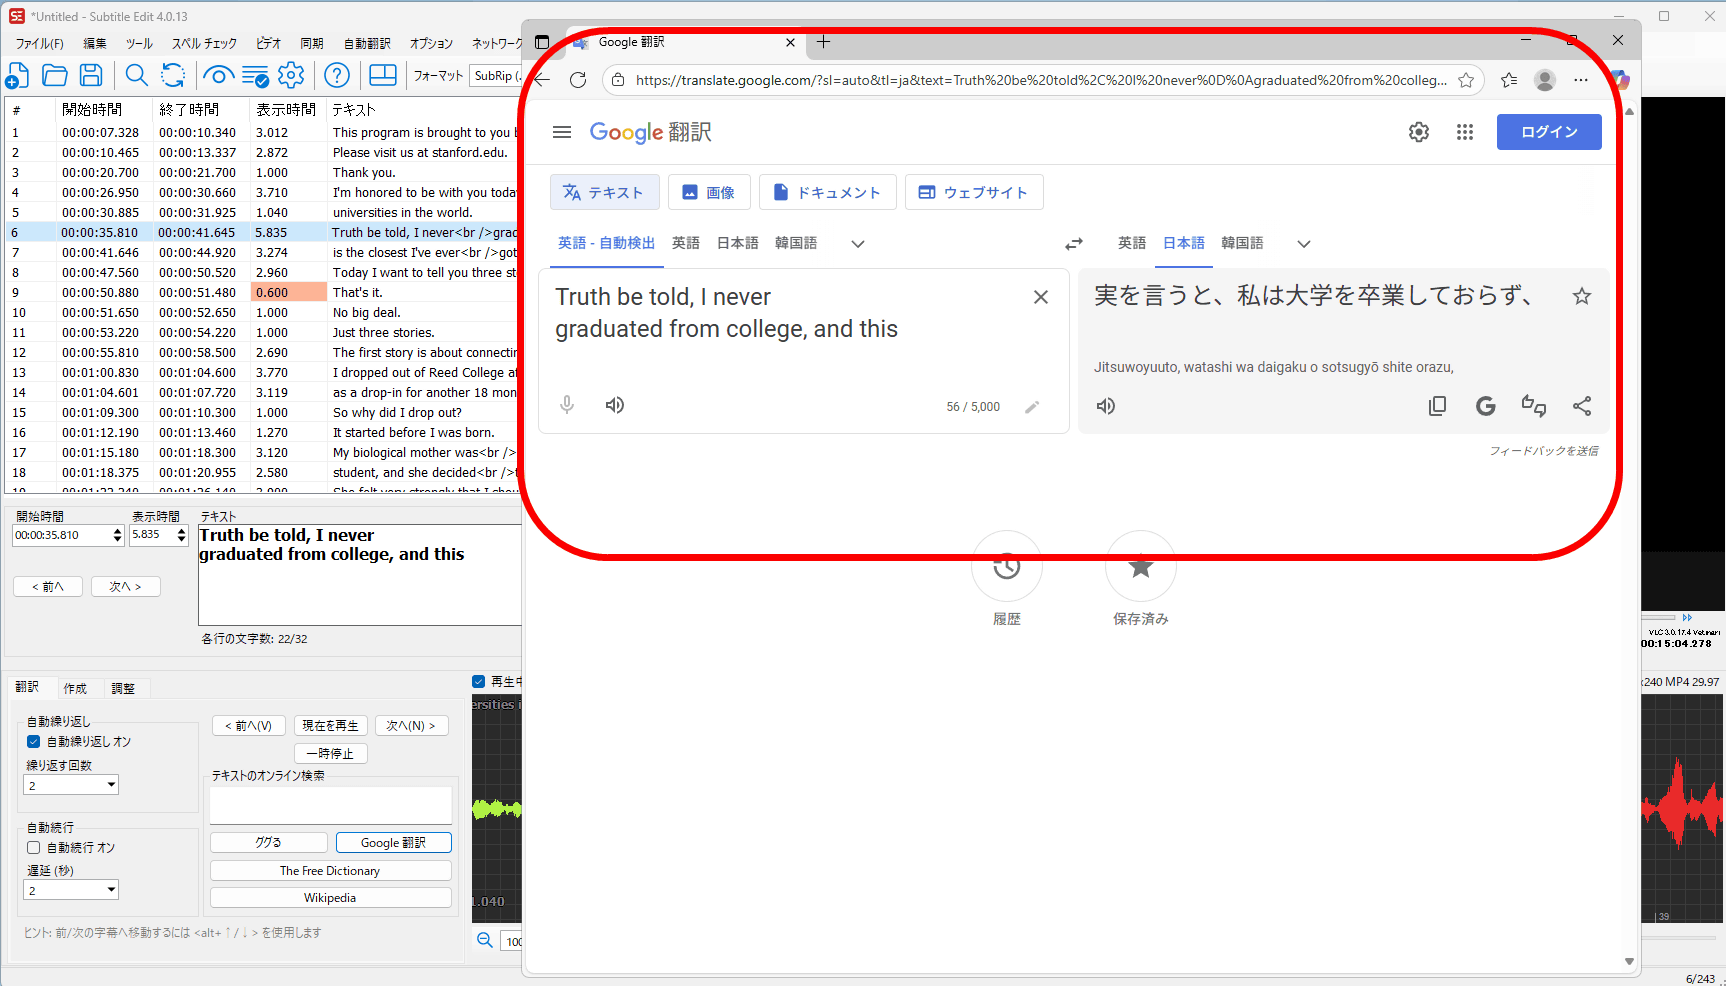
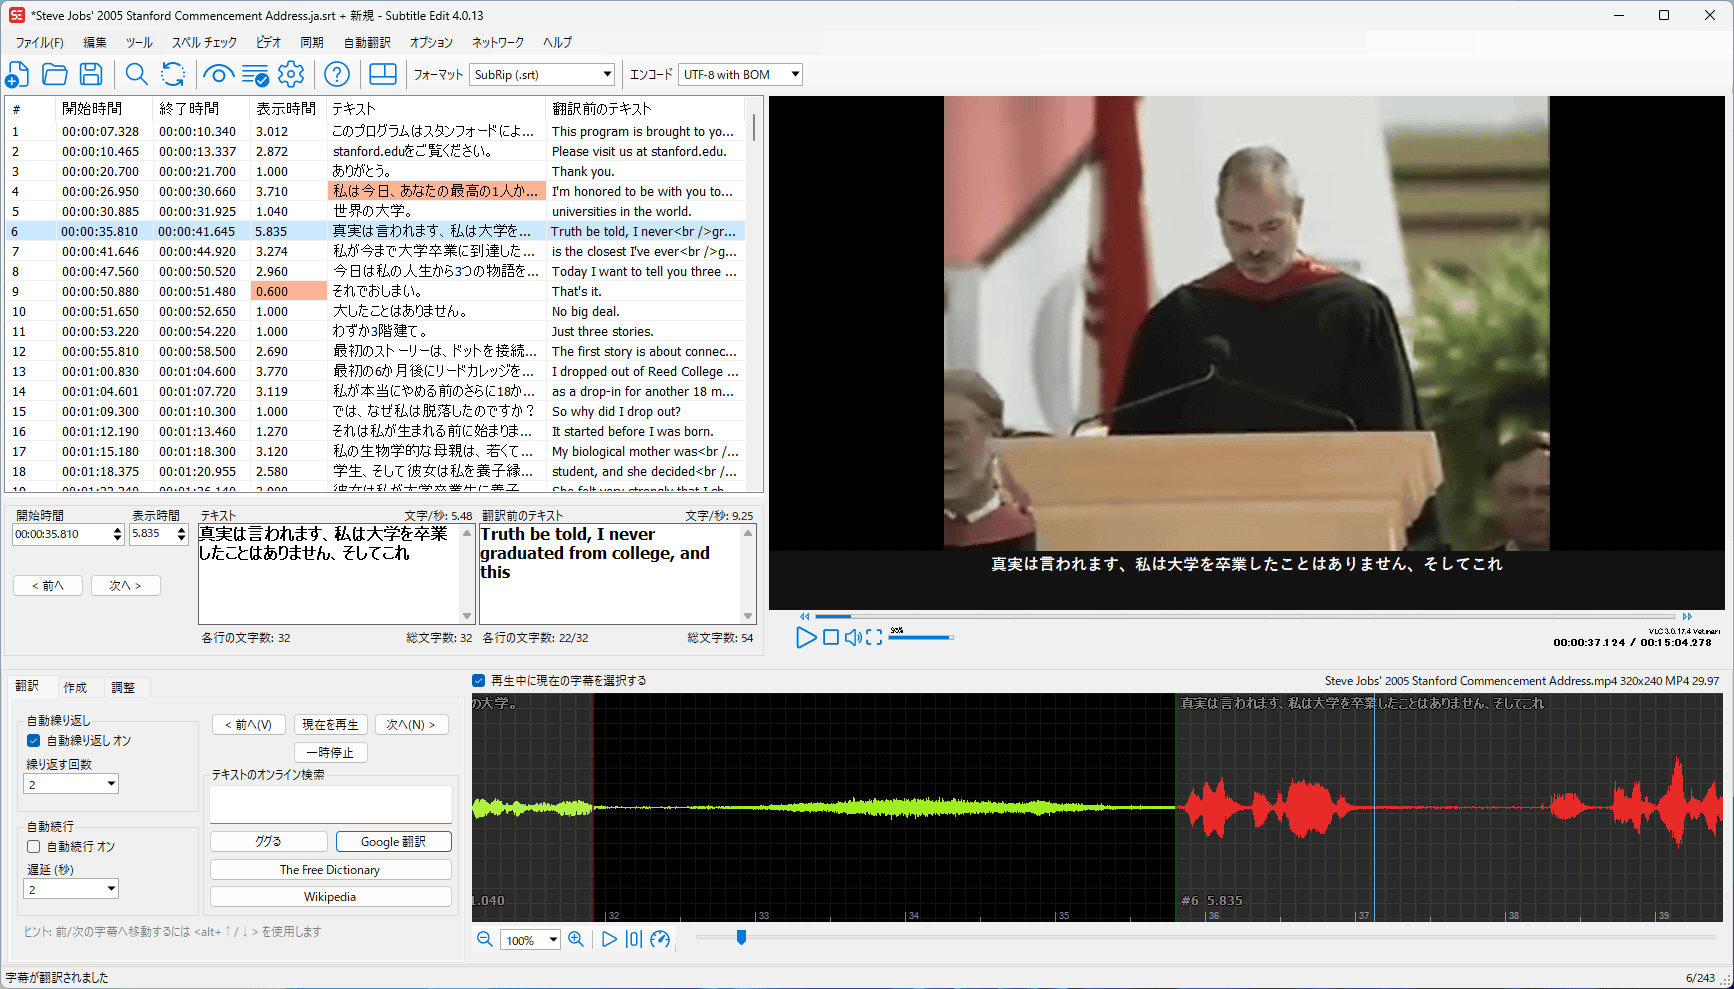
You can also translate transcribed subtitles. In this example, we automatically transcribed

This will launch your browser and automatically translate the subtitles you selected using Google Translate.
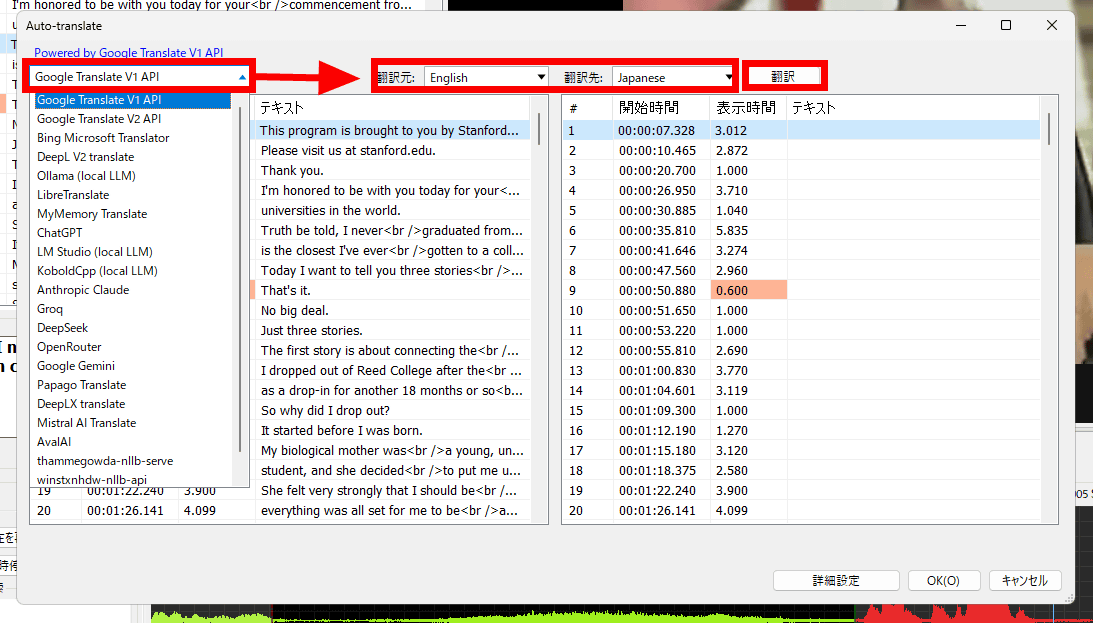
You can also have all subtitles translated automatically by selecting 'Auto-translate' from the top toolbar and clicking 'Auto-translate.'
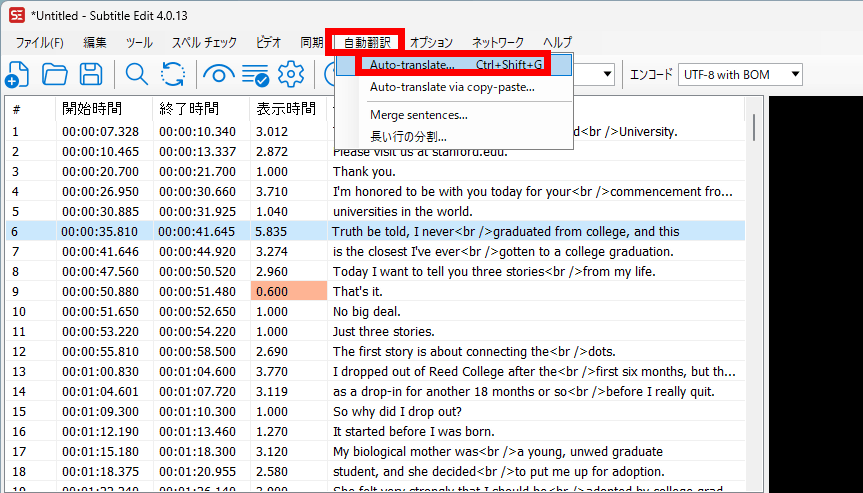
Select the translation API, specify the source and destination, and then click 'Translate.'
Then, all English subtitles will be automatically translated.
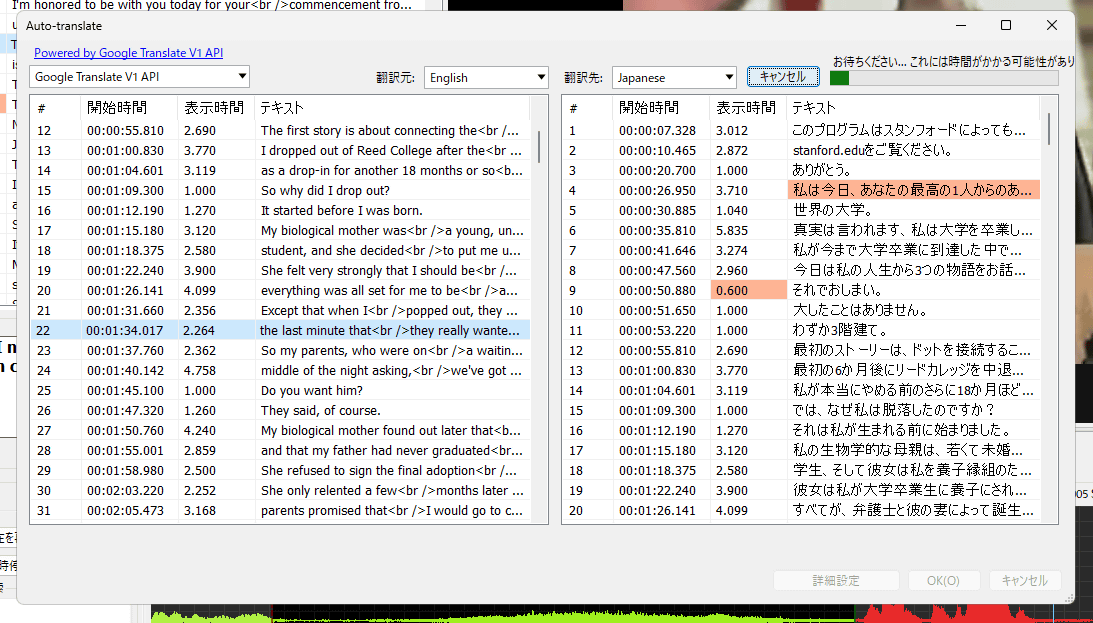
It looks like this when applied. However, it is only 'automatically translating automatically transcribed subtitles,' and if the automatically transcribed subtitles are not properly organized into sentences, it will be a forced translation of broken sentences, resulting in very awkward Japanese.
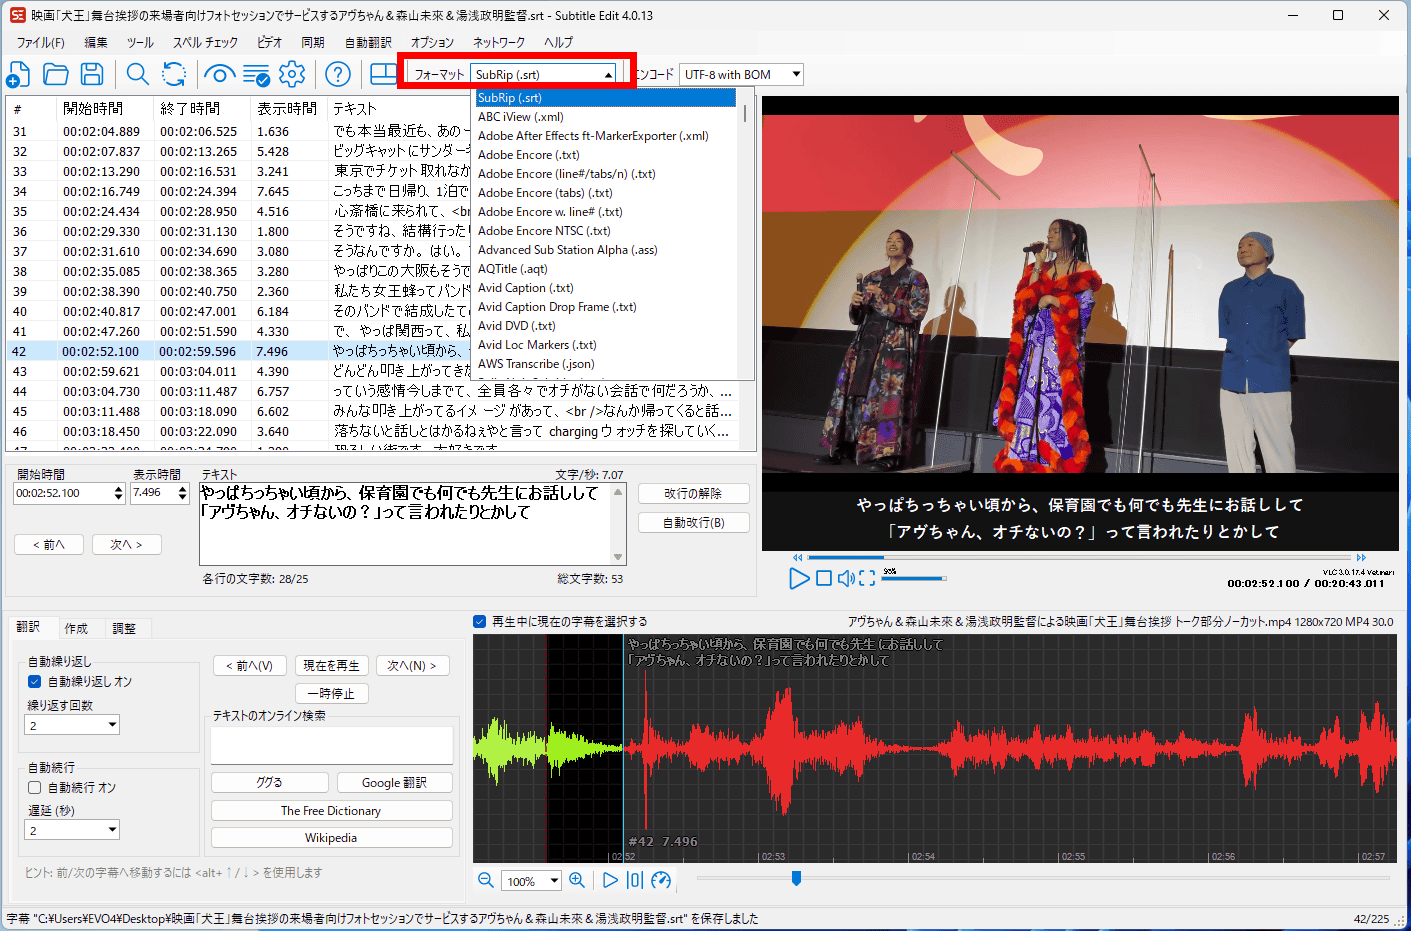
Edited subtitles can be saved in multiple formats, including a huge range of formats supported by video editing and creation software such as Adobe After Effects, authoring software, proprietary subtitle formats for streaming services, and even YouTube and Netflix.
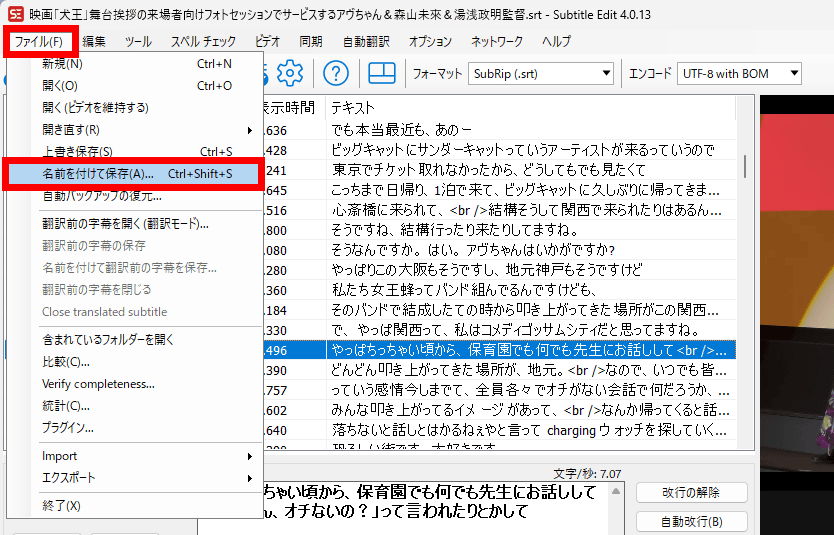
You can also save the subtitles you created by clicking 'File' and then 'Save As.'
Related Posts: