Coolify is an open source PaaS that allows you to easily self-host and manage your own databases and applications such as WordPress.

When using or developing internet applications, building the infrastructure systems that underpin those applications, such as backends and web services, can be complex and time-consuming.
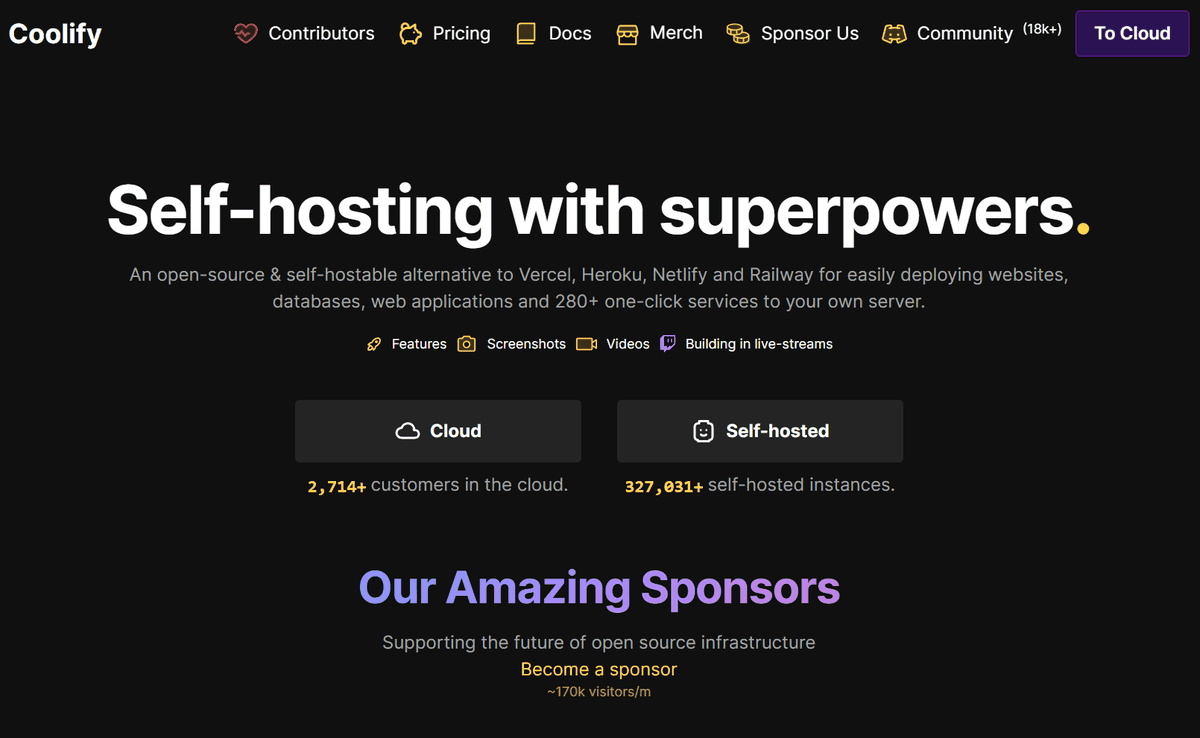
Coolify
https://coolify.io/
◆What you can do with Coolify
・Supports all programming languages
We provide static sites, APIs, backends, databases, and more that are compatible with all major frameworks.
・Compatible with all servers
It can be deployed anywhere as long as there is a server that can be connected via SSH, such as a VPS,
・Supports all use cases
Supports single server environments, multi-server configurations, and Docker Swarm .
・Supports all types of services
Deploy Docker -compatible services and configure advanced options with a single click.
・Deployment via push operation
It works with platforms such as GitHub , GitLab , Bitbucket , and Gitea , and can be easily deployed with a push operation.
Free SSL certificate
Automatically configure and renew SSL certificates for your custom domains with Let's Encrypt .
・No vendor lock-in
Data and settings are not tied to a specific vendor, making migration easier.
- Automatic backup function
Back up your data to S3- compatible storage and restore it with one click whenever needed.
Webhooks
It can be integrated with CI/CD tools such as GitHub Actions , GitLab CI , and Bitbucket Pipelines .
・Powerful API
Automate deployment, manage resources, and integrate with your existing tools.
・Real-time terminal
Connect to the terminal directly from your browser and execute commands.
・Collaboration
Share projects with team members and set access permissions.
・Deploying pull requests
Deploy commits and pull requests individually for quicker reviews and improved team development efficiency.
・Automate server setup
Automate server setup tasks.
·monitoring
Monitor deployment status, server health, and disk usage, and get alerted if there are any issues.
◆Installing Coolify
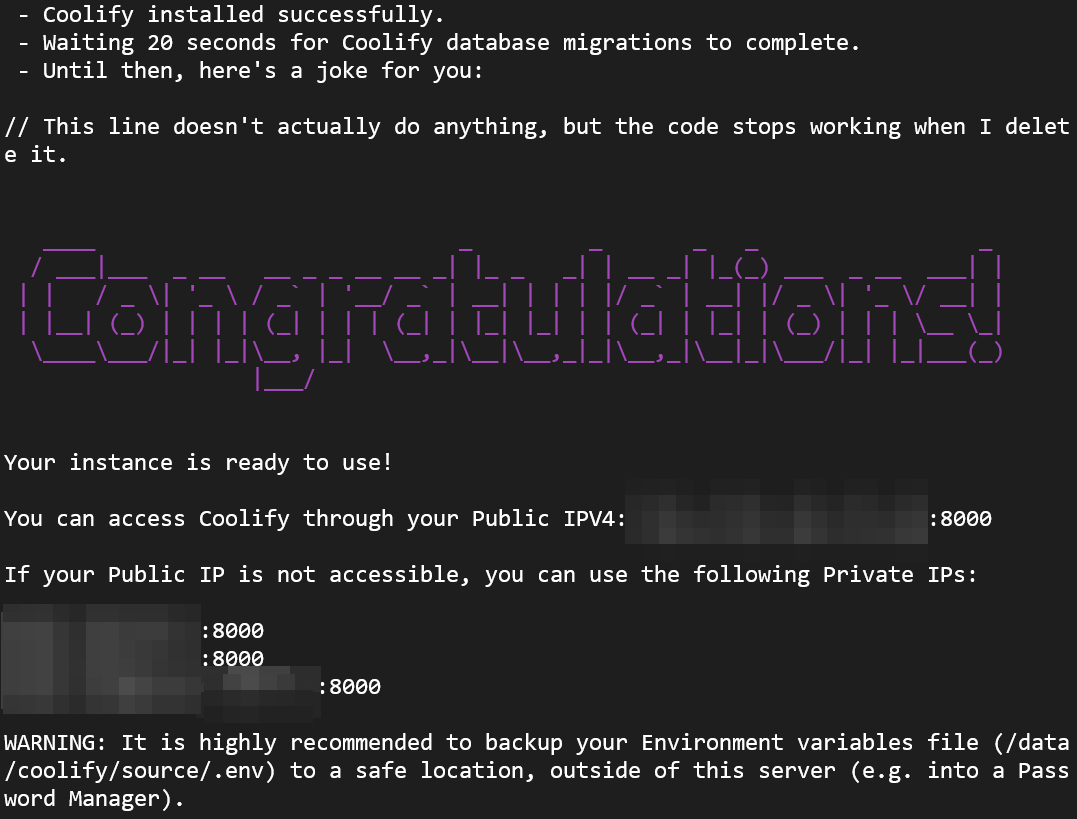
Let's try installing Coolify on AlmaLinux in WSL2 created on Windows 11. Run the installation command described in the official documentation .
curl -fsSL https://cdn.coollabs.io/coolify/install.sh | sudo bash
After a while, the installation will be completed. Open your browser and access 127.0.0.1:8000.
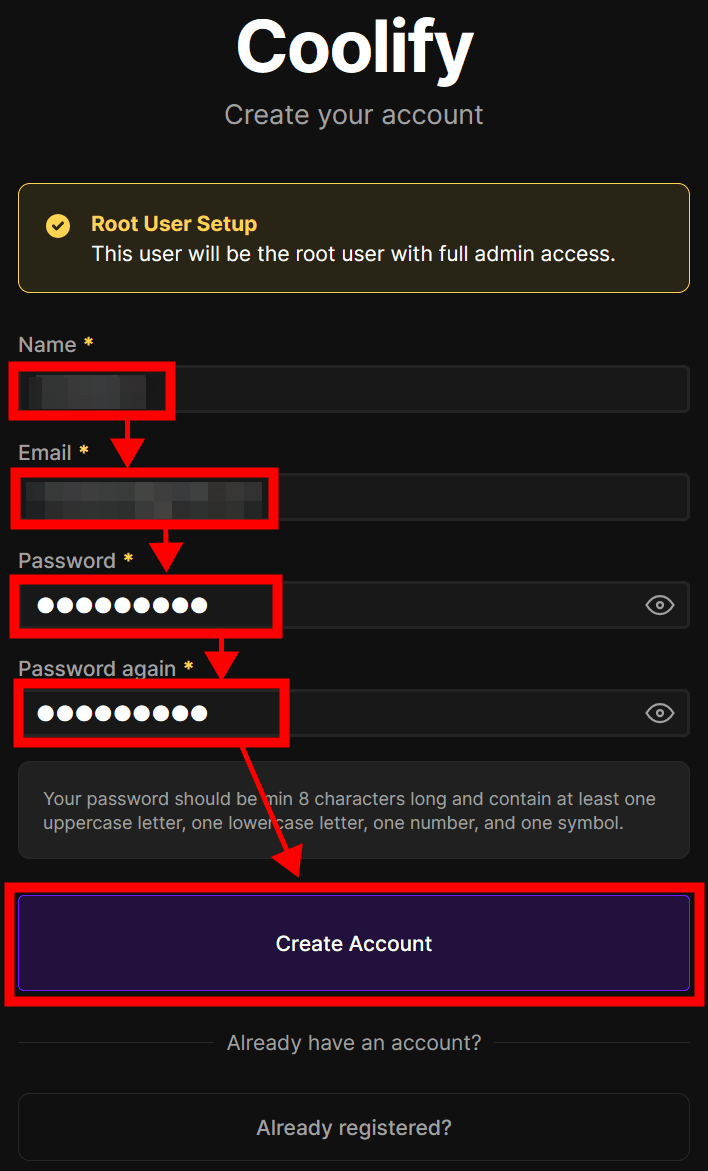
Enter your name, email address, and password and click 'Create Account' to register an administrative account.
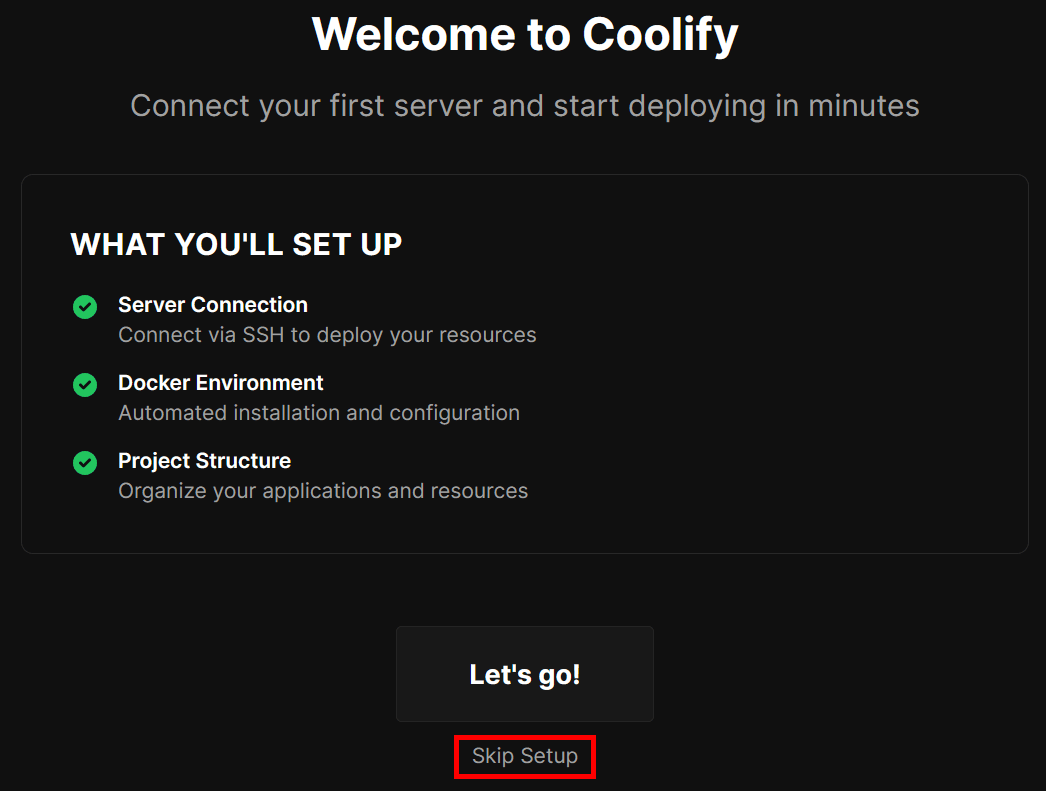
The Welcome page will appear, click 'Skip Setup' to complete the setup.
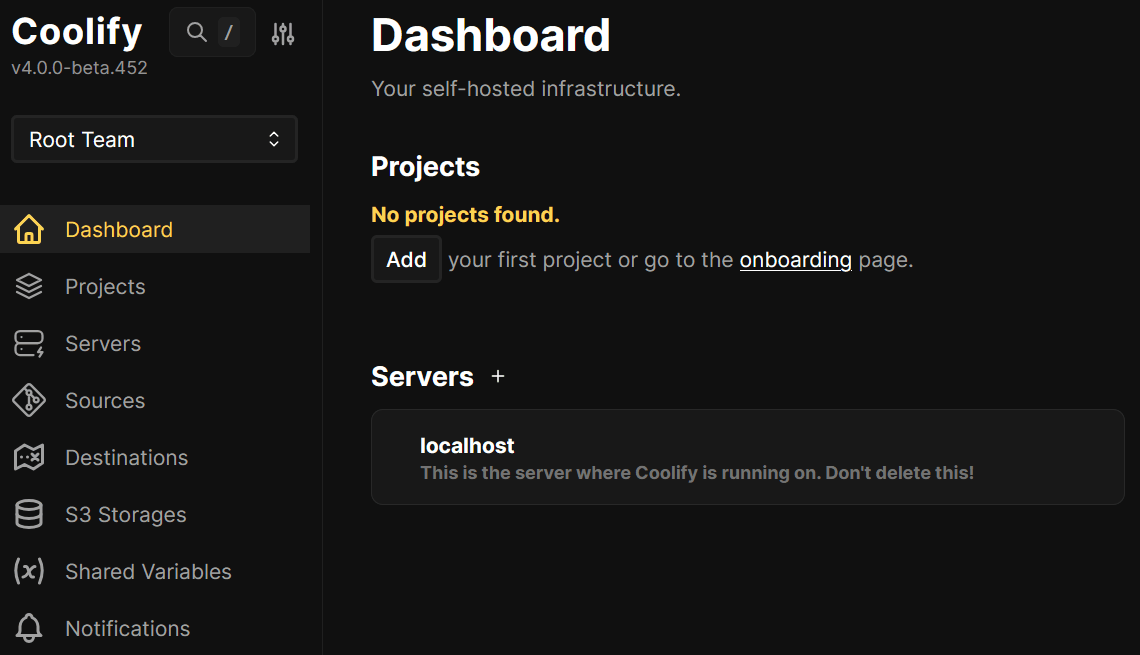
The dashboard will appear and the installation is complete.
◆Examples of using Coolify
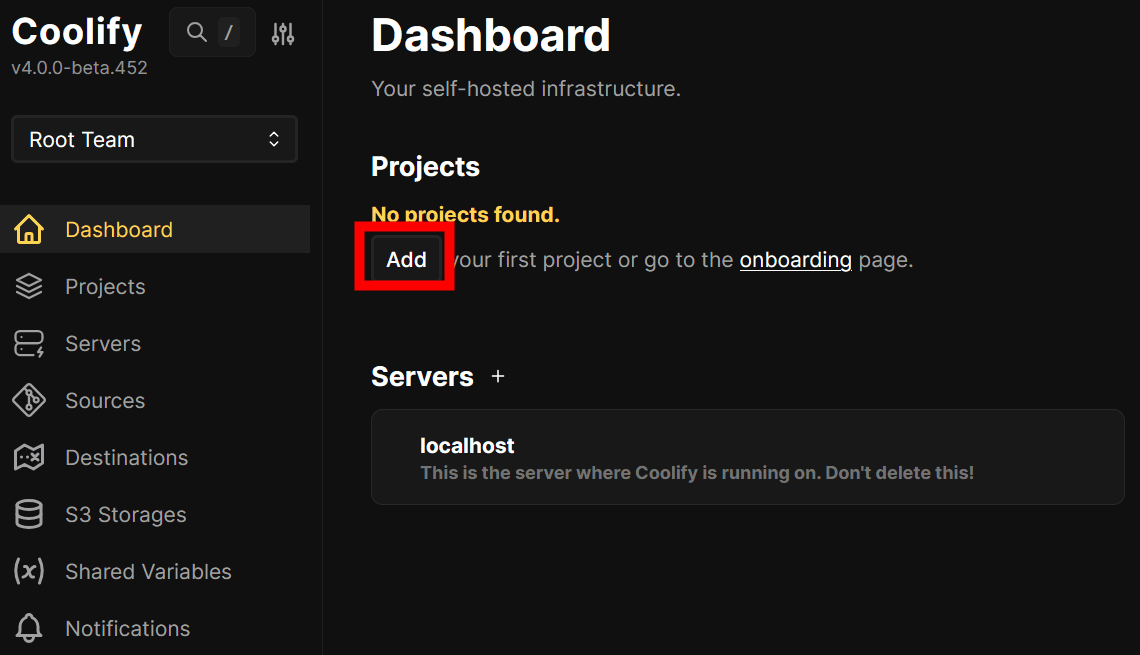
Click 'Add' to create a project.
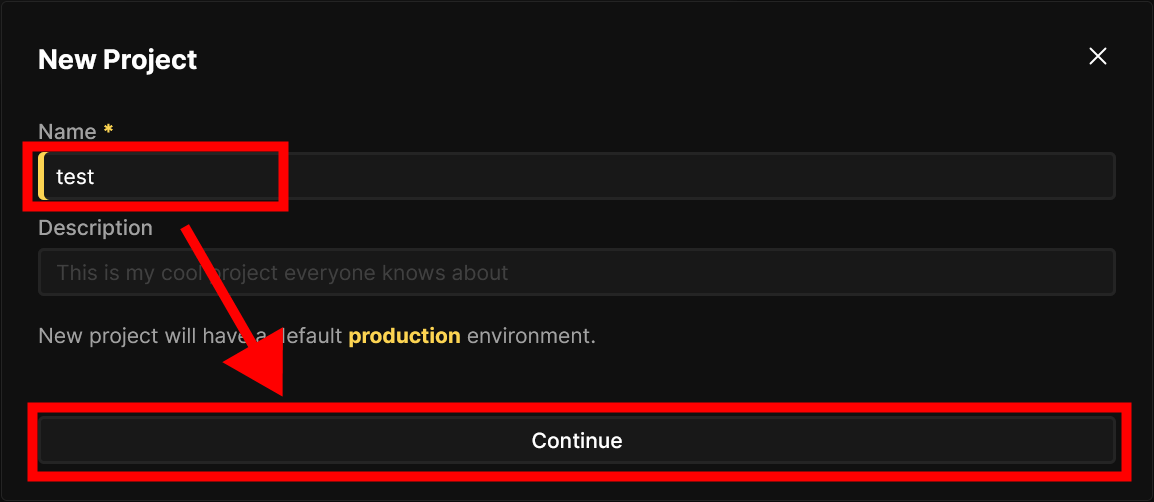
Enter the project name and click 'Continue'.
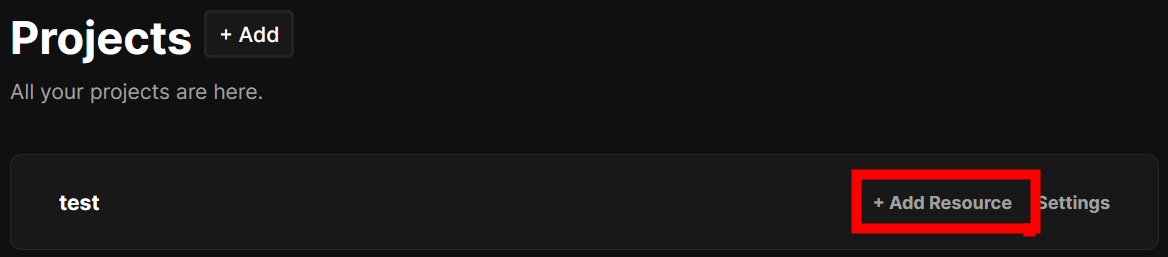
Click '+Add Resource' for the created project.
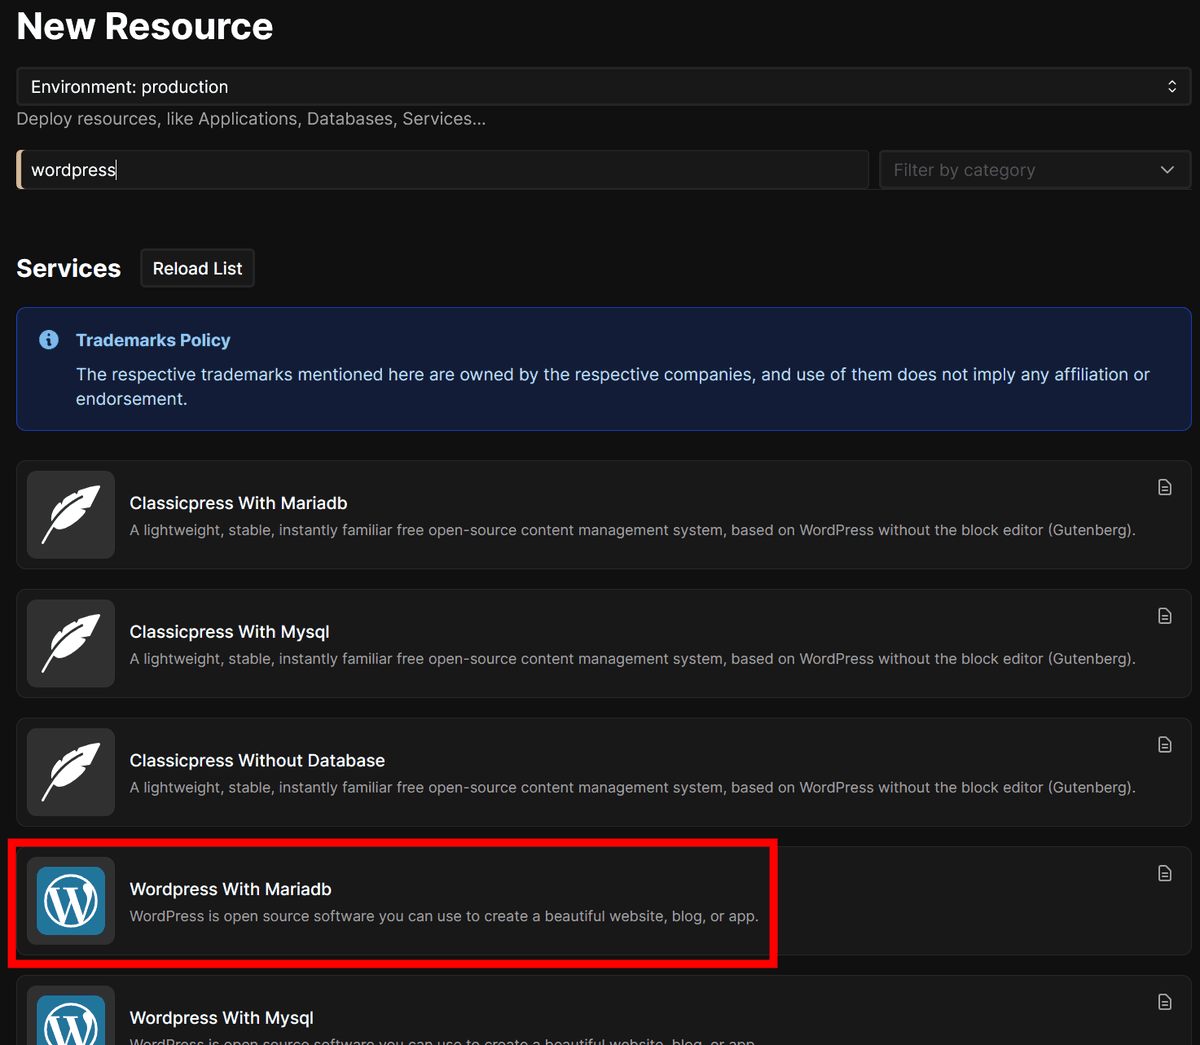
If you enter WordPress in the search field, the WordPress application will be displayed in a list, so select one of the 'WordPress' options.
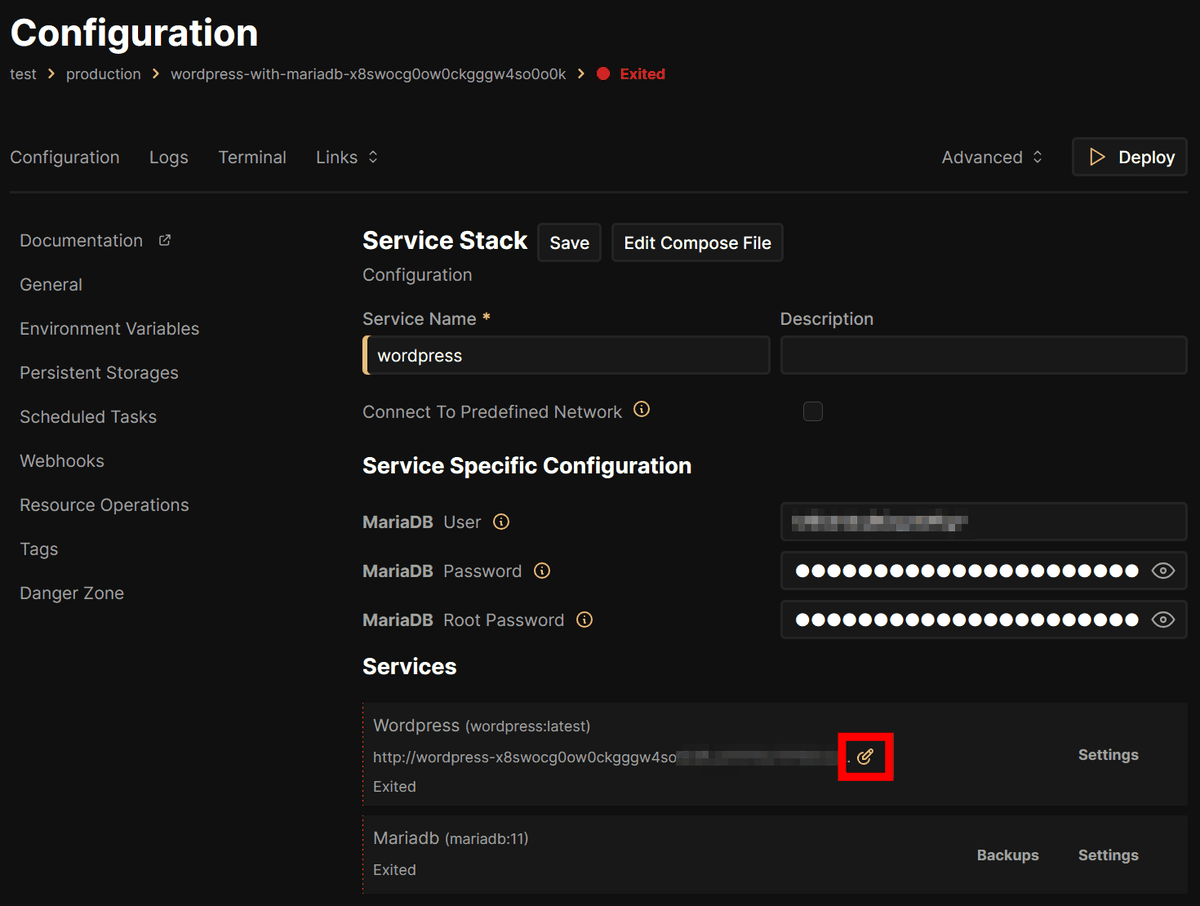
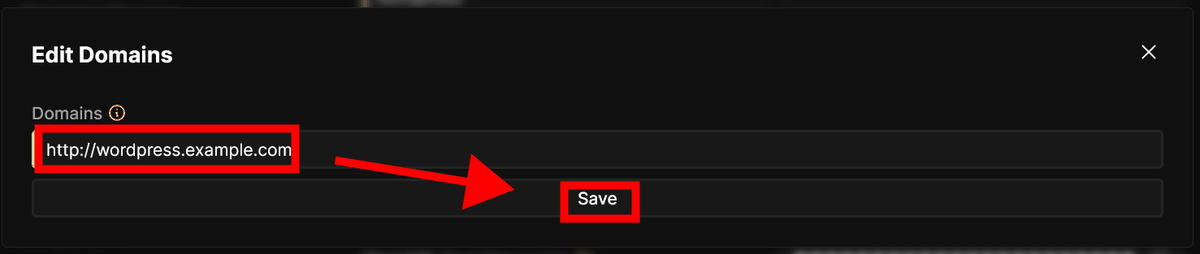
To change the hostname, click the Change button at the end of the hostname.
Enter the host name to display WordPress and click 'save'.
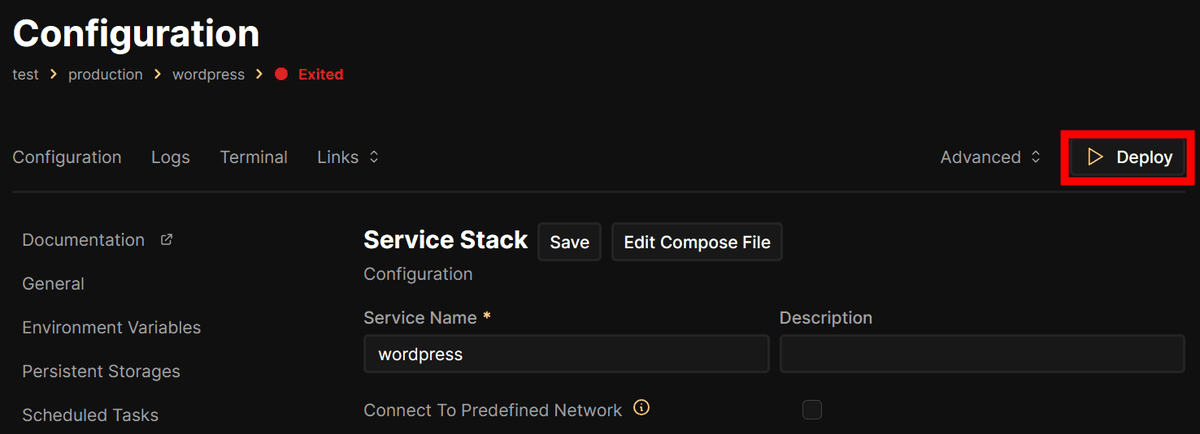
Click “Deploy” to deploy WordPress.
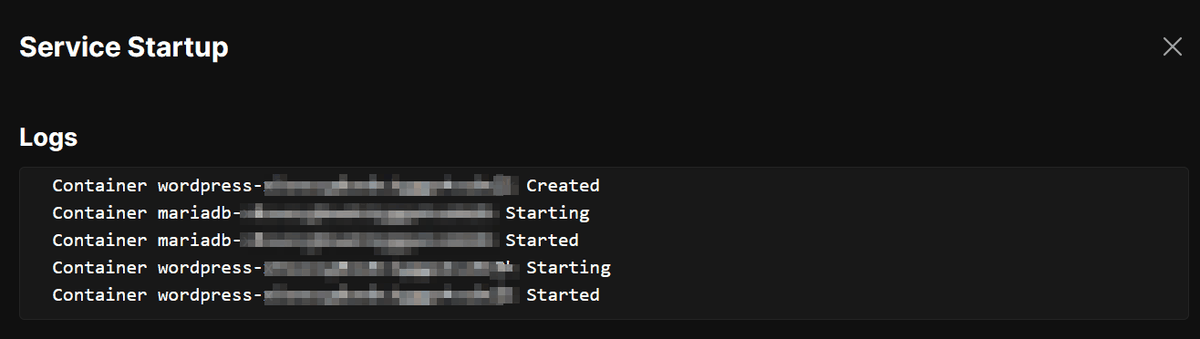
Wait a while and the deployment will be completed.
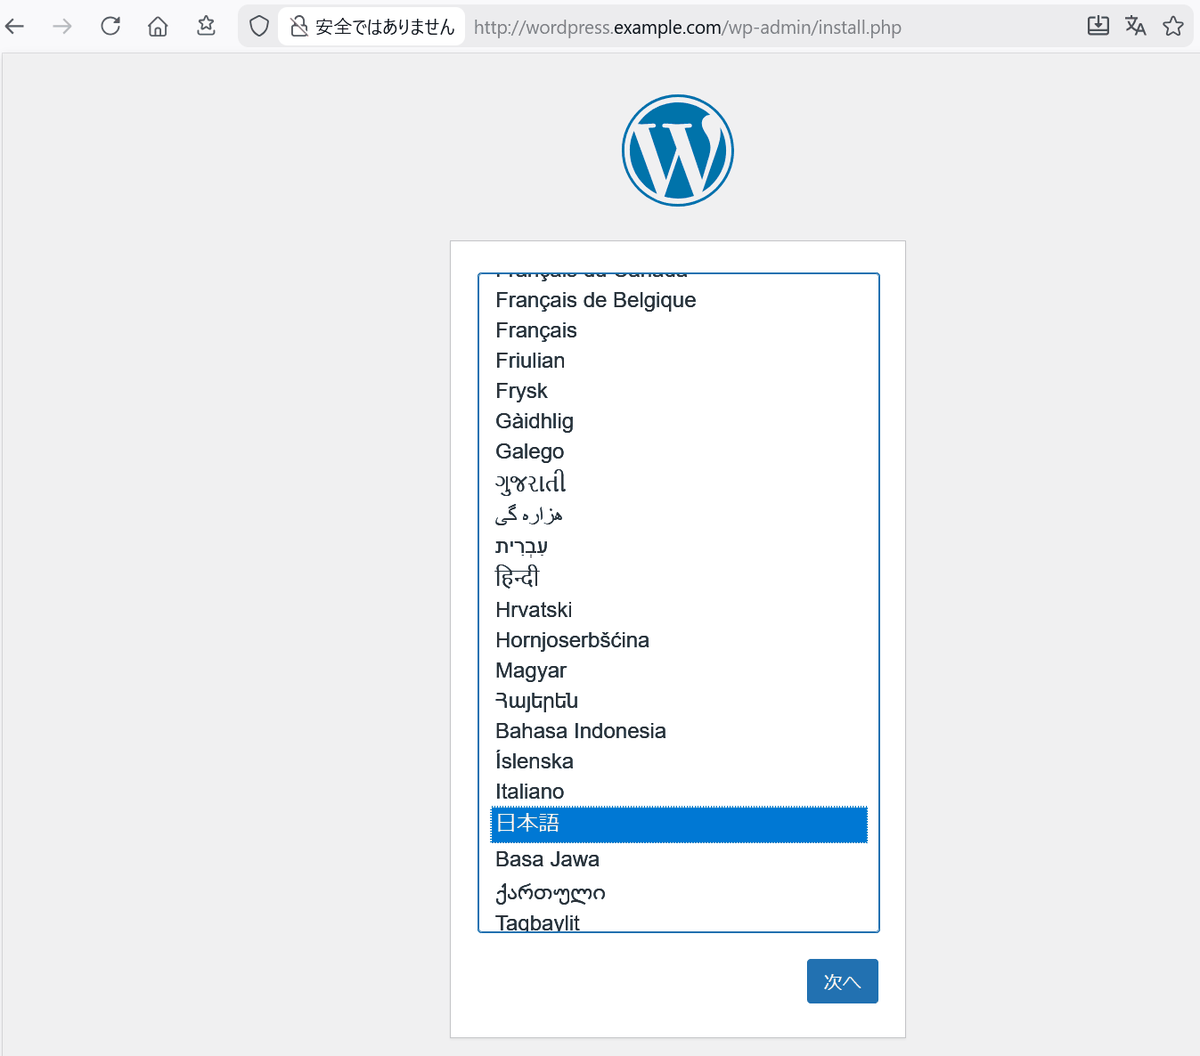
Register the configured host name and IP address 'wordpress.example.com 127.0.0.1' in

Access 'wordpress.example.com' in your browser and you will see the WordPress installation page.
I was able to easily deploy WordPress using Coolify. Other services can be deployed in the same way.
Related Posts: