A review of the appearance of Amazon's LED light-equipped wireless security camera 'Ring Spotlight Cam Plus' and its outdoor installation
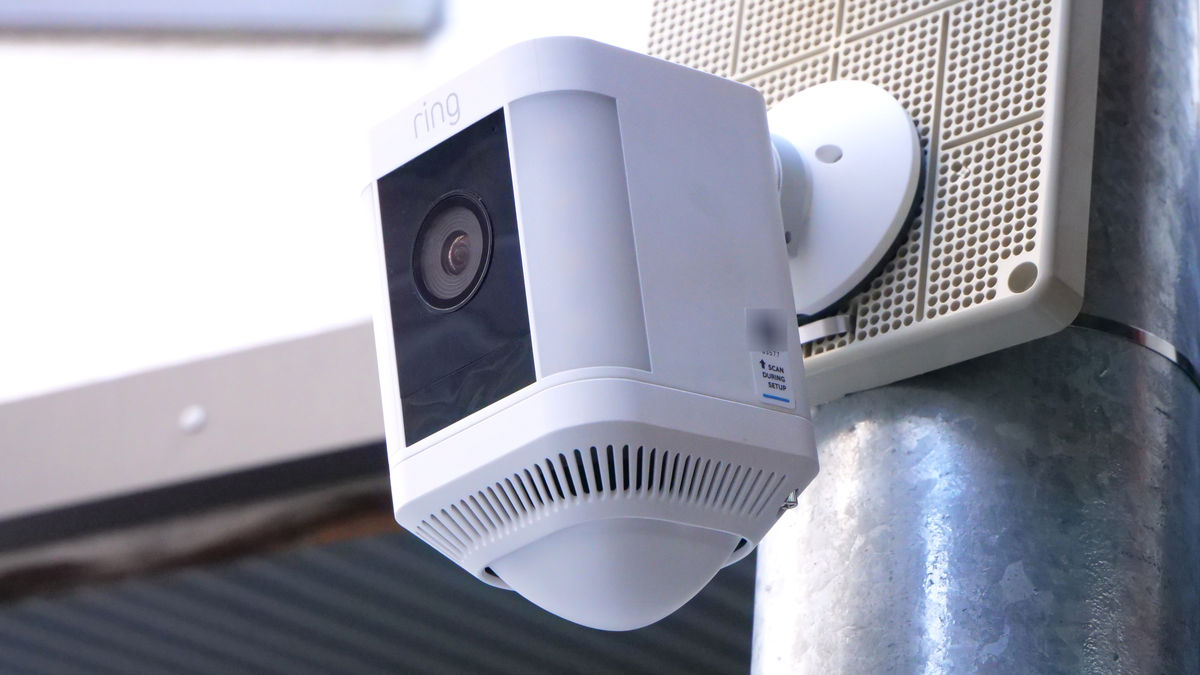
Amazon released the wireless security camera ' Spotlight Cam Plus ' equipped with an LED sensor light on February 28, 2023. In addition to being powered by a power adapter, Spotlight Cam Plus can also be operated completely wirelessly using a rechargeable battery. After getting my hands on this camera, I first took a good look at its appearance before actually setting it up.
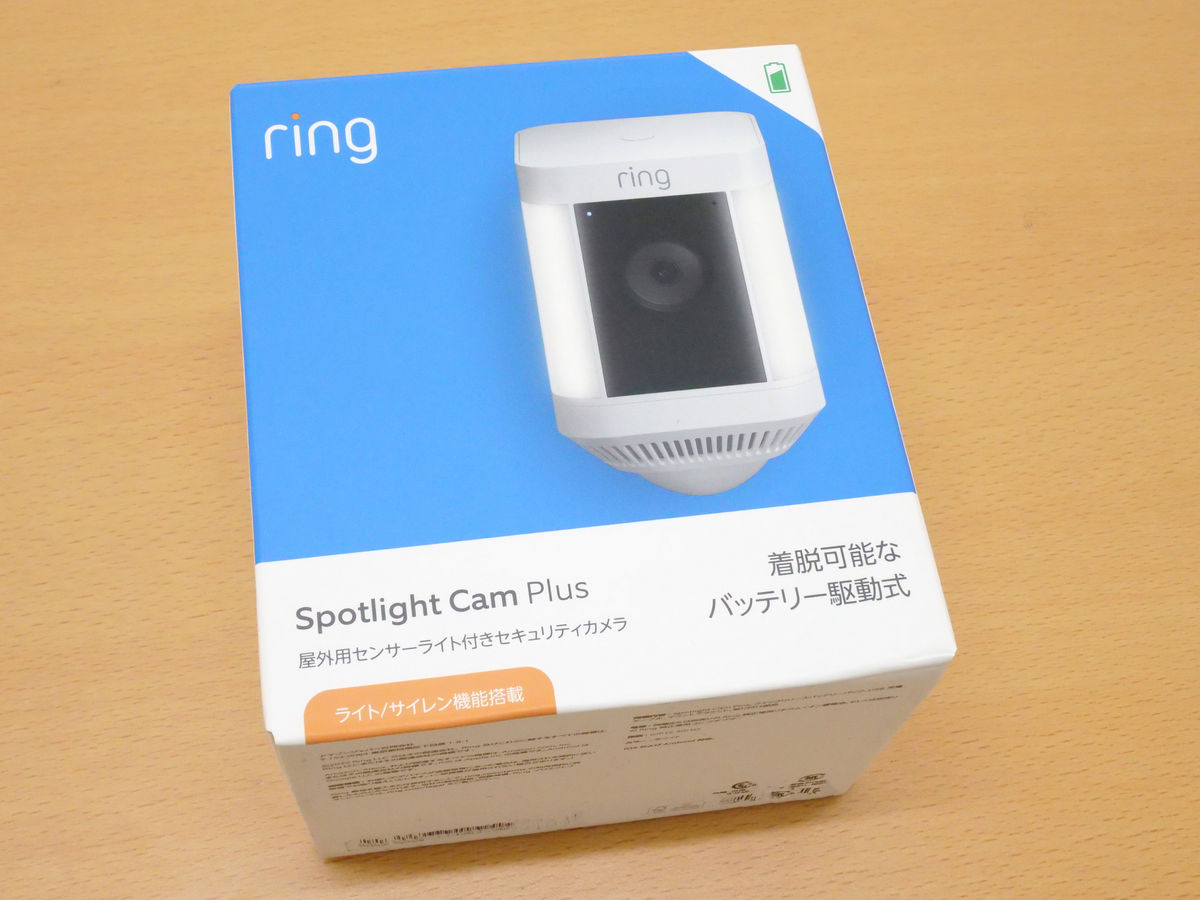
This is the 'Spotlight Cam Plus' package.
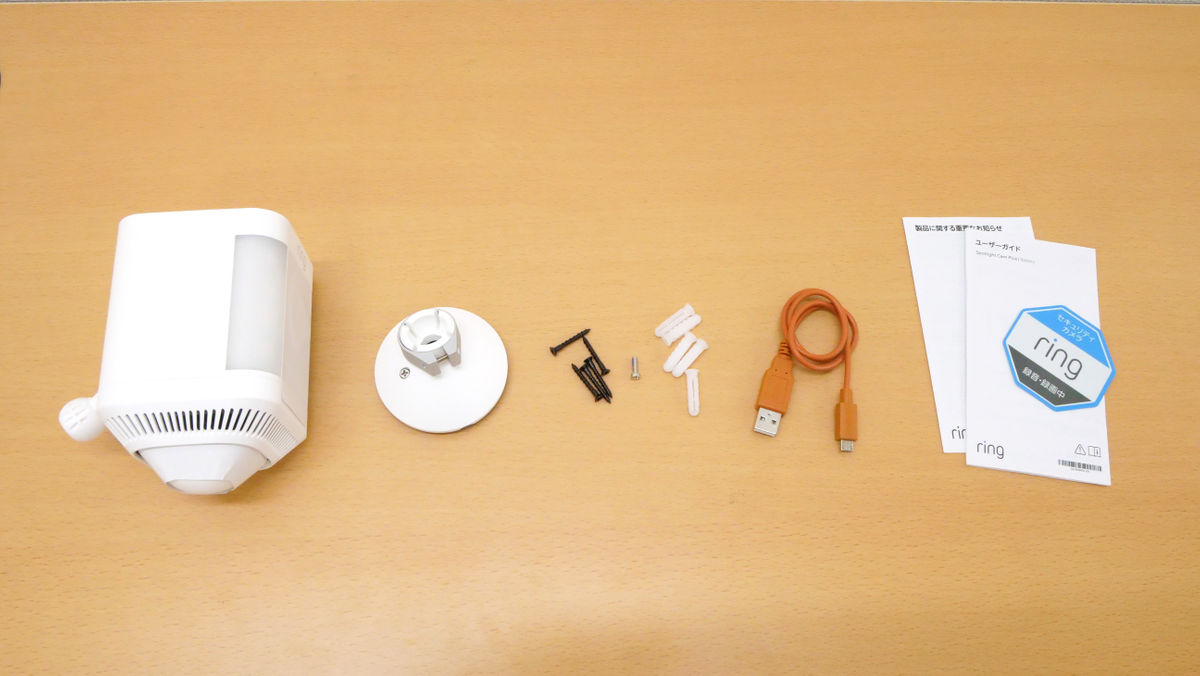
The contents include the Spotlight Cam Plus body, base, screws, Micro USB Type-B cable, instruction manual, and stickers.
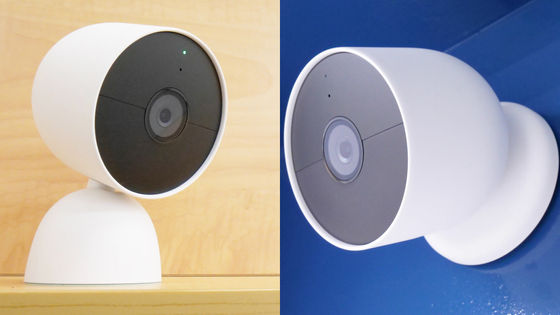
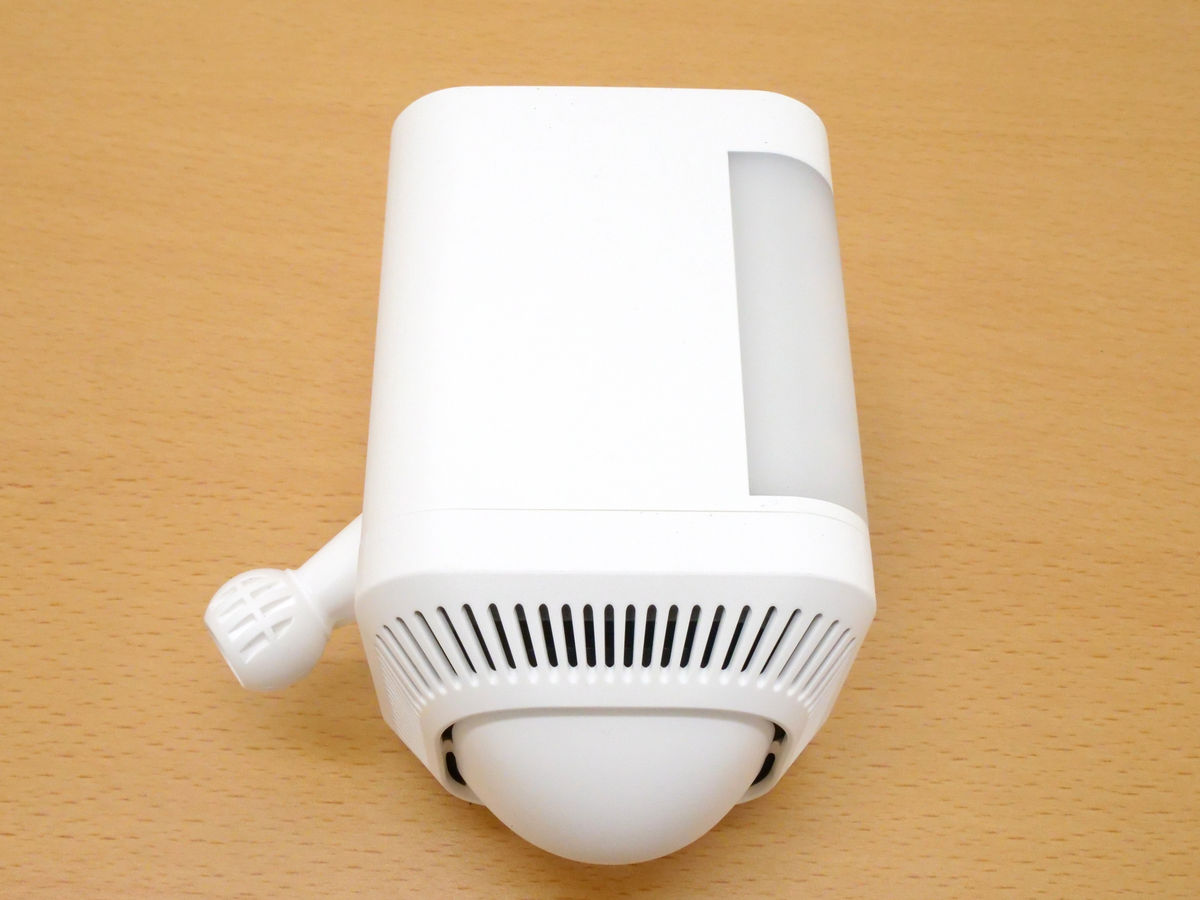
The Spotlight Cam Plus measures 76mm wide x 80mm deep x 126mm high, making it small enough to hold in one hand.

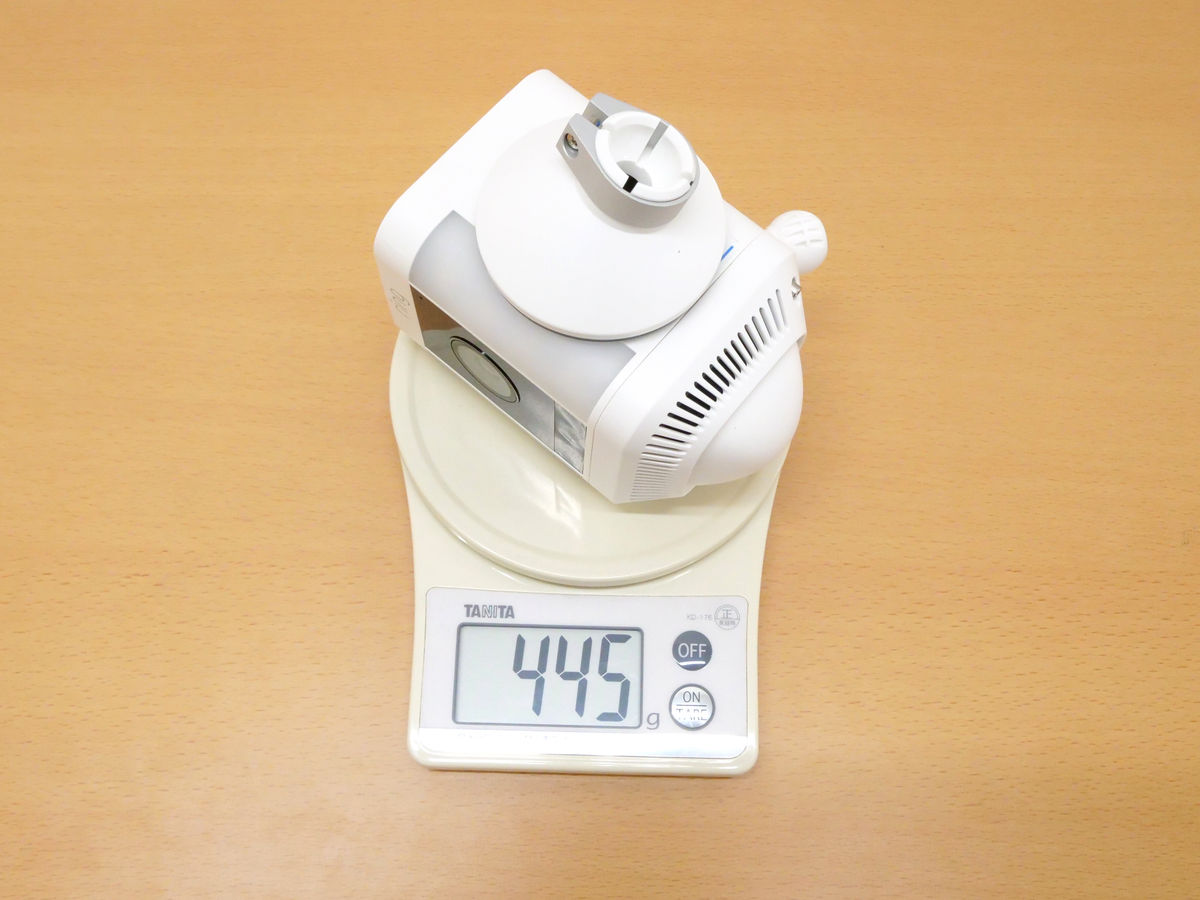
The actual weight including the base is 445g.
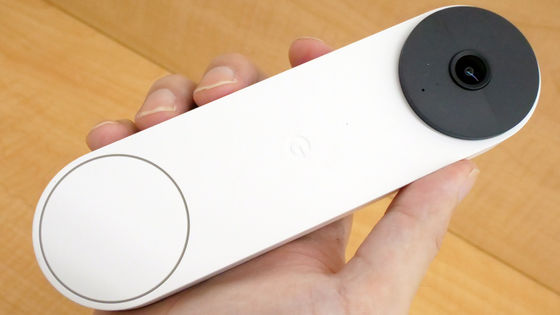
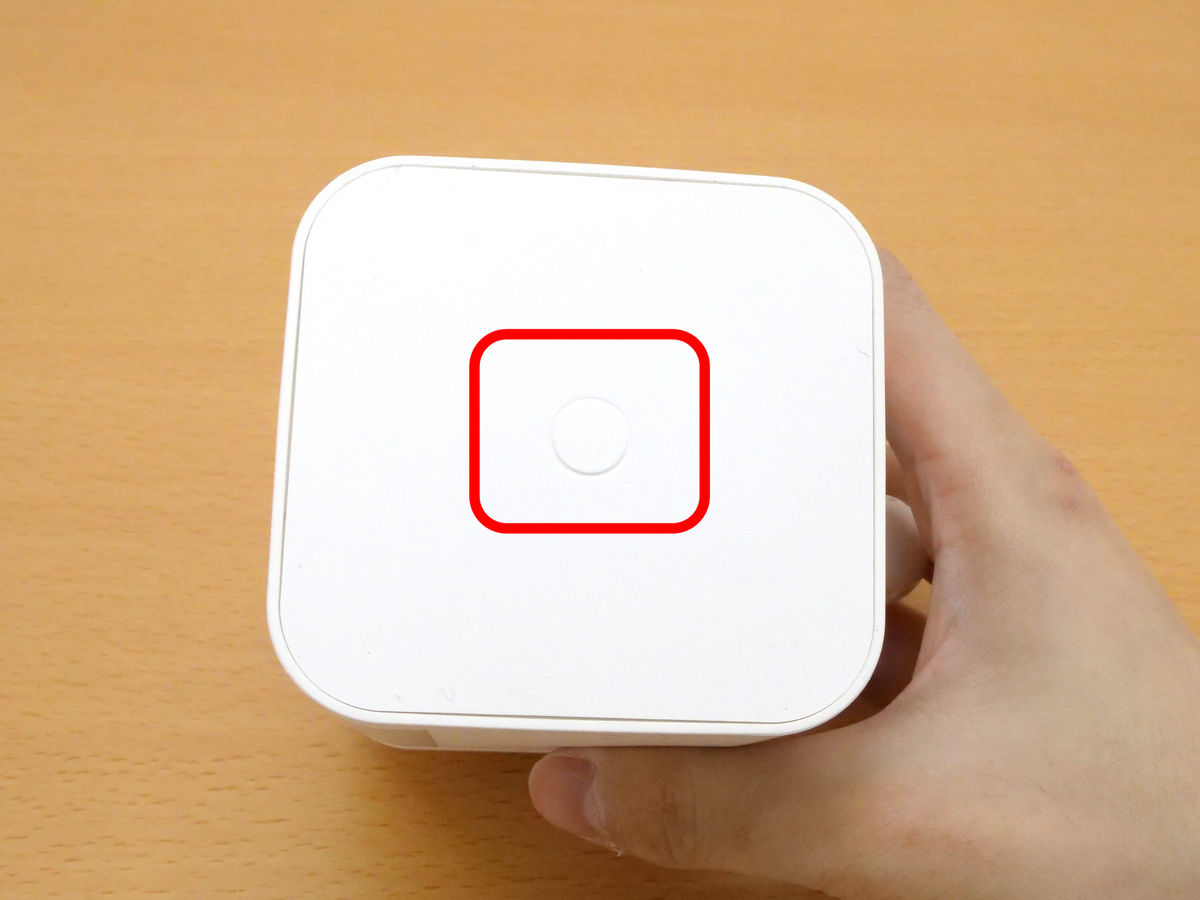
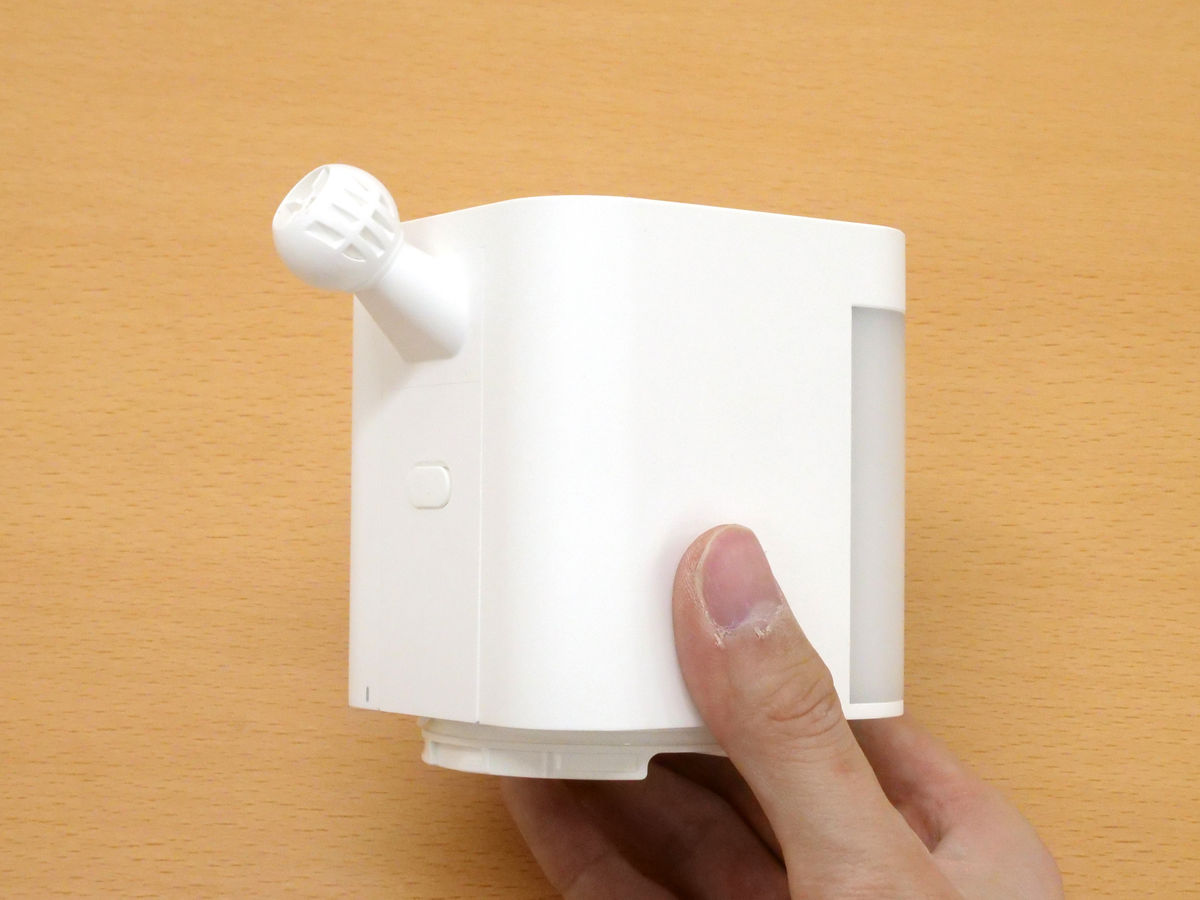
There is a switch on the top, and when you press the round mark it will make a click and sink a few millimeters.
There is a joint protruding from the back for connecting to the base.

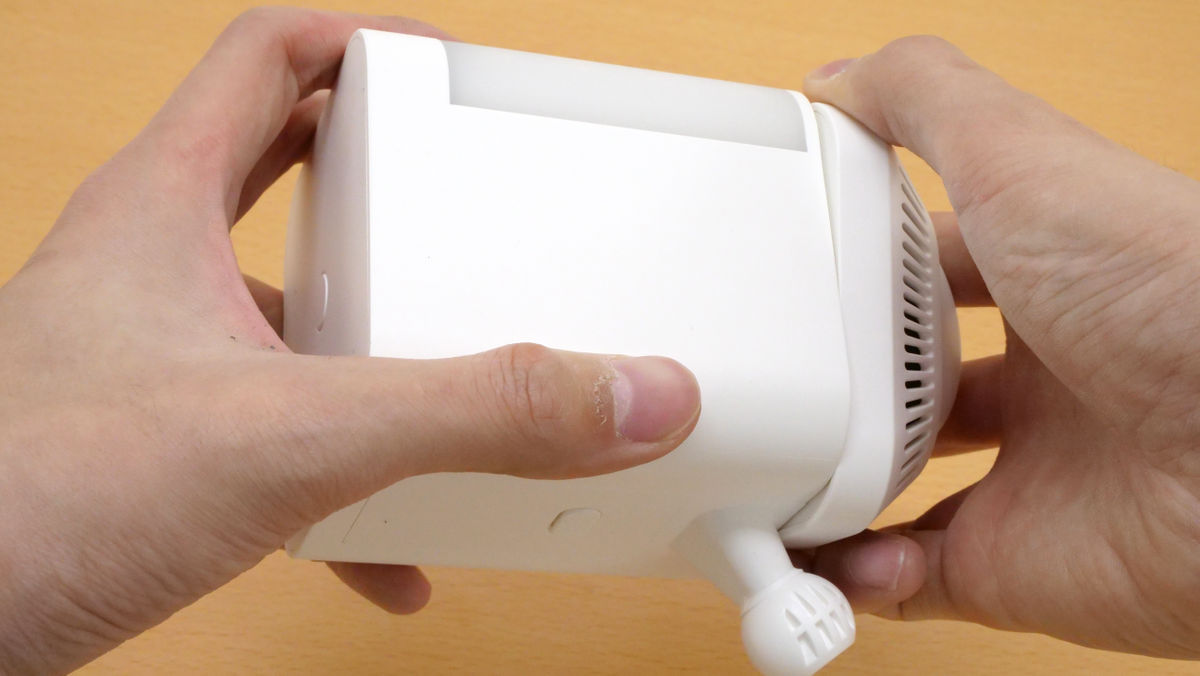
This is what it looks like from the side.
On the right side was a sticker with a QR code for setup. The sticker can be easily peeled off. This part is exposed to the outside, so it is better to peel it off after setup. There is another place on the main unit with a QR code printed on it, and the same QR code is printed on the package and instruction manual, so it is not a problem even if you lose the sticker.

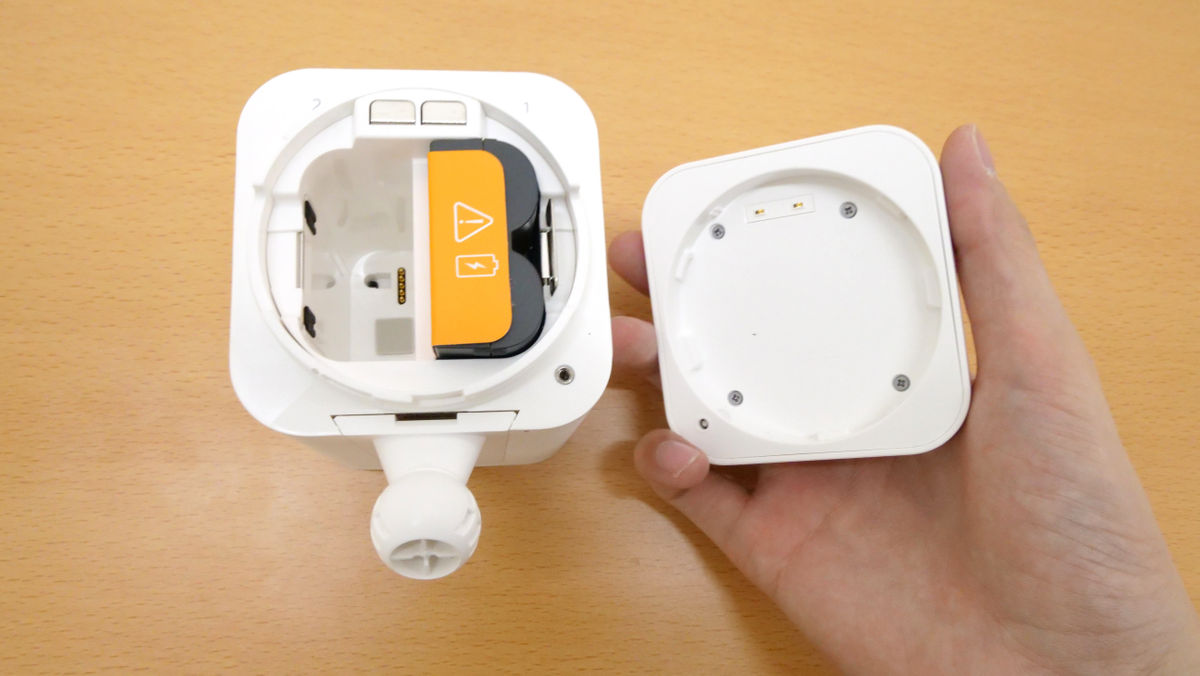
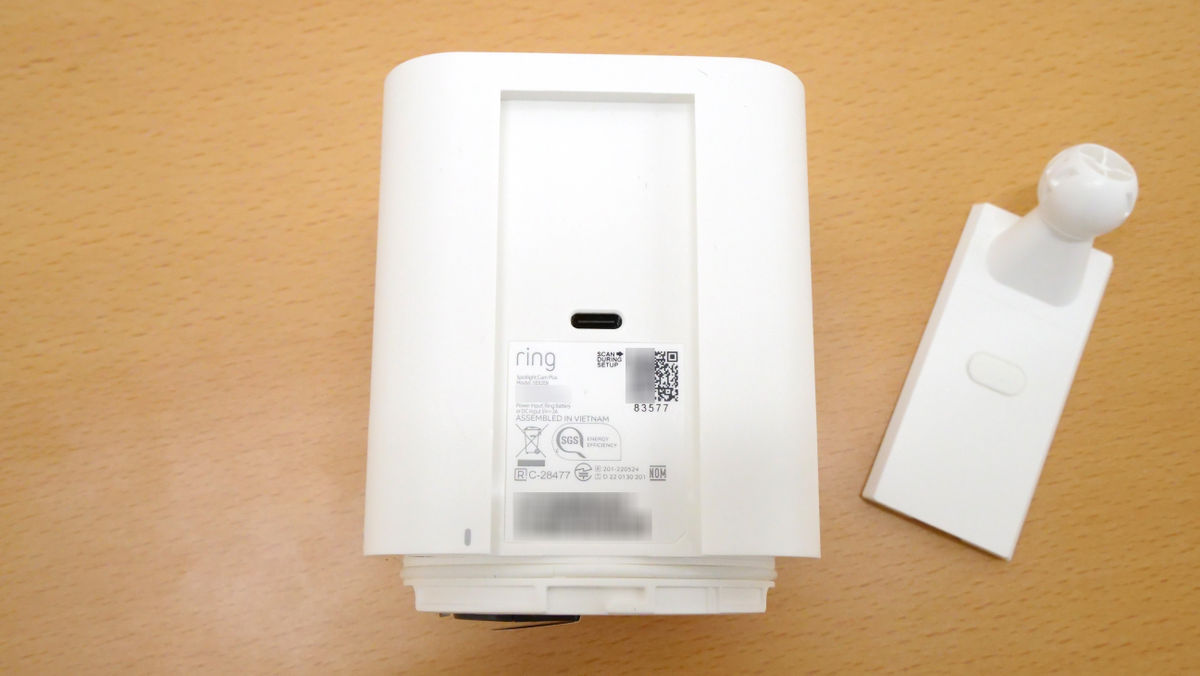
There is an exhaust port on the bottom.

The bottom also serves as the battery cover and can be removed by turning it counterclockwise.
There was one battery inside, but you can put up to two inside by purchasing additional batteries.
The battery capacity is 5960mAh. We plan to test how long the battery can run on this capacity in the future.
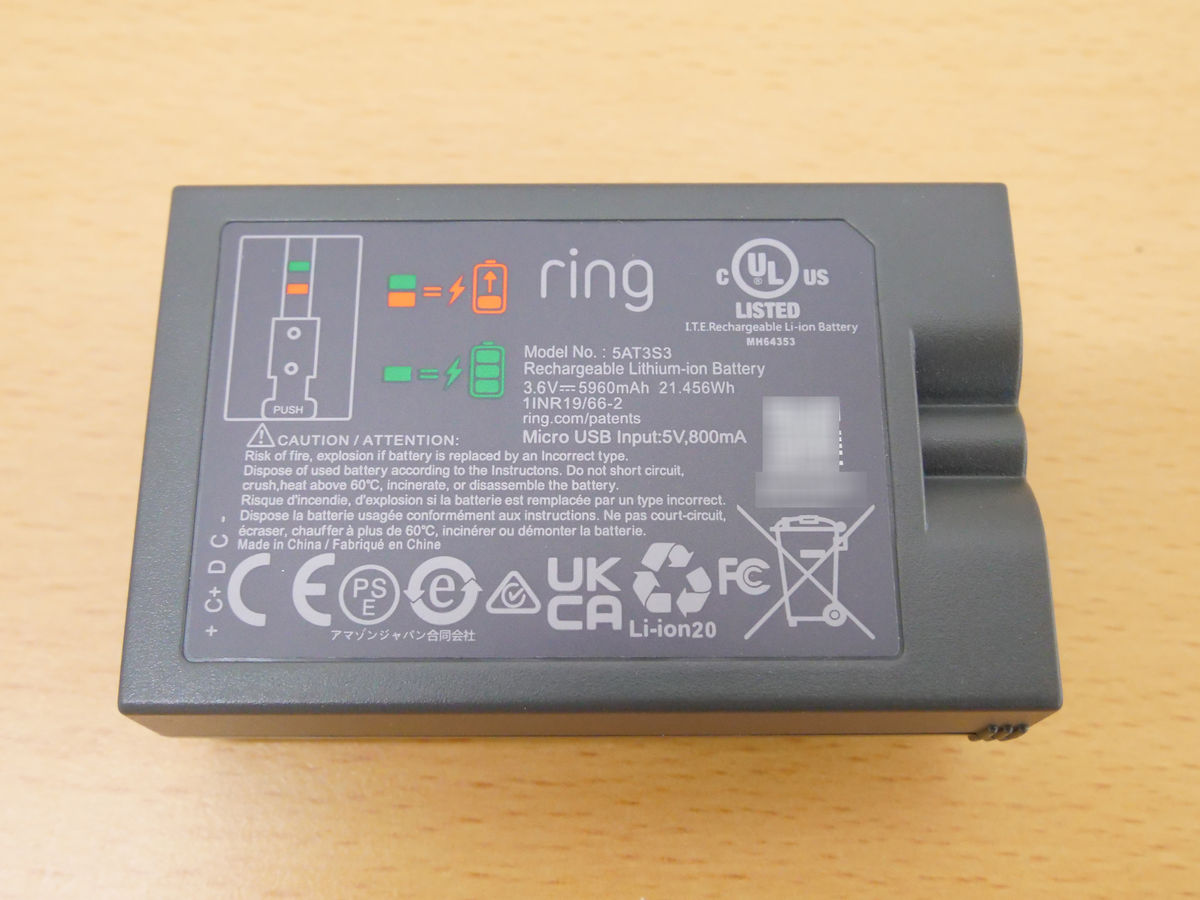
You can charge the battery by connecting the included cable to a commercially available USB adapter and plugging the cable directly into the battery.
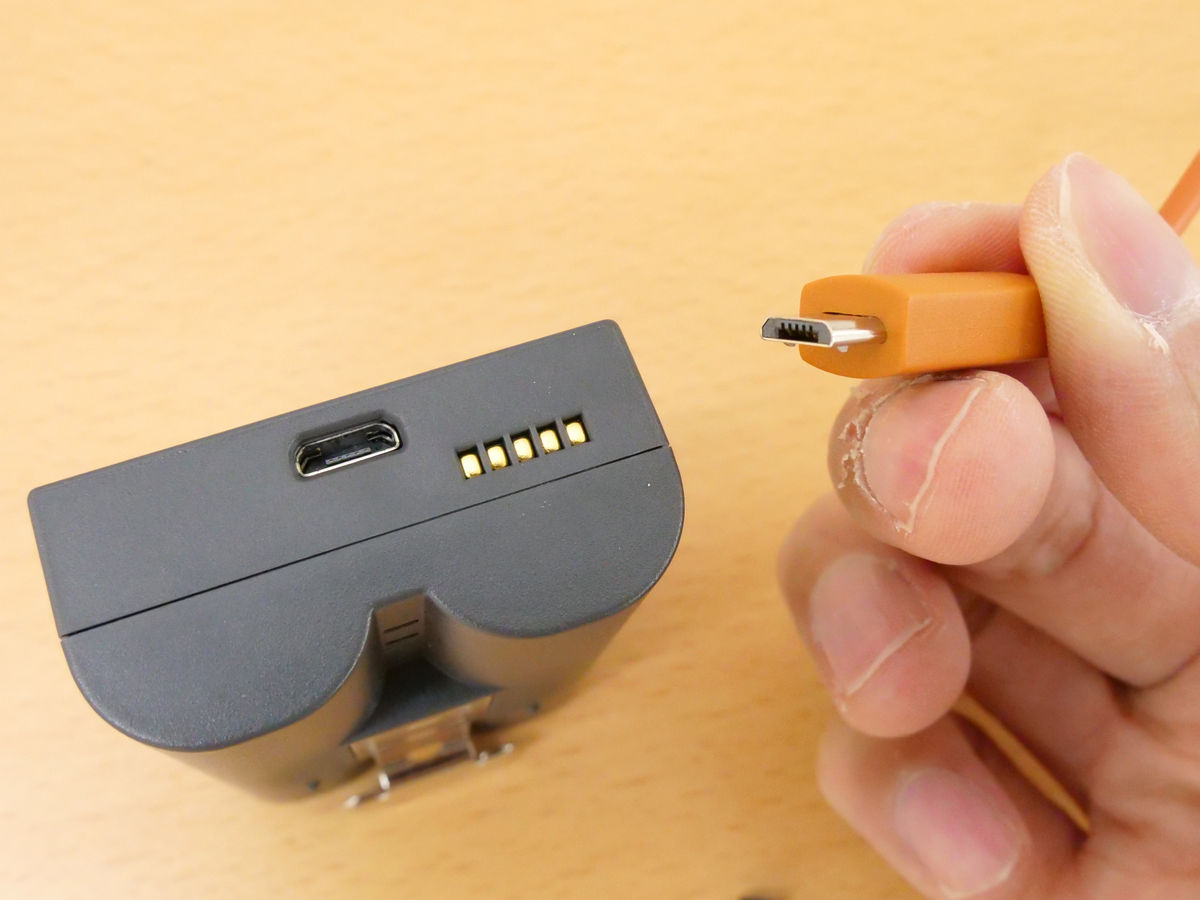
The orange and green lights will light up while charging, and the orange light will turn off when charging is complete.

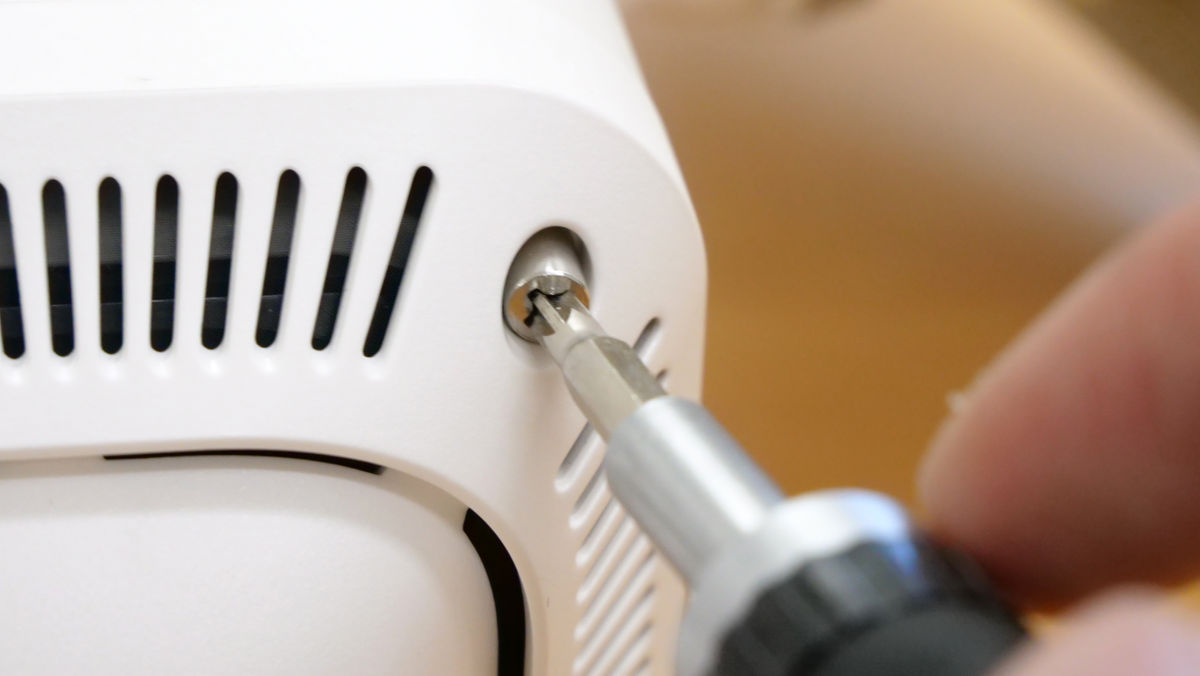
By removing the battery cover, you can also remove the joint on the back.
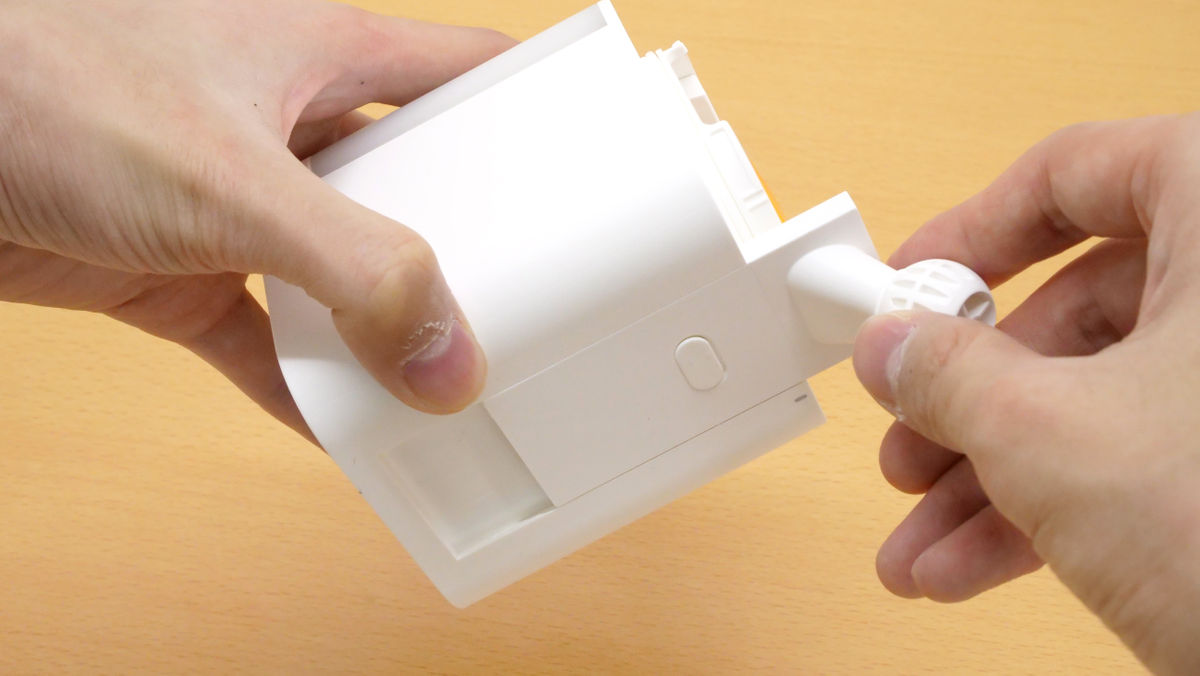
Below the joint was a USB Type-C port for connecting to
When replacing the joint, it can be installed upside down.
After replacing the battery cover, be sure to tighten the captive screw.
The base for mounting the Spotlight Cam Plus on a wall or ceiling looks like this.
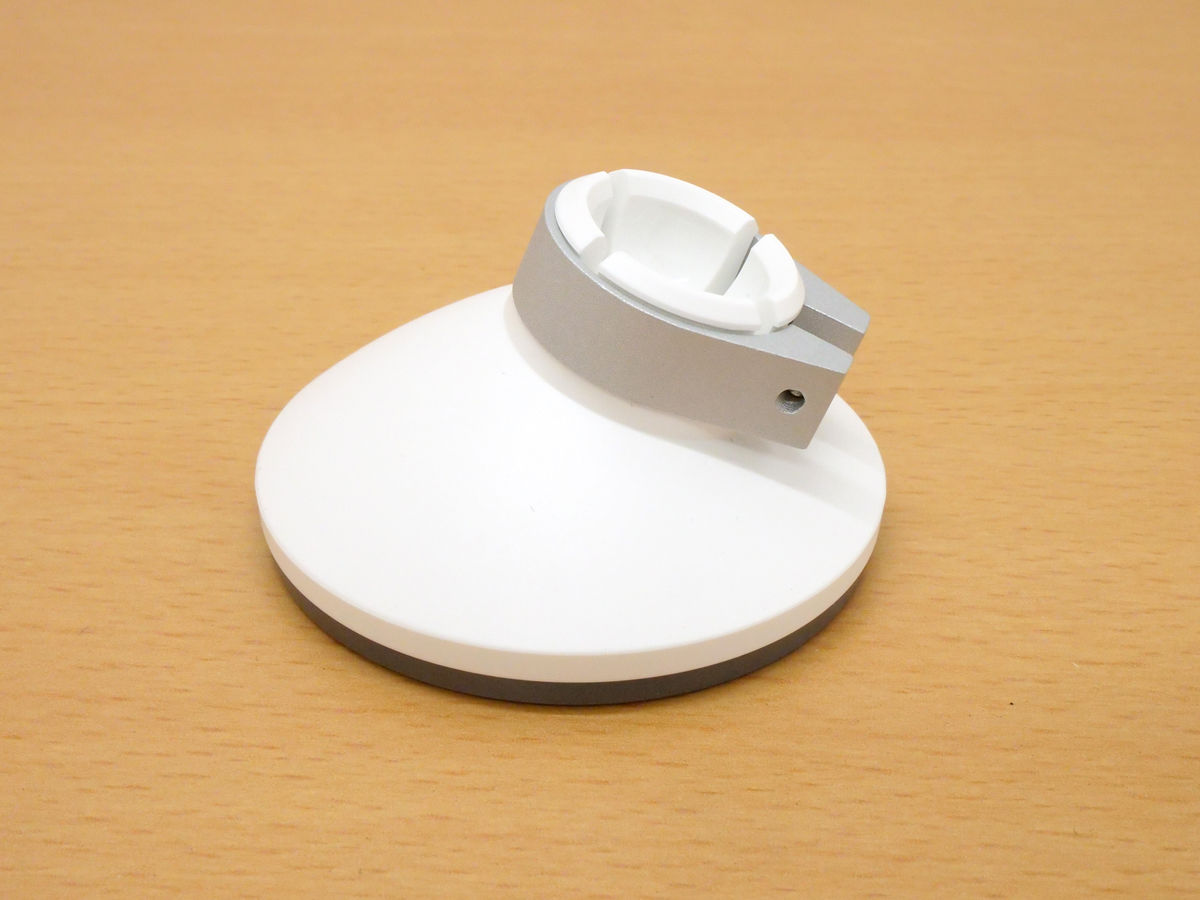
There are screw holes on the back.
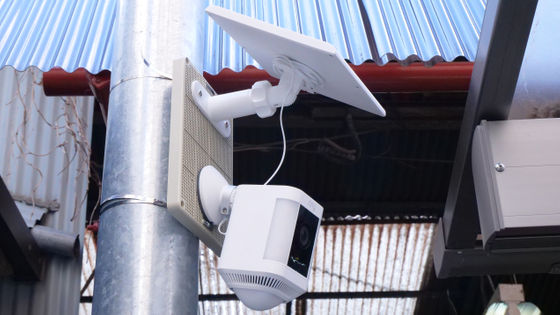
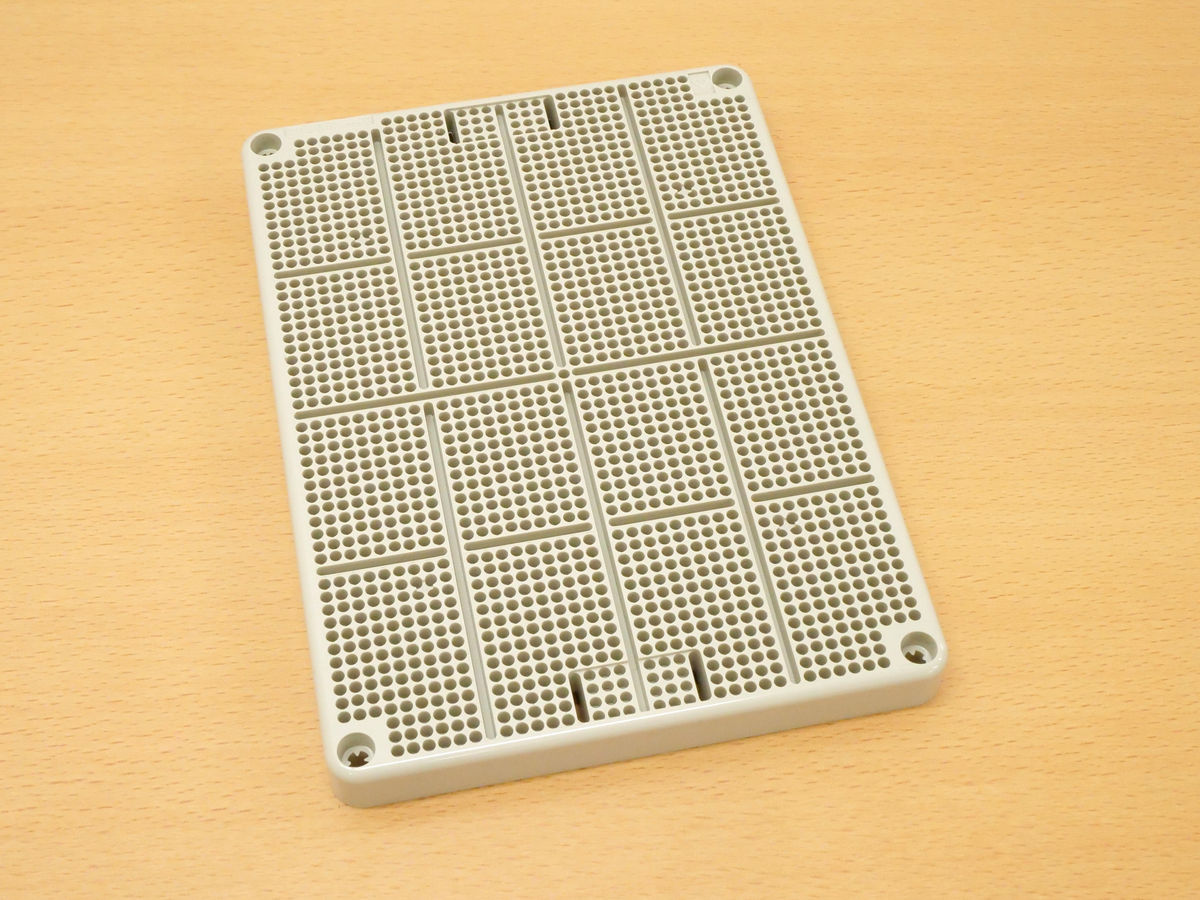
This base can be attached to brick tiles or wood using screws, but this time I decided to attach it to a pillar. In order to install it without drilling holes directly into the pillar, I purchased
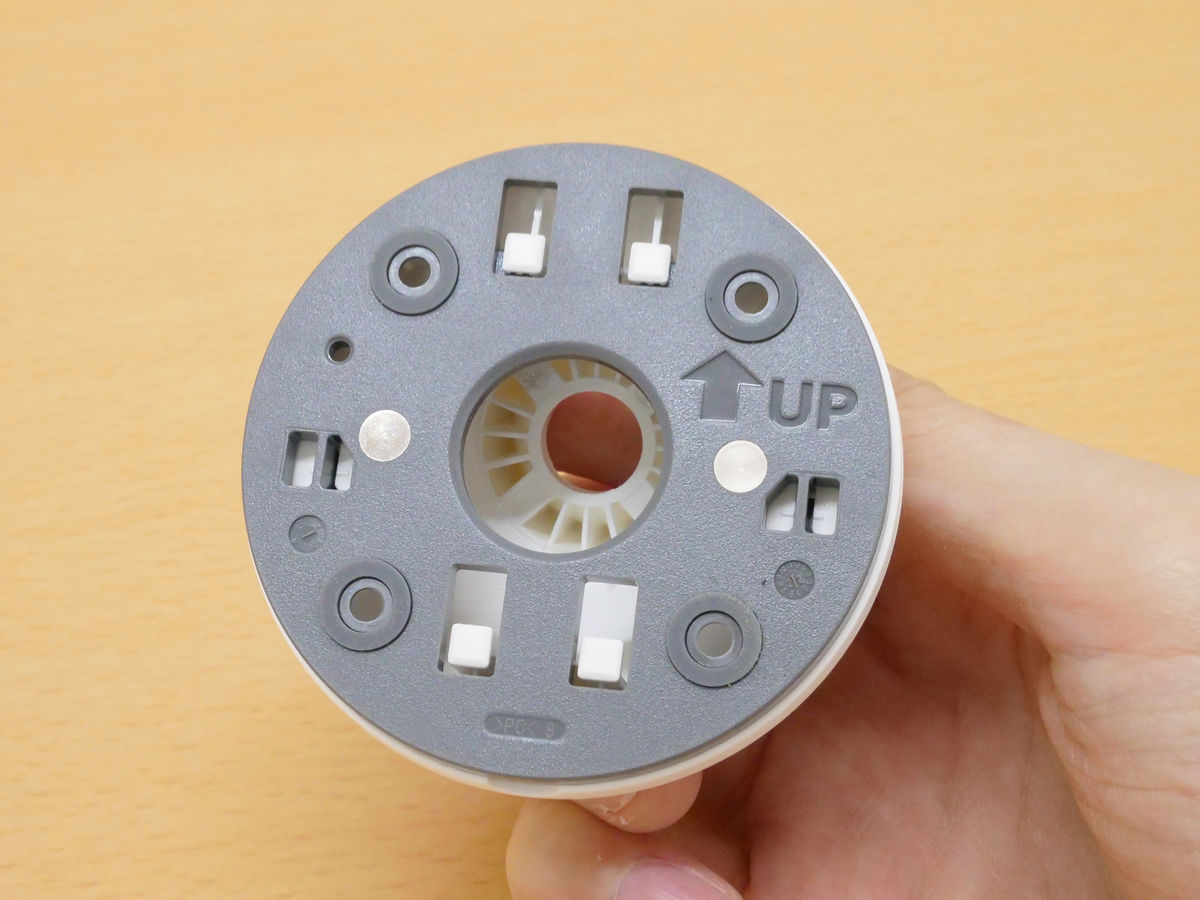
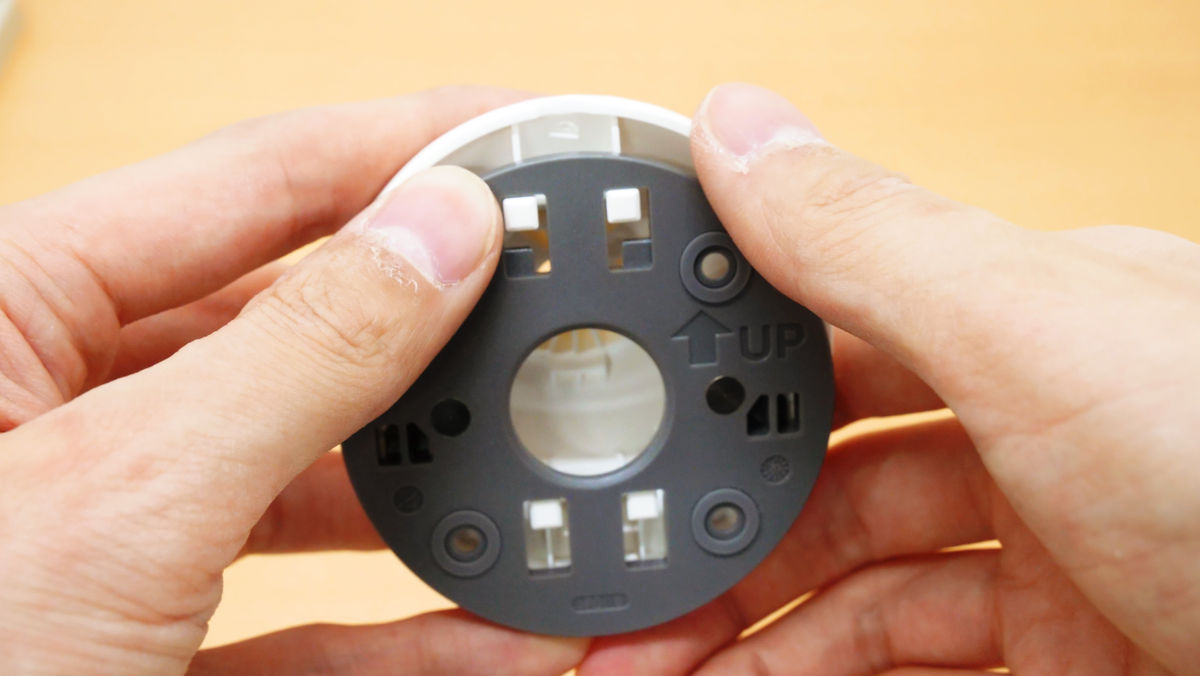
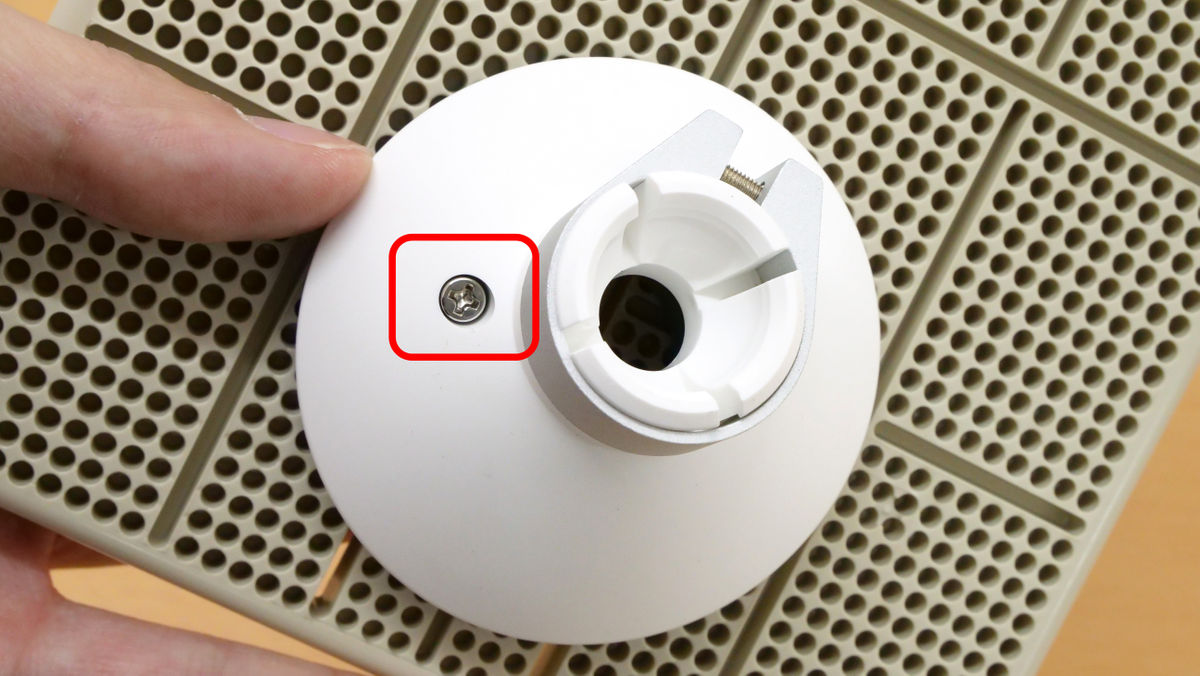
First, attach the base to the mounting plate. With the side marked 'UP' facing up, press down on the grey plate to separate the plate and base.
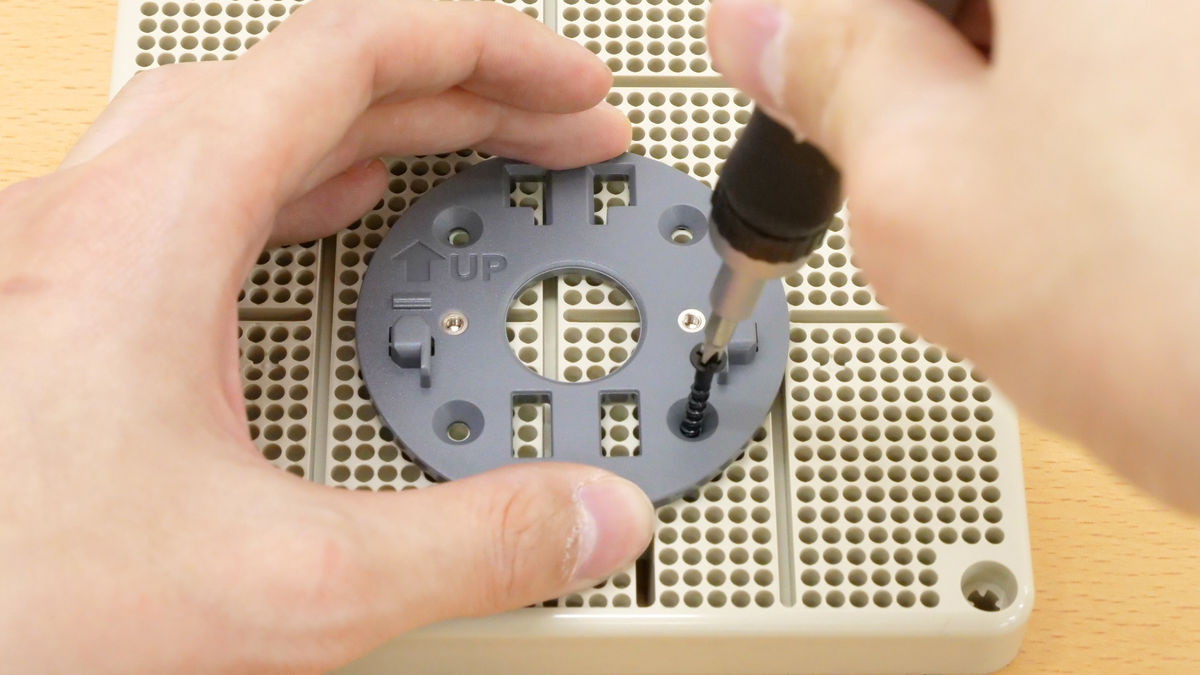
Use the included screws to attach the plate to the mounting plate.
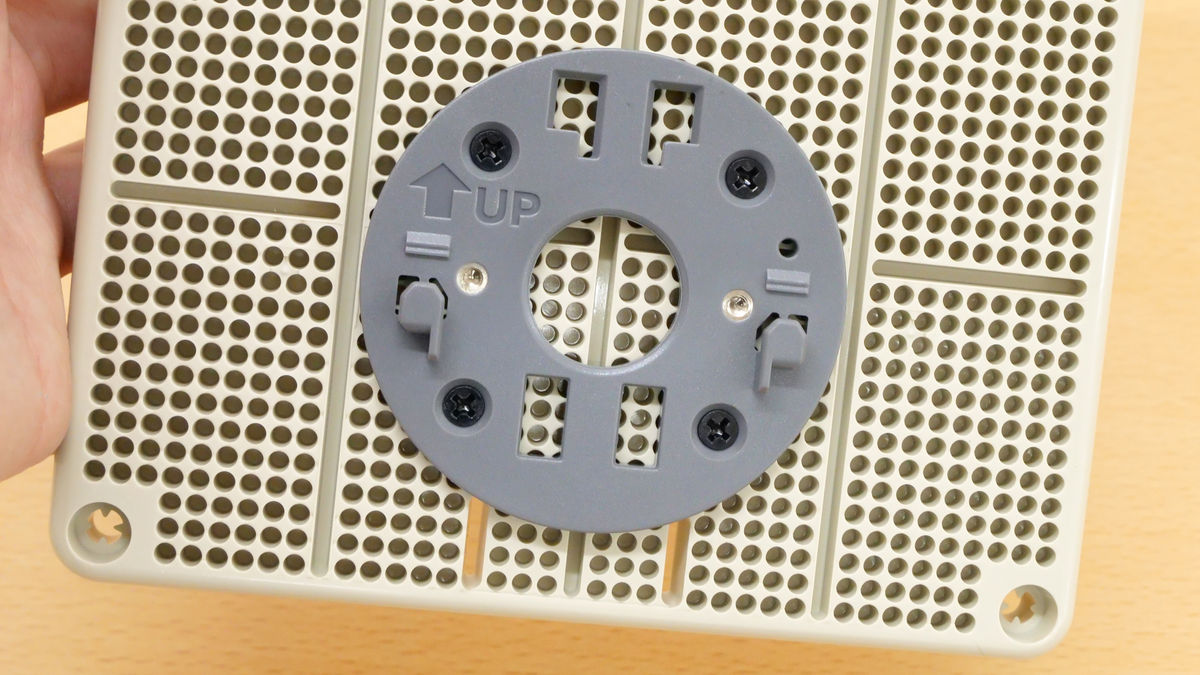
Installation complete.
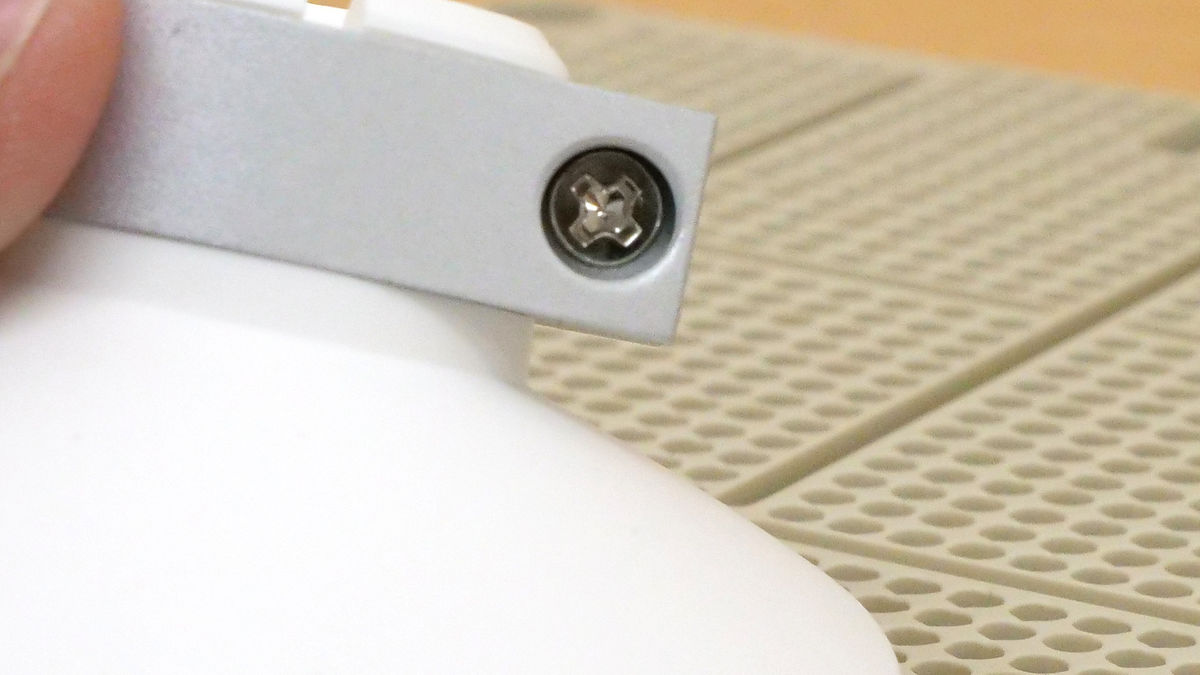
Next, insert the plate into the base.
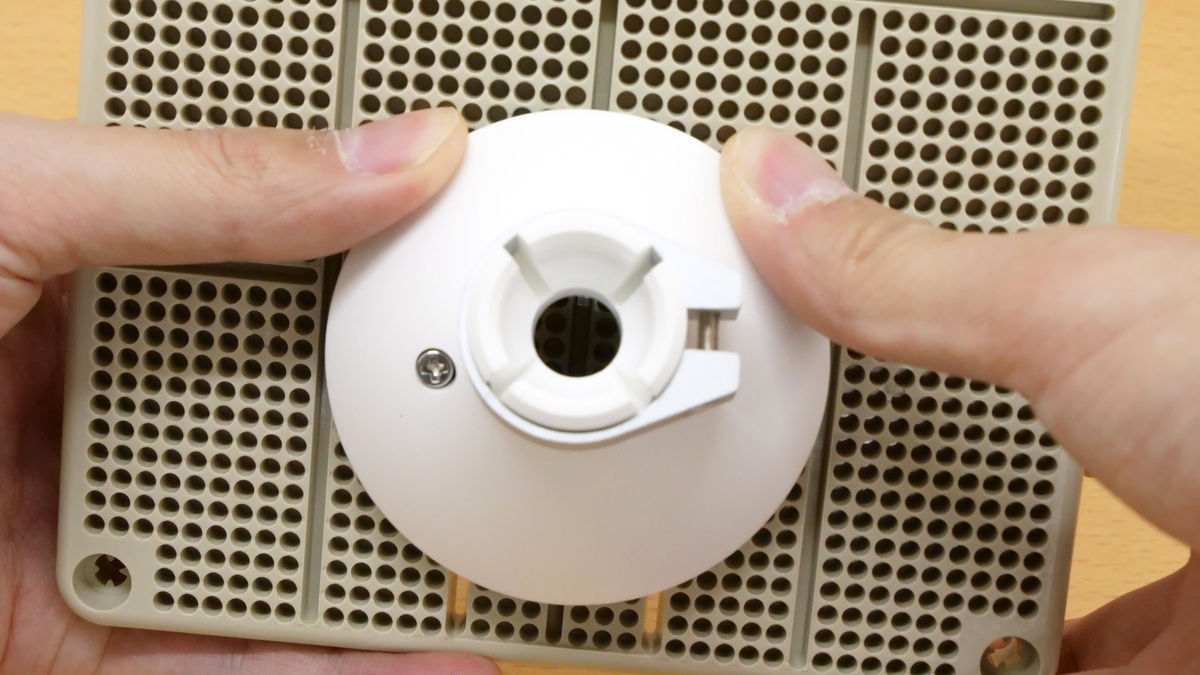
Tighten the captive screws to secure it completely.
Then insert the Spotlight Cam Plus joint into the base.
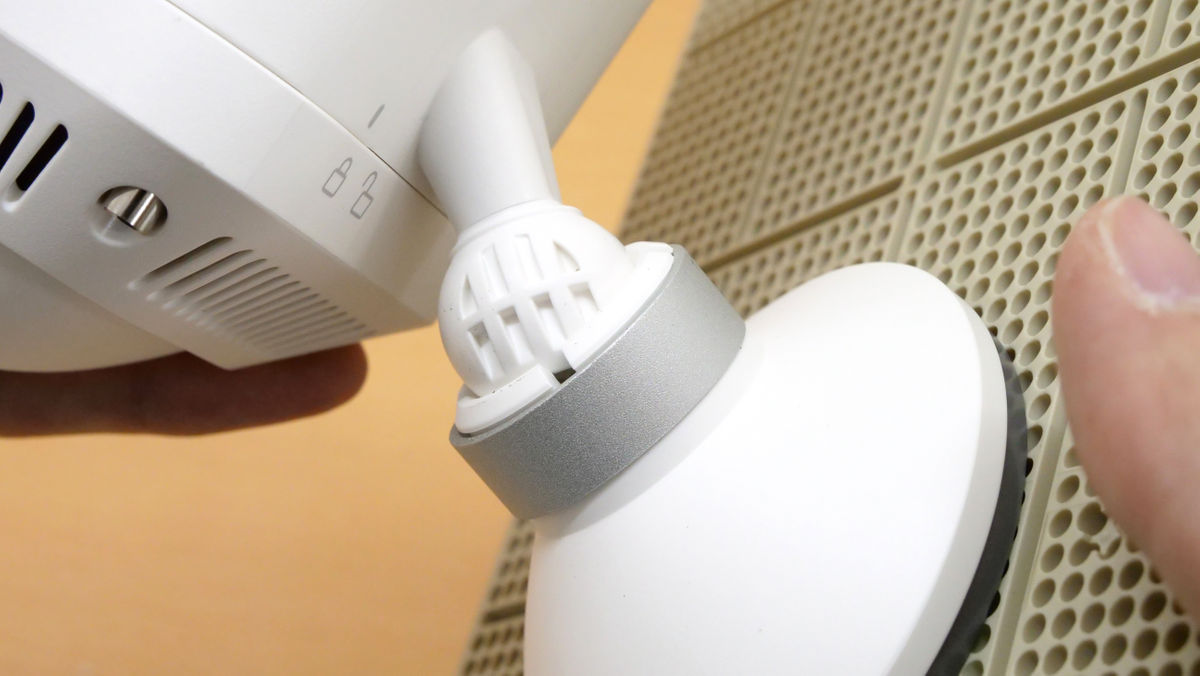
Tighten the base screws to secure the joint.
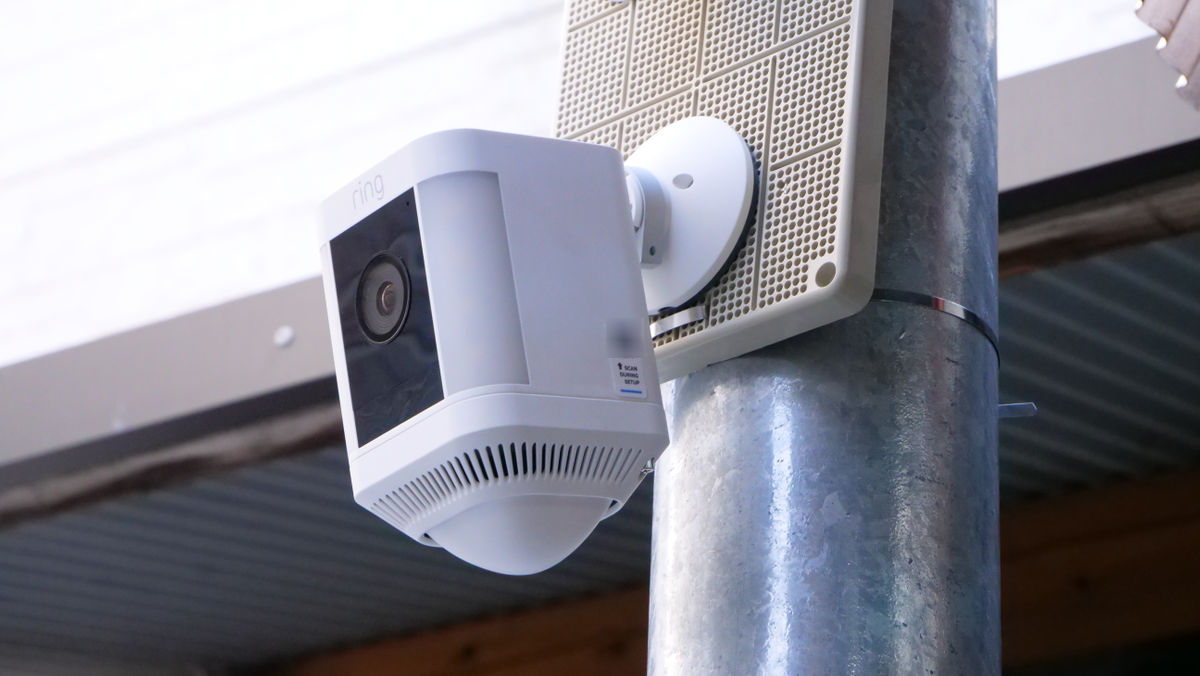
Once you secure the pillar and mounting plate with the stainless steel band, the installation is complete.
Below is a look at how to actually use it and how to attach the optional solar panel.
Continued
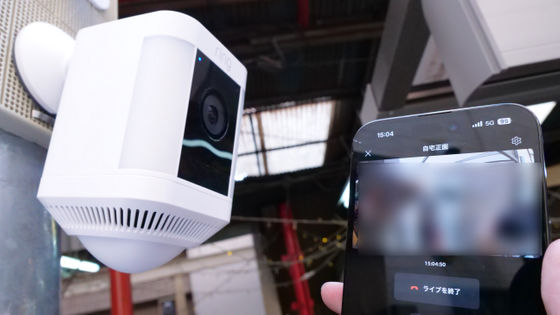
I tried using Amazon's LED light equipped security camera 'Ring Spotlight Cam Plus' in conjunction with the app - GIGAZINE
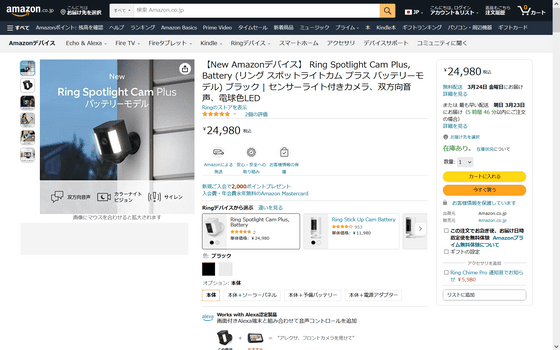
The price of 'Spotlight Cam Plus' is 24,980 yen including tax and is sold on Amazon.co.jp.
Related Posts: