Flameshot is a free and very powerful screen capture tool.
When creating documents or presentation materials, you usually need to take screenshots. While Windows and macOS have built-in screenshot functions, if you require more advanced editing features or customization options, you may need a third-party screen capture tool. ' Flameshot ' is a simple yet highly functional screen capture tool that is free and open-source software.
Flameshot | Open Source Screenshot Software
flameshot-org/flameshot: Powerful yet simple to use screenshot software :camera_flash:
https://github.com/flameshot-org/flameshot
◆Features
According to the official website, Flameshot has the following features:
• High degree of customization
- In-app screenshot editing function
• Simple and intuitive GUI
- Direct upload function to cloud storage
• Comprehensive command-line interface
◆Installation
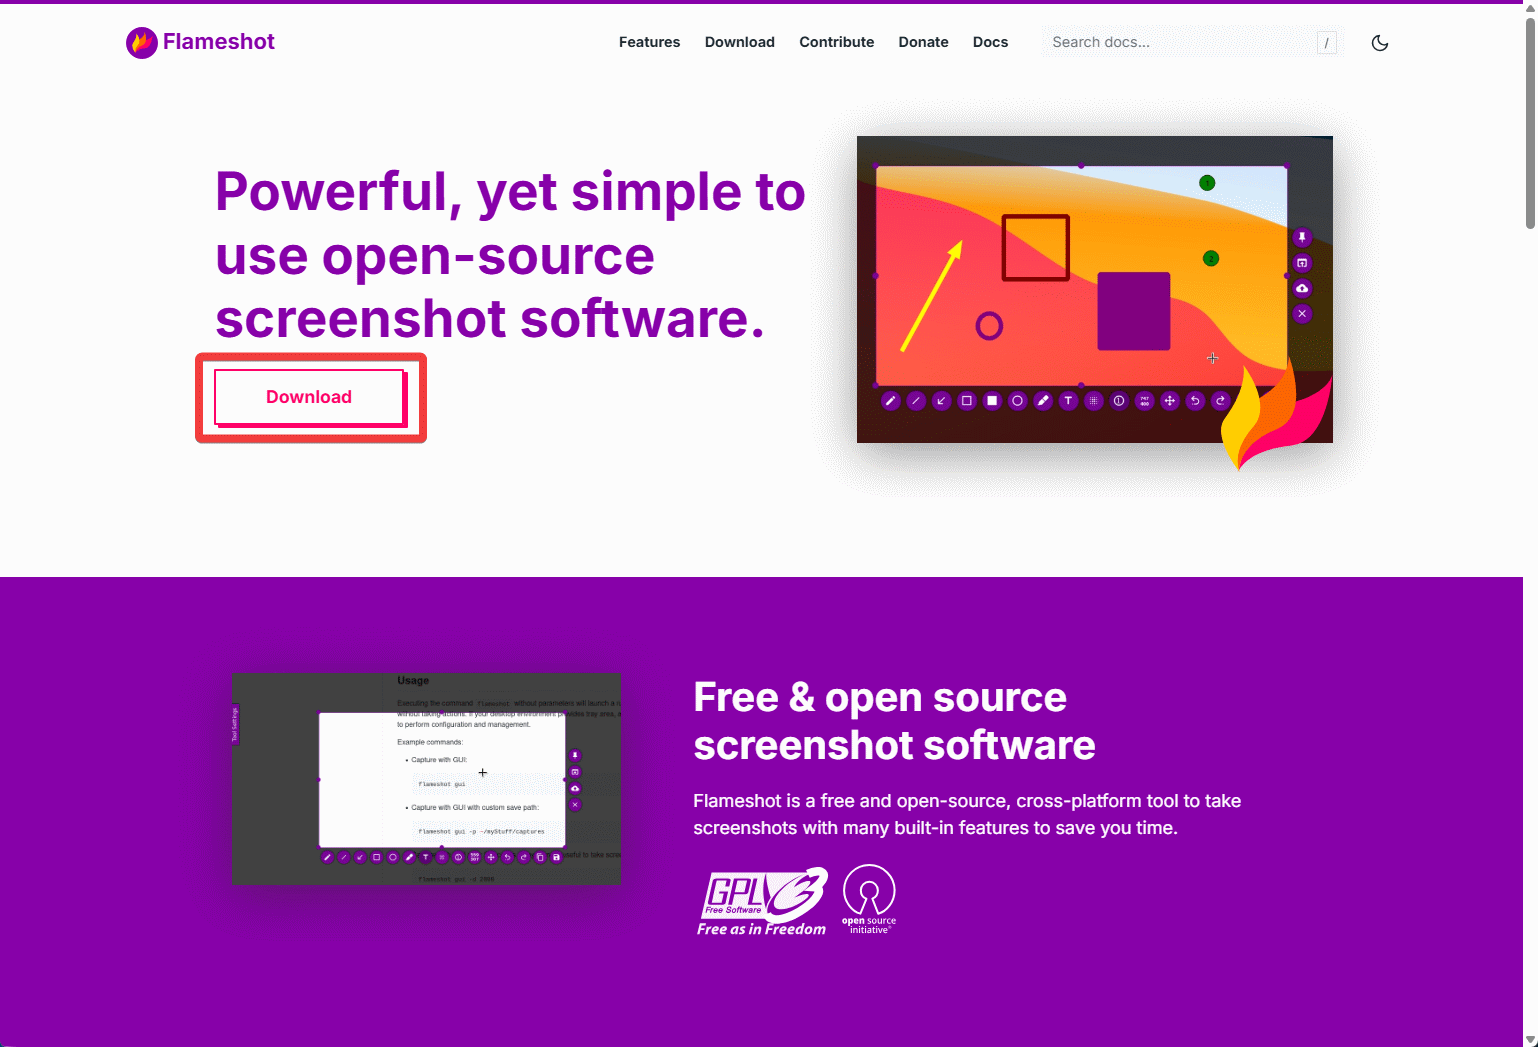
Flameshot is available for Windows, macOS, and Linux, and can be installed from the official website or GitHub repository. This time, we will download the Windows installer from the official website. Clicking the 'Download' button at the top of the official website's homepage will take you to the 'Download Flameshot' section.
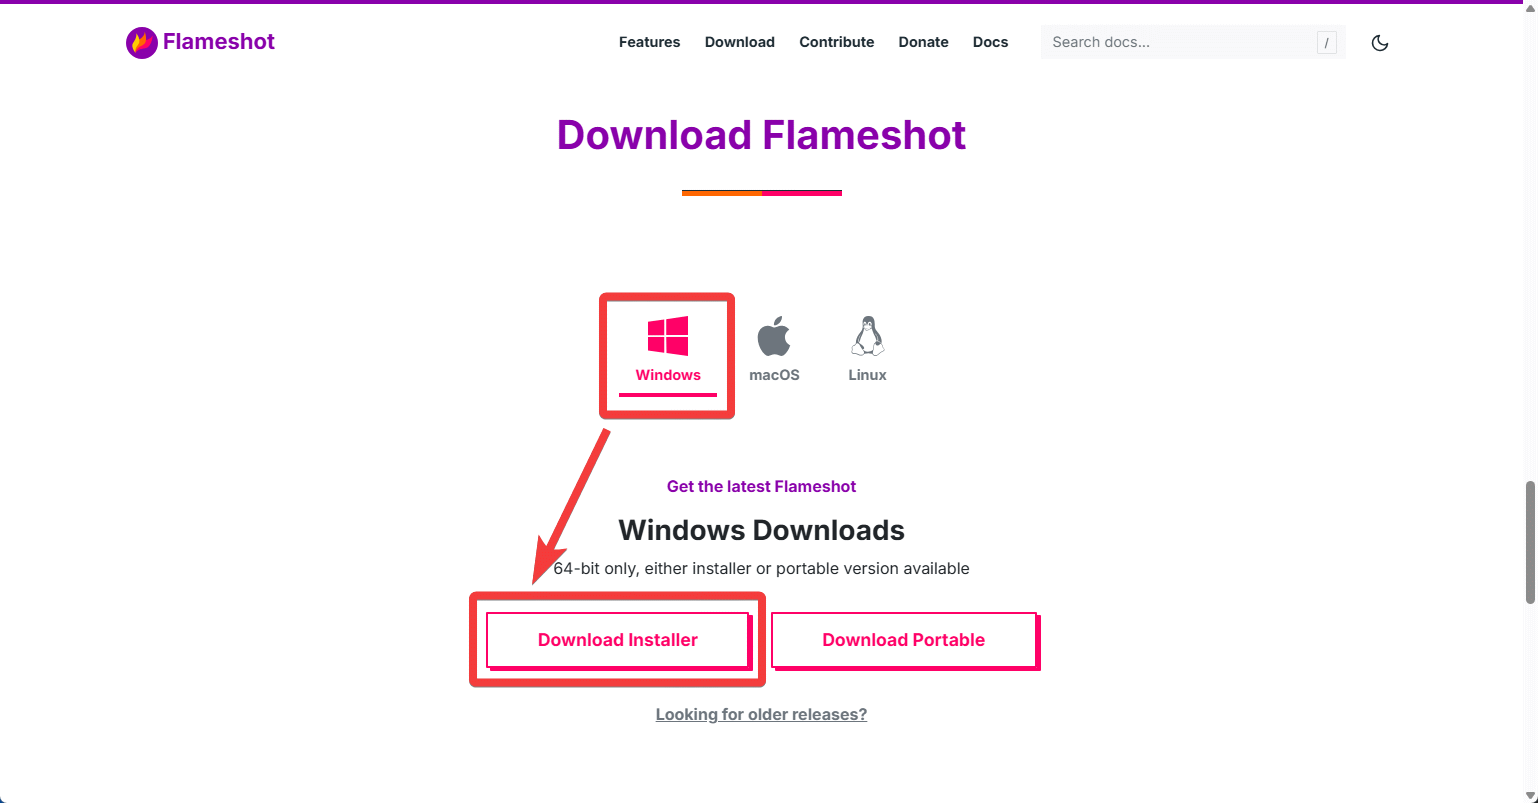
Click the Windows icon directly below the 'Download Flameshot' heading, then click 'Download Installer.' Note that only the 64-bit version of the installer is available .
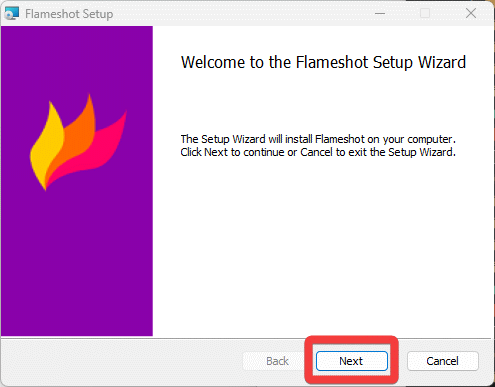
Double-click the installer to launch it, then click the 'Next' button.
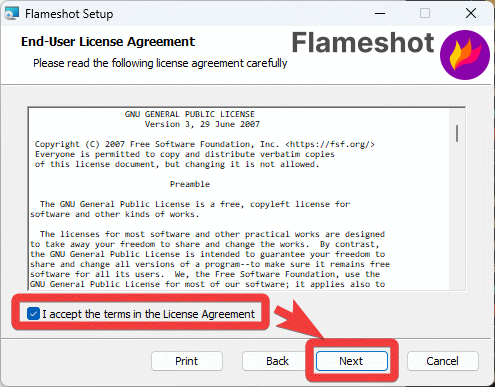
A license agreement screen will appear. Review the terms and conditions, check the box that says 'I accept the terms in the License Agreement,' and click the 'Next' button.
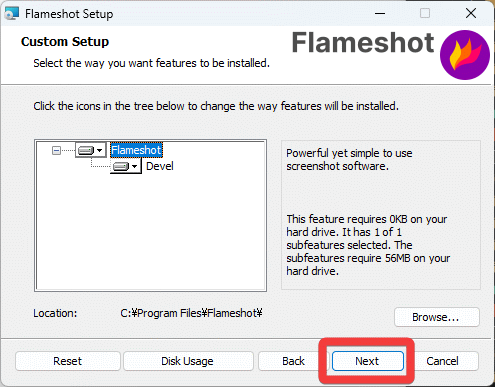
The custom setup screen will appear; simply click the 'Next' button.
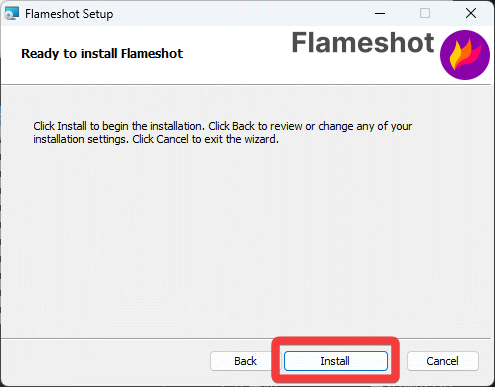
The installation preparation is complete, so click the 'Install' button to begin the installation.
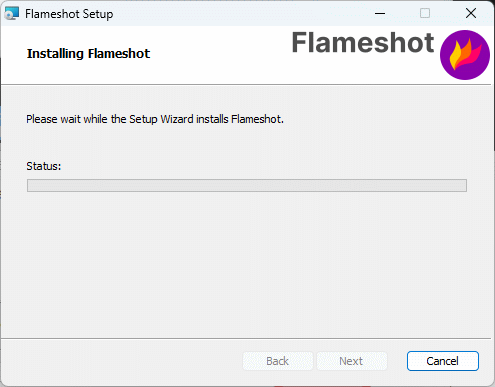
The following screen will appear during installation. Depending on your environment, a User Account Control (UAC) screen may appear; click 'Yes' to continue the installation.
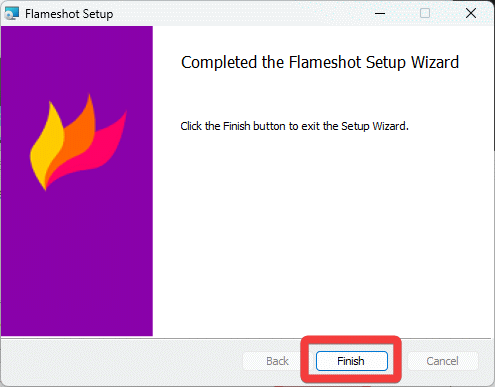
Once the installation is complete, click the 'Finish' button to close the installer.
◆ Activation
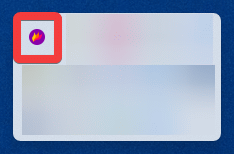
When you launch 'Flameshot' from the Start menu, the Flameshot icon will appear in the taskbar.
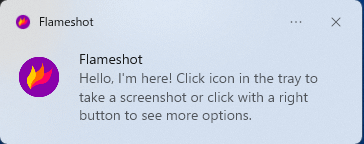
A notification message will appear at the same time, so you won't miss the fact that it has been added to the taskbar.
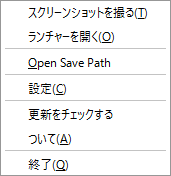
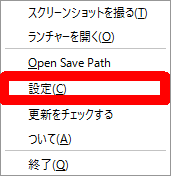
Right-clicking the icon in the taskbar will display a pop-up menu.
Left-clicking the icon in the taskbar will display a guide in the center of the screen showing the Flameshot shortcut keys, allowing you to take a screenshot.
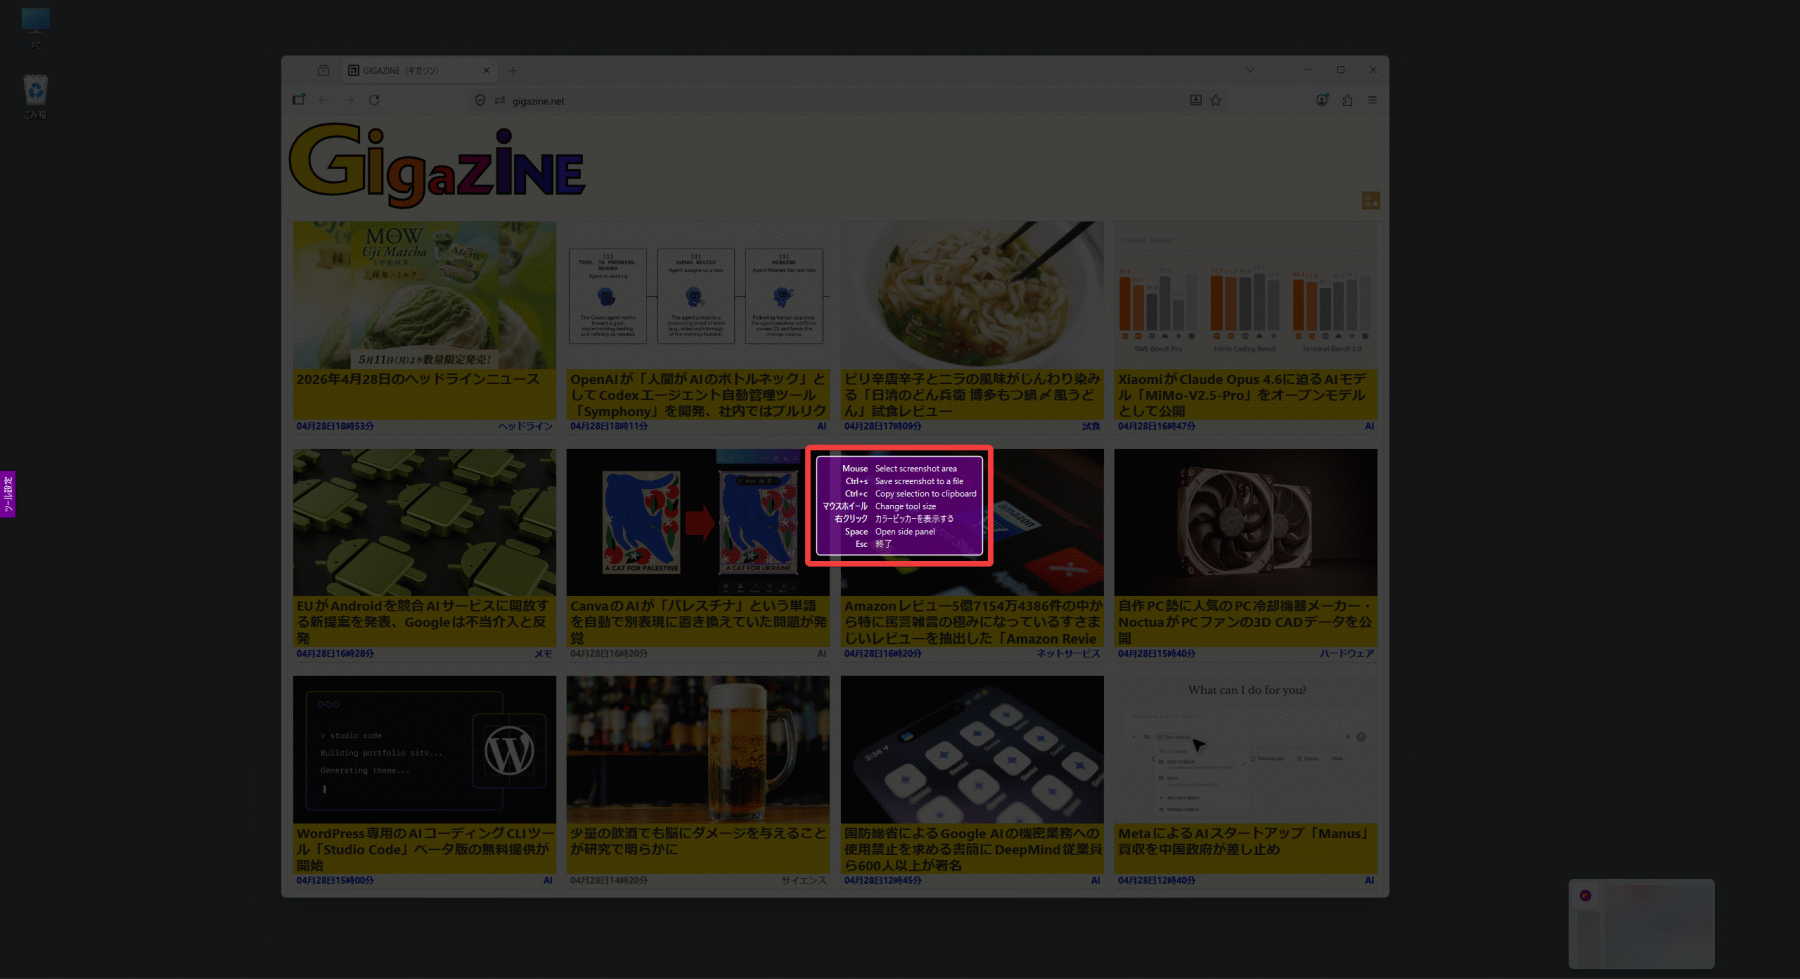
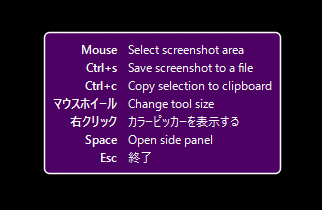
The available hotkeys are as follows:
- Mouse drag : Select the area to take a screenshot of.
・Ctrl+S : Save screenshot to file
Ctrl+C : Copy selected area to clipboard
- Mouse wheel : Change tool size
Right-click : Display color picker
• Space key : Displays the side panel
- Esc key : Exit screenshot capture and editing.
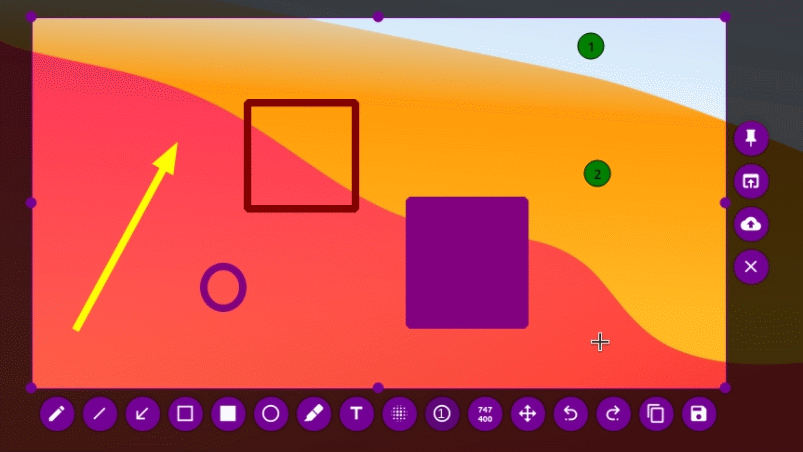
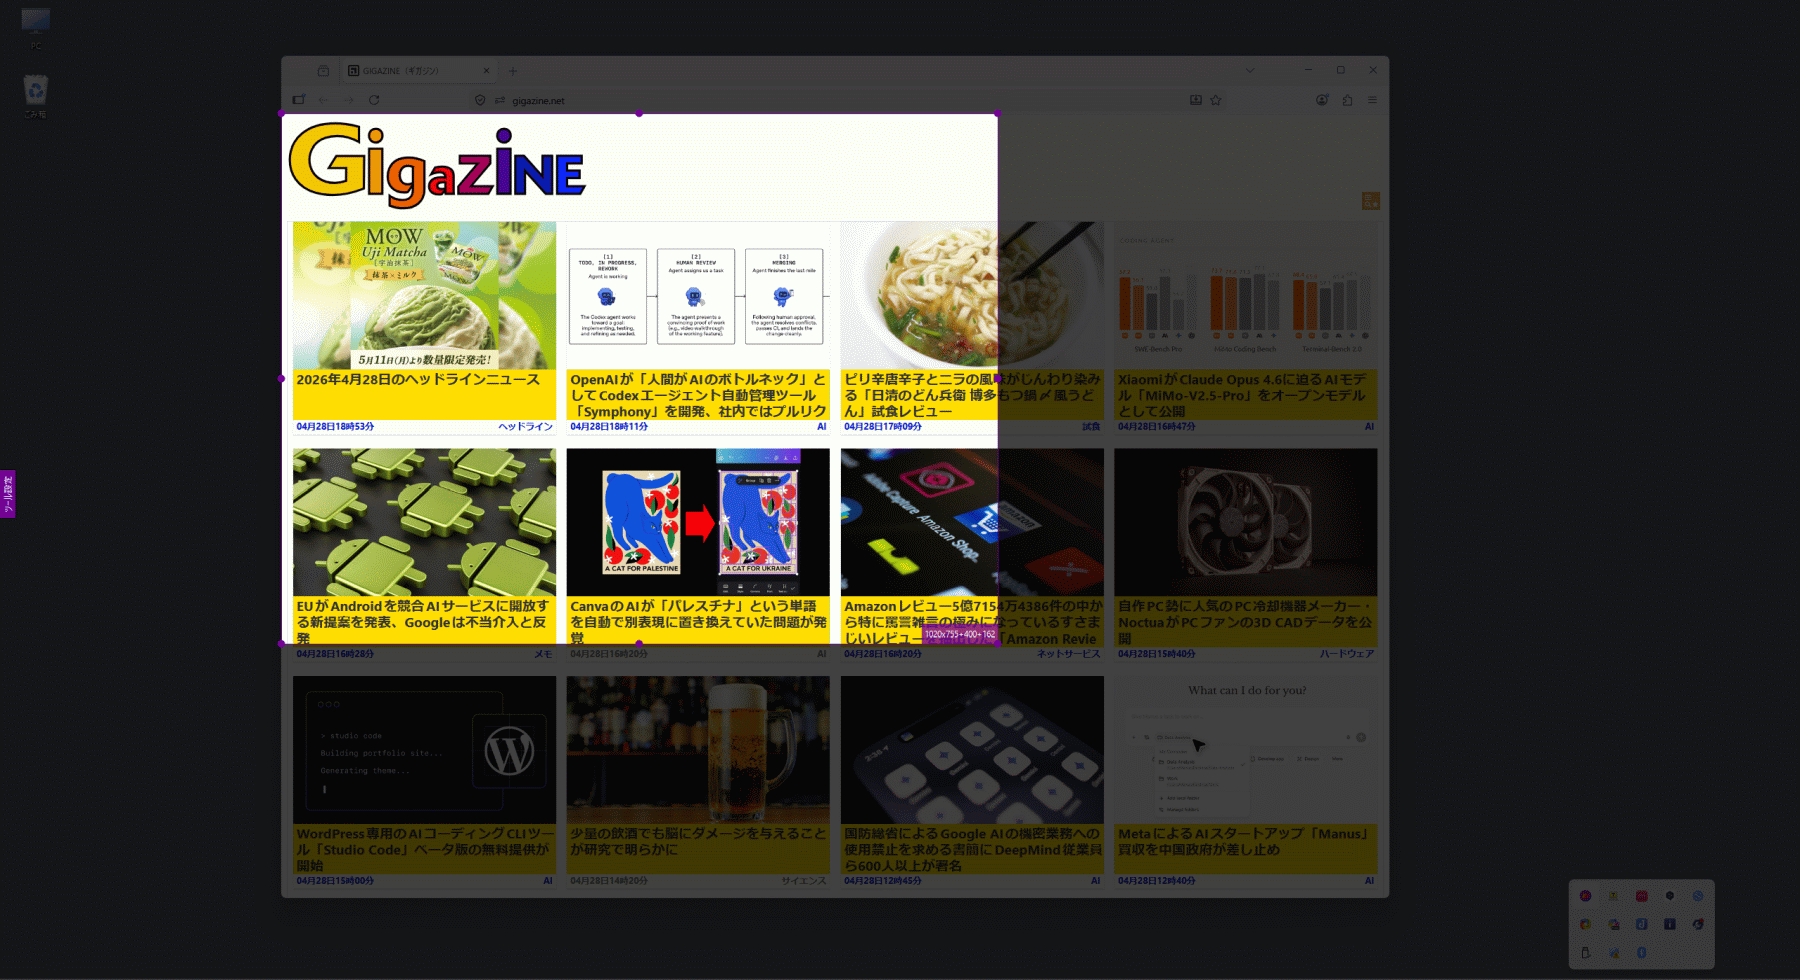
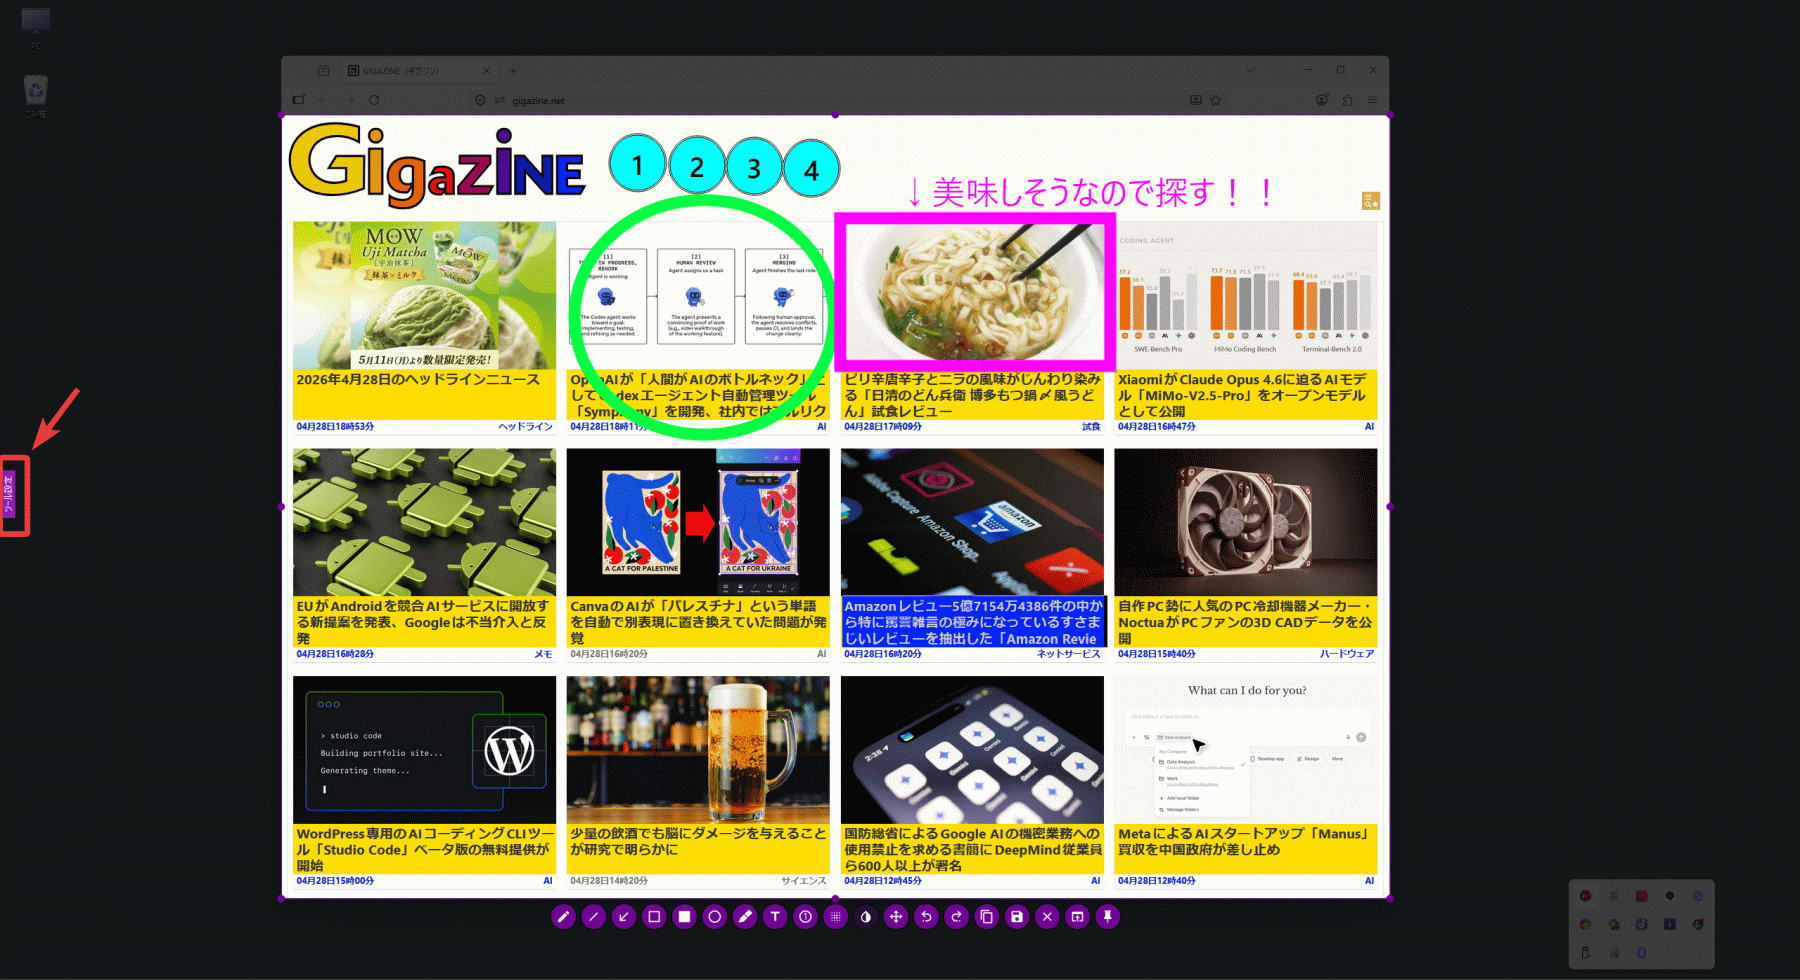
The image shows an area being selected by dragging with the mouse. Geometry information for the selected area is displayed in the lower left corner.
Once you complete the mouse drag, editing tool icons will appear at the bottom of the area. Clicking these icons allows you to directly edit the selected area using the appropriate tool.
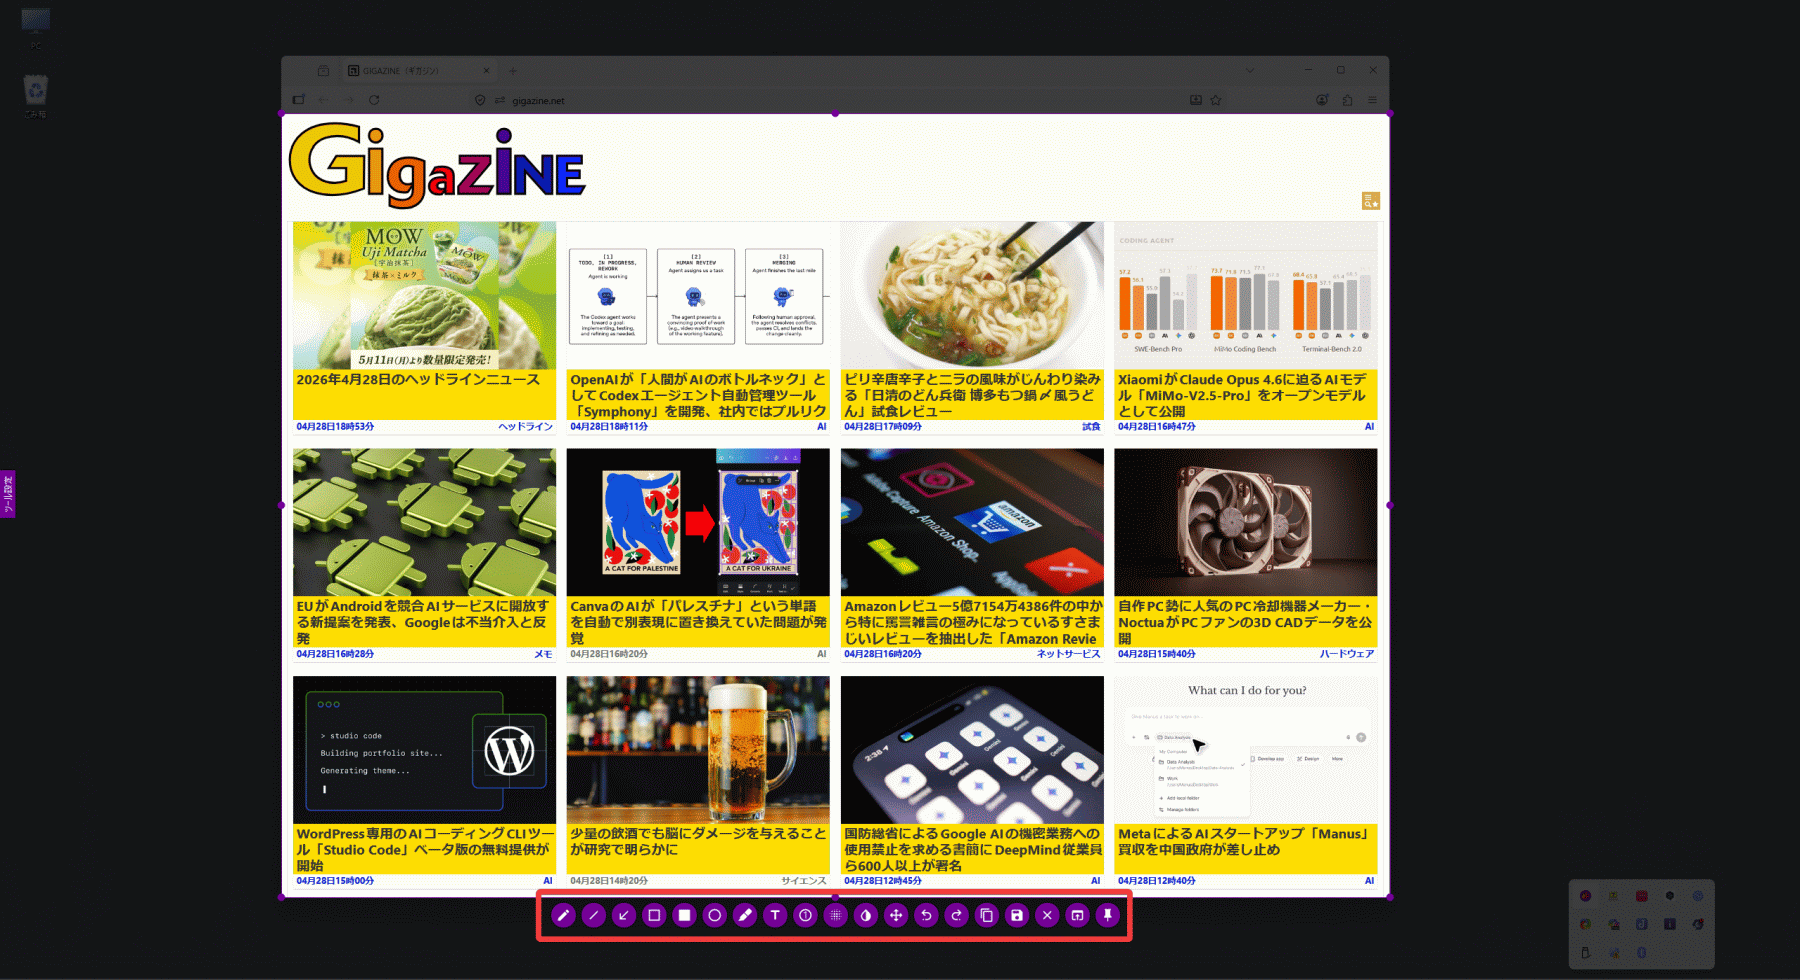
The editing tools are as follows, from left to right:
Set ' Pencil ' as the painting tool.
Set ' Line ' as the paint tool.
Set the ' arrow ' as the paint tool.
Set ' Rectangular Selection ' as the paint tool.
Set ' Rectangle ' as the paint tool.
Set ' Circle ' as the paint tool.
Set ' Marker ' as the paint tool.
- Add text to the capture
- Add an automatically increasing circular counter .
Set ' Mosaic ' as the paint tool.
Set ' Invert Negative/Positive ' as the paint tool.
Move the selection.
- Revert the last change
- Redo the following changes
- Copy selected area to clipboard
- Save the selected area to a file
- Screen capture
Select the application to open the capture with.
- Place the selected area on the desktop.
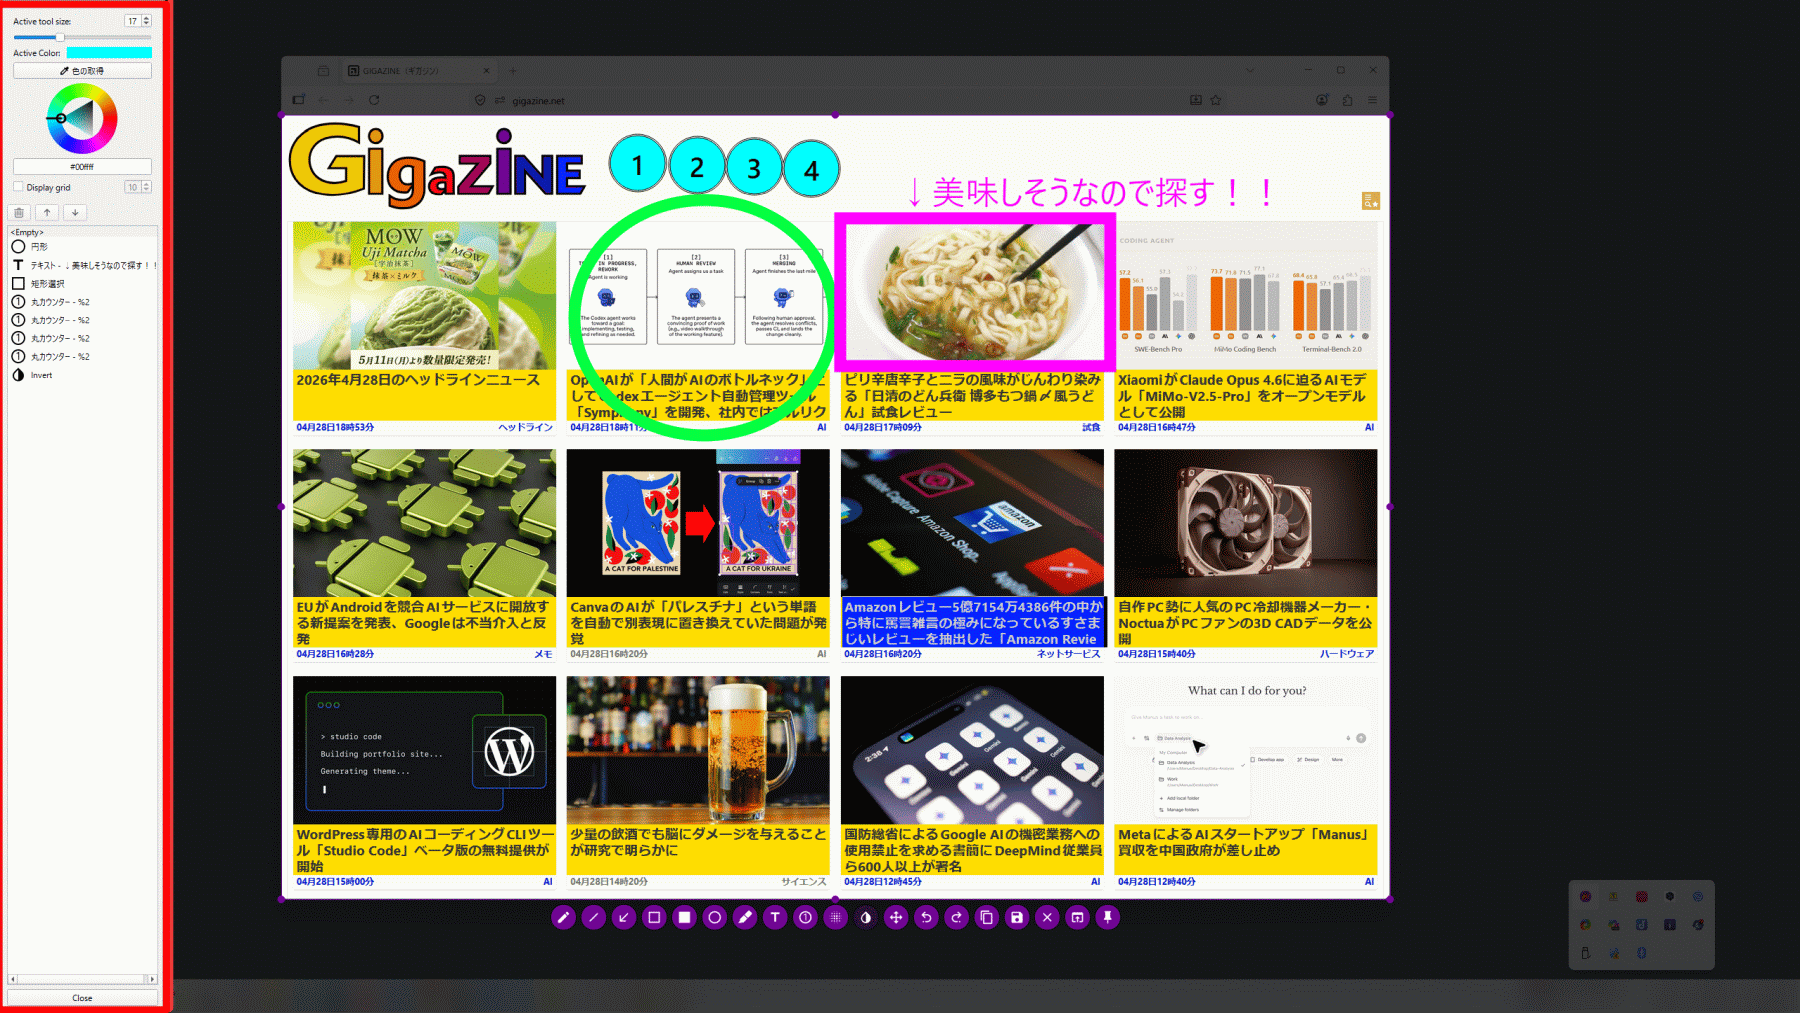
Here are the results after actually editing it.

To change the editing tool settings, click 'Tool Settings' on the far left of the screen to open the side panel.
The side panel is displayed. It shows the tool's color and size (or font name and size for text) and a list of the edits you've made.
◆Setting items
You can access the settings dialog by selecting 'Settings' from the pop-up menu.
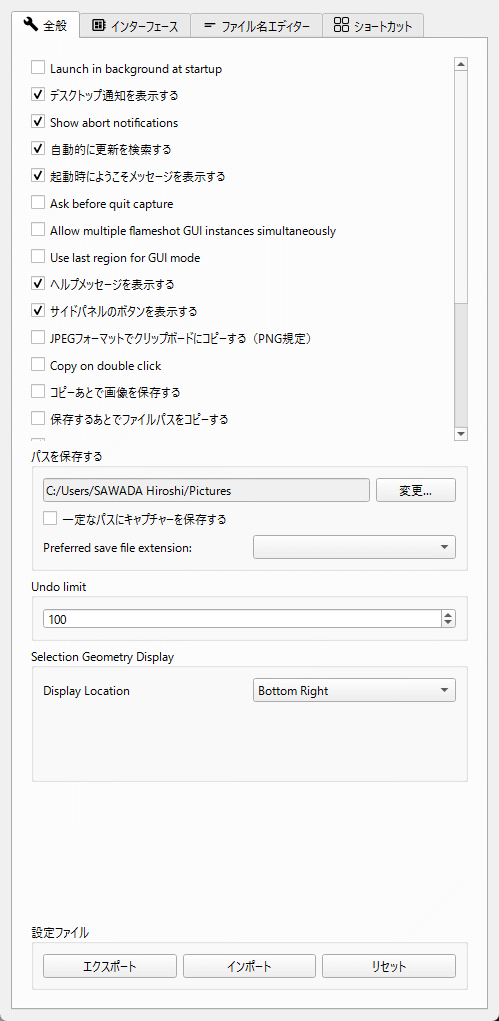
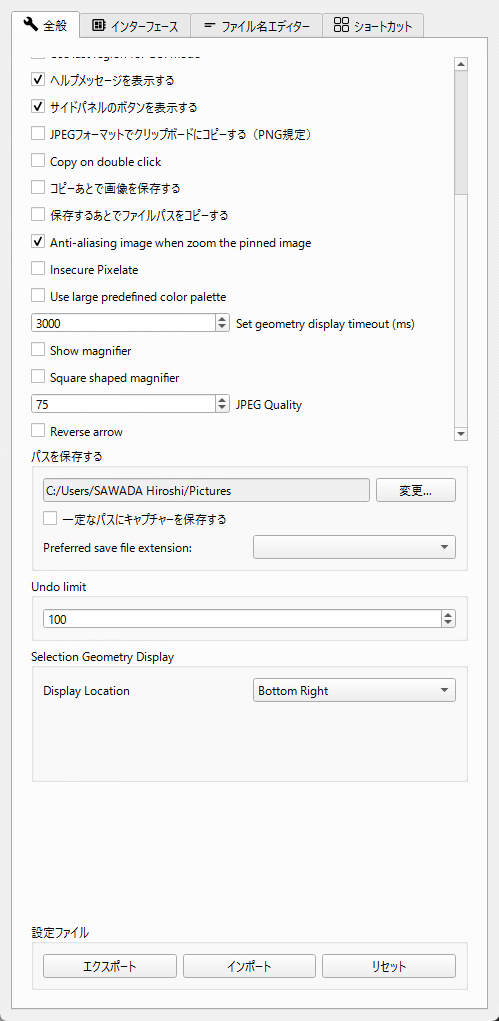
General
The 'General' tab allows you to configure settings that apply to the entire application.
- Runs in the background when the PC starts up.
- Display desktop notifications
- Display a cancellation notice.
• Automatically searches for updates
- Display a welcome message when the system starts up.
- Check before ending the capture.
- Run multiple FlameShot GUI instances simultaneously
- Reuse the last specified area in GUI mode.
- Display help message
- Display the buttons on the side panel.
- Copy to clipboard in JPEG format (default is PNG)
Double-click to copy.
Save the image after copying.
- Copy the file path after saving.
- Perform anti-aliasing when zooming in on pinned images.
- Performs unstable pixelation
- Use predefined large-capacity palettes
- Geometry display timeout (milliseconds)
- Display the magnifying glass
Use a square magnifying glass.
JPEG quality
Reverse the arrow
Save the path
- Limit on the number of 'retry' attempts
- Display position of geometry information
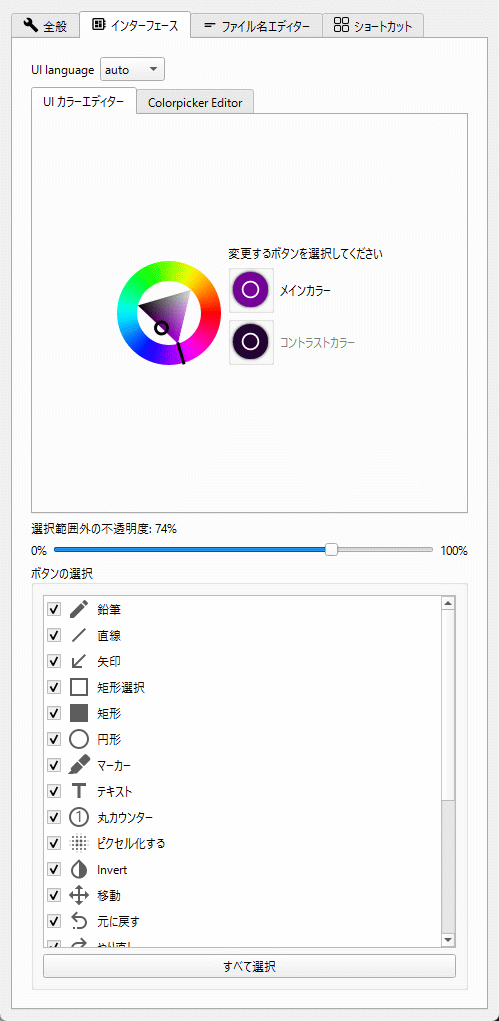
Interface
The 'Interface' tab allows you to configure UI-related settings.
UI language
UI Color Editor
• Color picker editor
Opacity outside the selection area
- Button selection (can be specified for each editing tool)
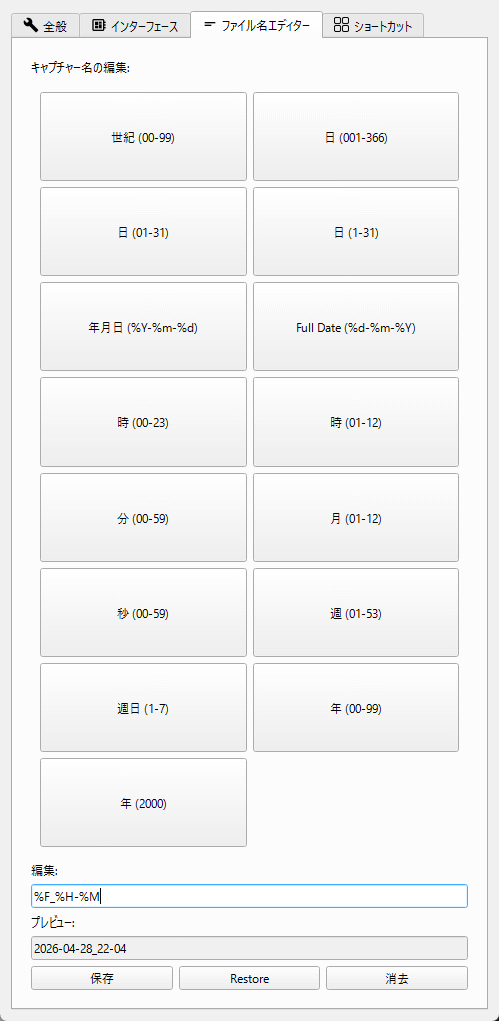
File name editor
The 'File Name Editor' tab allows you to configure the format of the file name that is automatically assigned when saving a screenshot.
Shortcuts
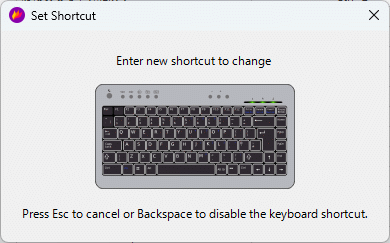
The 'Shortcuts' tab allows you to customize the shortcut keys you can use with Flameshot.
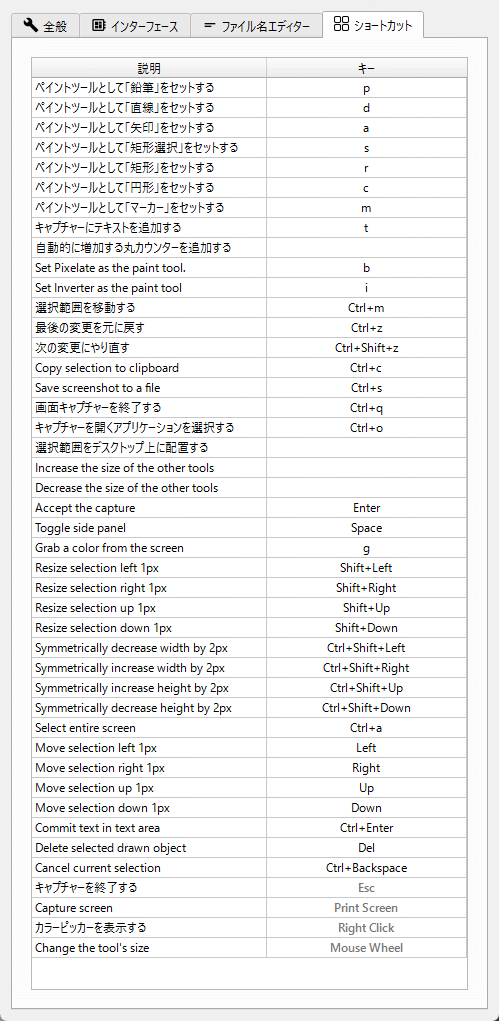
In the shortcut list, double-click the 'Key' column to the right of the function name you want to set. A 'Set Shortcut' pop-up will appear, and pressing the desired key combination will automatically recognize and register it. To cancel the registration, press the Esc key; to disable a registered key, press the Backspace key.
◆Command line
One of Flameshot's key features is its robust command-line interface (CLI). Using the CLI, you can script Flameshot operations and set them as keybindings without launching a GUI. Note that on Windows, 'flameshot' does not output to the command line, so you need to use 'flameshot-cli' instead. A sample command line is shown below.
Capture using GUI
[code]
flameshot gui
[code]
- Capture using the GUI and save to the path specified in the options.
[code]
flameshot gui --path ~/myStuff/captures
[code]
・The GUI will open in 2 seconds.
[code]
flameshot gui --delay 2000
[code]
- Take a full-screen capture without opening the GUI and ask for the save location.
[code]
Full Shot
[code]
- After 5 seconds, take a full-screen capture without opening the GUI and save it to the path specified in the options.
[code]
flameshot full --path ~/myStuff/captures --delay 5000
[code]
- Capture a full screen without opening the GUI, save it to the path specified in the options, and copy it to the clipboard.
[code]
flameshot full --clipboard --path ~/myStuff/captures
[code]
◆Summary
Flameshot is an open-source tool that combines functionality and ease of use, offering the potential to dramatically improve the efficiency of screen capture tasks. Available on various platforms, it's a particularly attractive option for users seeking advanced editing features and customization options. If you frequently take screenshots, you should definitely give Flameshot a try.
Related Posts: