Nintendo's 'Nintendo Switch 2' has finally arrived, so we've taken a closer look at the main unit, including a photo review of the Joy-Con 2 that attaches magnetically, an ultra-high-speed HDMI cable, and an AC adapter with a maximum power of 60W.
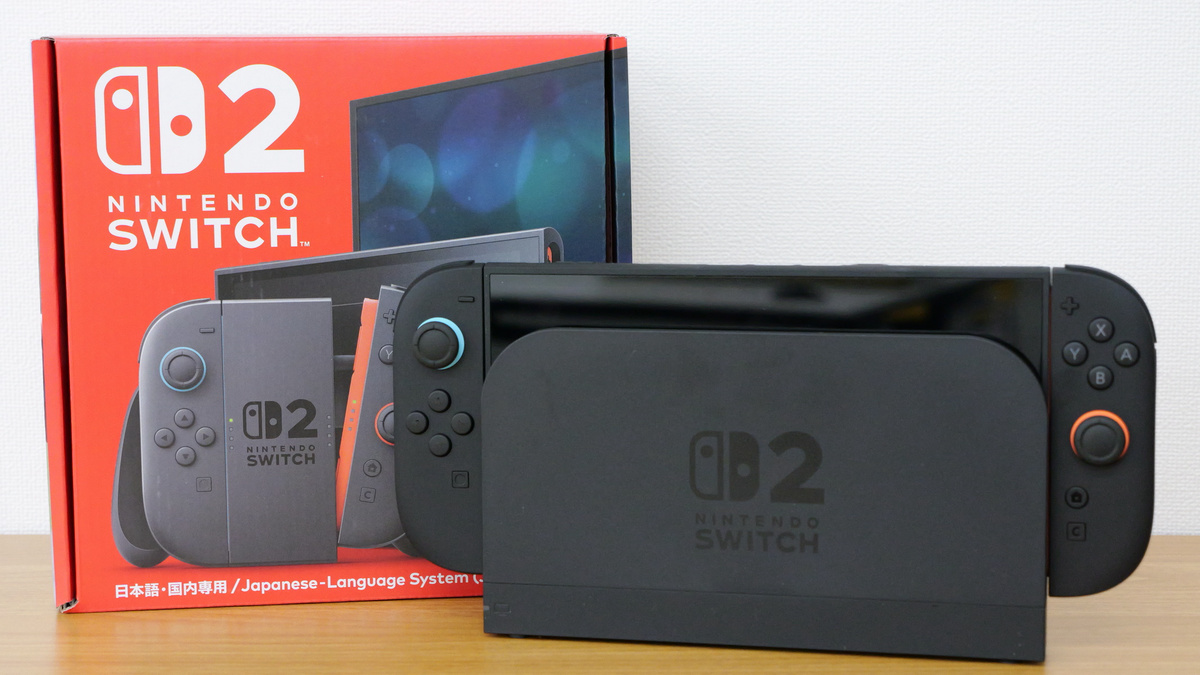
Nintendo's next-generation home video game hardware, the Nintendo Switch 2 , which was released on June 5, 2025, is still in a state where you can only get it if you win the lottery sales at the official Nintendo store or each retail store at the time of writing. We finally won the lottery sales at Nintendo for the fourth time, and the Nintendo Switch 2 main unit finally arrived at the GIGAZINE editorial department, so we first took a good look at its appearance.
Nintendo Switch 2 | Nintendo
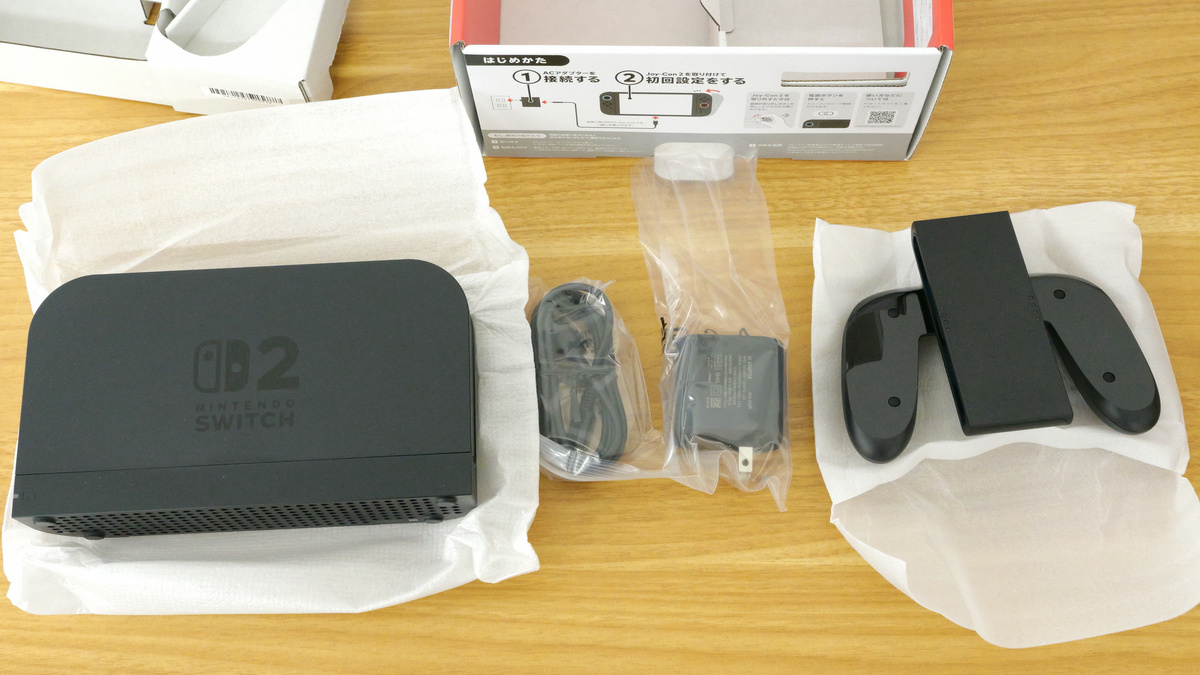
The box that arrived from Nintendo. It was filled with the console and peripherals.
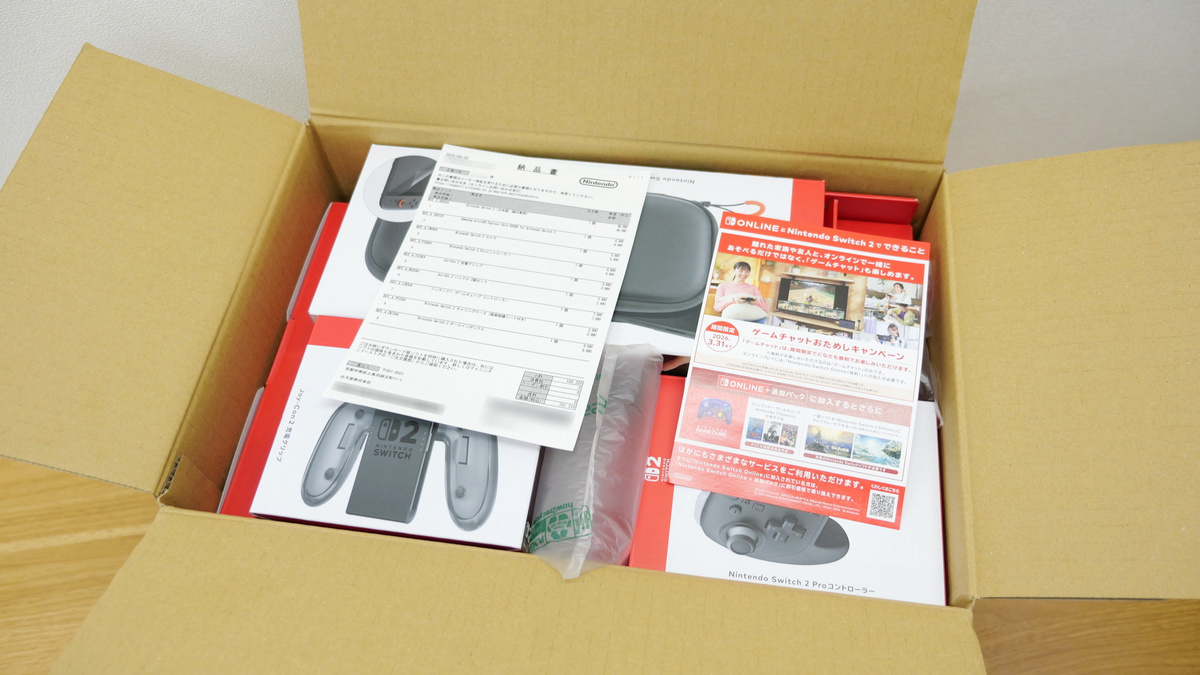
In addition to the Nintendo Switch 2,
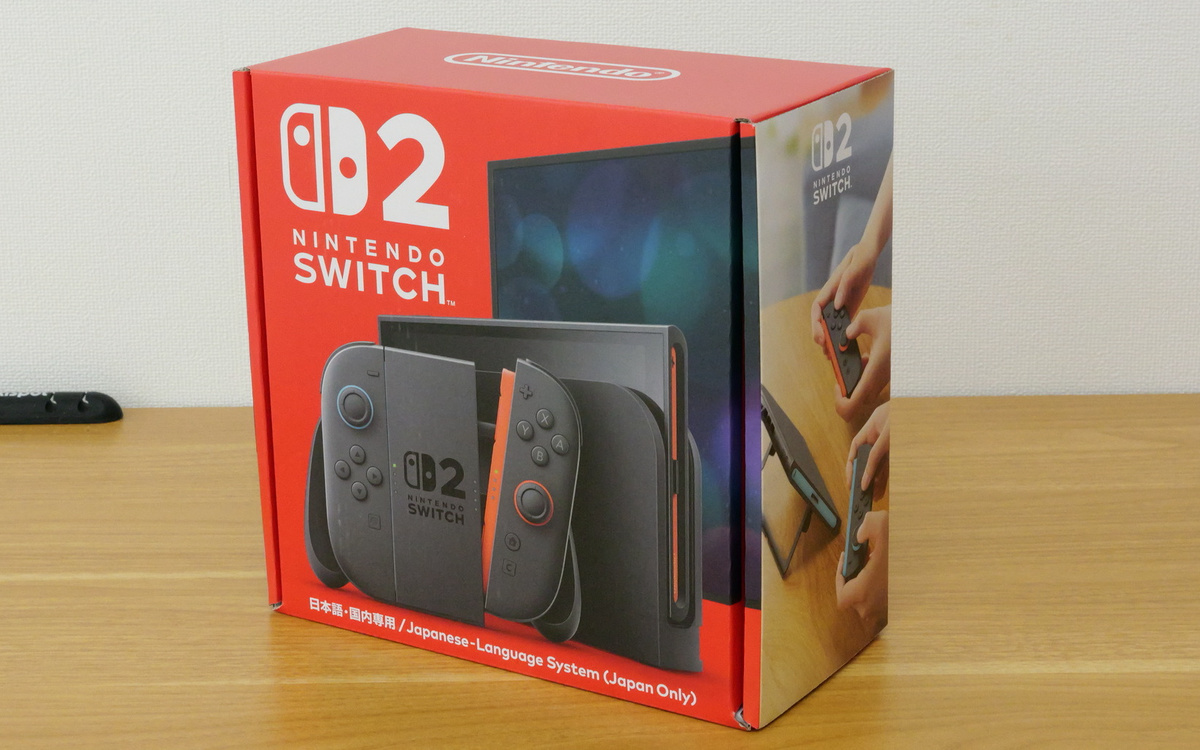
The front of the main package looks like this. The one I purchased this time is the Japanese version.
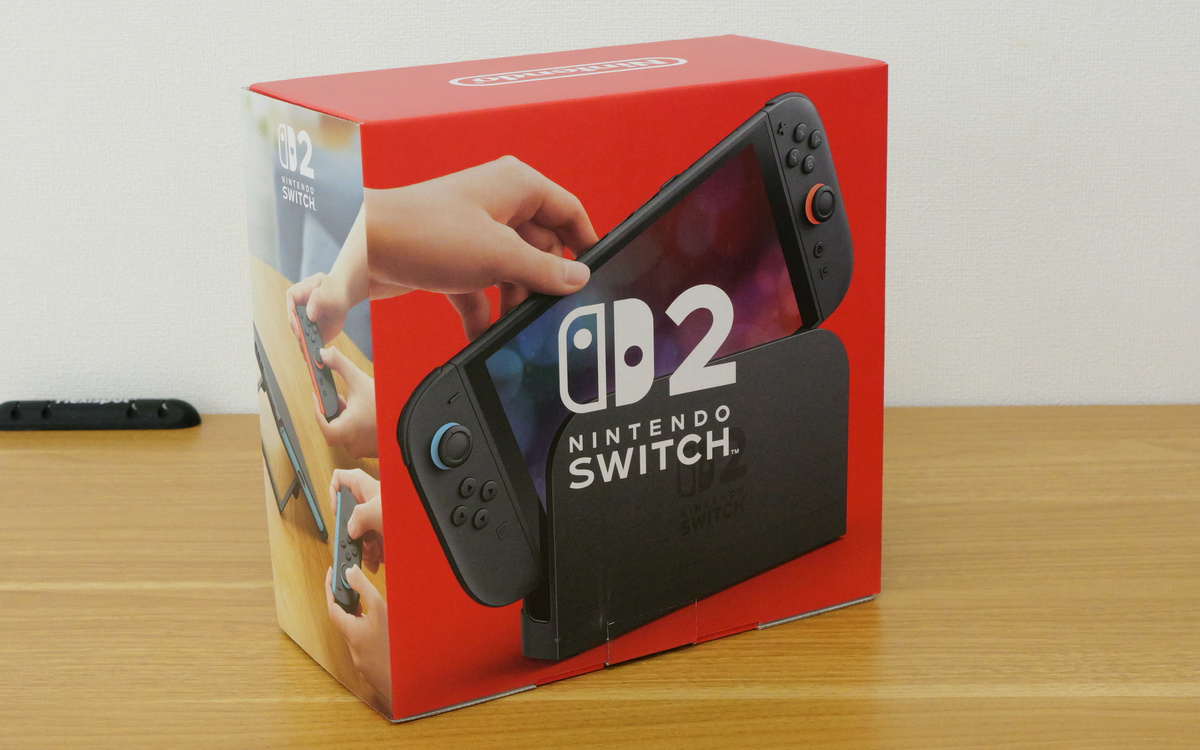
Back
On the bottom are instructions, the contents of the set, microSD Express, HDMI, the Nintendo logo, and a serial number.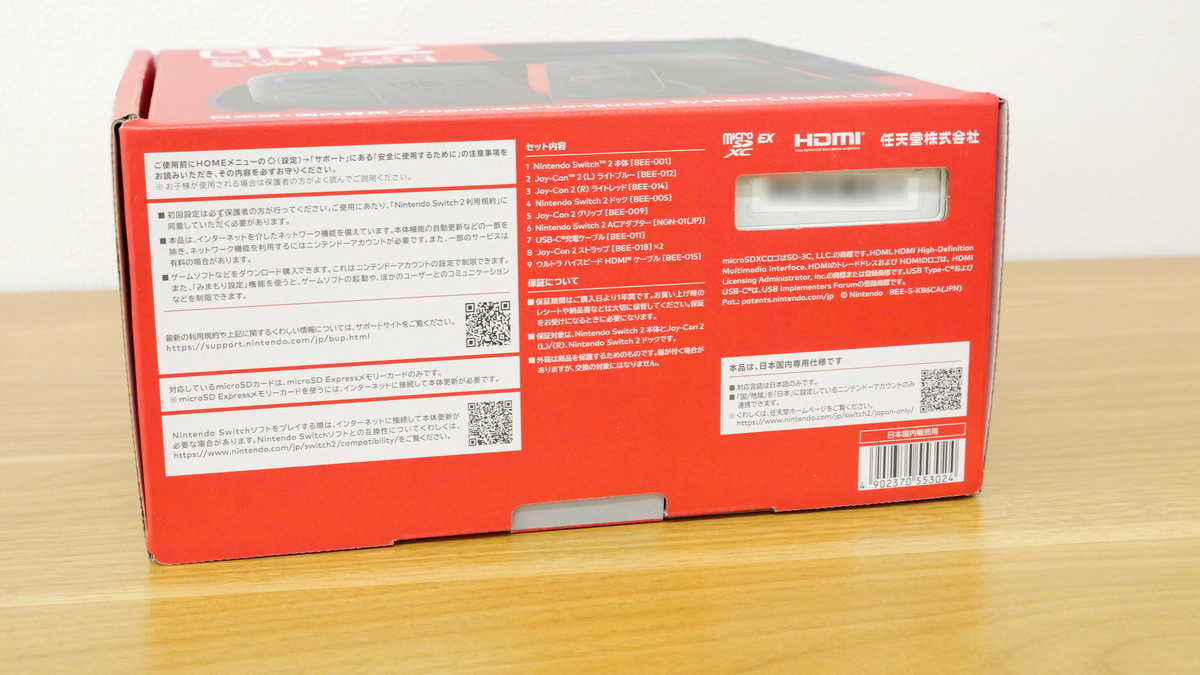
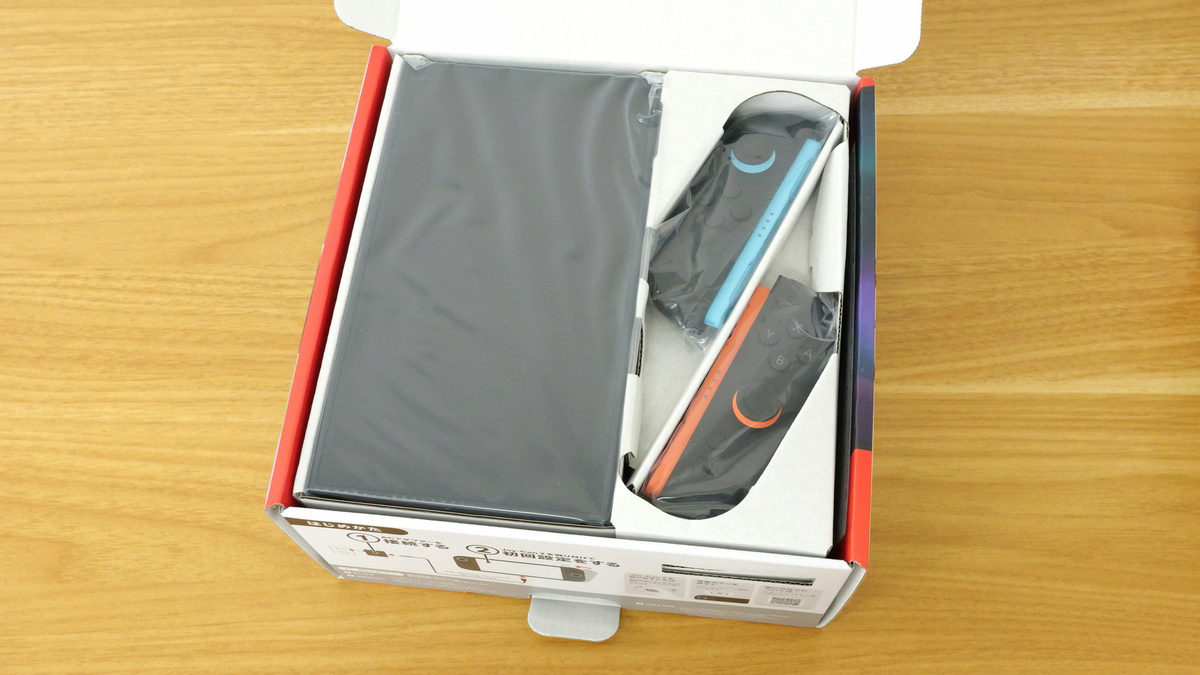
When you open the lid, you'll see the console and Joy-Con 2.
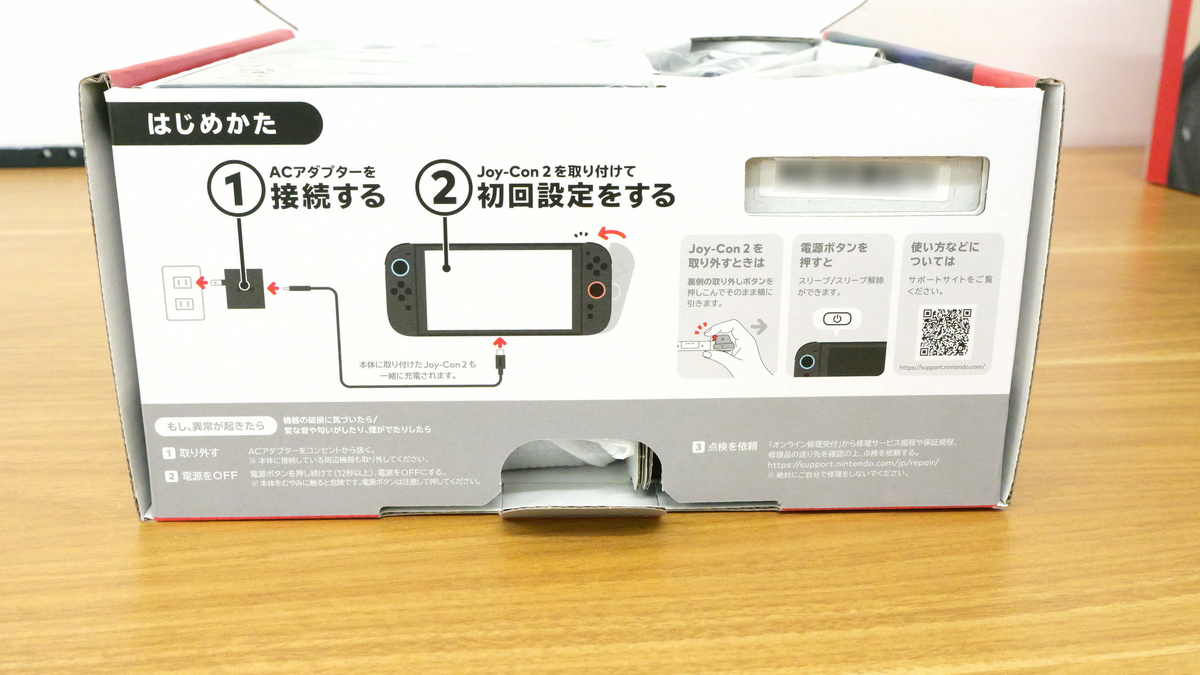
After opening the lid, there was a description of the initial setup on the bottom.
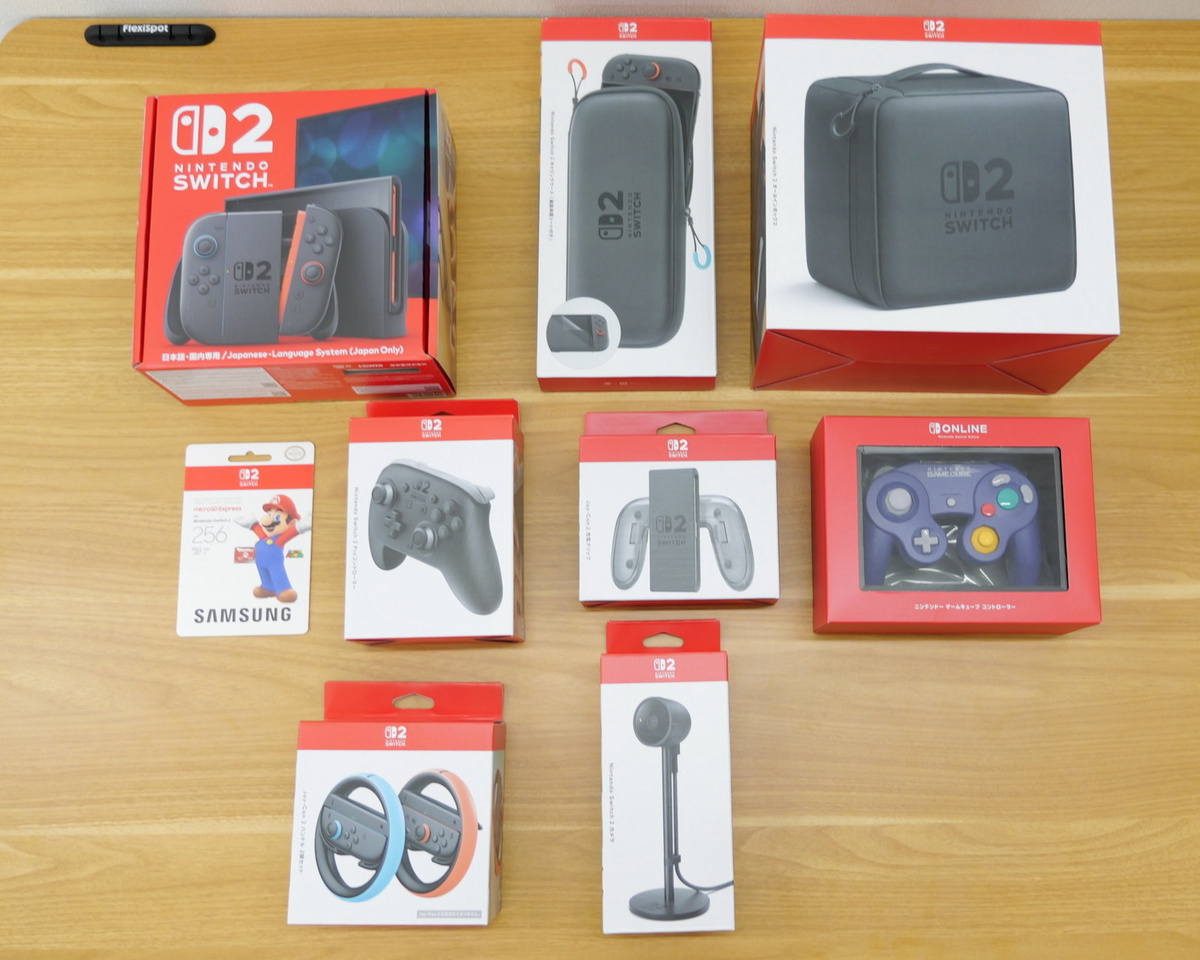
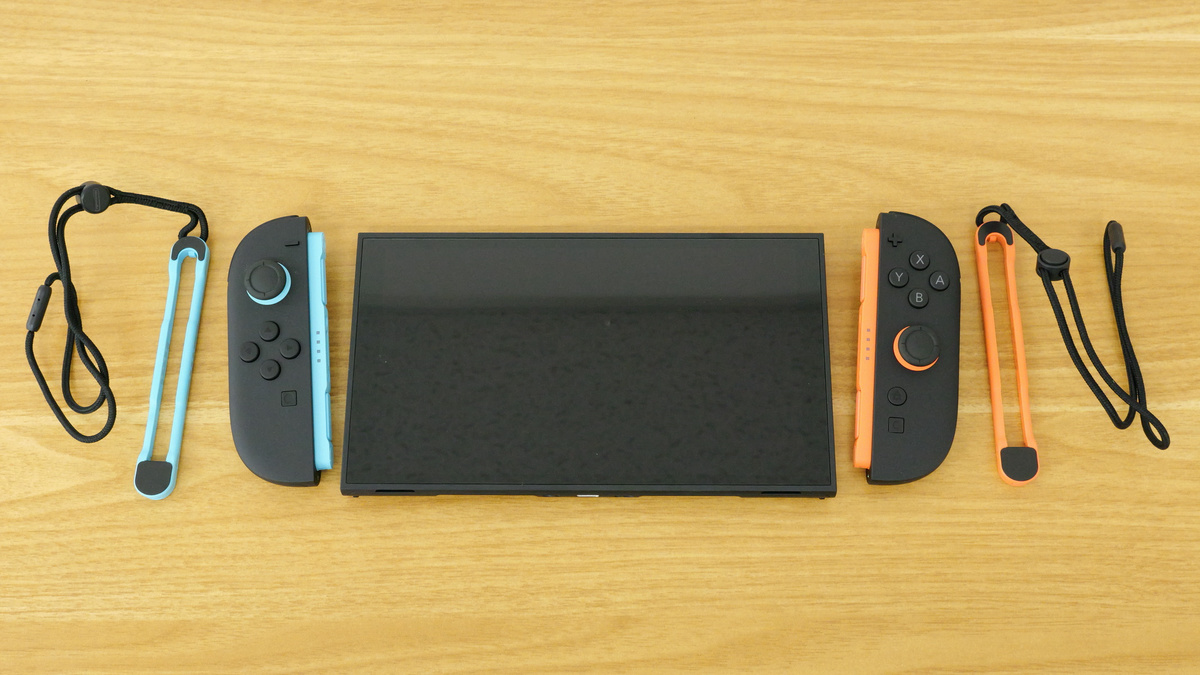
Includes the console, Joy-Con 2, an ultra high-speed HDMI cable, and a strap for Joy-Con 2.
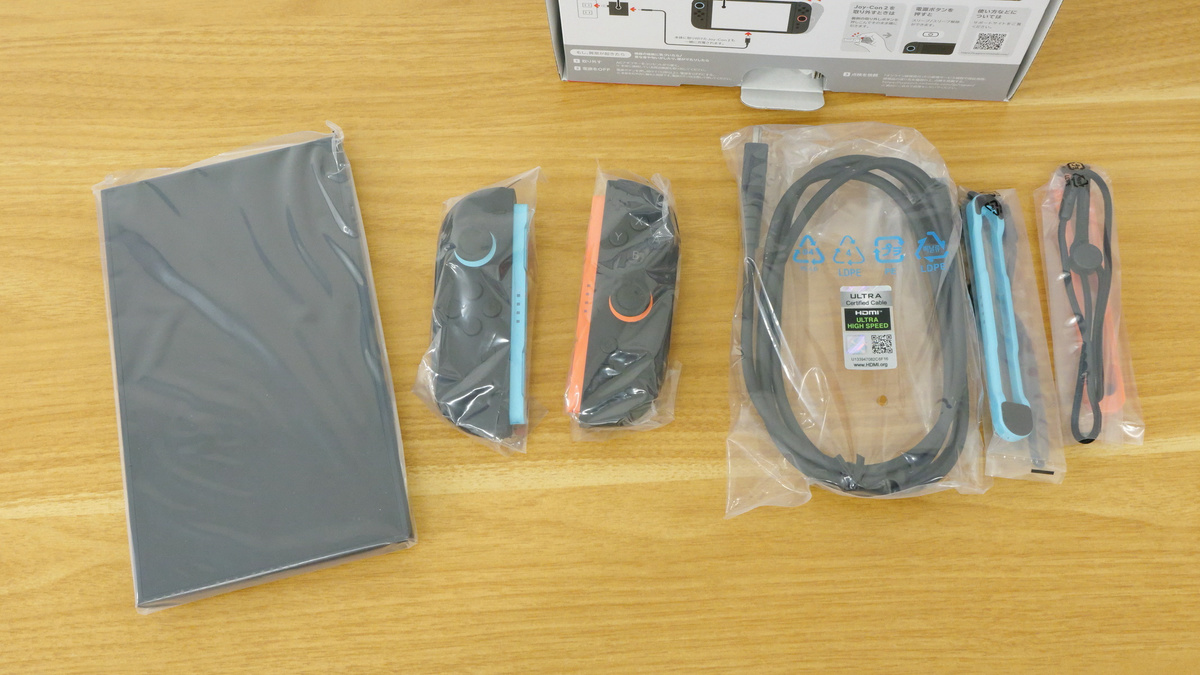
Below that is the Nintendo Switch 2 dock, USB-C charging cable and AC adapter, and Joy-Con 2 grip.
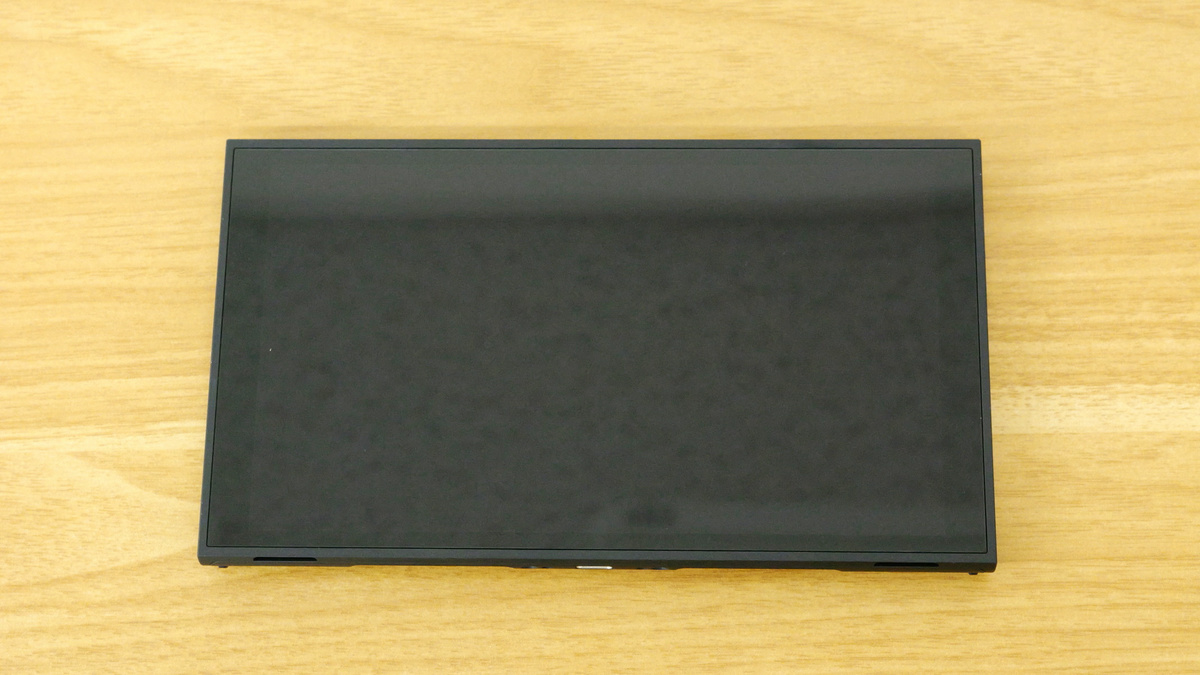
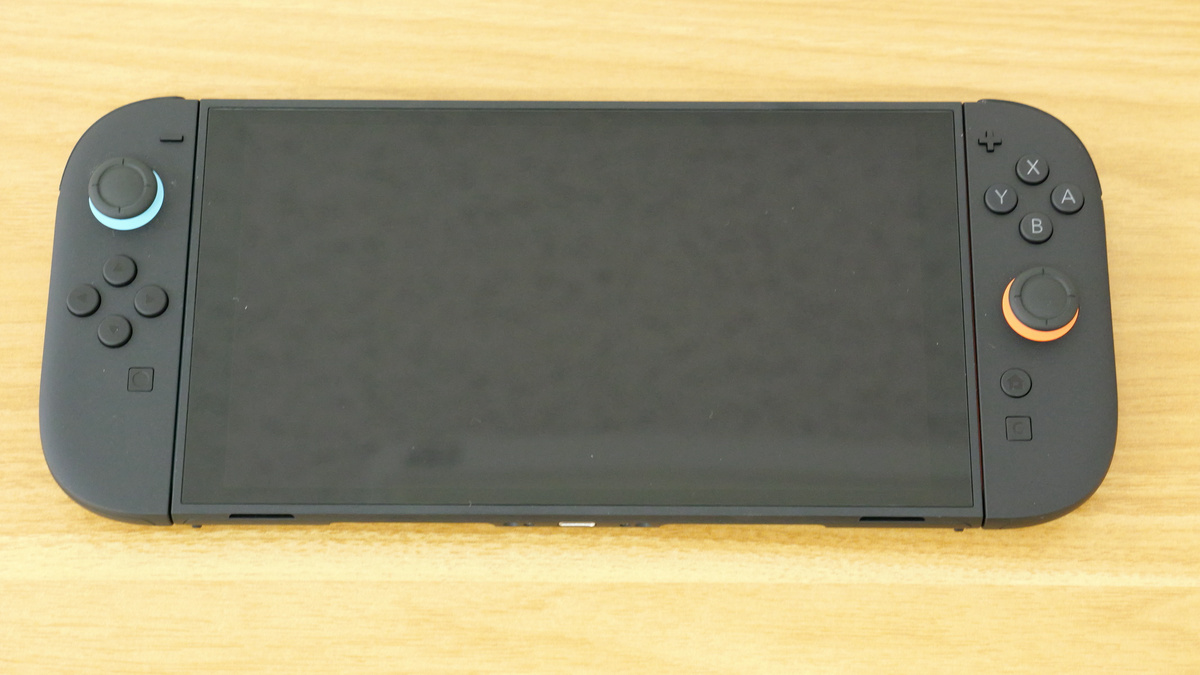
On the front of the device is a 7.9-inch capacitive touchscreen.
The left side, where the Joy-Con 2 (left) is attached, is blue to match the Joy-Con 2 (left). There is a magnetic connector in the center of the recess, and a '-' icon on the edge. Also, the words 'MADE IN CHINA' are printed on it, although it is very faint and difficult to see.

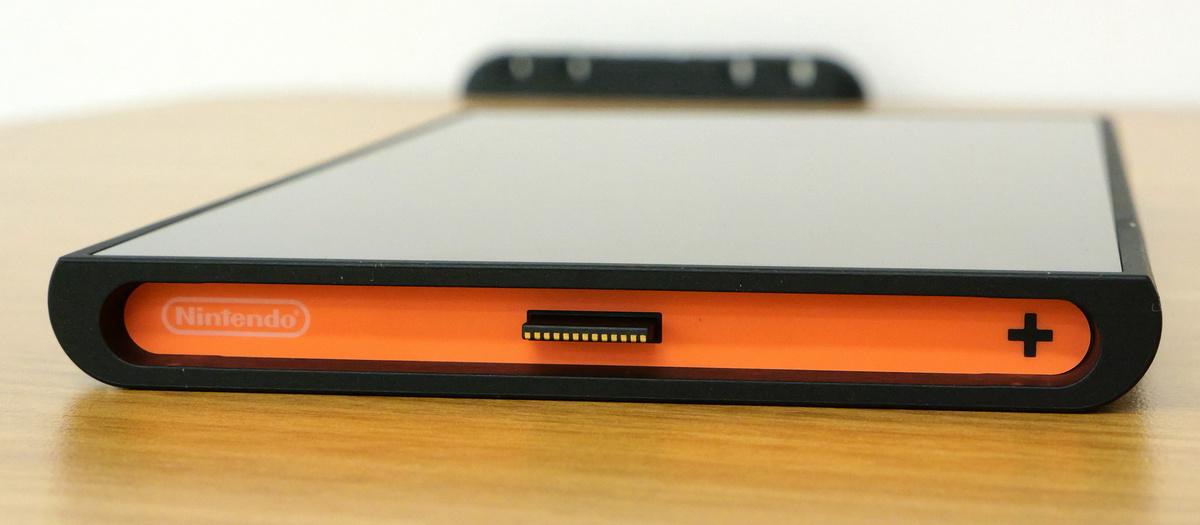
The right side, where the Joy-Con 2 (right) is attached, is red. There is a magnetic connector in the center of the recess, and a '+' icon on the edge. It also has the 'Nintendo' logo.
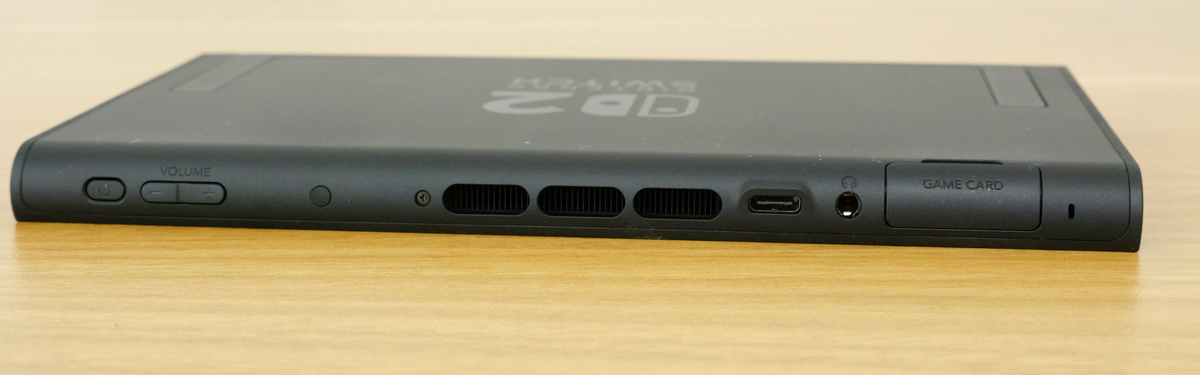
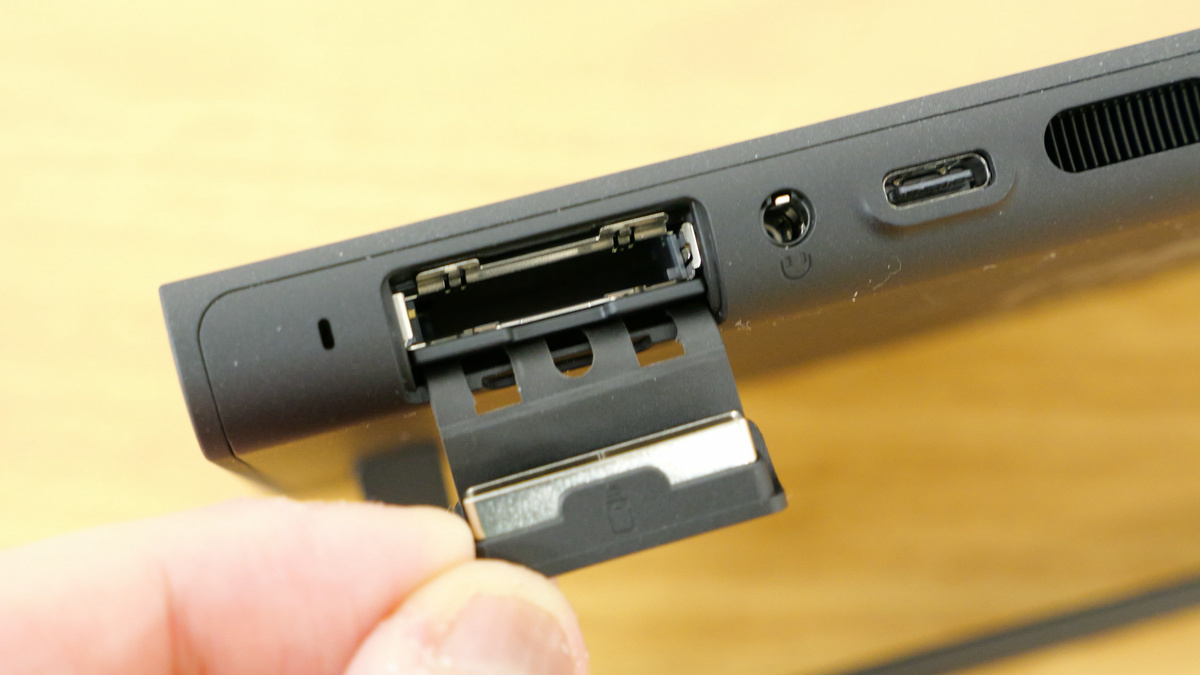
On the top are the power button, volume buttons, brightness sensor, air vents, USB Type-C port, headphone mic port, game card slot, and microphone.
The game card slot cover has been opened.
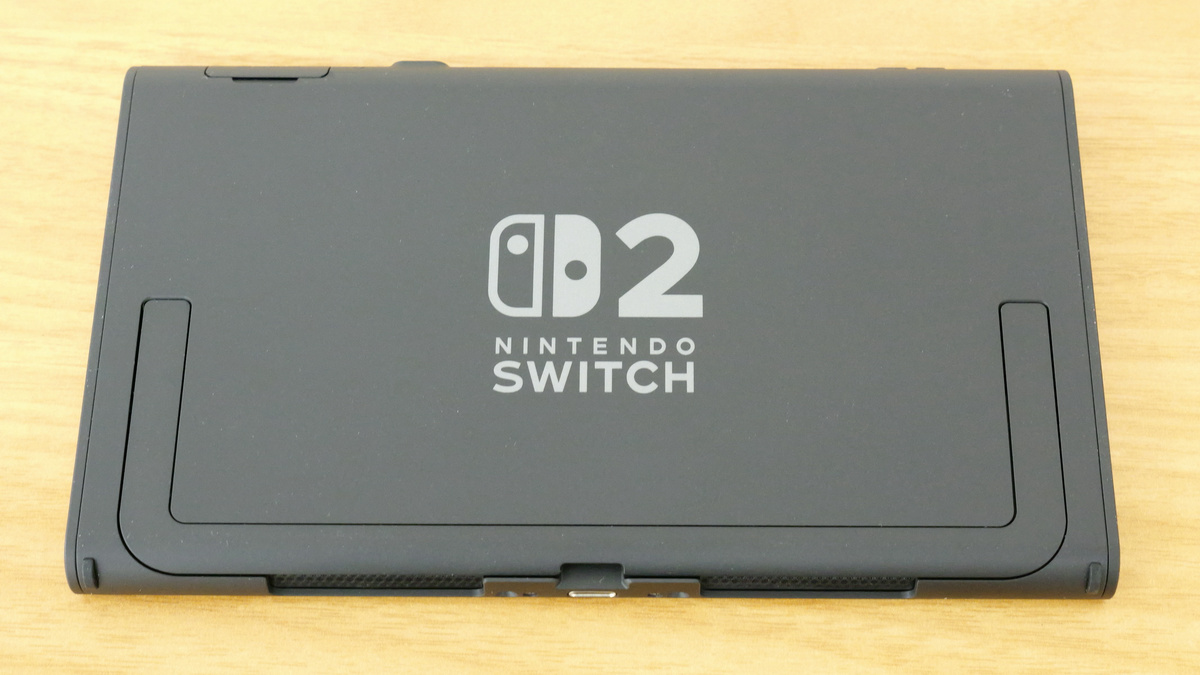
The Nintendo Switch 2 logo was engraved on the back.
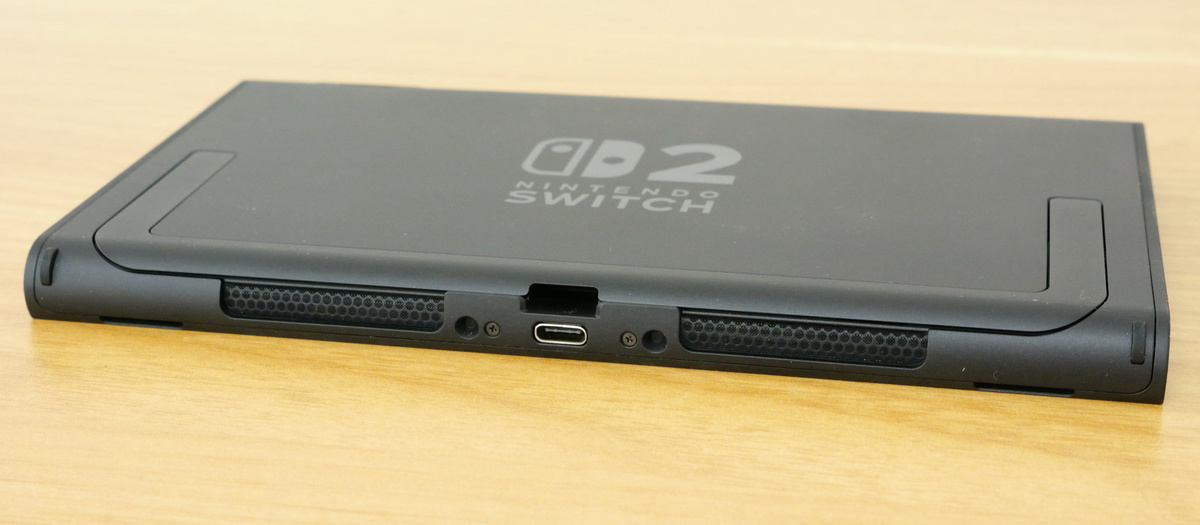
There are ventilation holes on the left and right sides of the bottom, and a USB Type-C terminal in the center.
The stand that folds out on the back can be opened to about 140 degrees. It can be stopped at any angle you like, and it is firmly fixed in place.
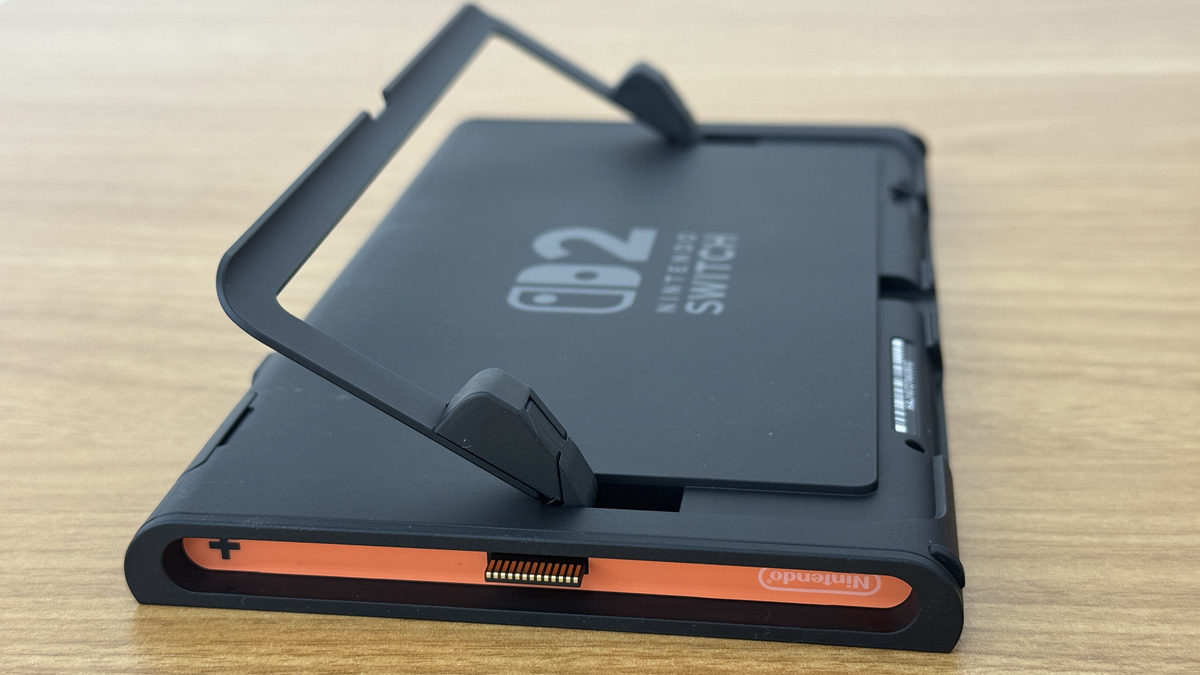
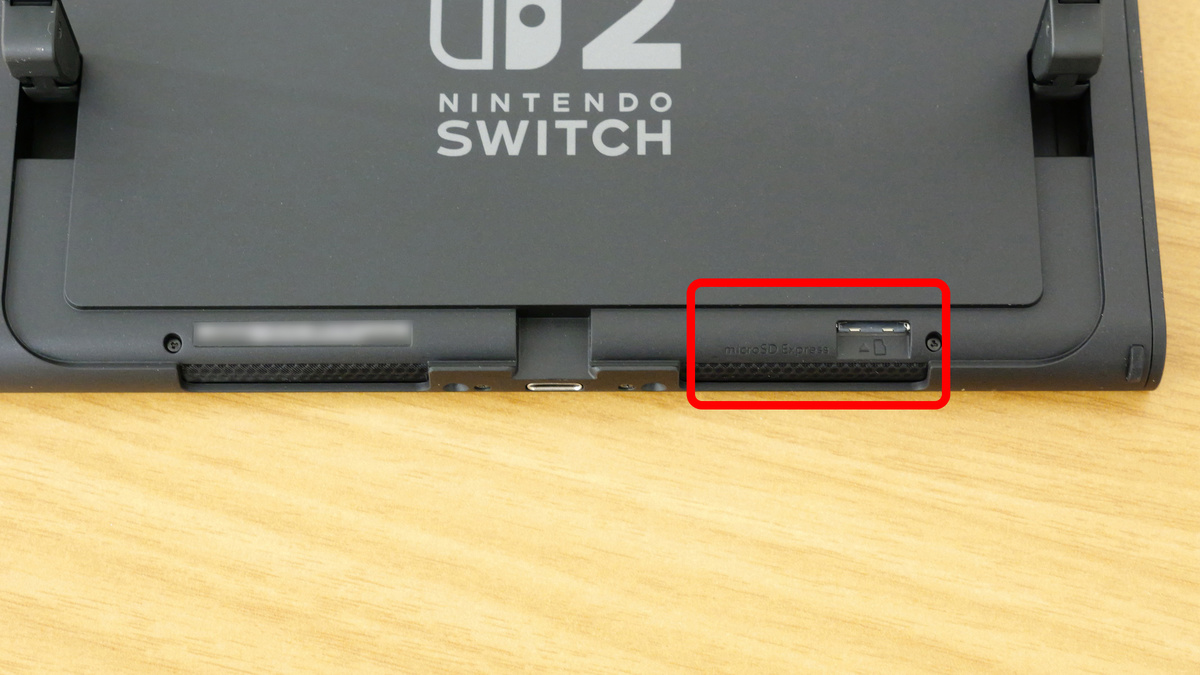
Under the stand was the microSD Express card slot.
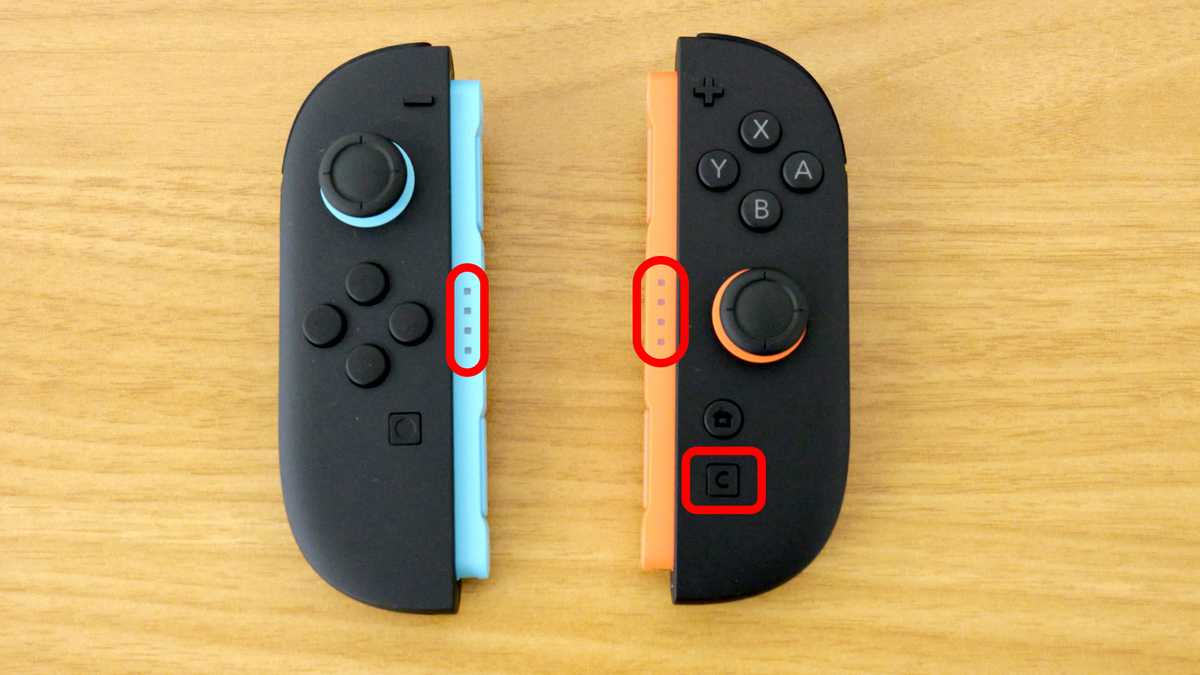
Joy-Con 2 (left) and Joy-Con 2 (right). The button layout is almost the same as the previous generation Nintendo Switch, but the Joy-Con 2 (right) has a 'C' button below the home button to call up game chat. In addition, the connection part with the main unit is now convex, so the player lamp that displays the controller number can now be seen from the front.
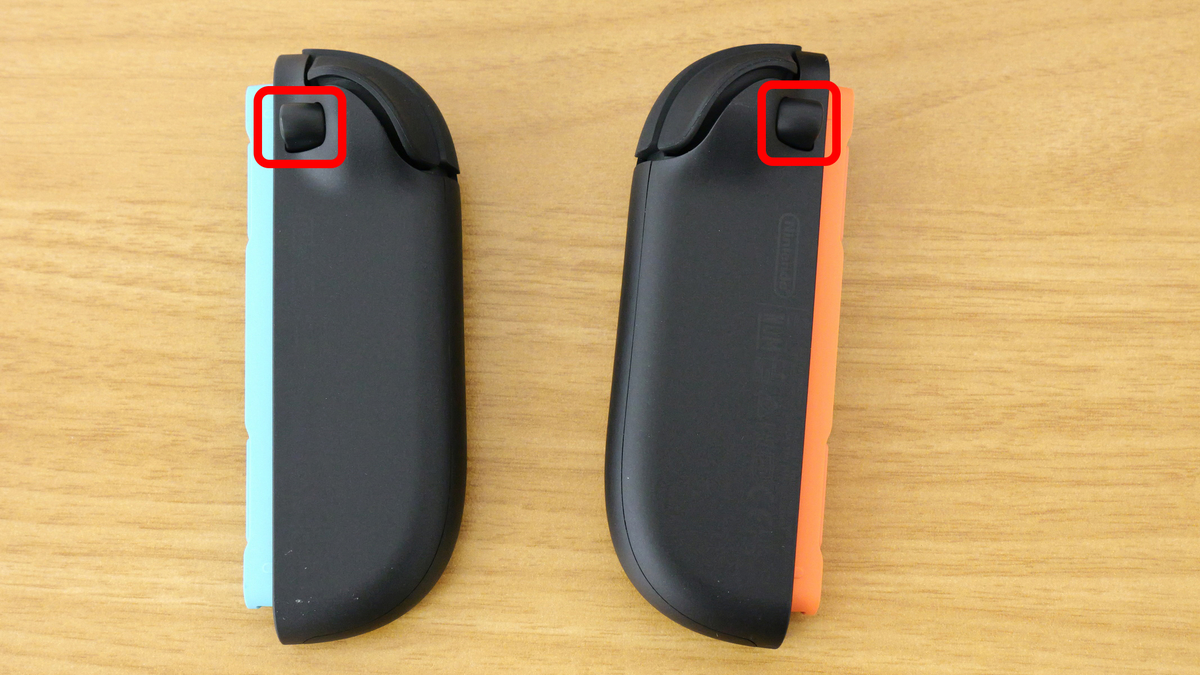
The back looks like this, and it has the same ZL/ZR buttons as the previous generation Nintendo Switch, but below that there is a 'removal button.'
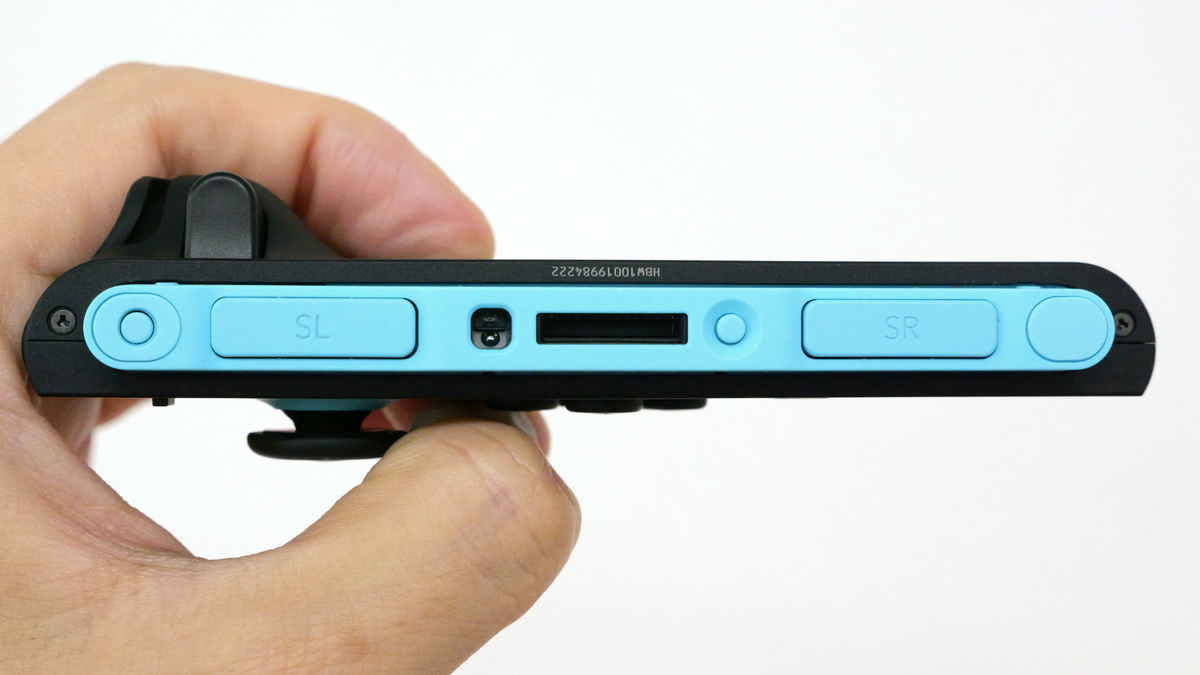
The side looks like this.
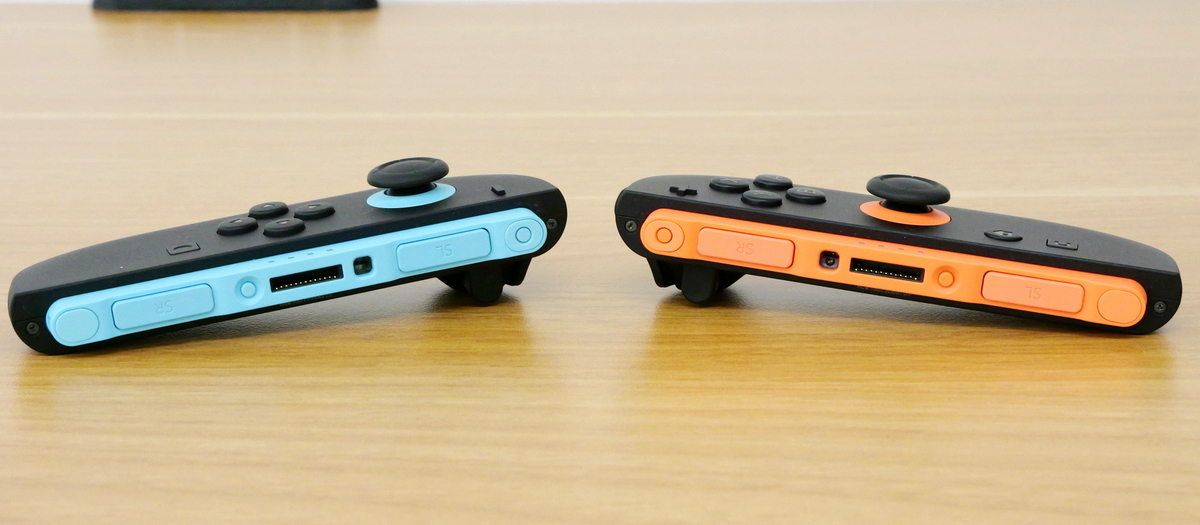
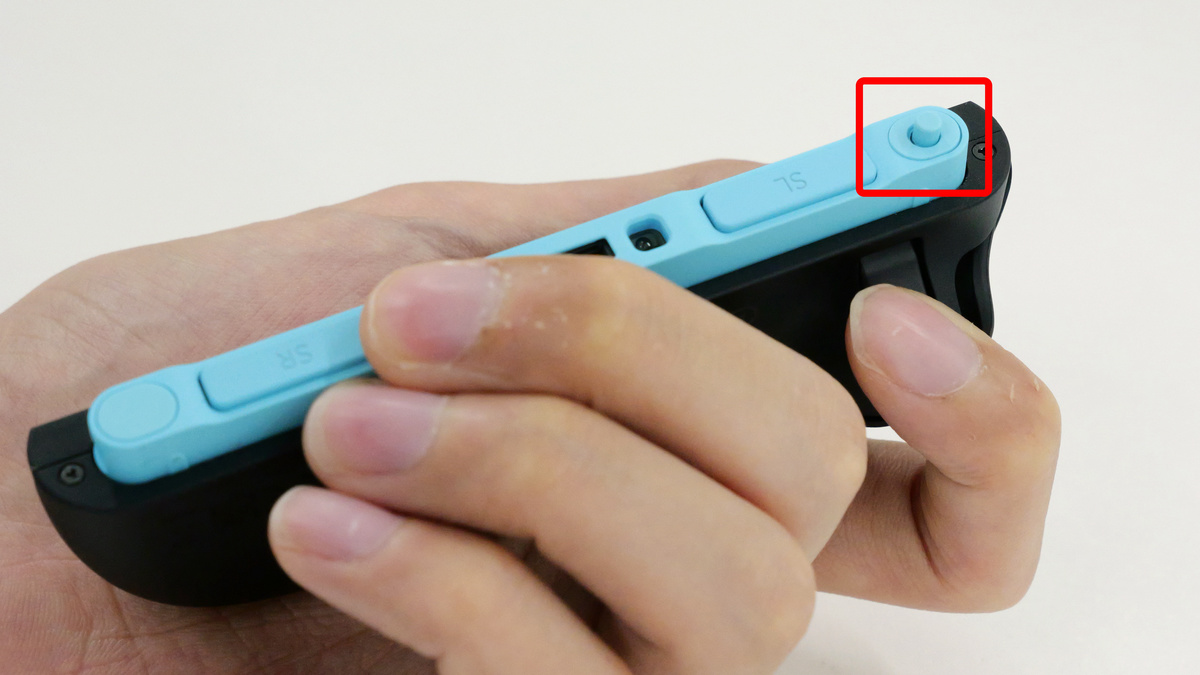
Looking closely at the side of the Joy-Con 2 (left), we can see (from left to right) the mouse soles, SL button, mouse sensor, magnetic connector connection part, sync button, SR button, and mouse soles.
One of the mouse sources has an internal part that pops out when you press the release button, allowing you to physically remove the Joy-Con 2 from the Nintendo Switch 2 console or Joy-Con 2 strap.
So, I'll try attaching the Joy-Con 2 to the Nintendo Switch 2 console and strap.
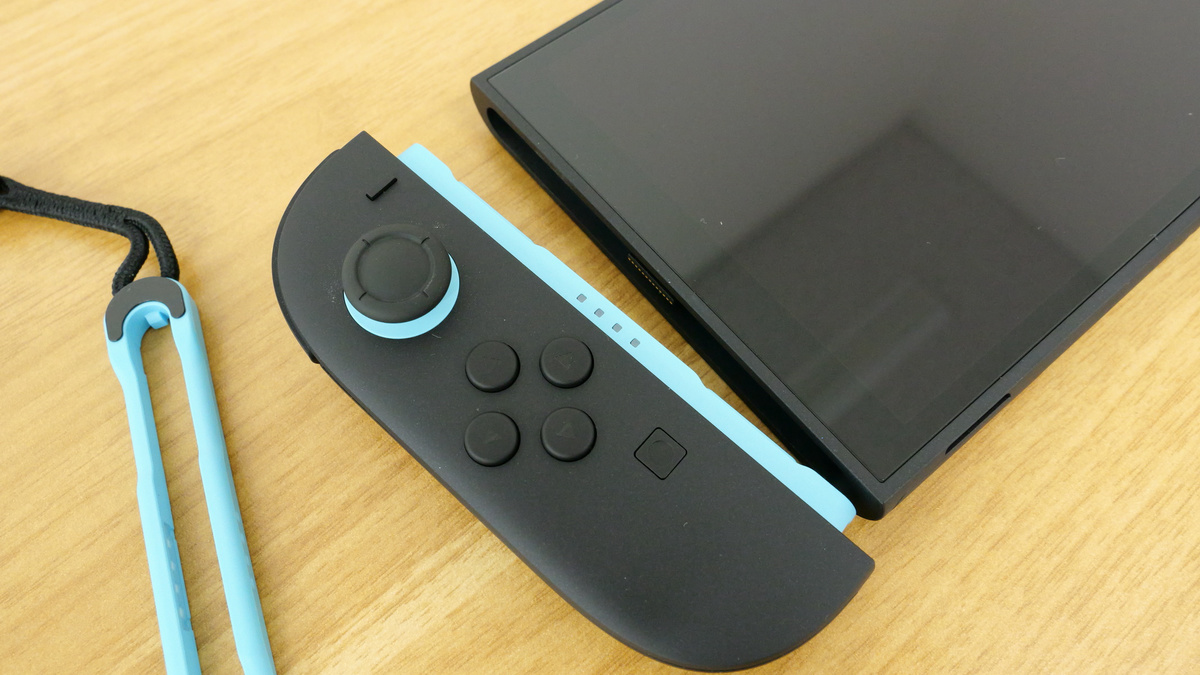
First, attach it to the console. The previous generation Nintendo Switch had a sliding mechanism to secure it in place, but the Nintendo Switch 2 uses magnets to secure it in place. Simply align the protruding part of the Joy-Con 2 with the recess on the side of the console, and it will snap into place.
The movie below shows how to actually attach and detach the Joy-Con 2 to the Nintendo Switch 2. When it is attached with a 'bachi' sound, it is fixed so firmly that it does not move even if it is pulled or shifted, but if you press the removal button, the Joy-Con 2 will come off as it is. No strong force is required for removal, and children of about elementary school age can remove it without any problems.
When you attach Joy-Con 2 to the main unit, it looks like this.
With the Joy-Con 2 attached, the actual weight was 532g.

Next, try attaching the Joy-Con 2 strap.
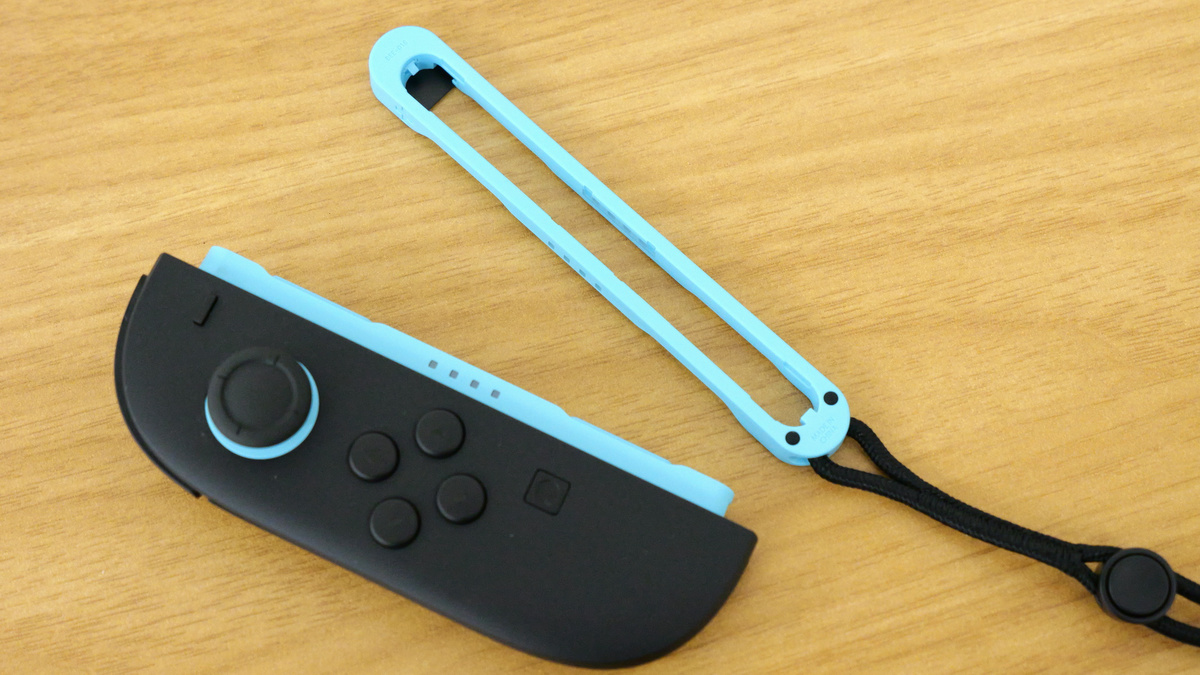
You can see how to attach and remove the Joy-Con 2 strap in the following movie. The previous generation Nintendo Switch had a problem with the slide type, which made it difficult to remove if the strap was attached in the wrong direction, but with the magnetic type, you won't have to struggle with attaching it wrong.
Attaching and detaching the strap to the Nintendo Switch 2 Joy-Con 2 - YouTube
By attaching the strap, you can use the Joy-Con 2 like a mouse as shown below.

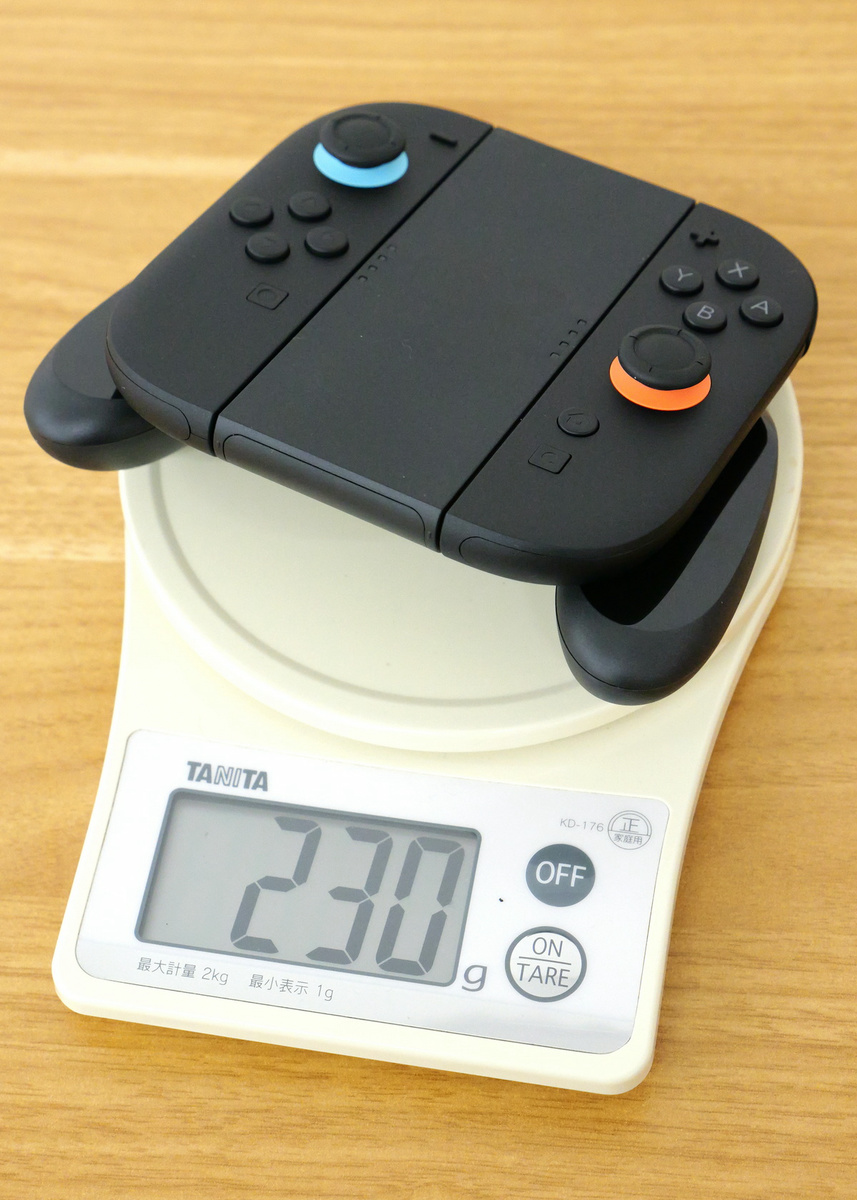
The Joy-Con 2 Grip allows you to combine the left and right Joy-Con 2 into one controller. It looks almost the same as the previous generation, but the attachment mechanism is magnetic.
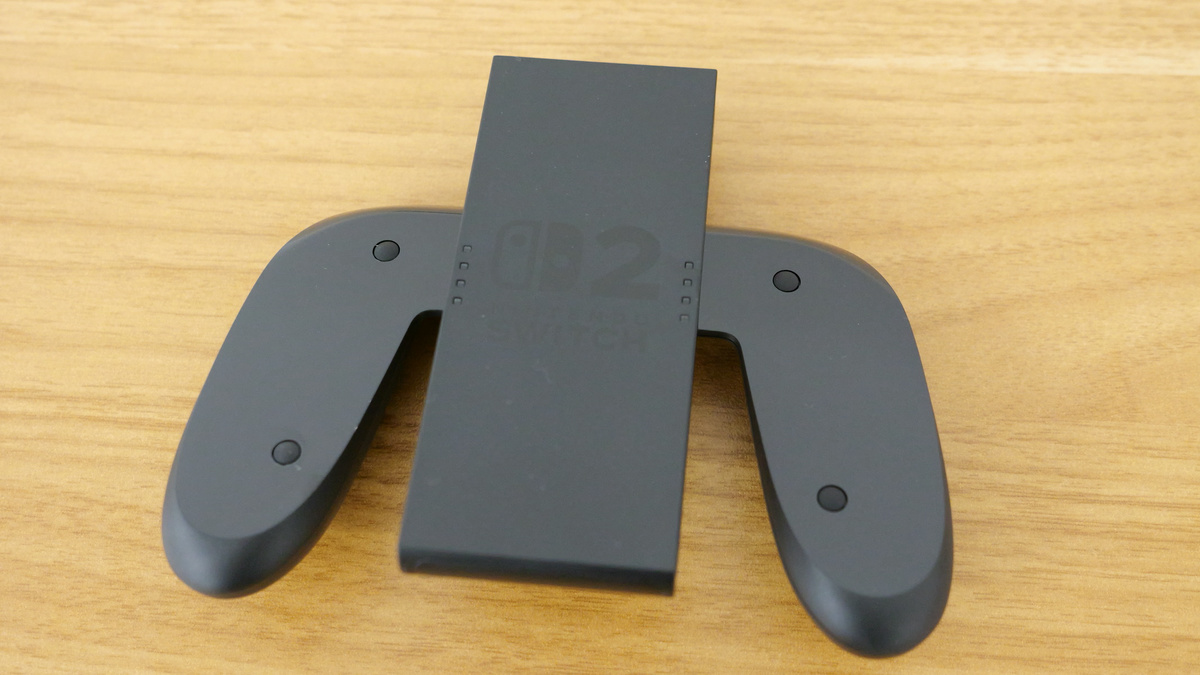
This is what it looks like when worn.
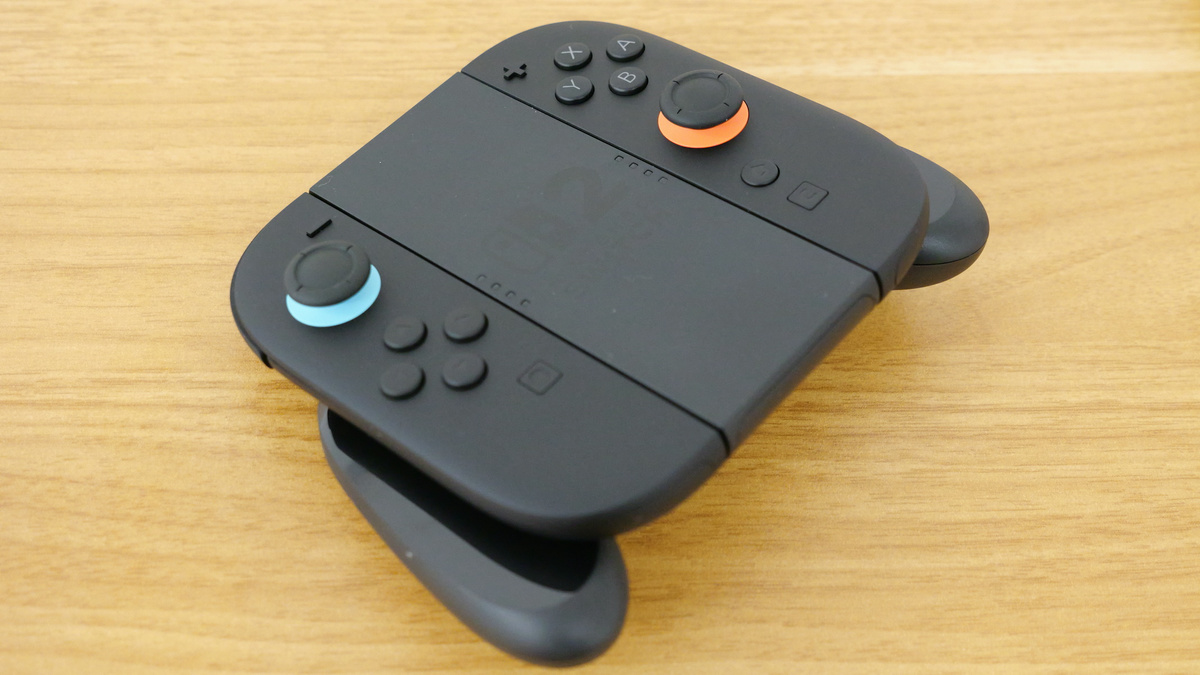
I weighed it and it was 230g.
Ultra High Speed HDMI cables have a certification sticker from the HDMI Licensing Administrator, the HDMI licensing organization. Originally, you could check the details of the license certification by reading the QR code with a smartphone app, but at the time of writing this article, the smartphone app was no longer available in Japan, so I was unable to check it.
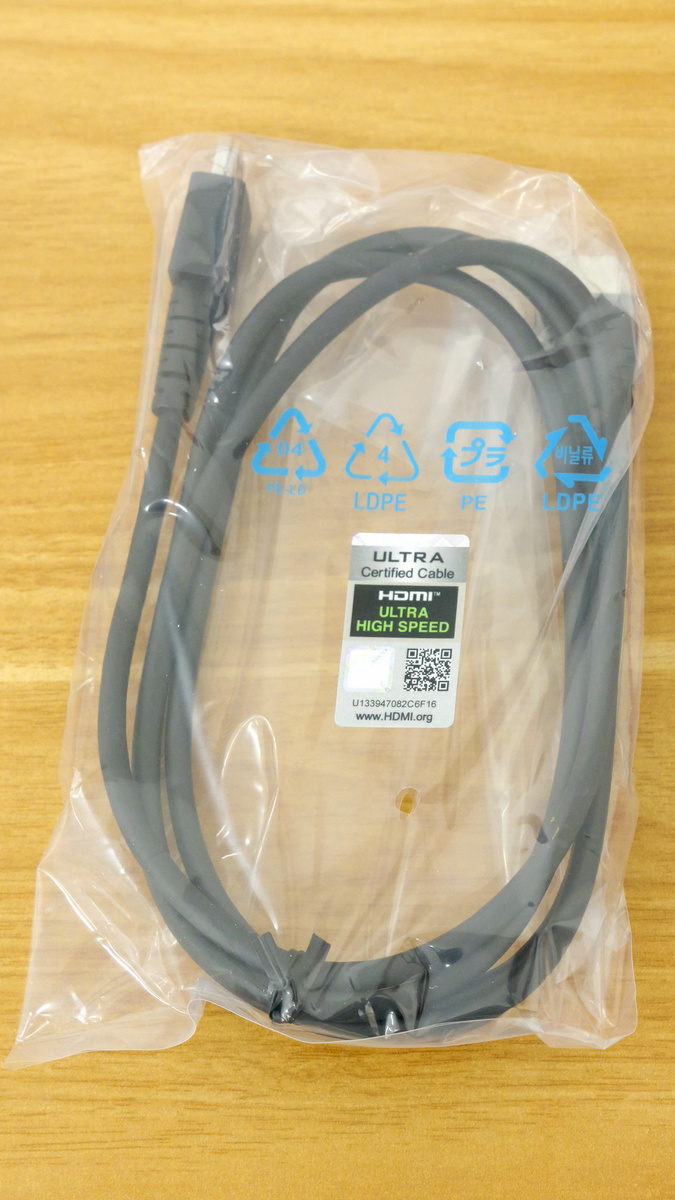
The included Ultra High Speed HDMI cable is about 1.5m long and has a transmission speed of 48Gbps. The cable feels soft and easy to handle.
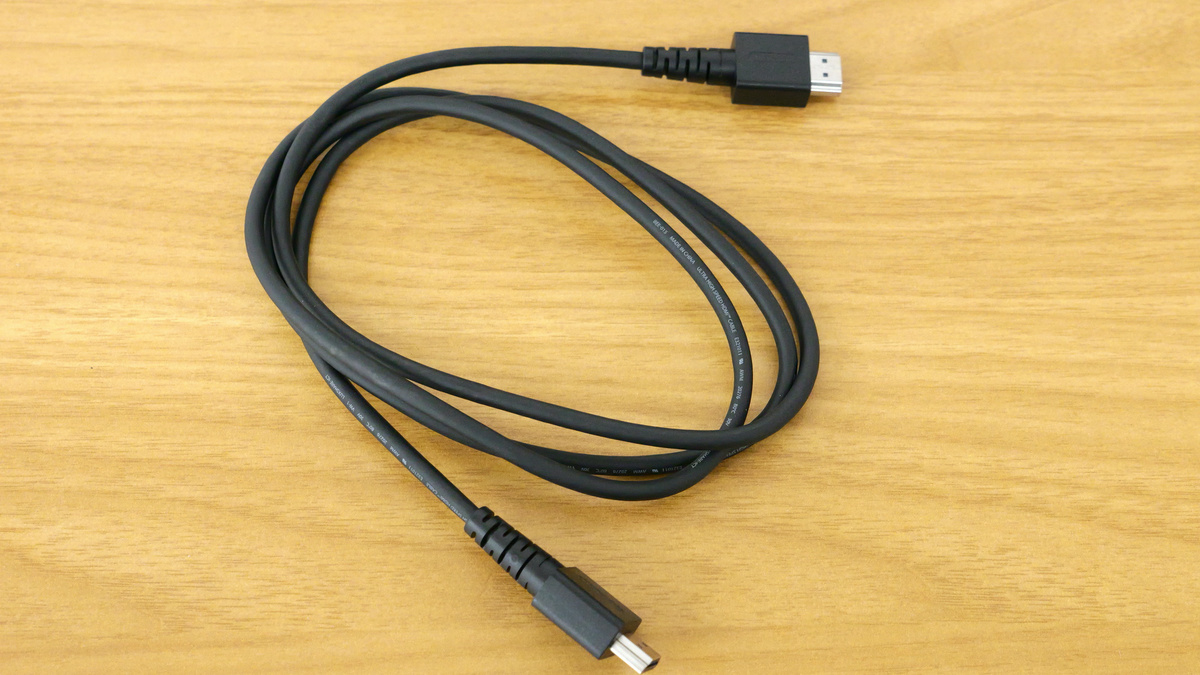
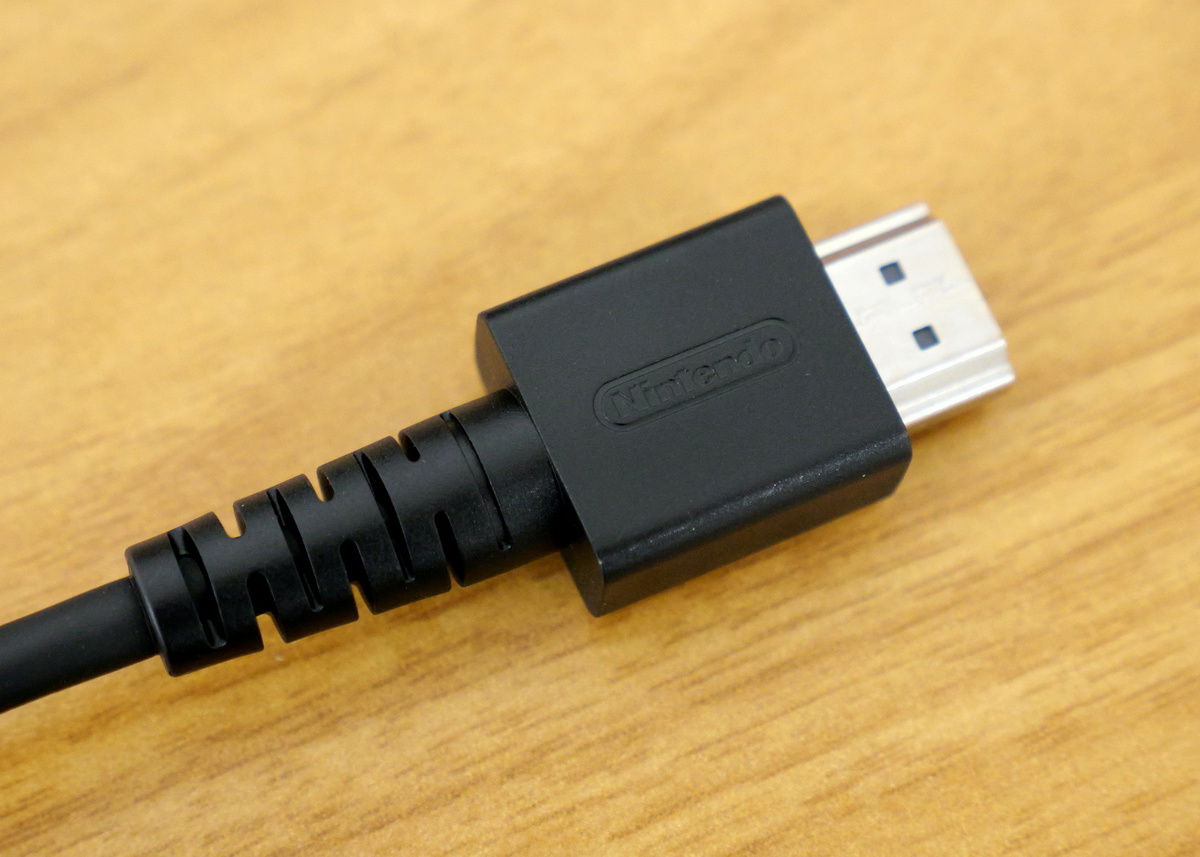
There was a 'Nintendo' logo on the terminal part.
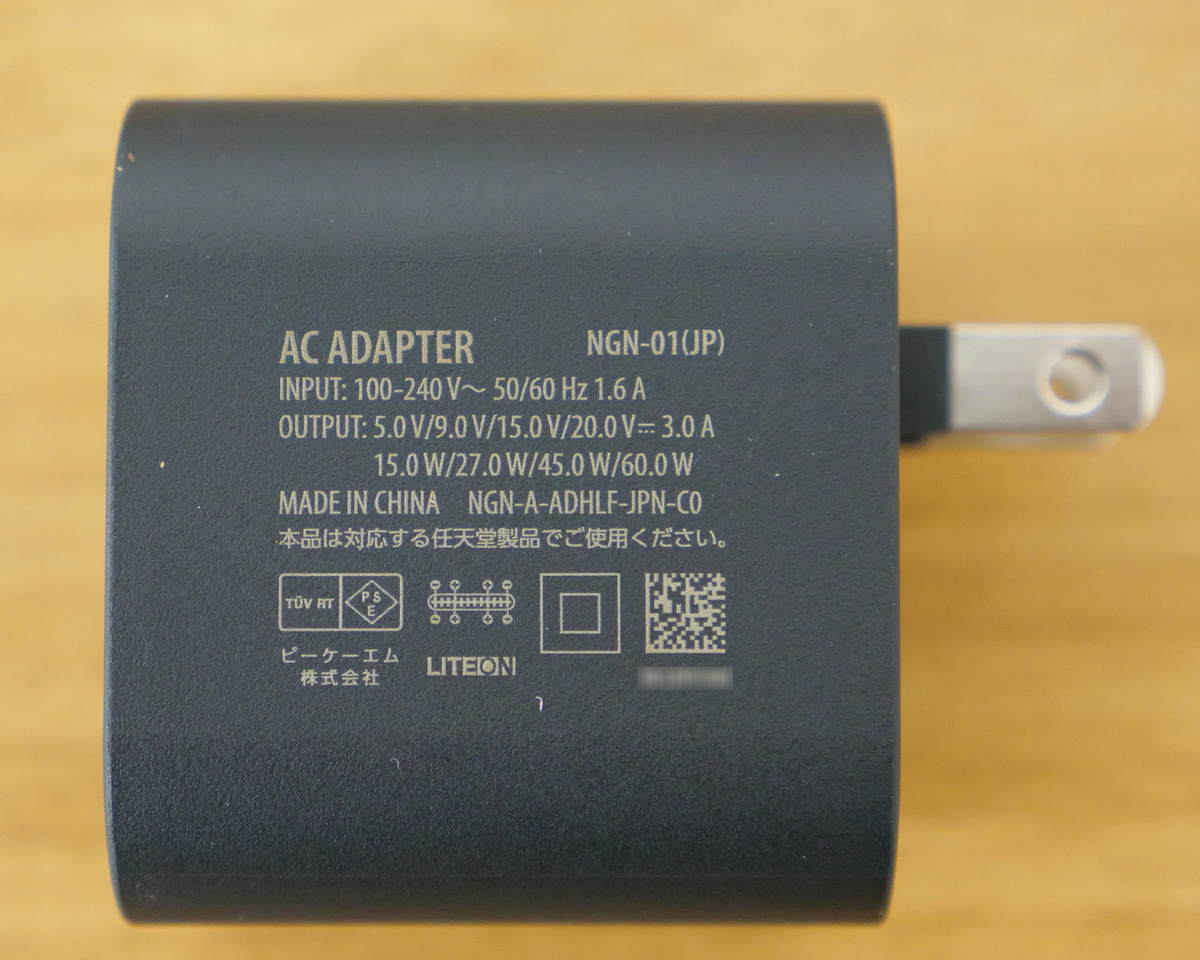
The USB-C charging cable is approximately 1.5m long. The size of the AC adapter is 49.5mm length x 38.5mm width x 45.0mm height.
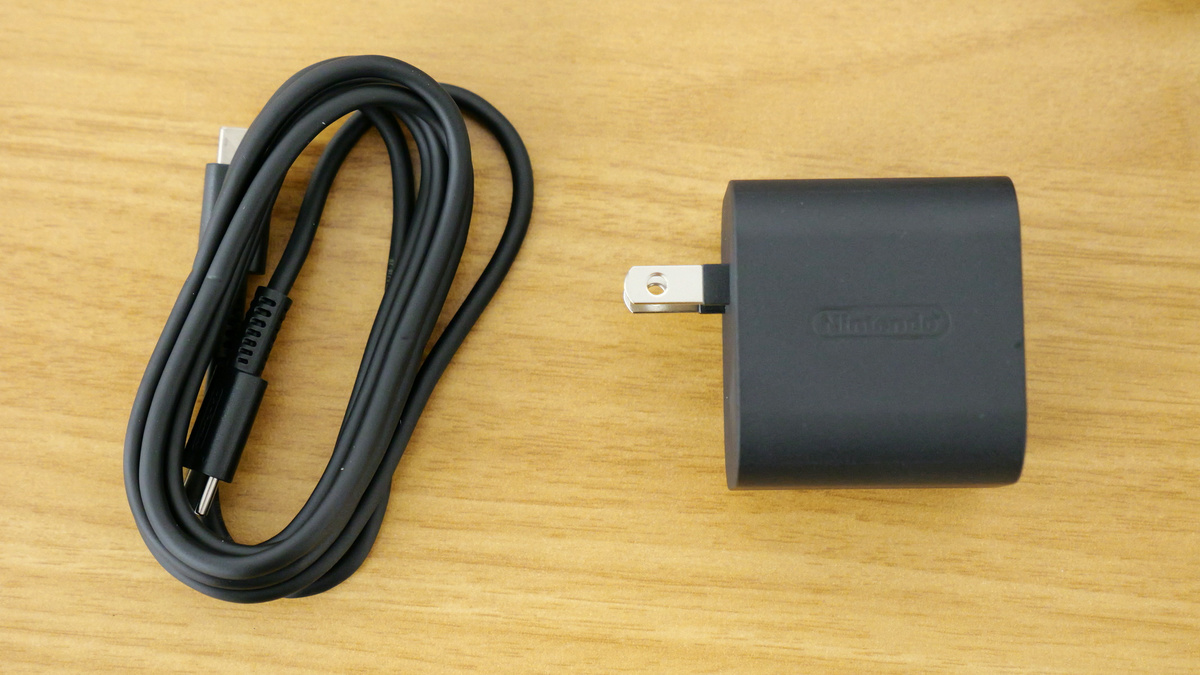
The AC adapter is 5.0V/9.0V/15.0V/20.0V x 3.0A and has a maximum output of 60W.
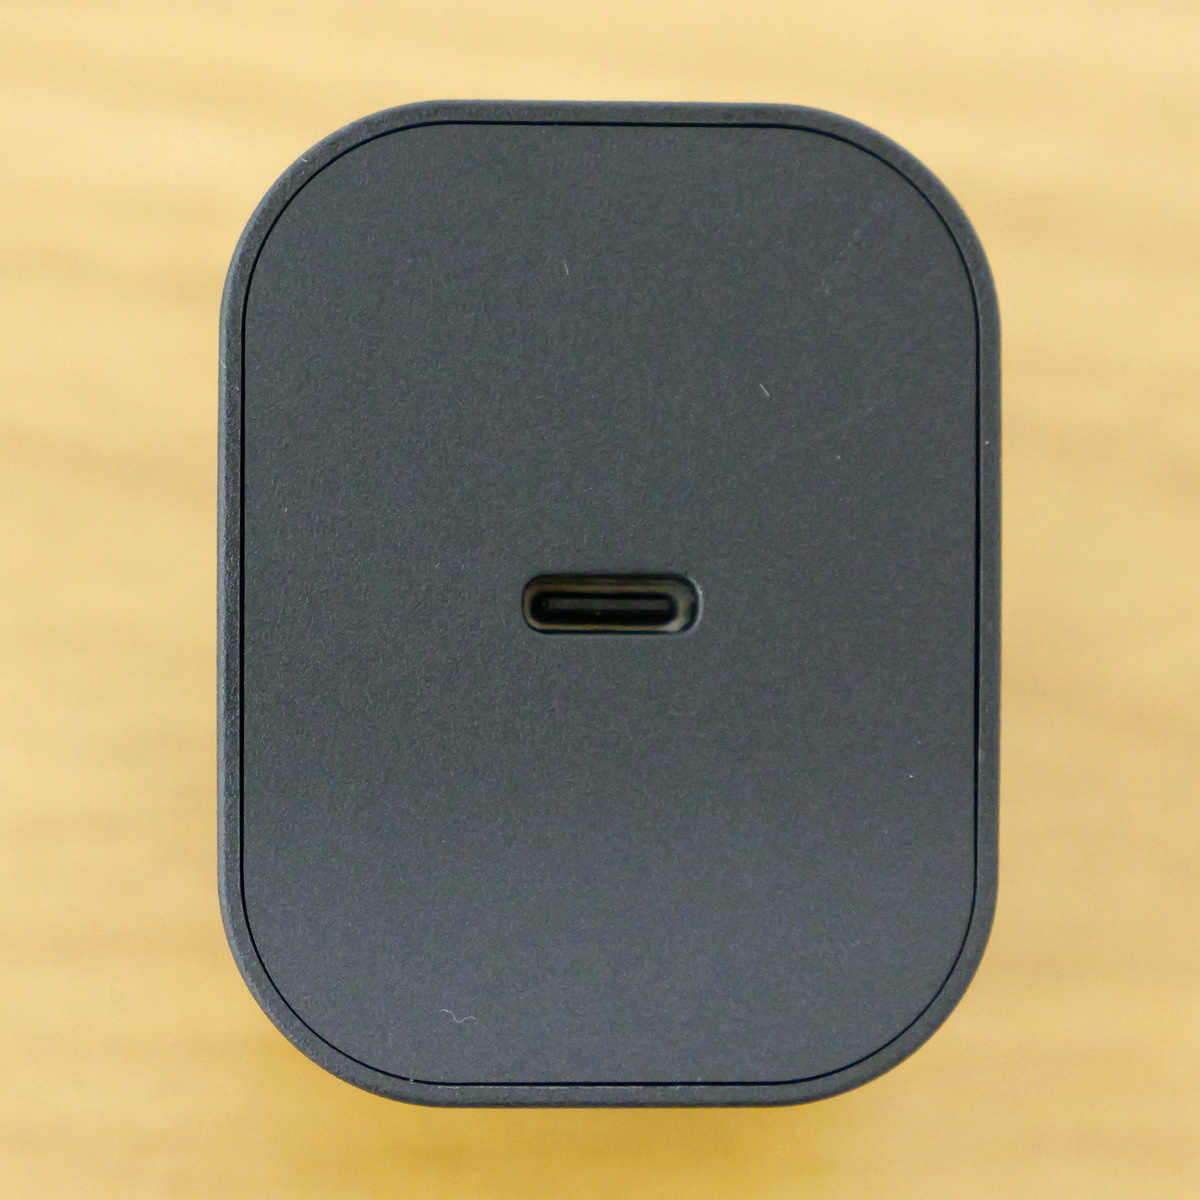
The AC adapter has one USB-C port.
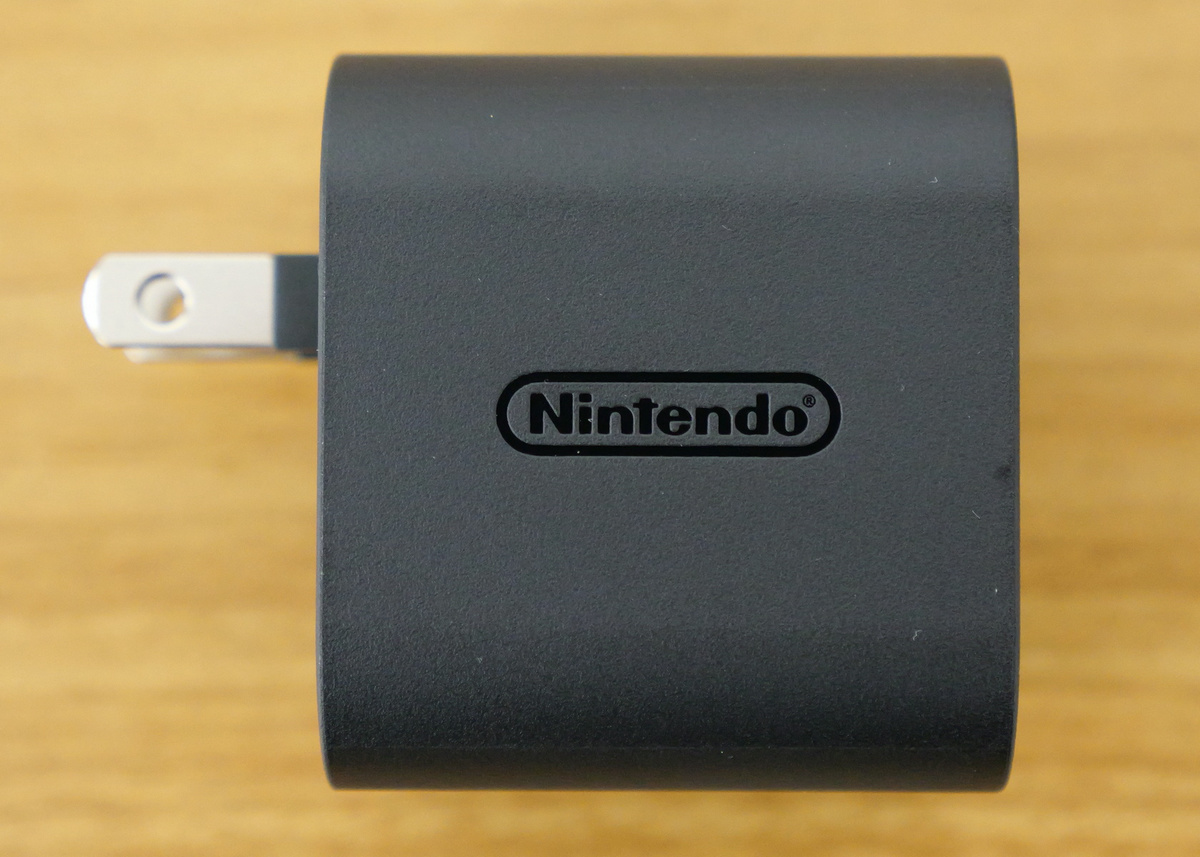
The 'Nintendo' logo was engraved on the right side.
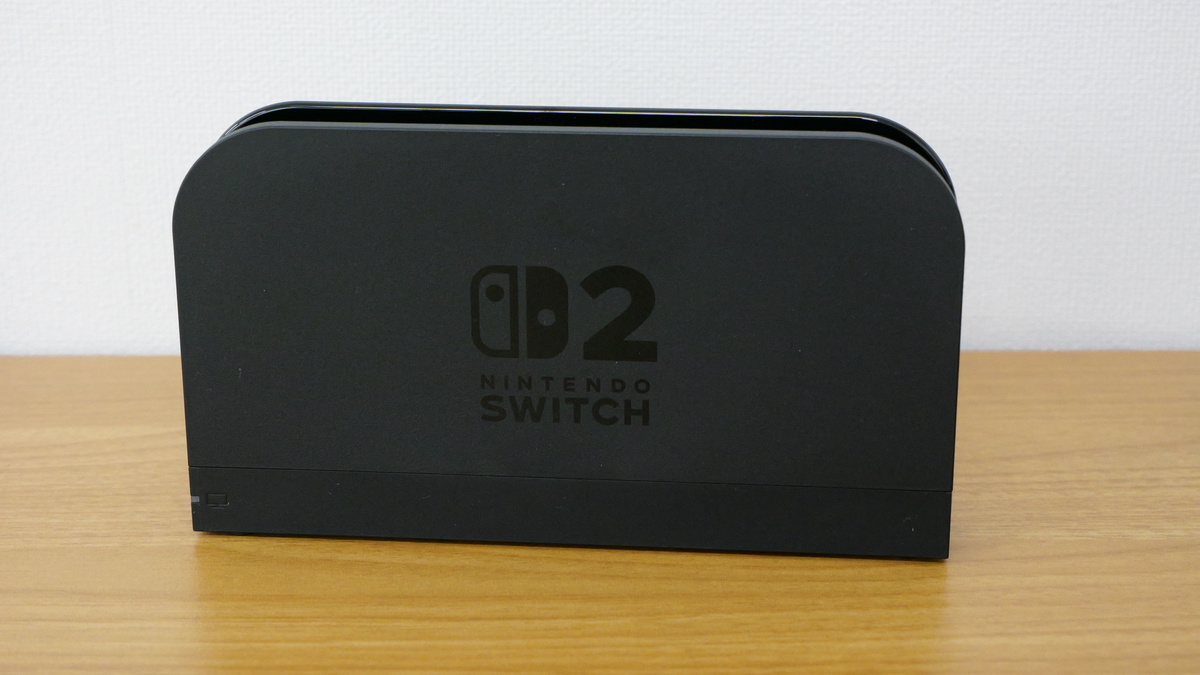
A dock for HDMI output for Nintendo Switch 2.
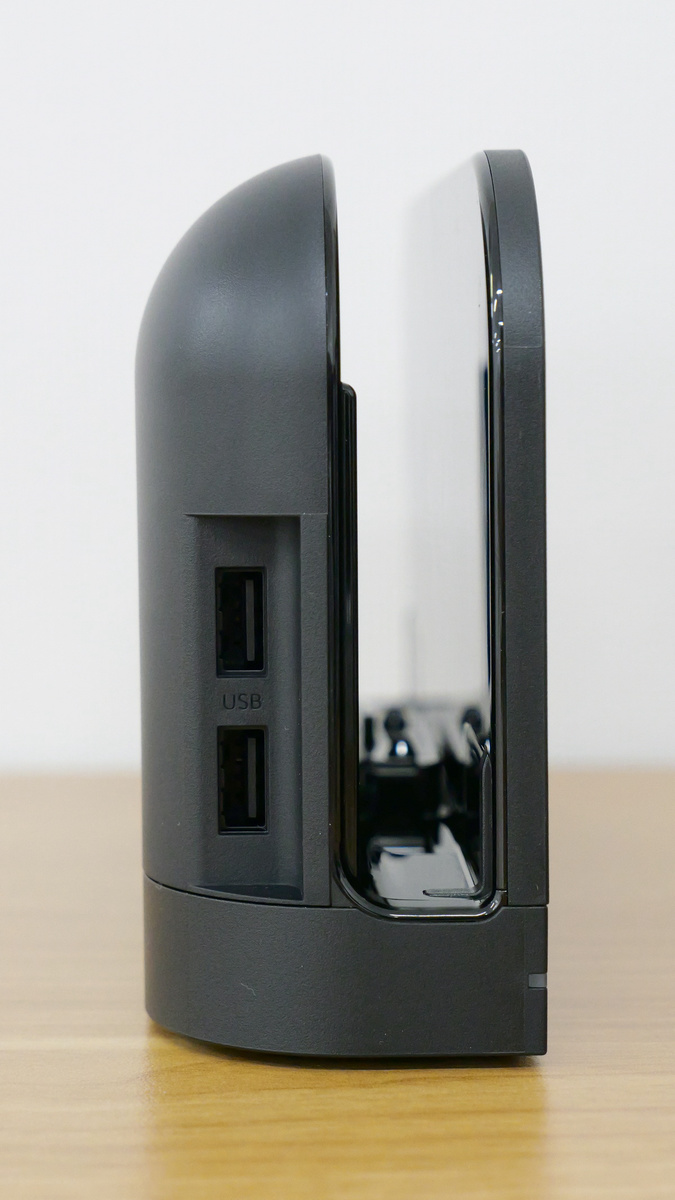
On the left side there are two USB Type-A ports that support USB 2.0.
Right side of the dock.
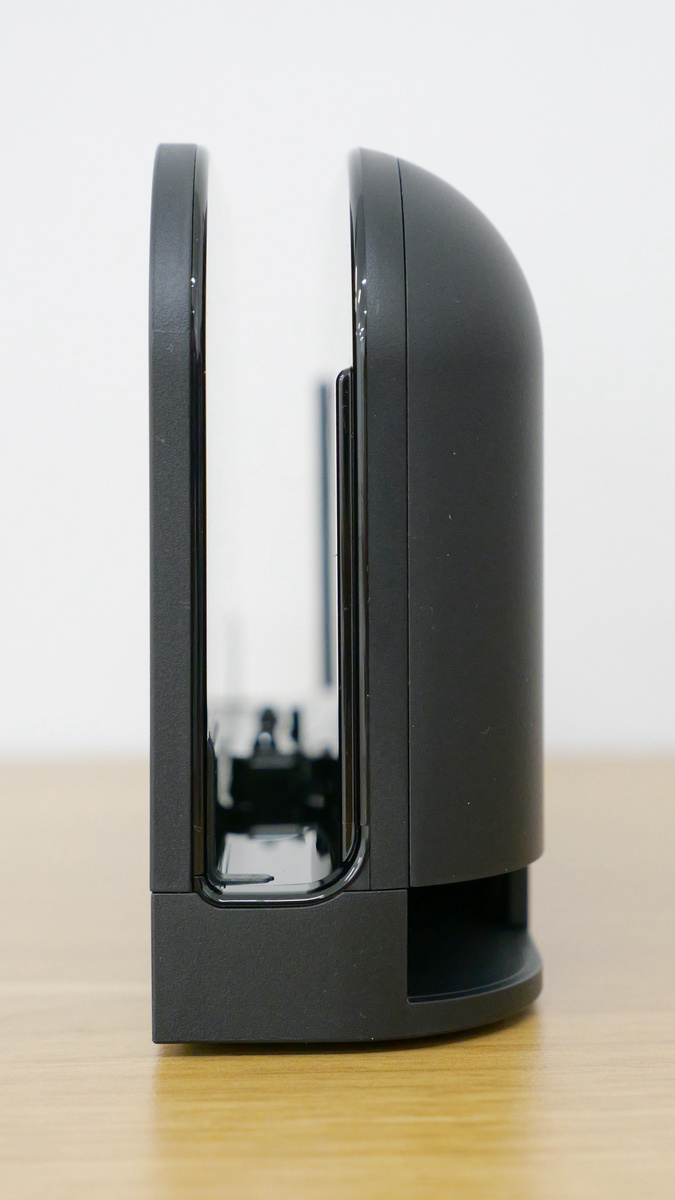
When I looked into the part where the Nintendo Switch 2 body is inserted, I could see the USB-C terminal.
The back of the dock is engraved with the 'Nintendo' logo.

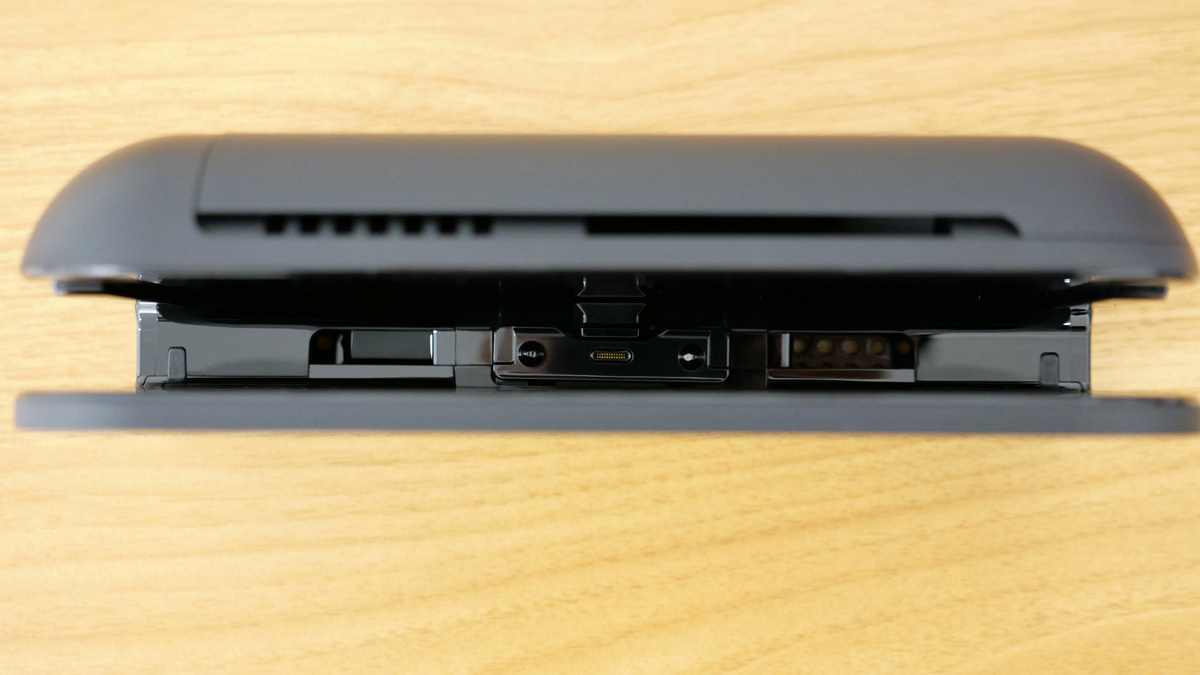
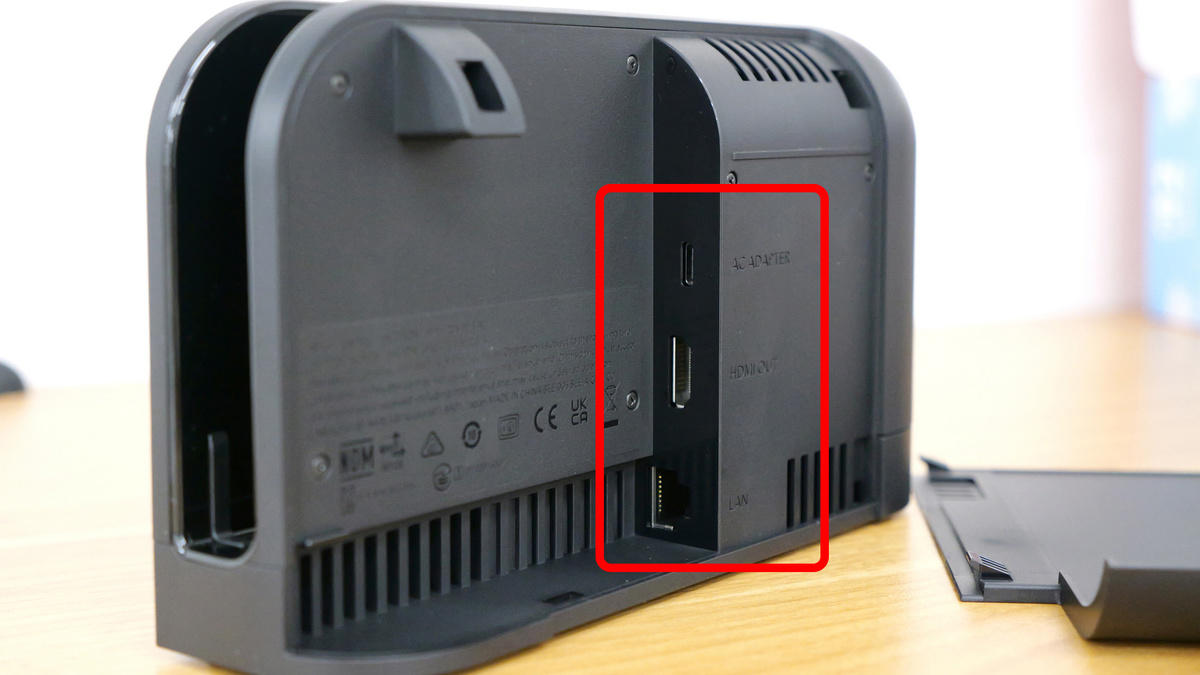
When I removed the back cover, the exhaust fan was visible.
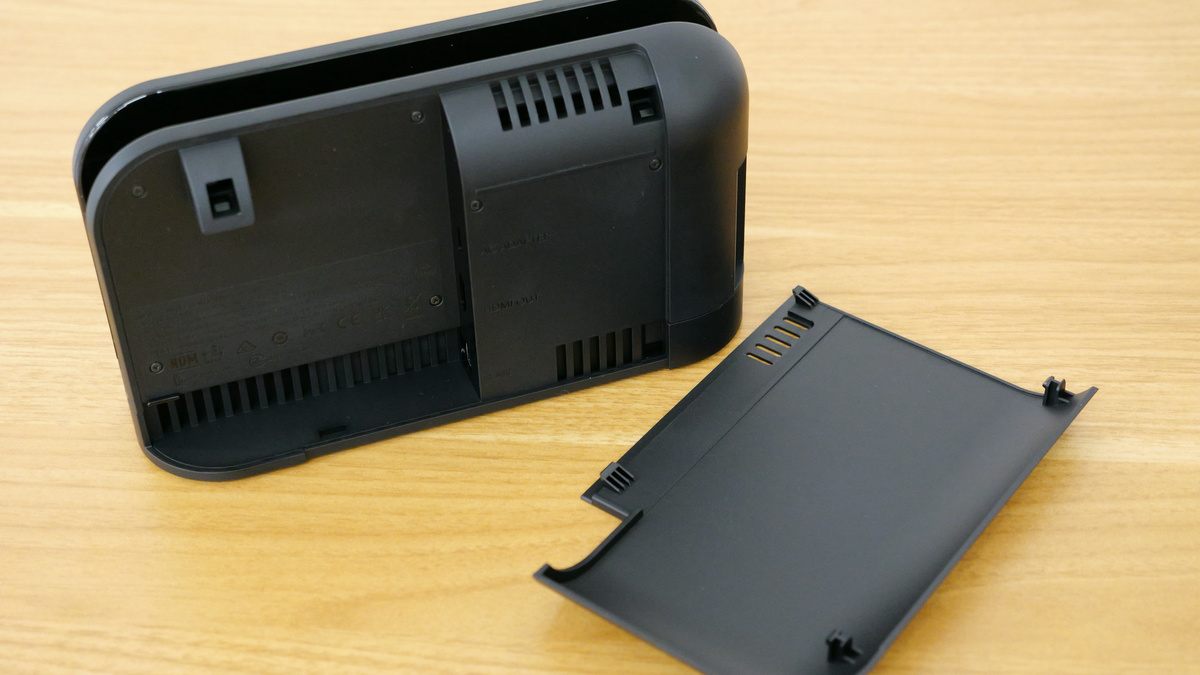
On the side of the exhaust fan there was an AC adapter connection terminal, an HDMI terminal, and a LAN terminal.
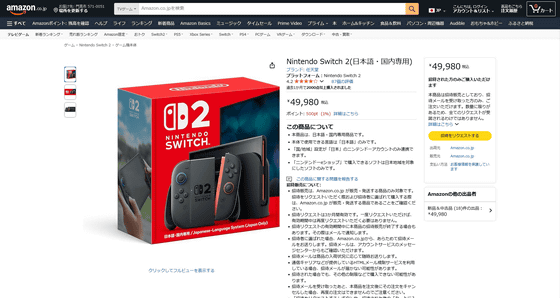
The Nintendo Switch 2 (Japanese, domestic only) costs 49,980 yen including tax. The 5th lottery sale will begin in early July at the official Nintendo store, and reservations are also being made at various retail stores, and Amazon.co.jp is offering invitation sales on the following page.
Amazon.co.jp: Nintendo Switch 2 (Japanese/Domestic only): Games

Related Posts: