ScanSnap's flagship model 'ScanSnap iX2500' that allows anyone to easily scan 45 sheets per minute for just 50,000 yen Photo & Usage Review
The flagship model of PFU's image scanner 'ScanSnap' series, ' ScanSnap iX2500 ' was released on June 24, 2025. Equipped with the self-developed next-generation SoC 'iiGA', it is possible to scan at 45 pages per minute, the fastest in the history of ScanSnap. In addition, it has evolved so that scan settings can be reflected on the main unit simply by connecting a PC or smartphone, assuming offices and coworking spaces used by multiple people. I was able to borrow such a ScanSnap iX2500 from PFU, so I actually tried it out.
ScanSnap
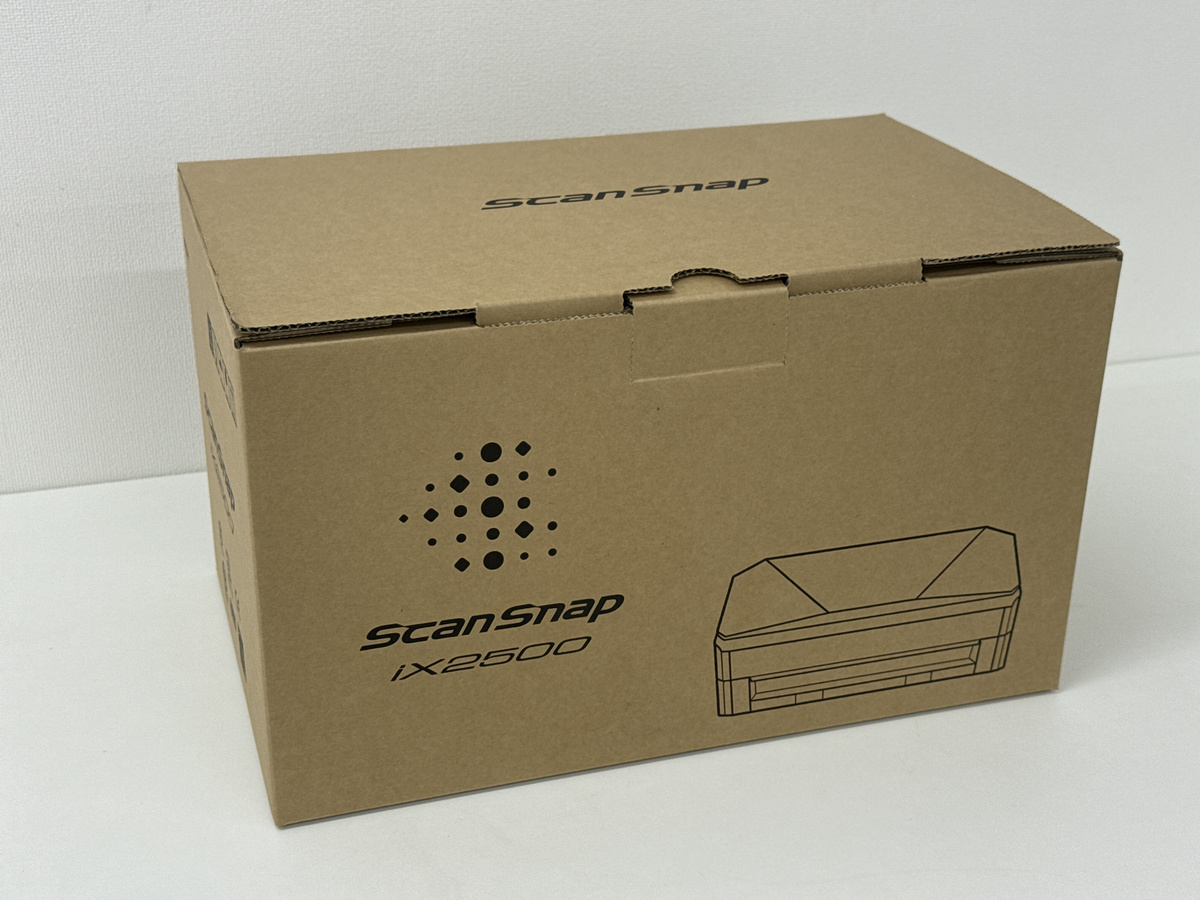
◆1: I opened the ScanSnap iX2500 box and checked the contents
The ScanSnap iX2500 box looks like this and is very simple.
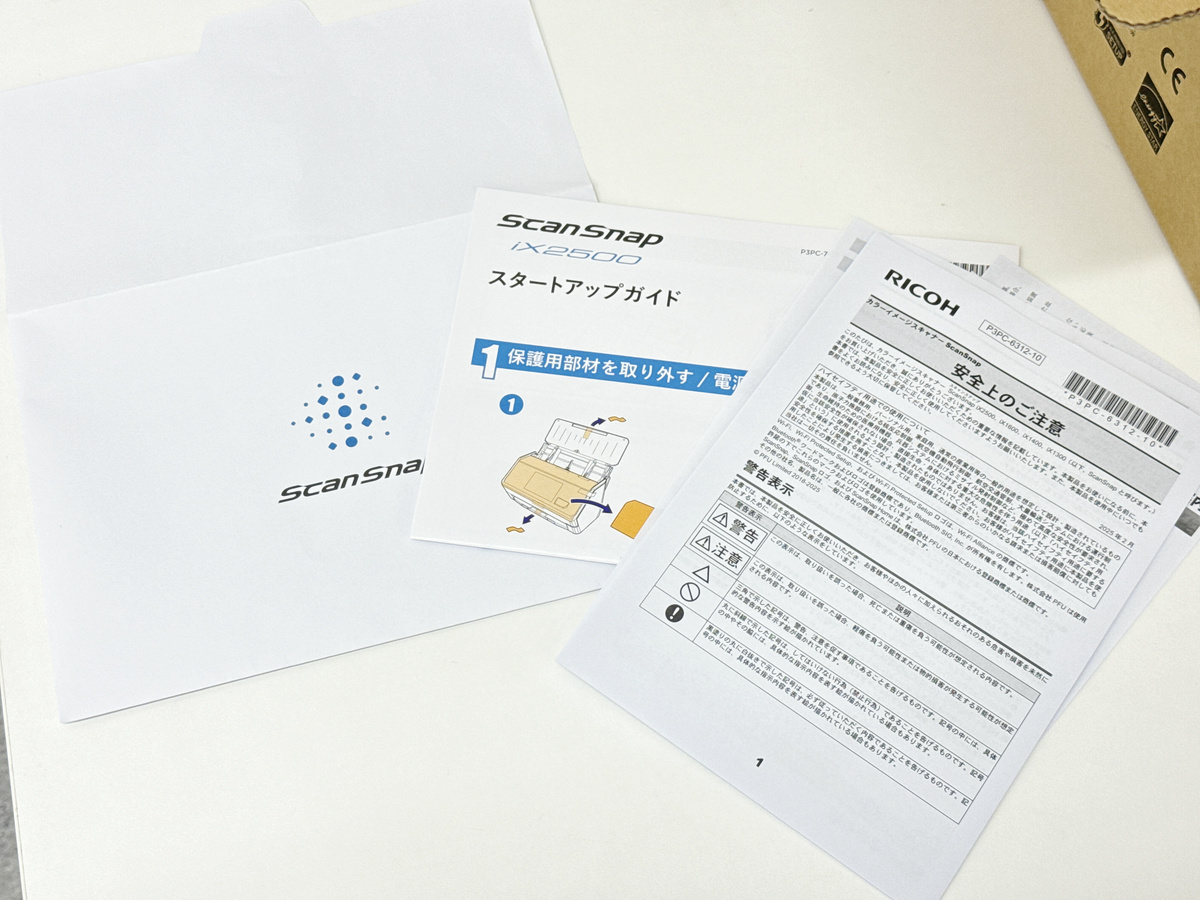
The paper envelope inside contains a startup guide, safety instructions, a warranty, etc.
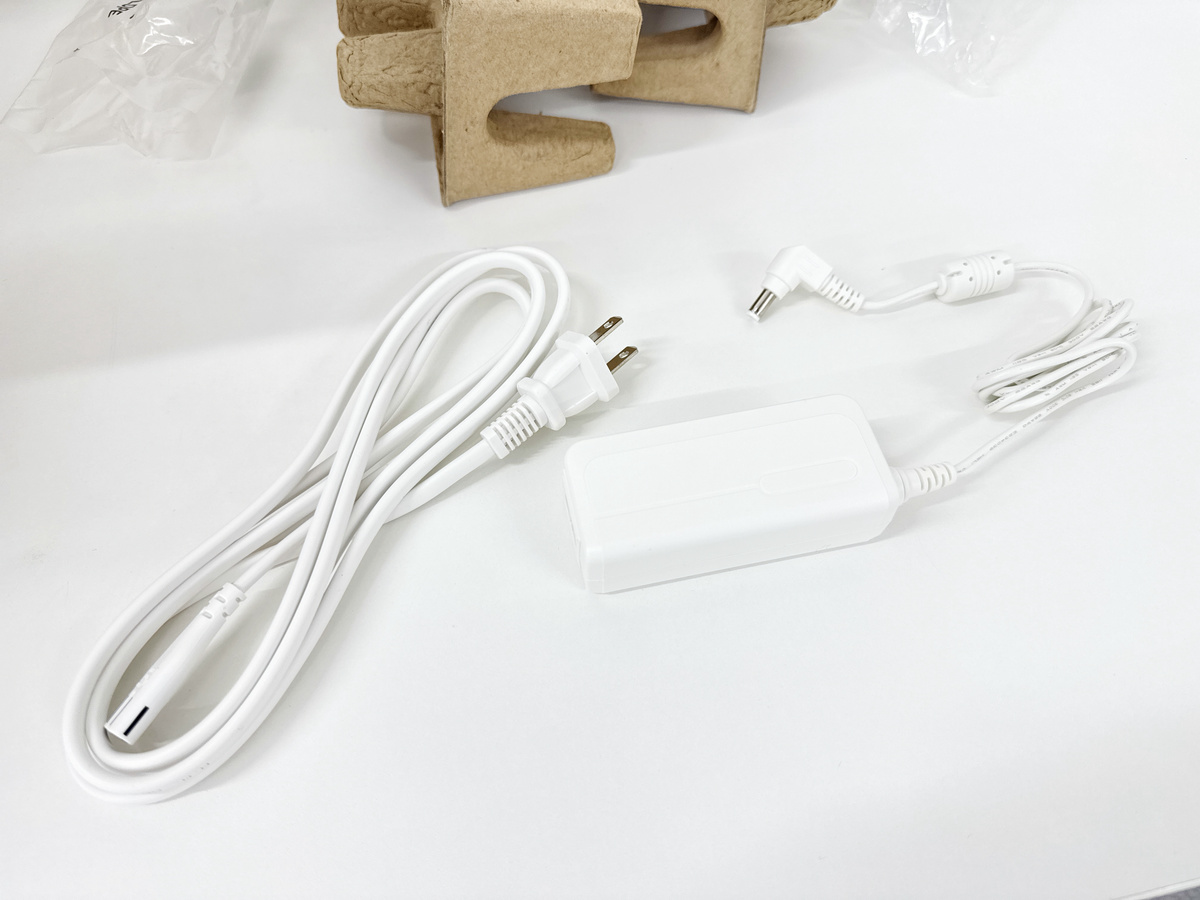
Power cable and AC adapter
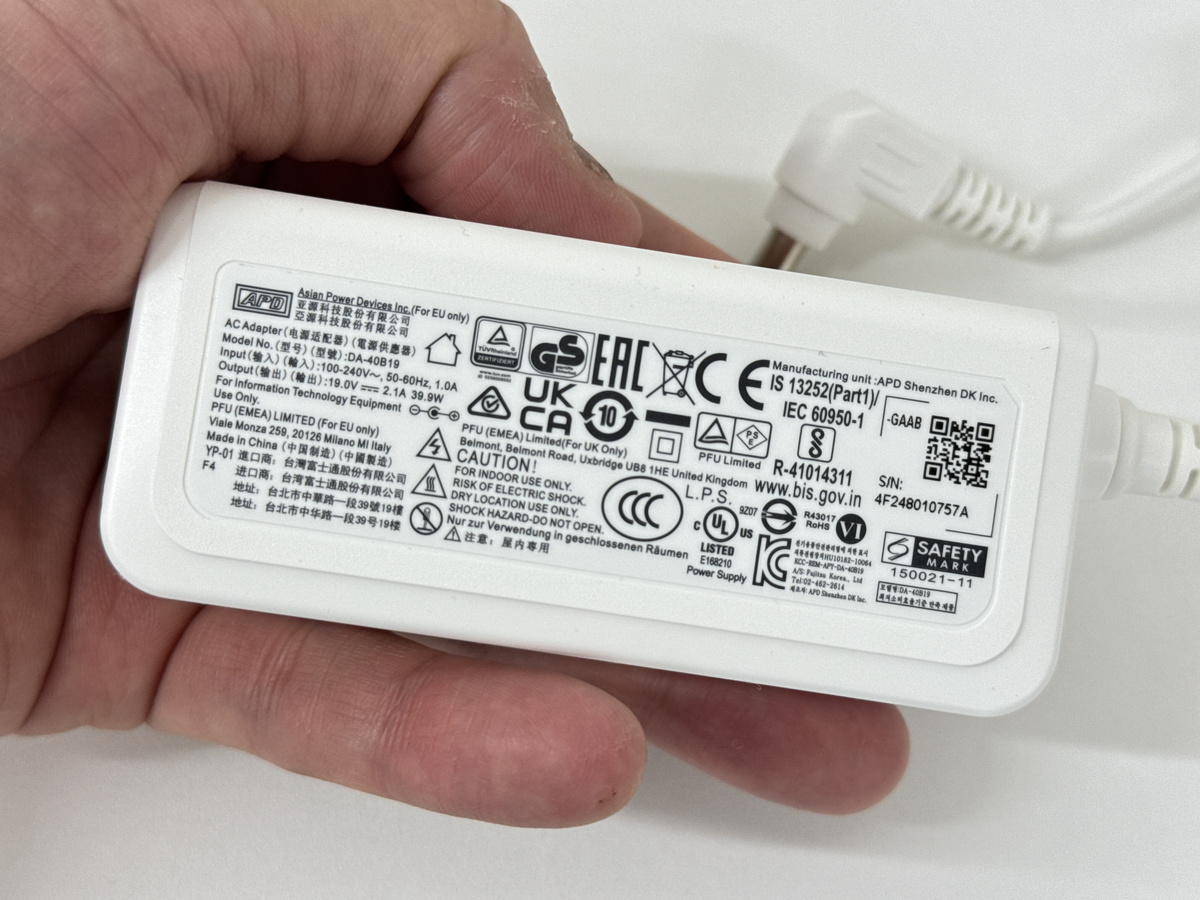
The output of the AC adapter was 16.0V x 2.1A = 39.9W.
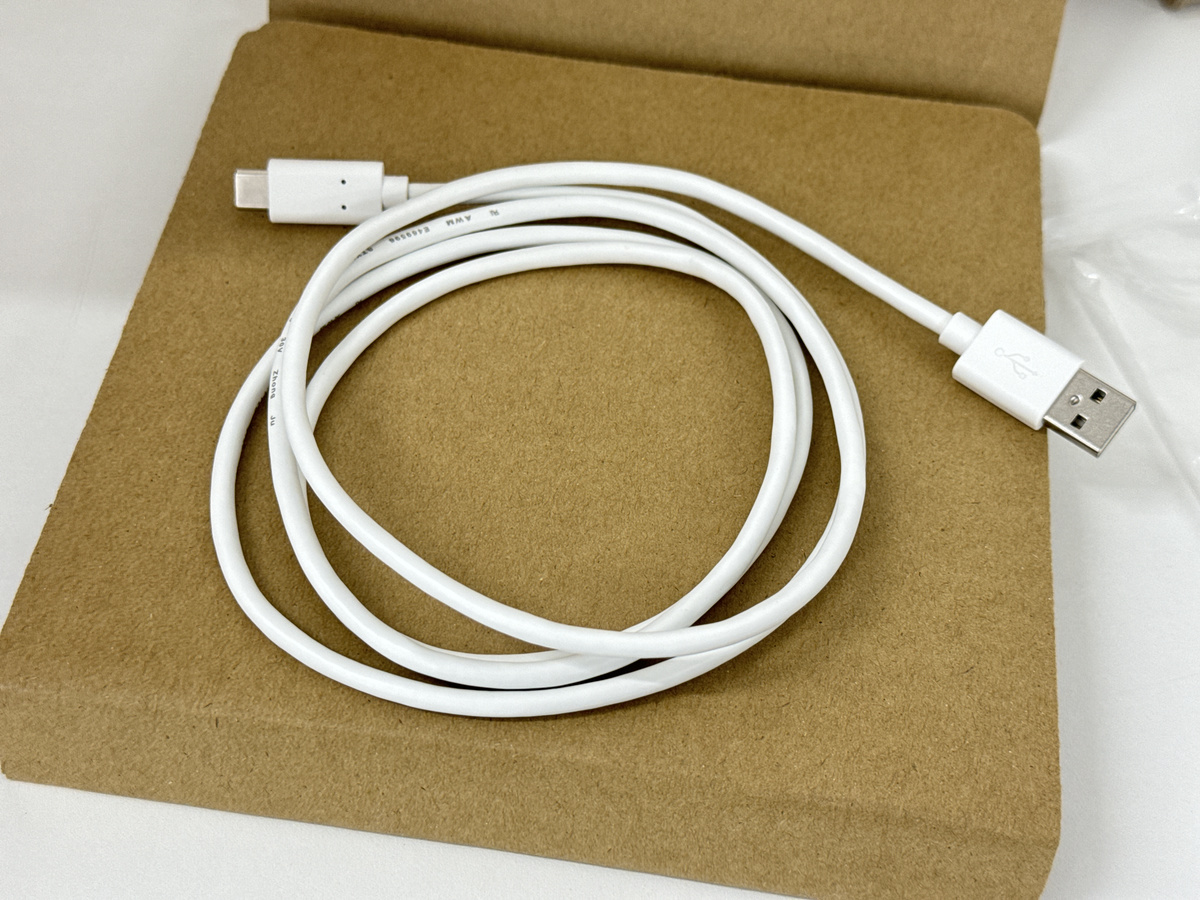
One USB-A to USB-C USB cable.
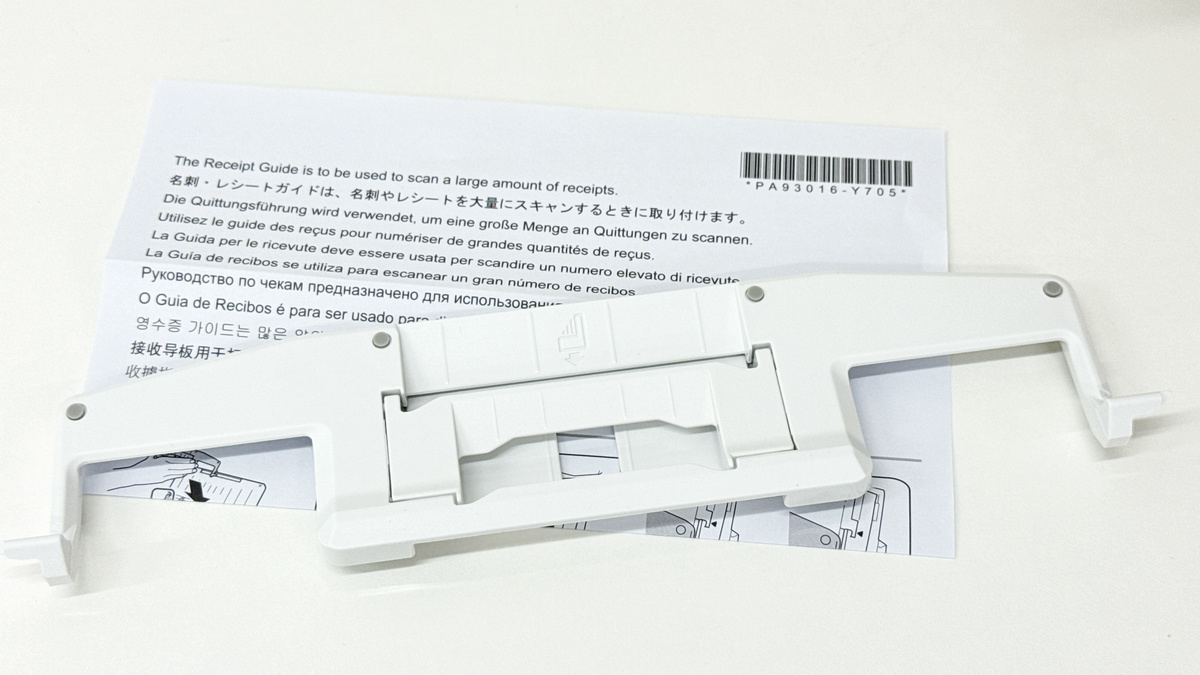
A business card and receipt guide that allows you to scan business cards and receipts.
And the ScanSnap iX2500 itself.
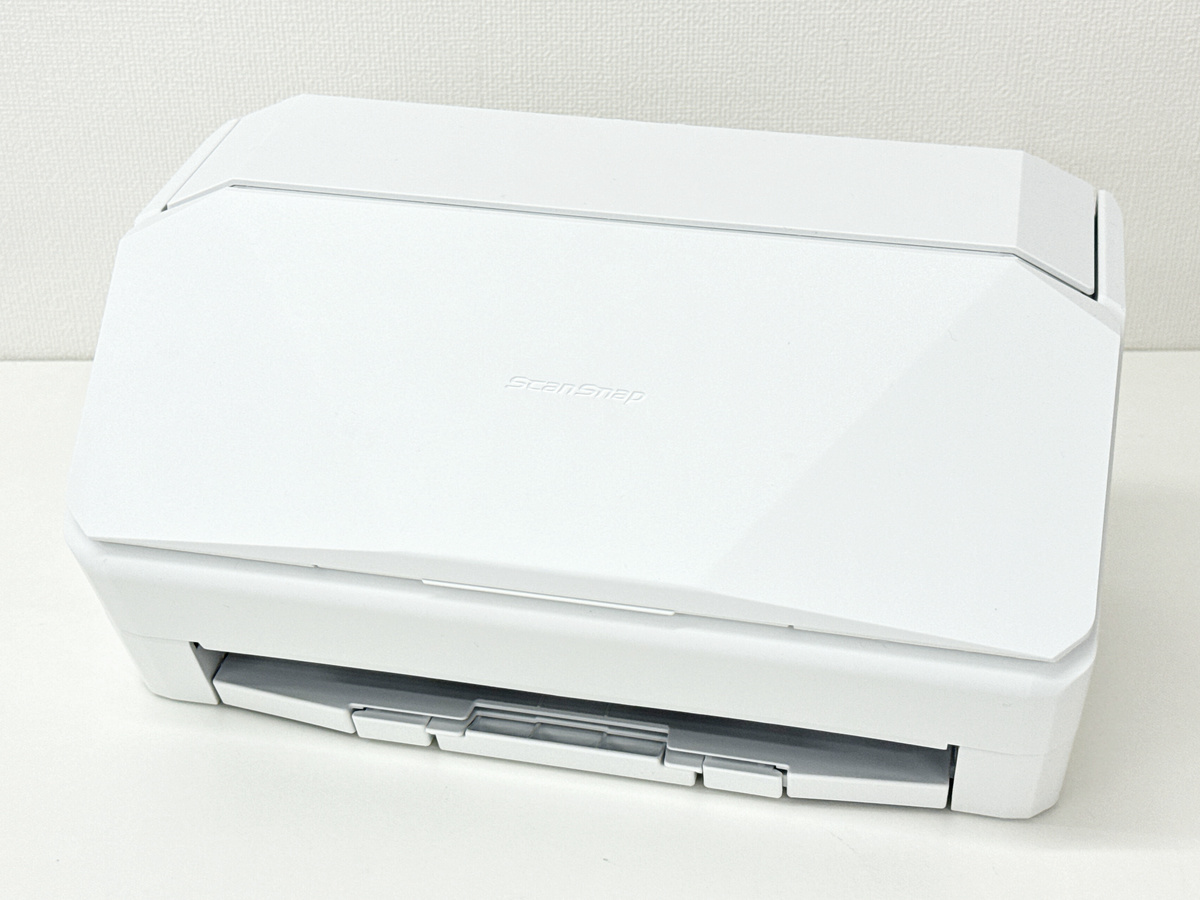
This is what it looks like from the front. The dimensions are 292mm wide x 161mm deep x 159mm high.
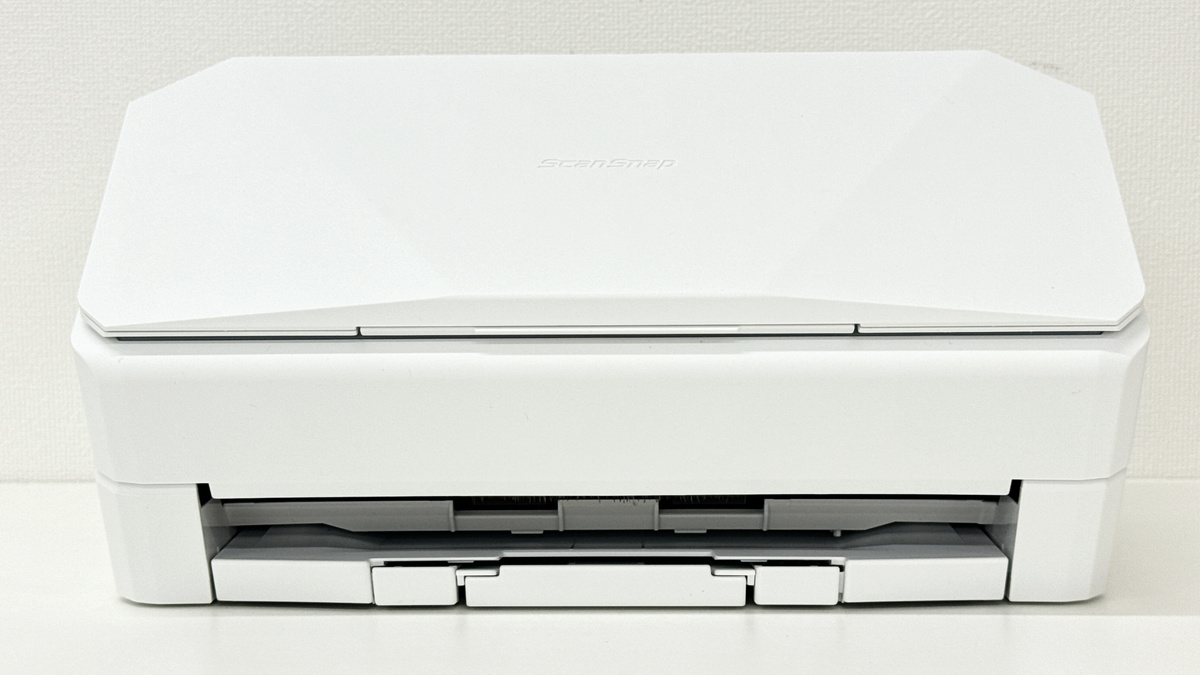
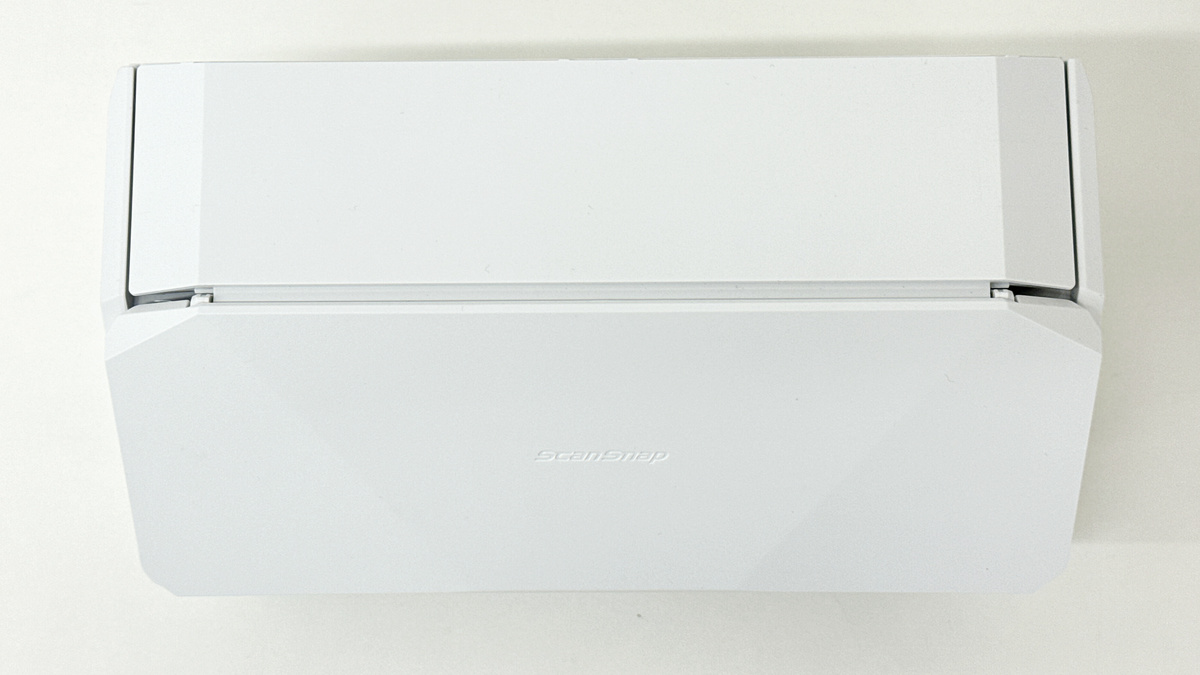
View from the top. The 'ScanSnap' logo was engraved on the lid.
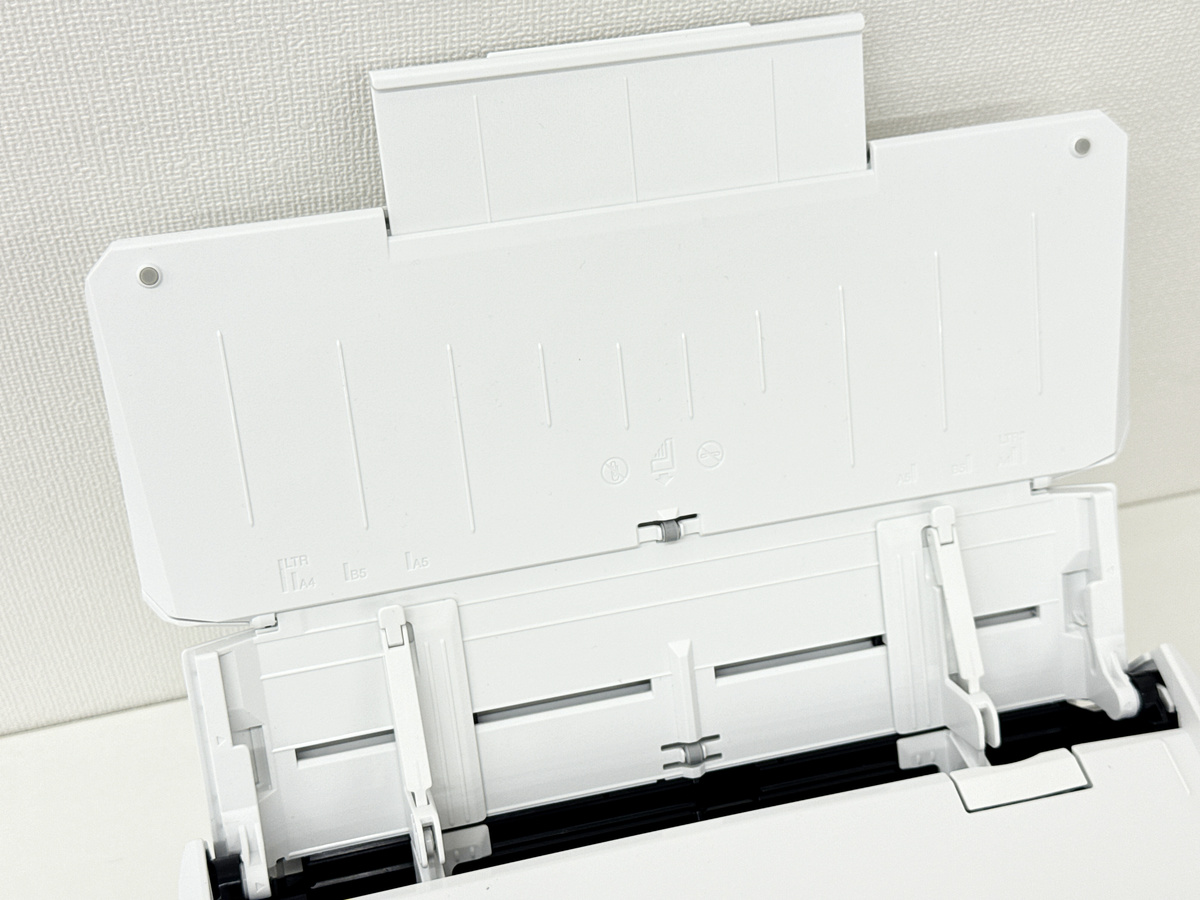
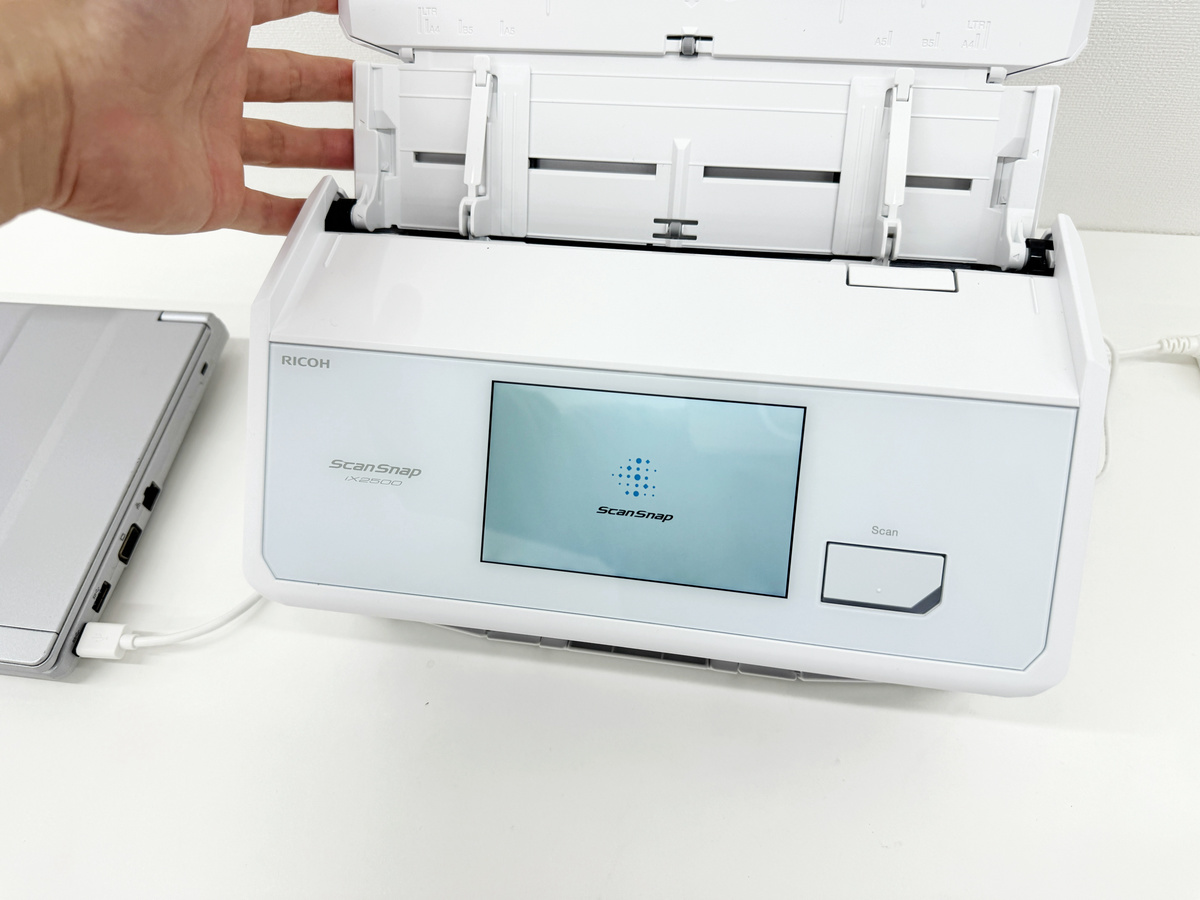
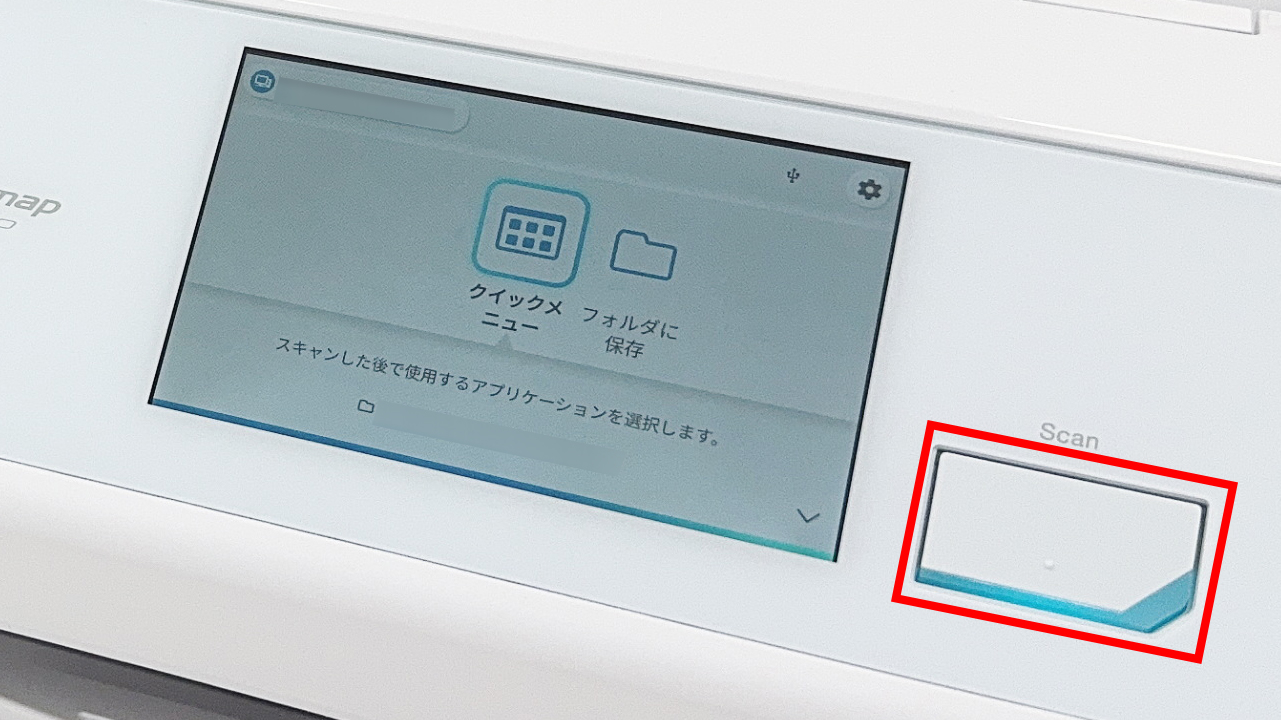
When I opened the lid, there was a document insertion slot, a panel, and a scan button.

The lid looks like this. The maximum size of the document that can be scanned is A4.
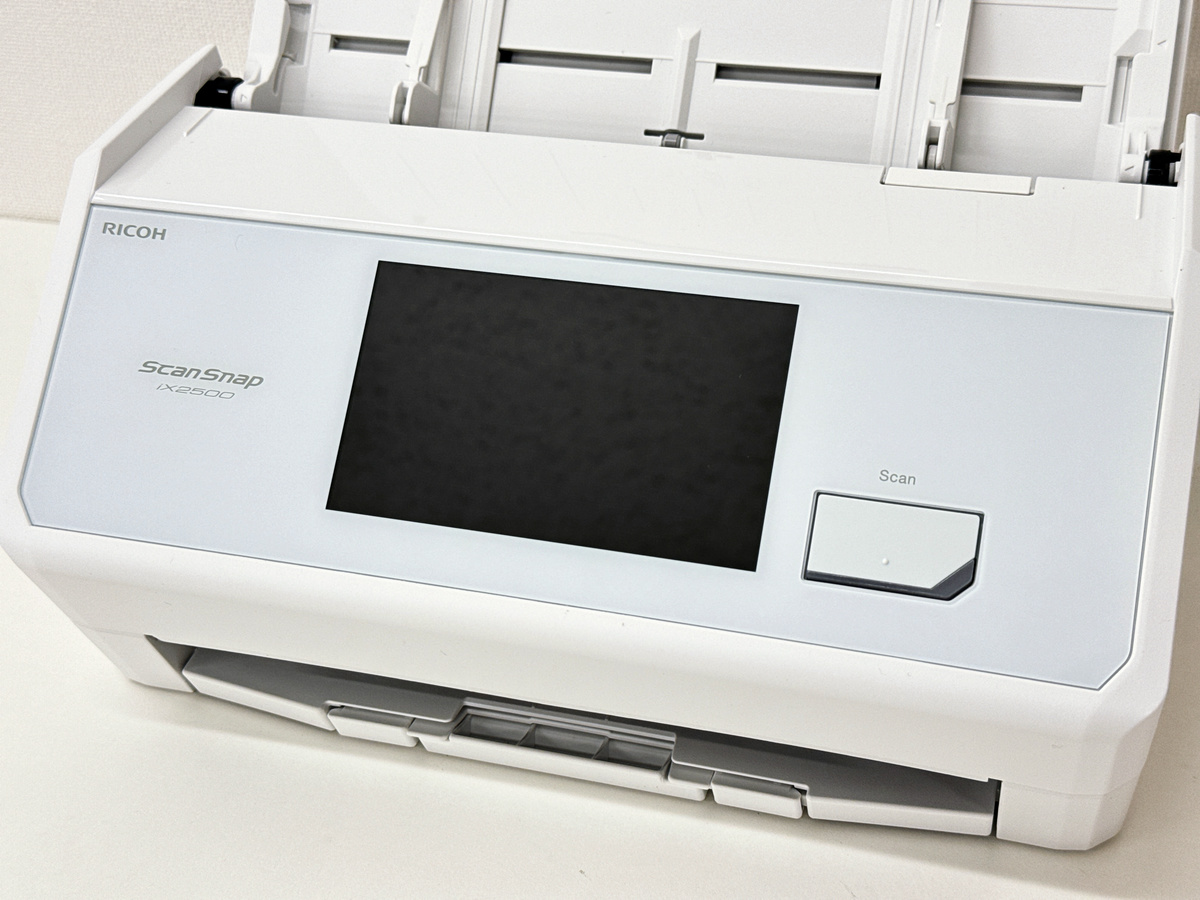
The operation panel is slightly larger than the previous model, ScanSnap iX1600, at 5 inches.
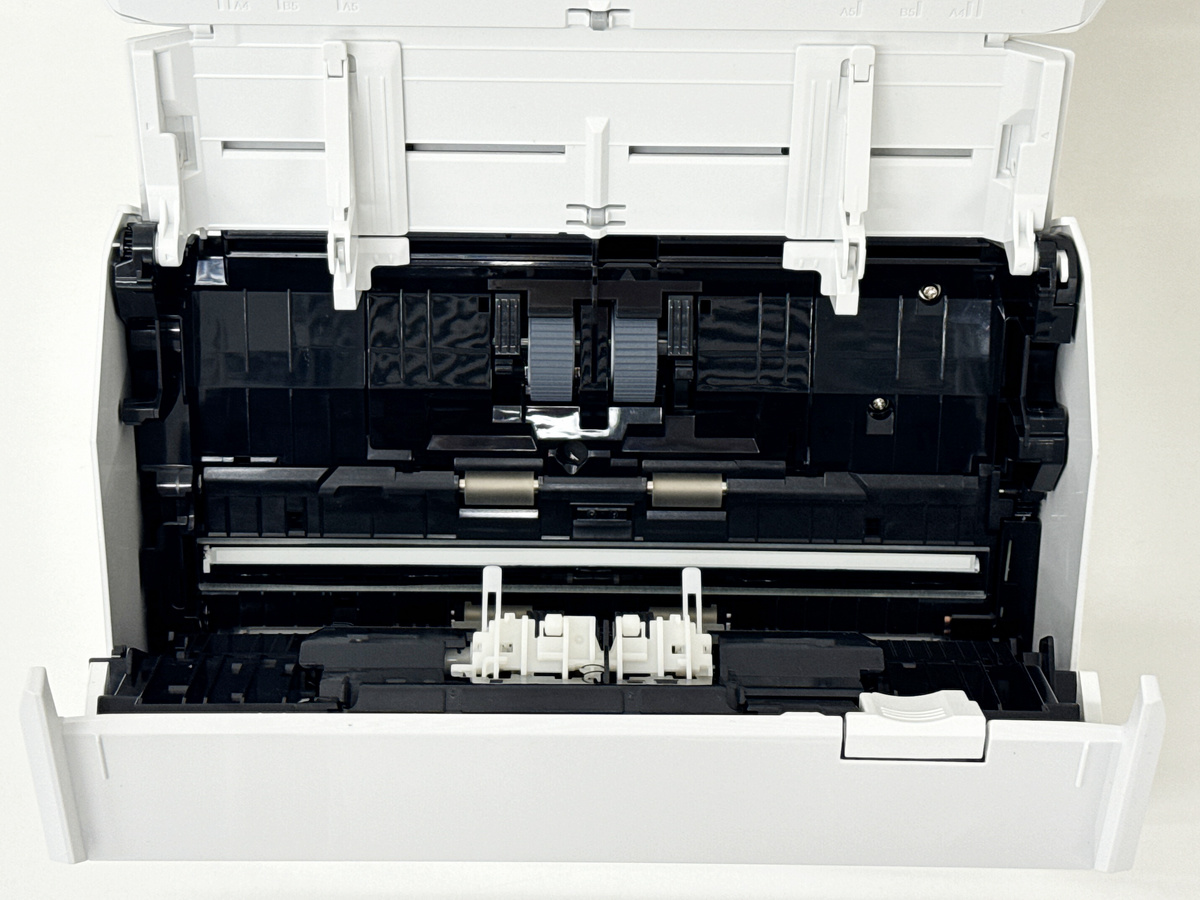
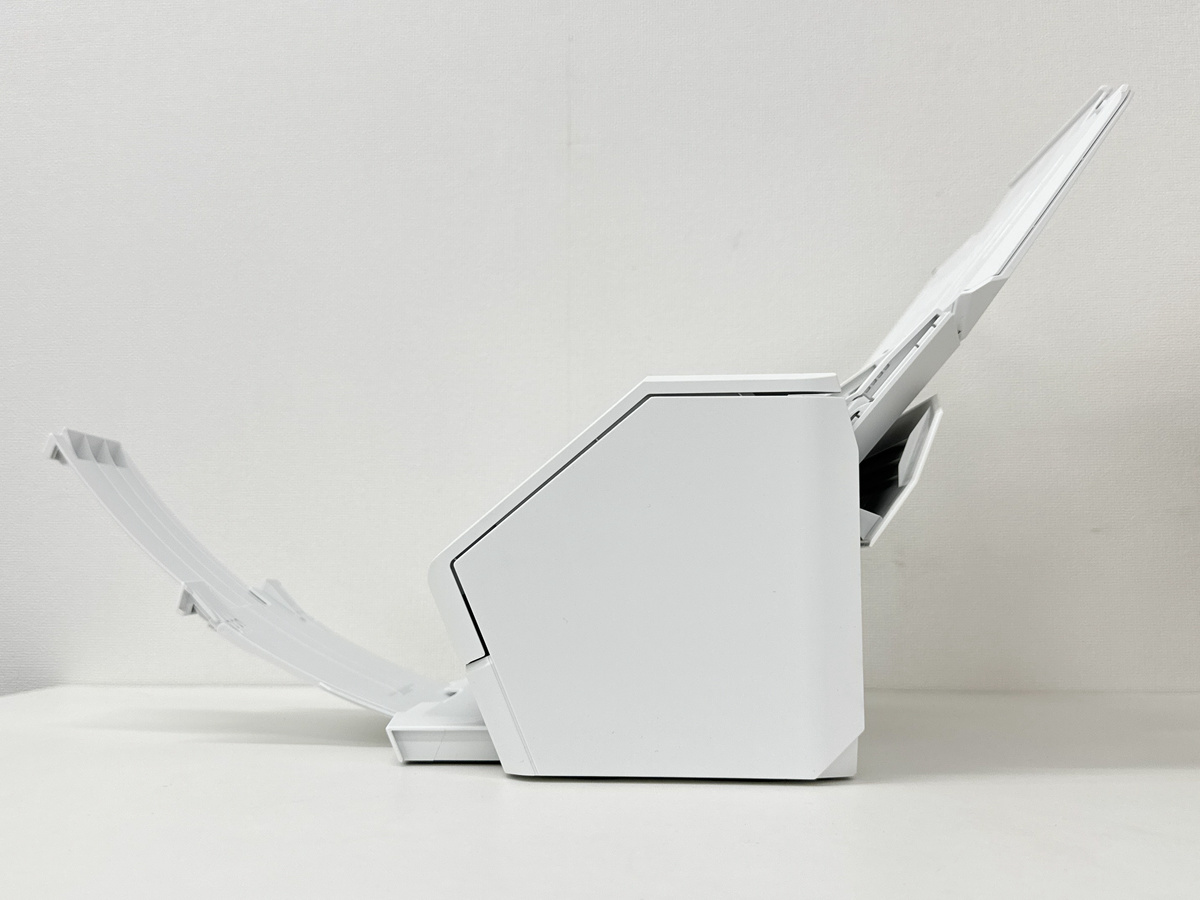
The cover is open. Its simple structure opens wide, making it easy to maintain.
The stacker that holds the scanned documents has been pulled out.
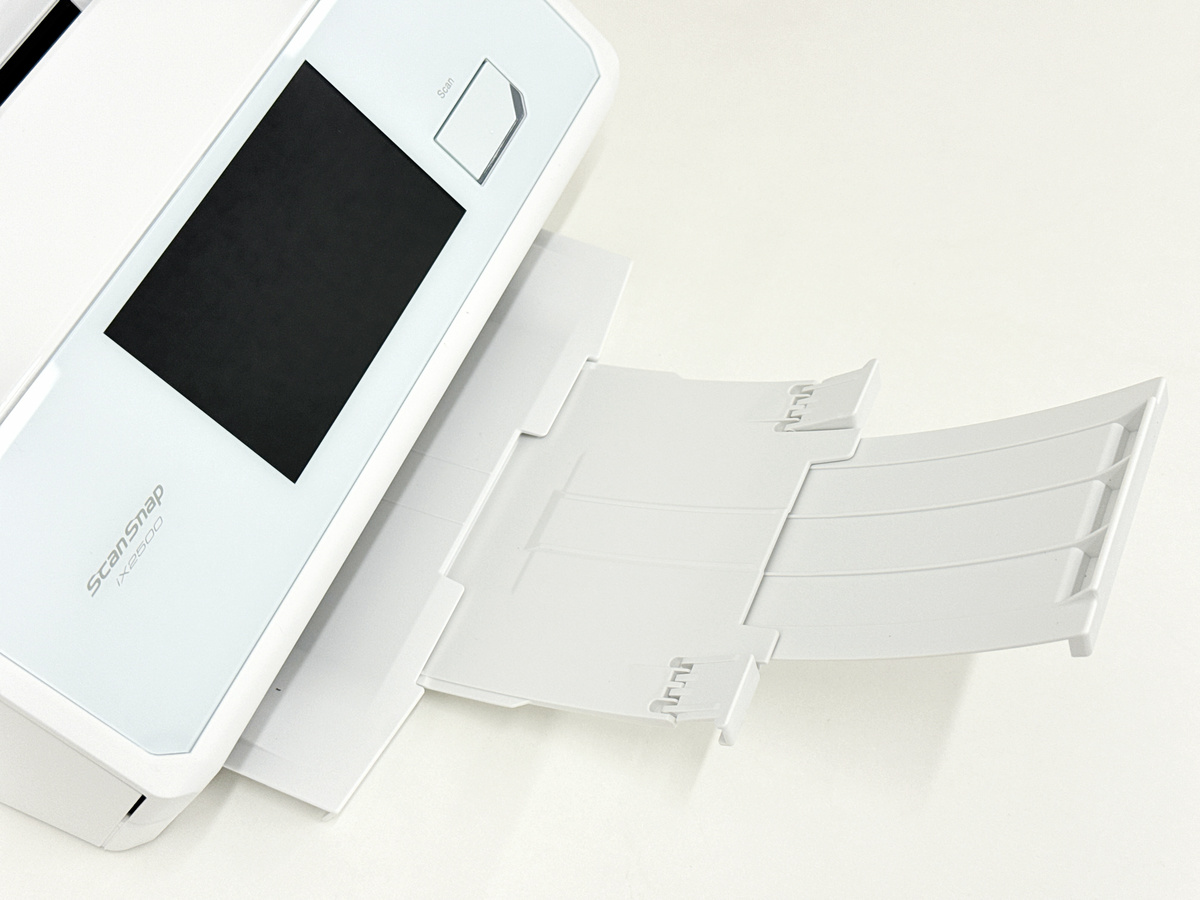
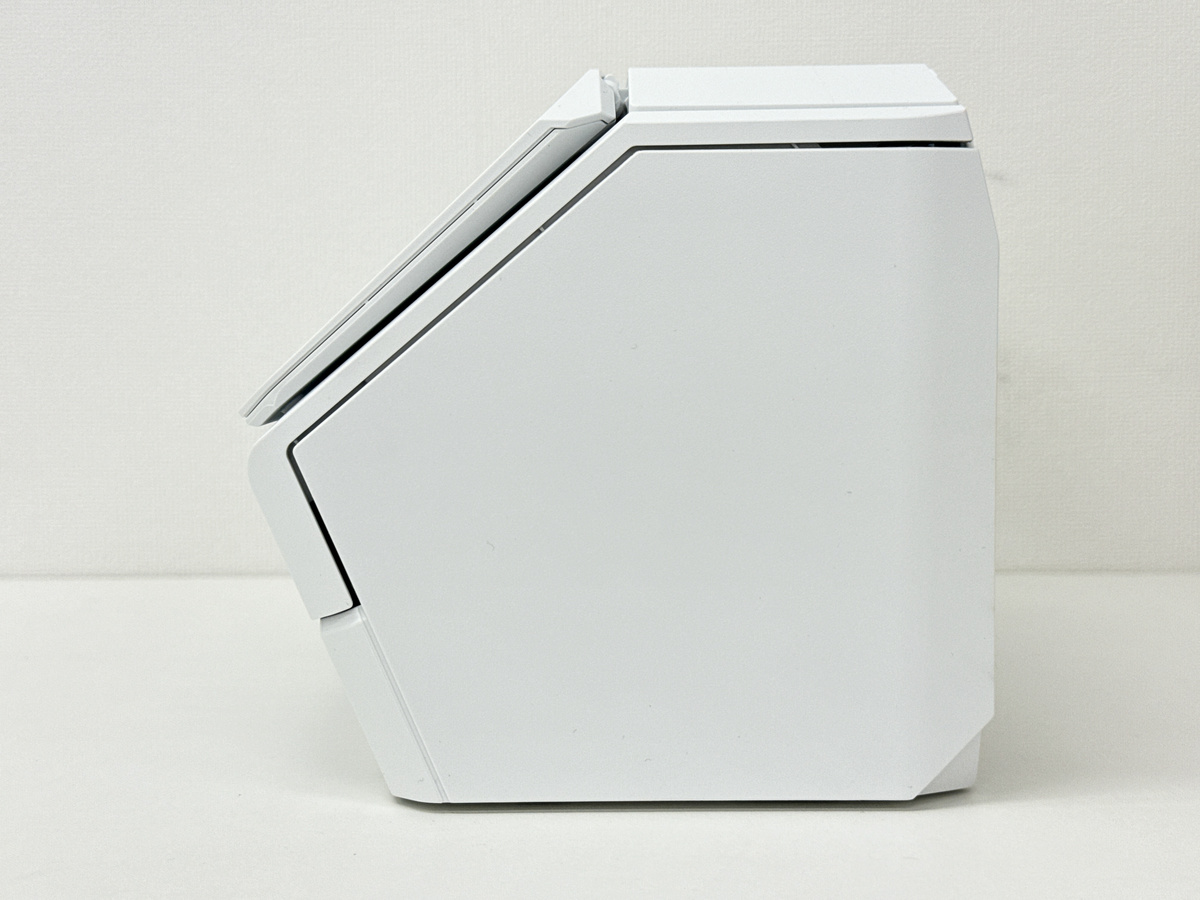
The left side looks like this.
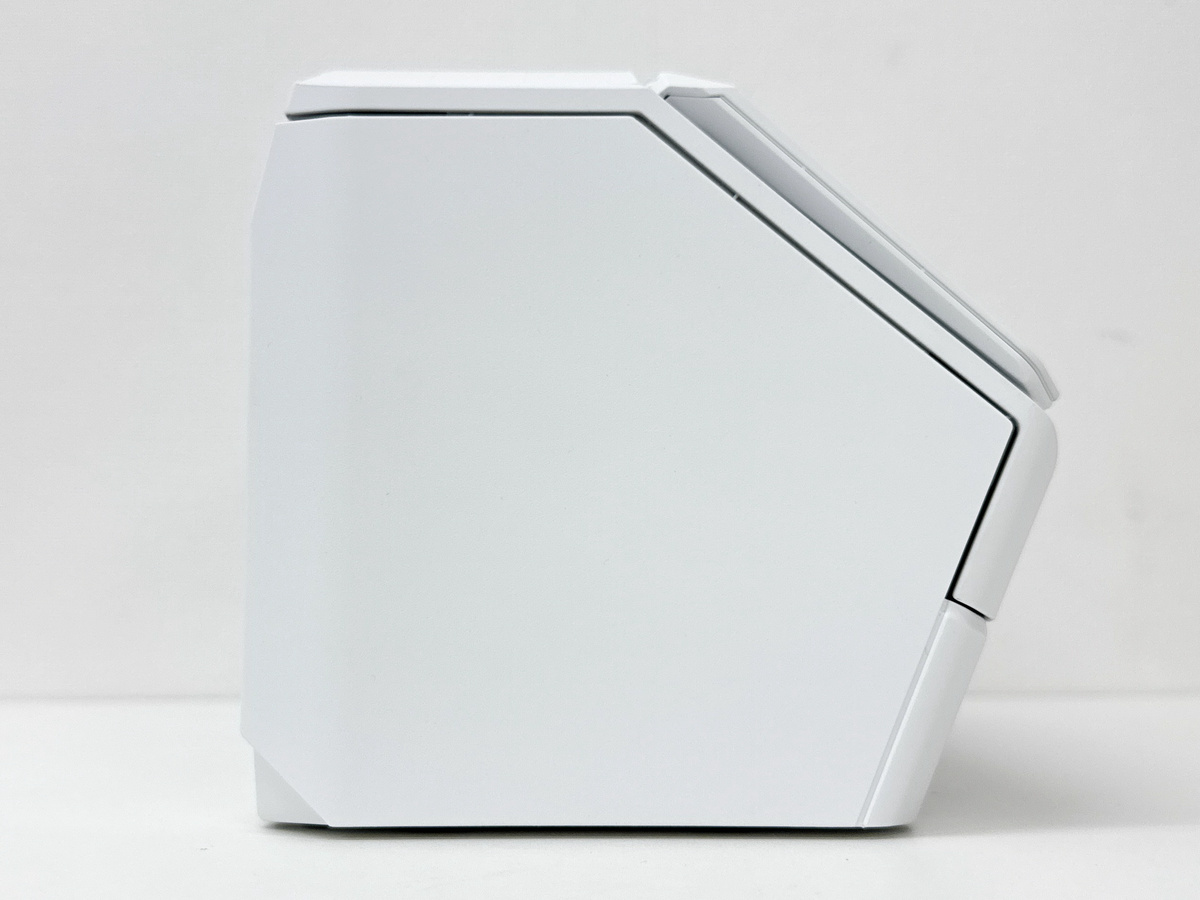
View from the right side. There are no buttons or ports.
When the lid is opened and the stacker is extended, the depth reaches a maximum of 477mm and the height reaches a maximum of 286mm.
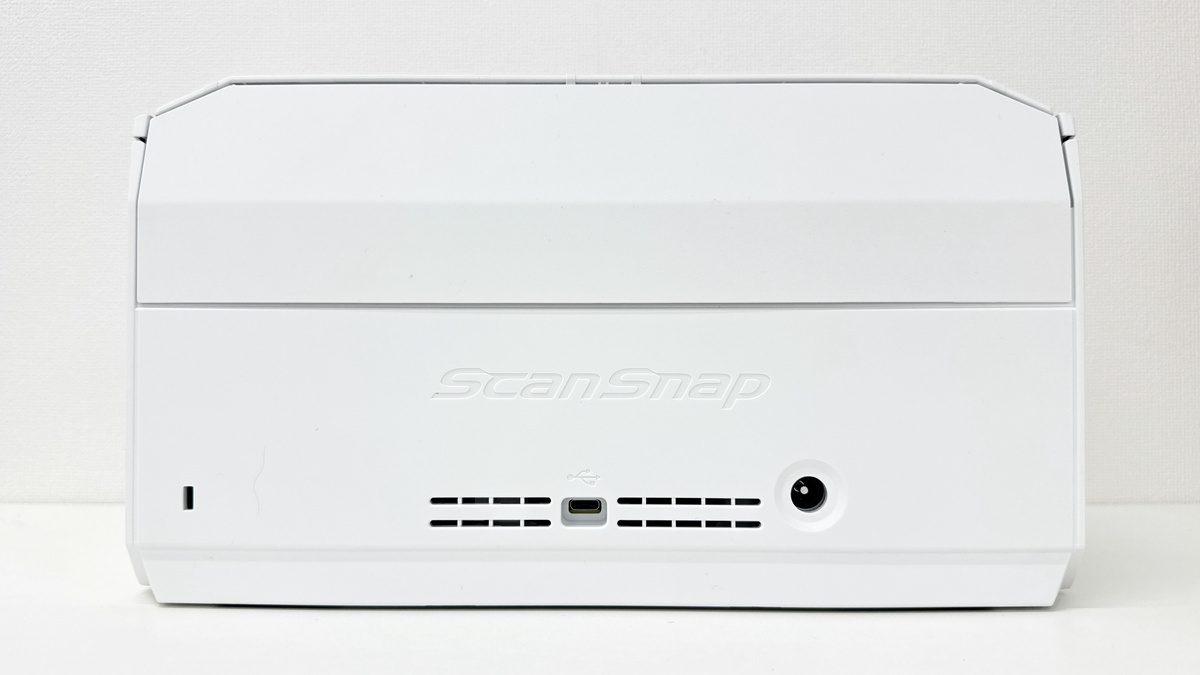
The 'ScanSnap' logo is engraved on the back, and below that there is a security slot, a USB-C port, and a power port.
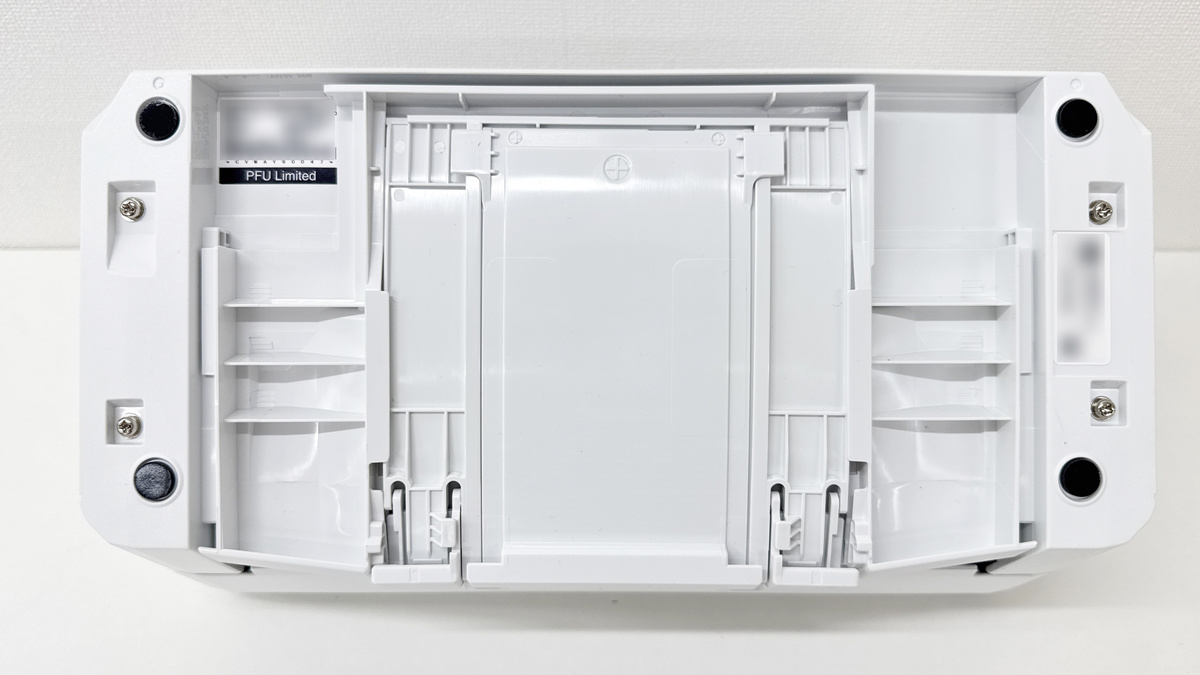
There are four rubber feet and a screw on the bottom, as well as a sticker with the serial number and model number.
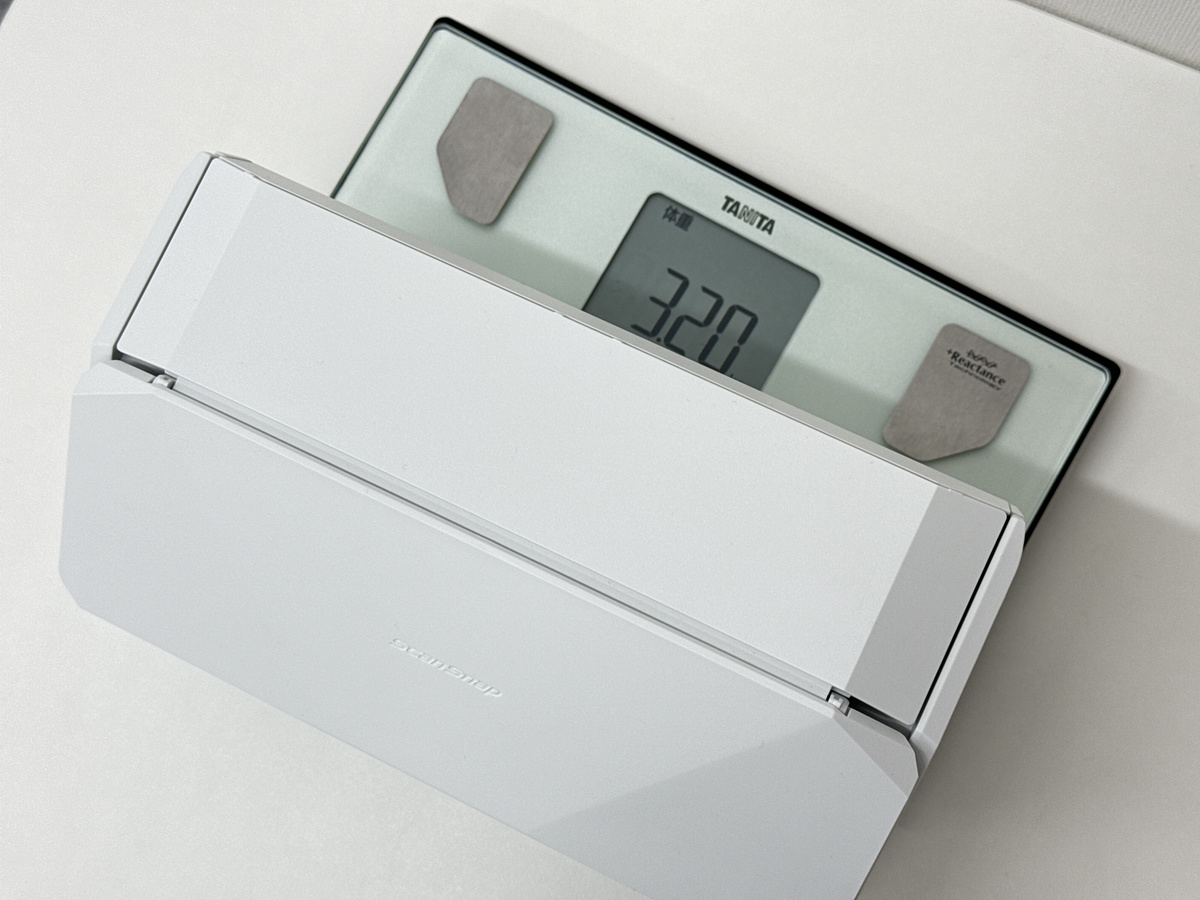
The actual weight was 3.20kg.
2. Setup
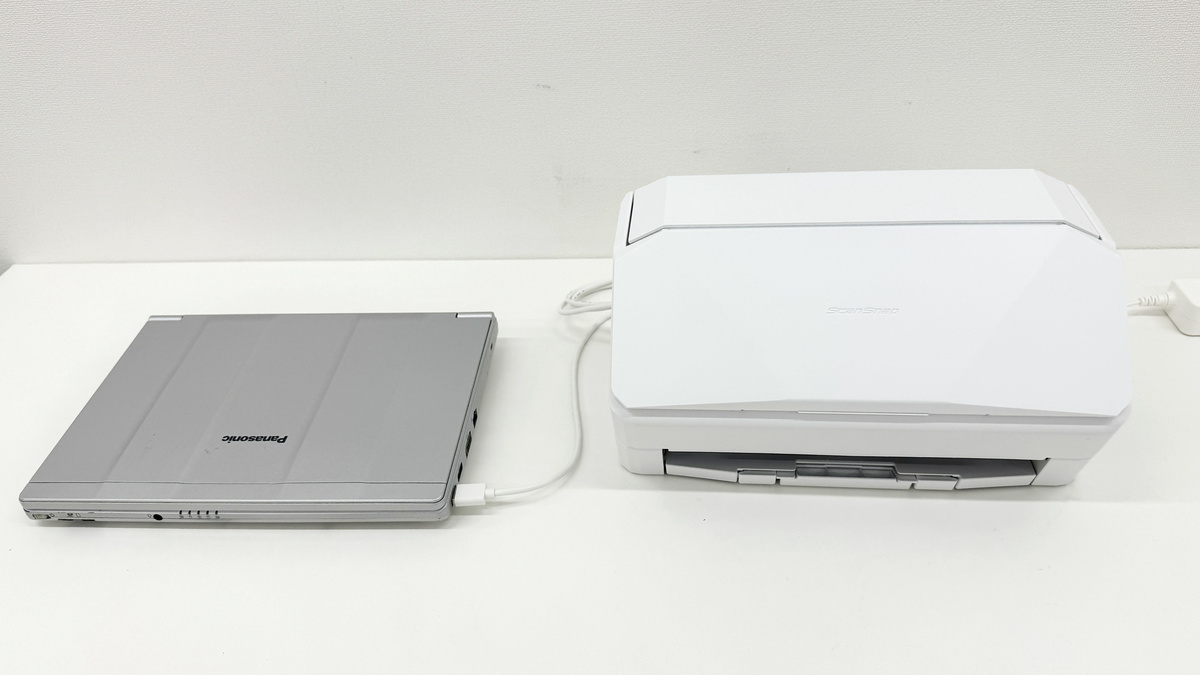
First, connect the included USB cable and AC adapter to the back of the ScanSnap iX2500 device.
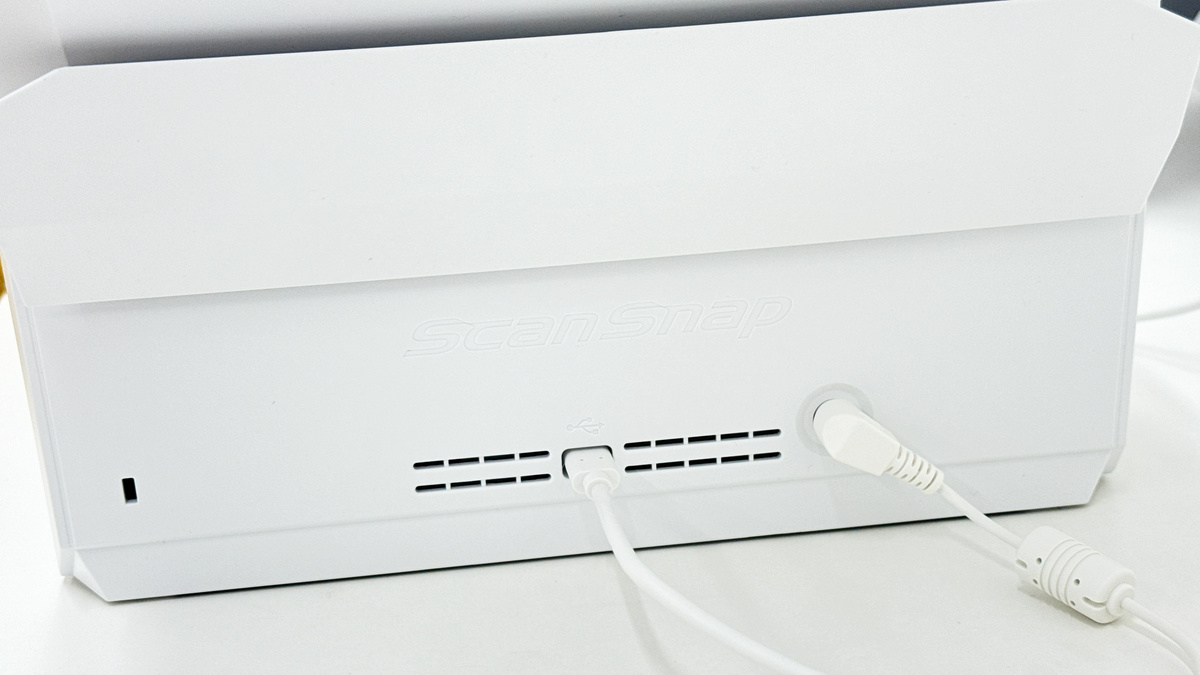
Connect the USB-A end of the USB cable to your laptop.
When you open the lid of the ScanSnap iX2500, it will automatically power on and start up.
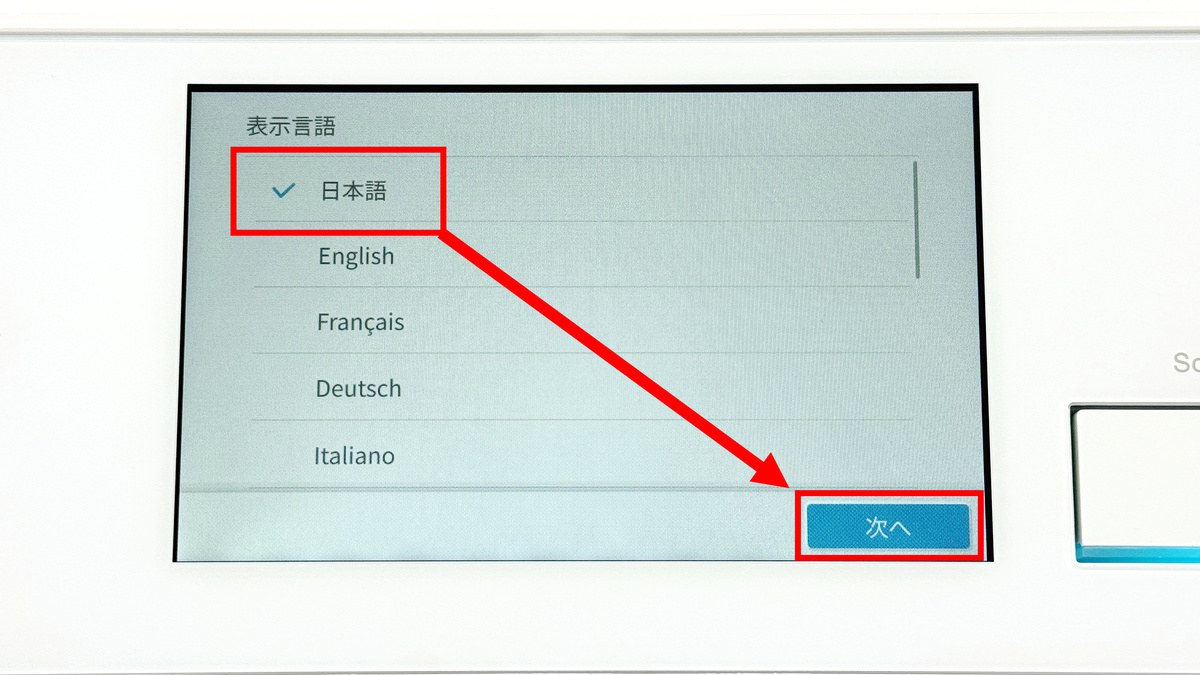
When you start the app for the first time, you will need to select the language. Select 'Japanese' and tap 'Next.' The touch panel of the ScanSnap iX2500 is capacitive, unlike the previous model, the ScanSnap iX1600, and I felt that the touch response was very high.
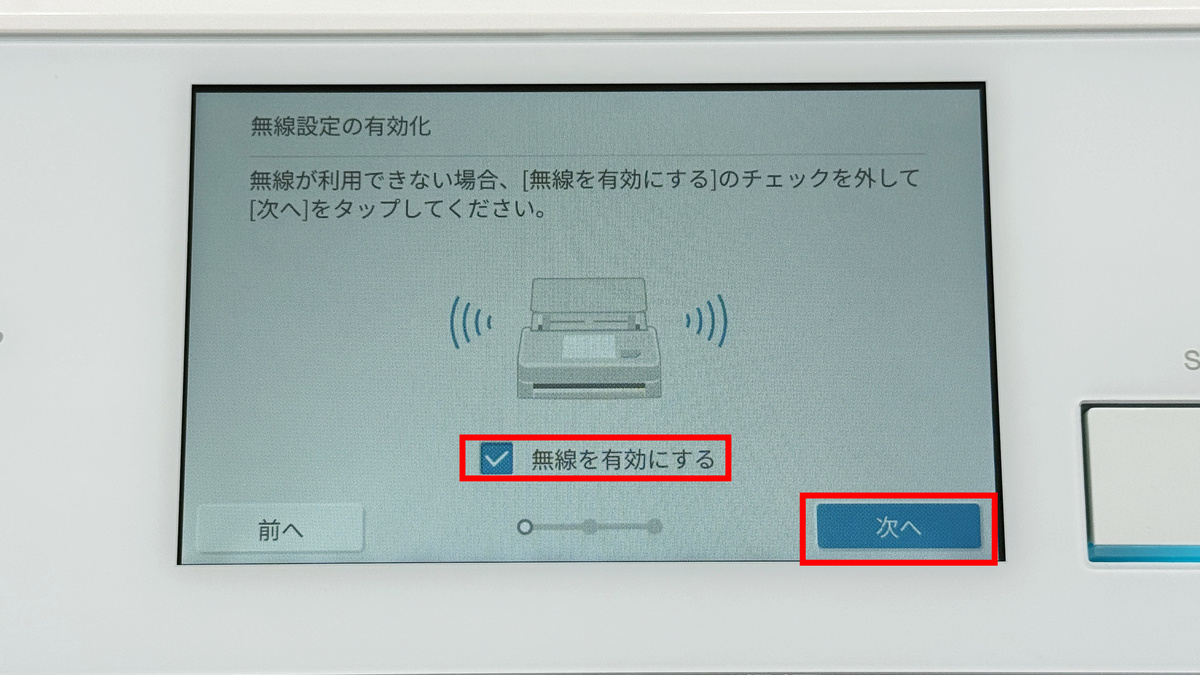
Check 'Enable Wireless' and tap 'Next'.
To use the ScanSnap iX2500, you need to install
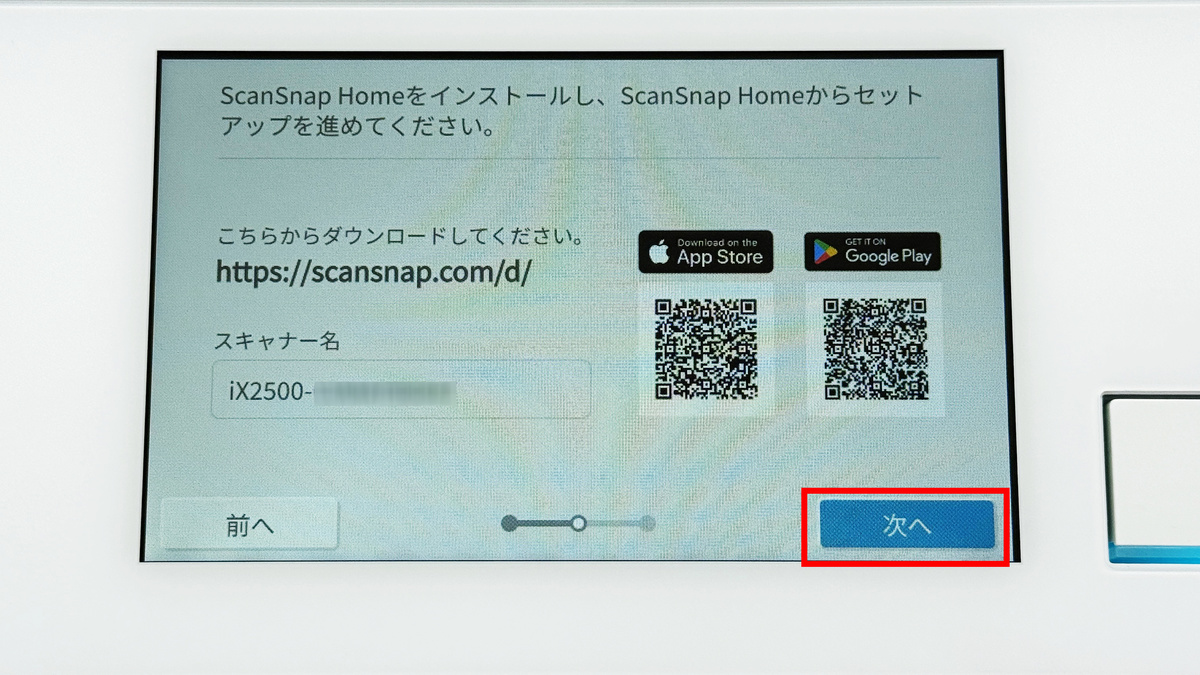
ScanSnap Home on the PC will check the USB connection.

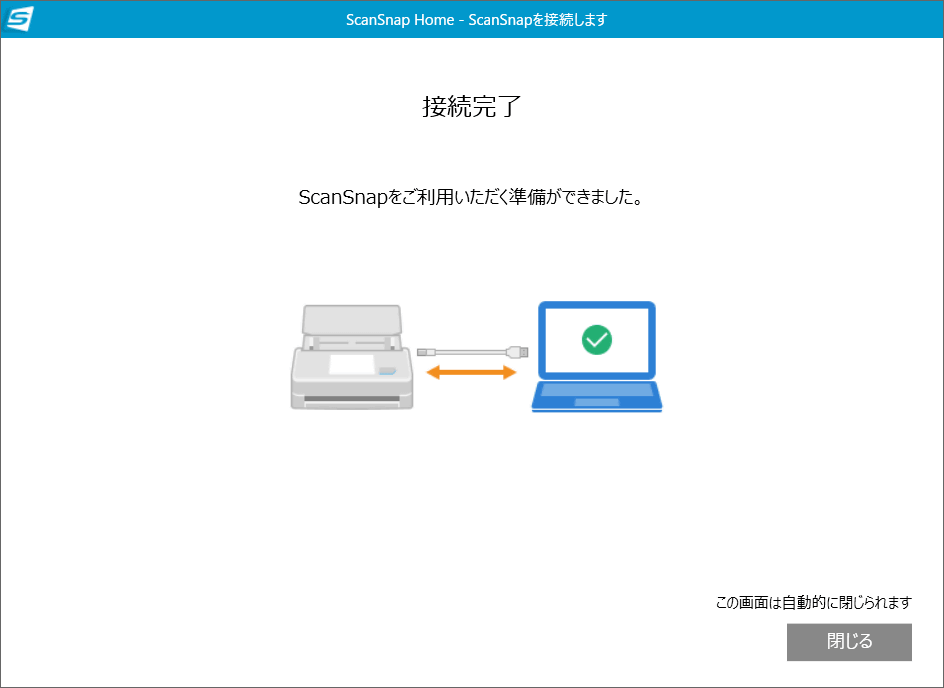
Connection complete.
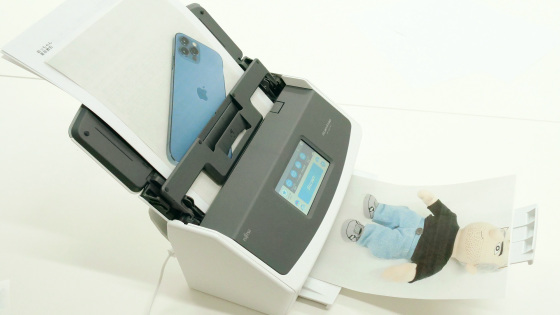
◆3: I actually tried scanning with the ScanSnap iX2500
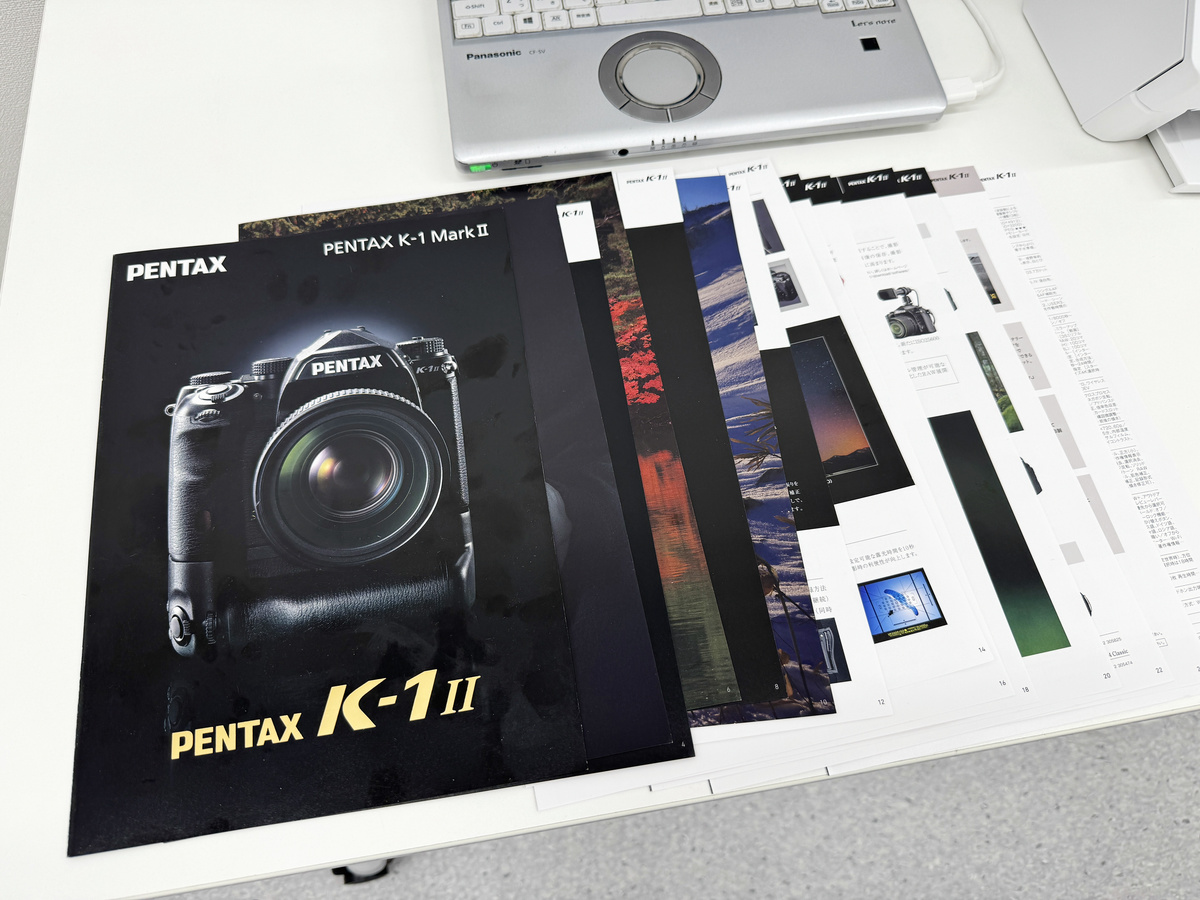
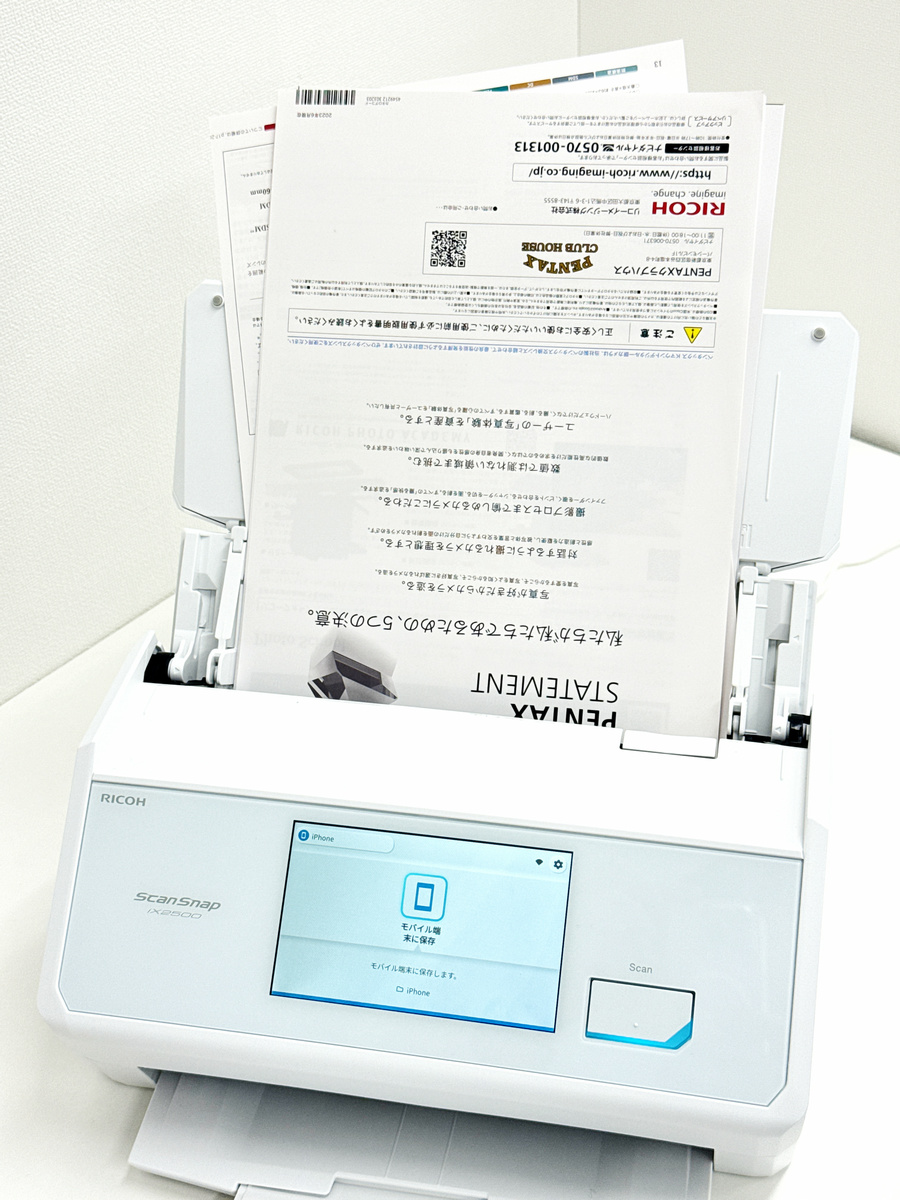
This time, I will scan the
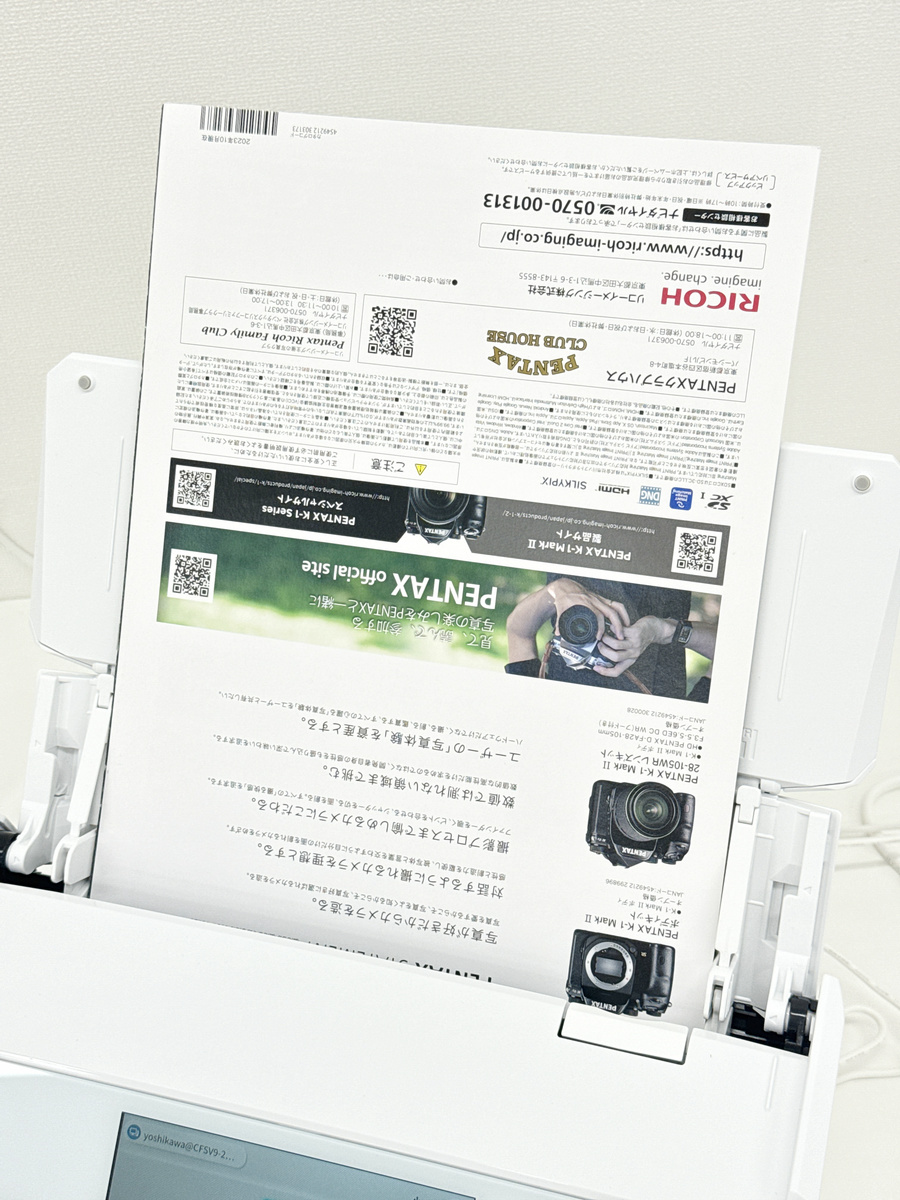
Place the document with the top and front side facing down.
On the touch panel of the ScanSnap iX2500, you can change the scan settings at the bottom of the screen.

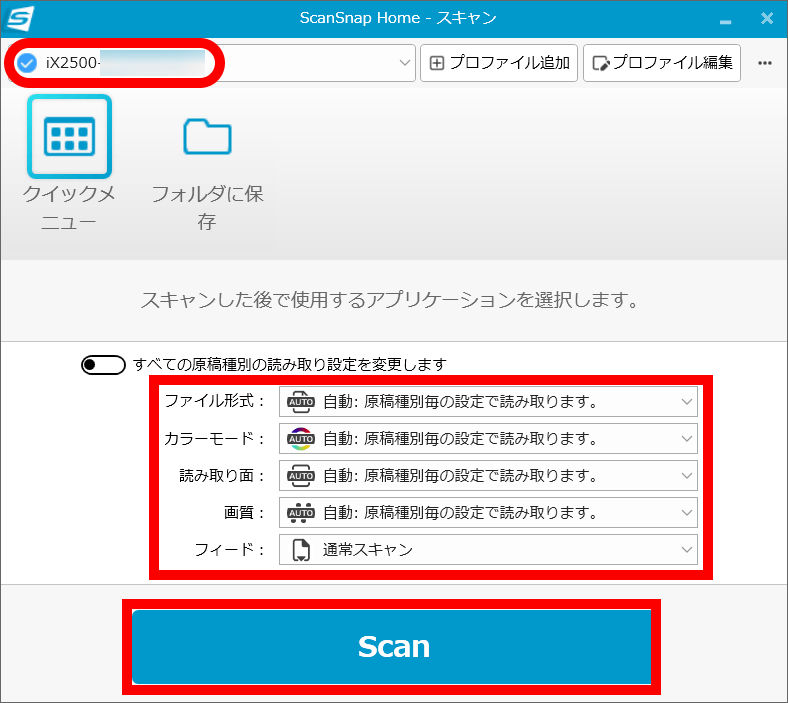
The settings that can be changed are as follows:
File format: PDF (single) / PDF (multiple) / JPEG
Color mode: Auto/Color/Gray/Black and white
Reading side: double-sided/single-sided
Image quality: Normal (color 150 dpi, black and white 300 dpi) / Fine (color 200 dpi, black and white 400 dpi) / Super fine (color 300 dpi, black and white 600 dpi) / Excellent (color 600 dpi, black and white 1200 dpi)
Feed: Normal scan/Continuous scan/Manual feed scan/Manual feed scan (front and back composite)
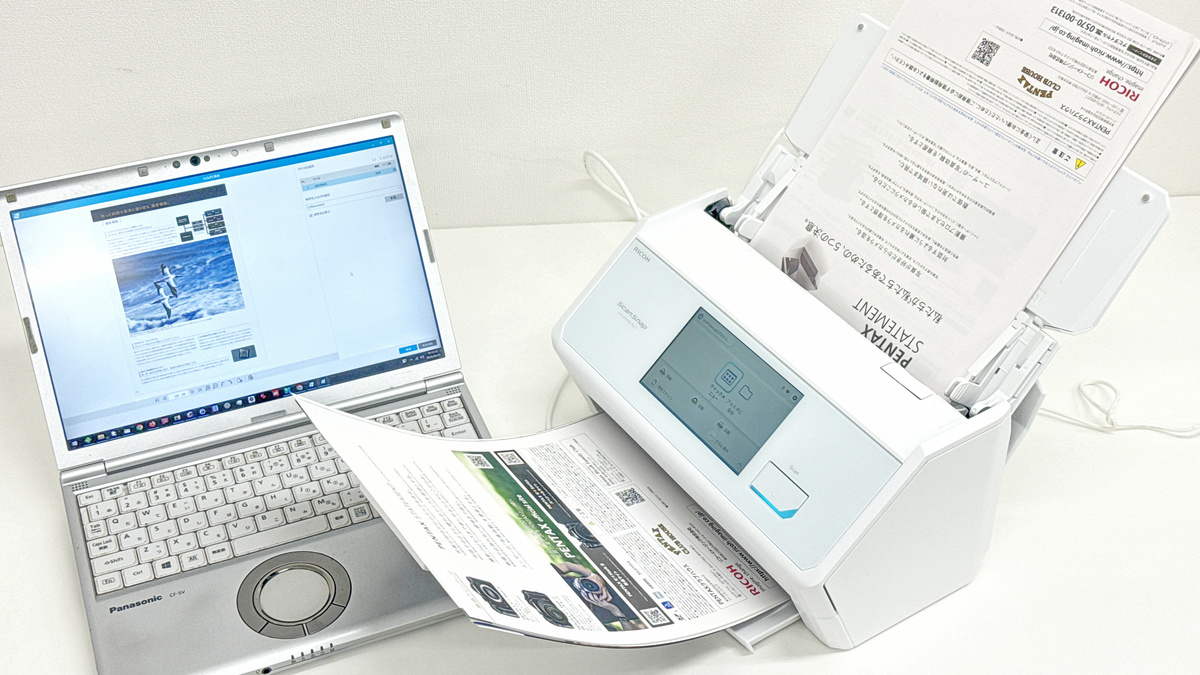
Once the settings are complete, simply press the 'Scan' button on the ScanSnap iX2500 itself.
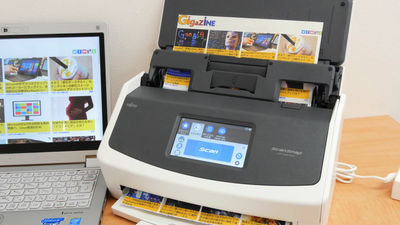
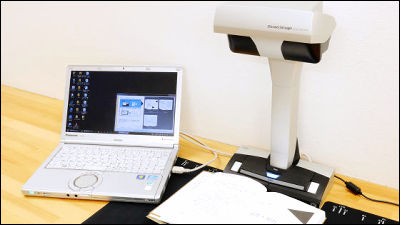
You can also start scanning by clicking the 'Scan' button in ScanSnap Home on your PC. The name of the recognized 'ScanSnap iX2500' is displayed in the upper left corner of ScanSnap Home, and the scan settings can be changed just above the 'Scan' button.
The following movie shows the actual scanning with the ScanSnap iX2500. The catalog scanned this time was 28 pages, including 14 A4 size double-sided covers with color on the front page. It took about 20 seconds to scan all the pages. The sound was quiet, just the sound of the motor feeding the manuscript and the sound of the paper rubbing. It was loud enough not to disturb a conversation nearby.
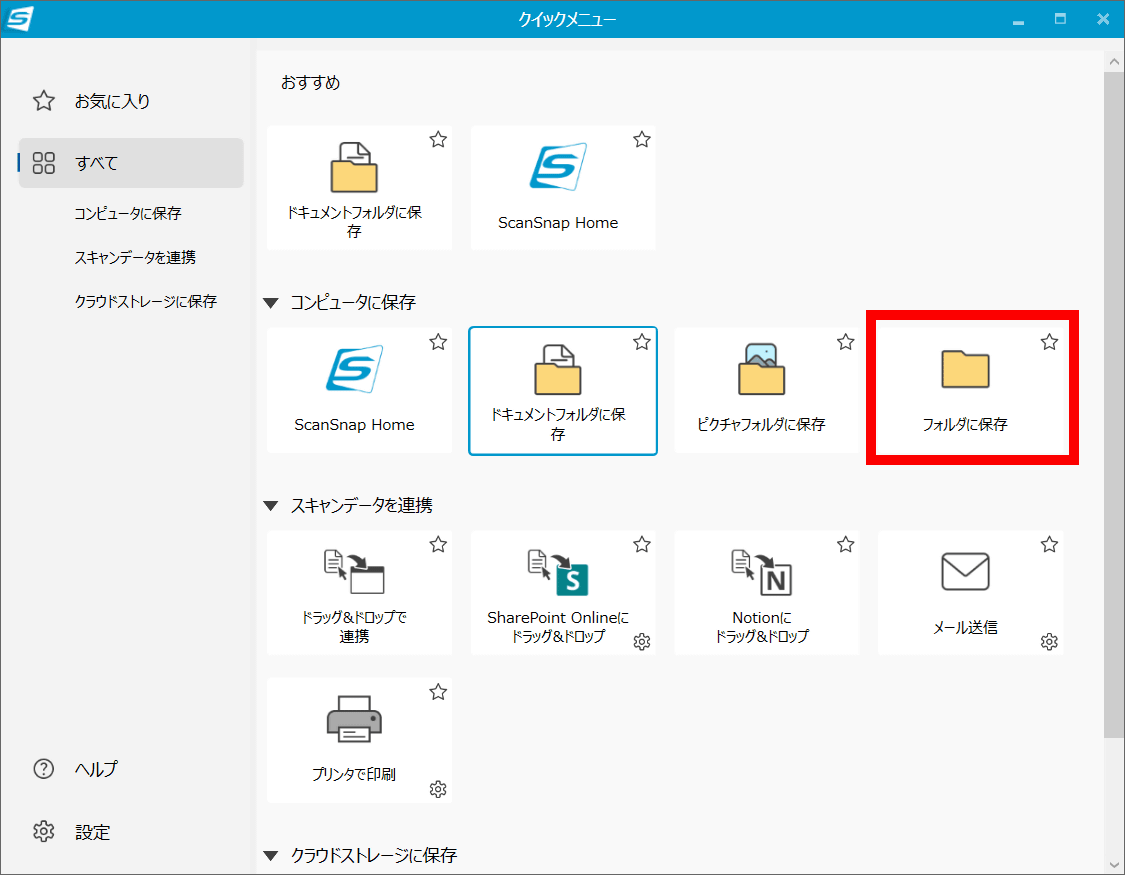
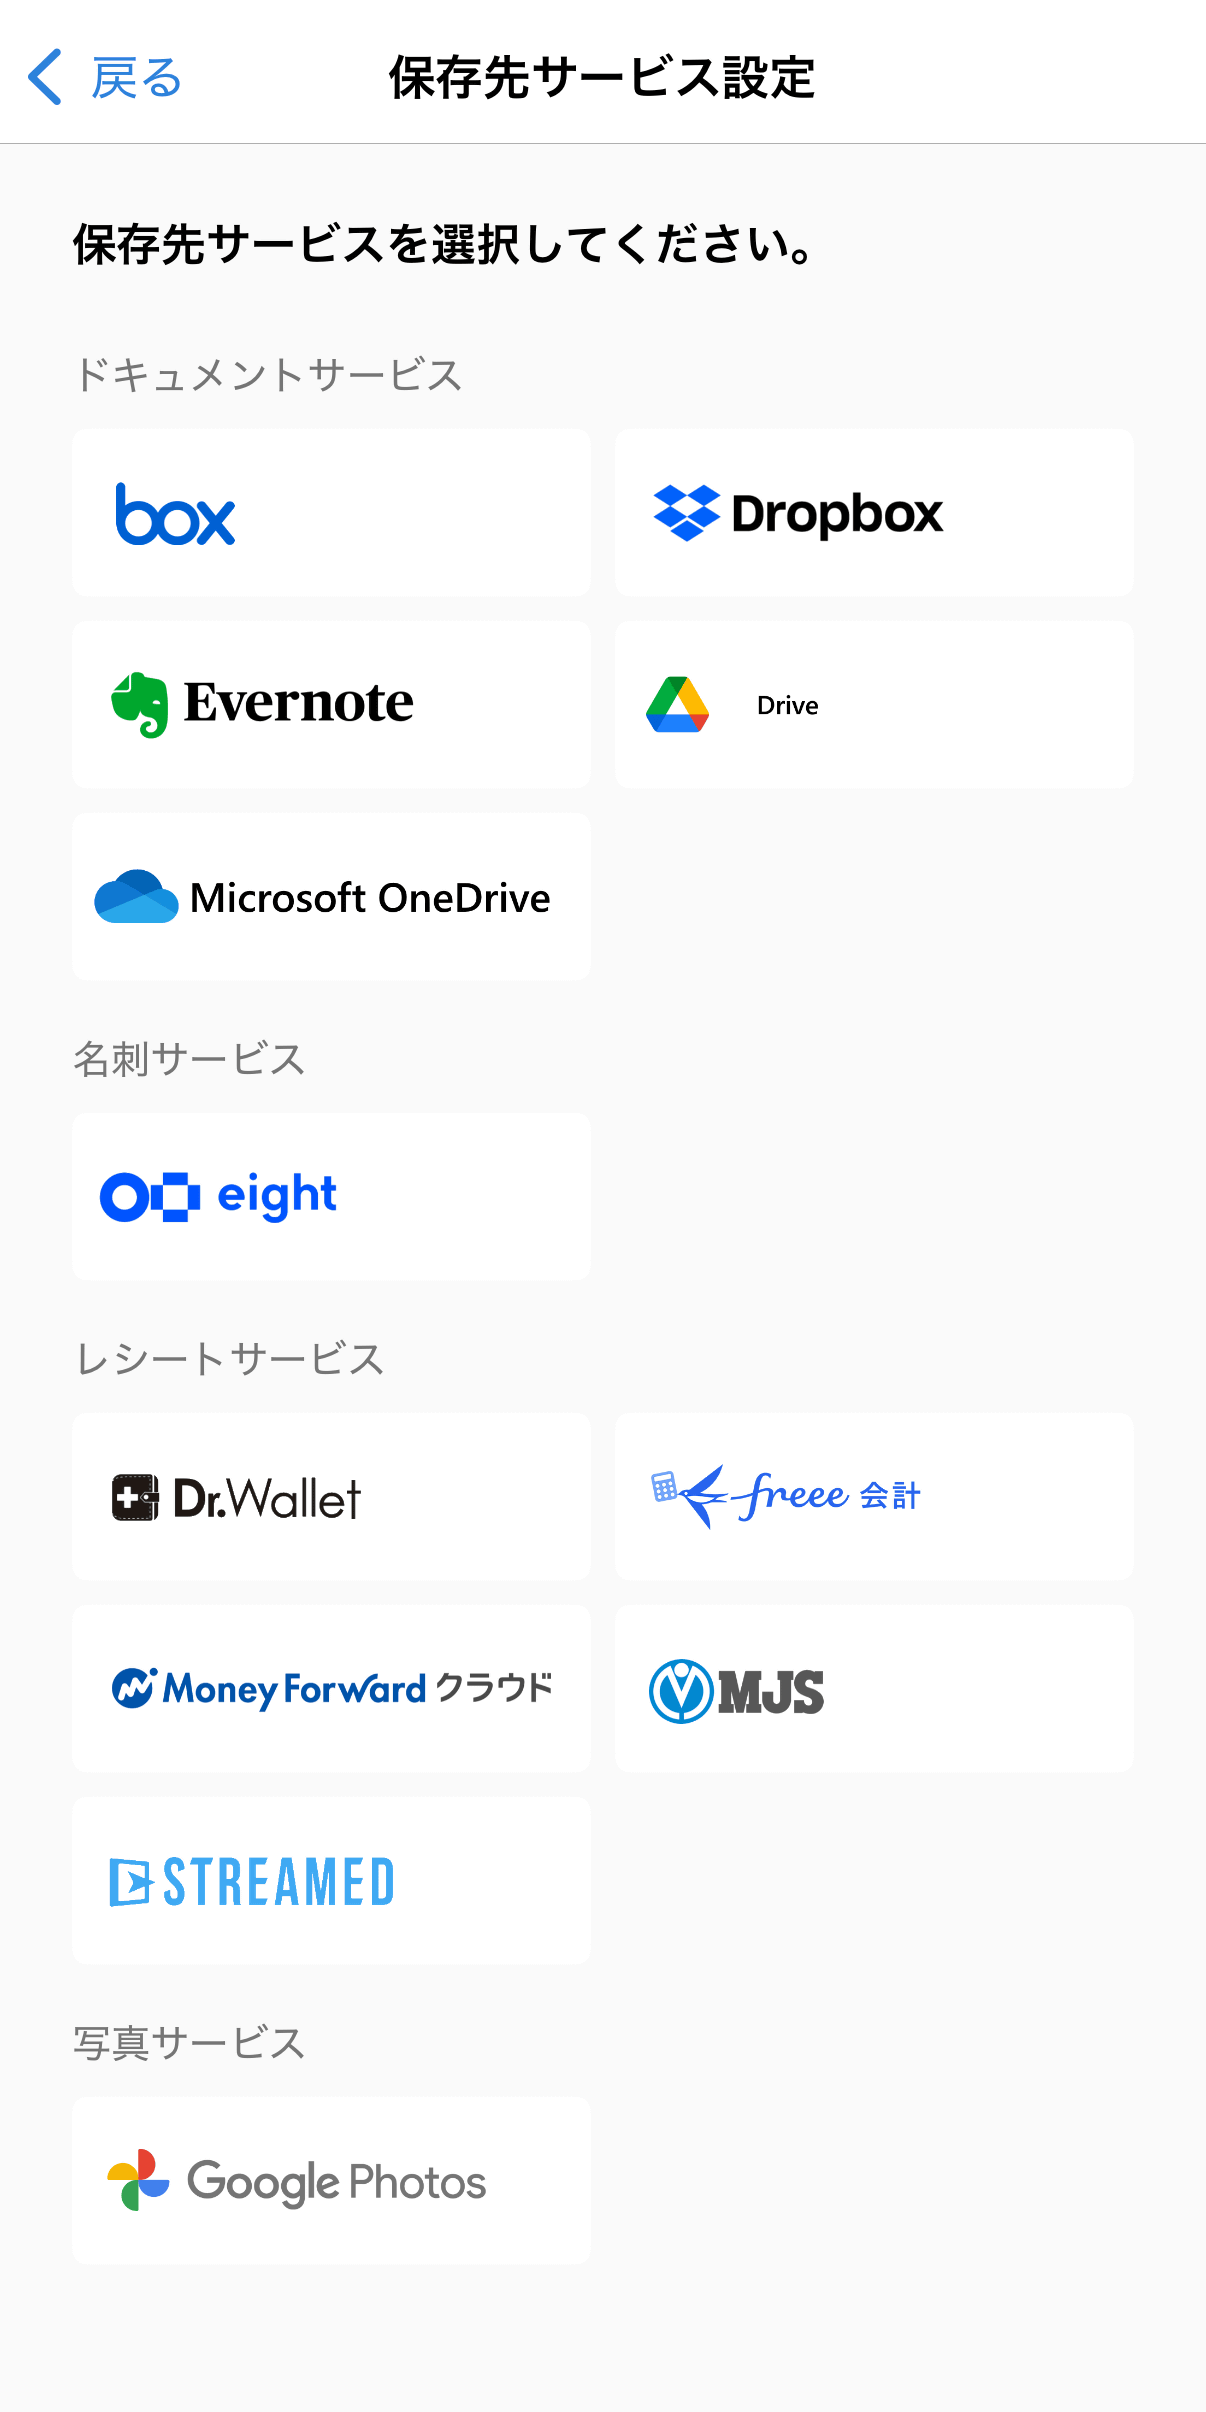
When the scan is complete, a quick menu will appear in ScanSnap Home on your PC. You can choose to save the file by selecting 'Save to computer,' 'Share scan data,' or 'Save to cloud storage.' In this example, click 'Save to folder.'
A preview of the scan results will be displayed on the left side of the 'Save to Folder' screen. Enter a file name in 'Specify Title', specify the destination folder, and click 'Save'.
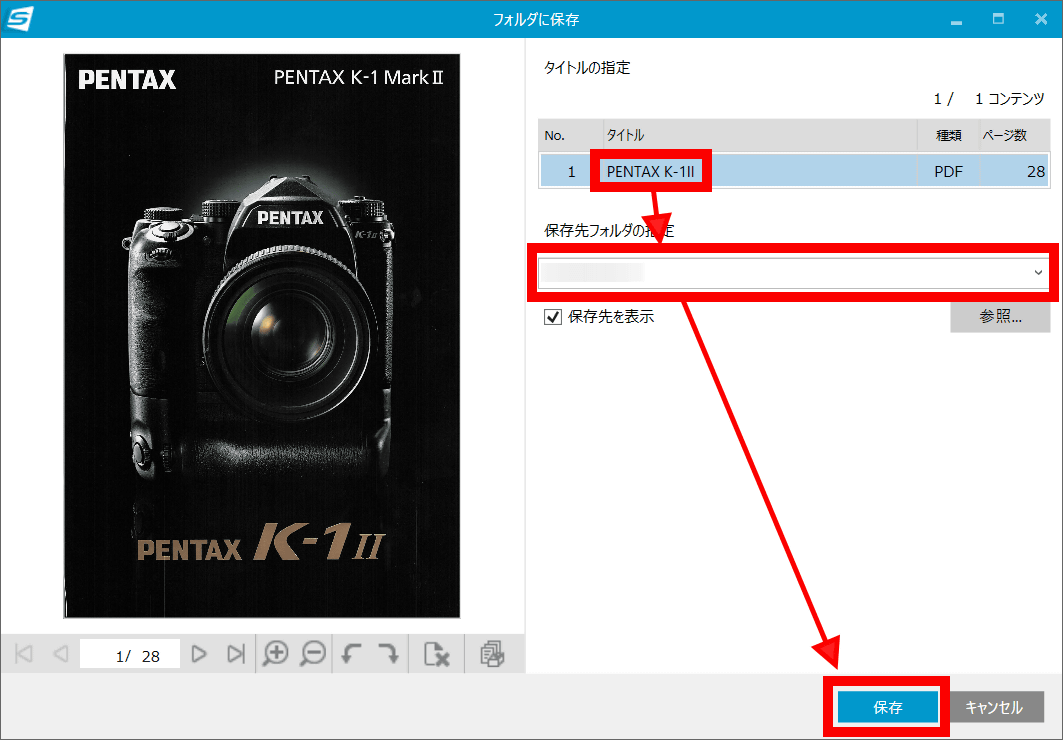
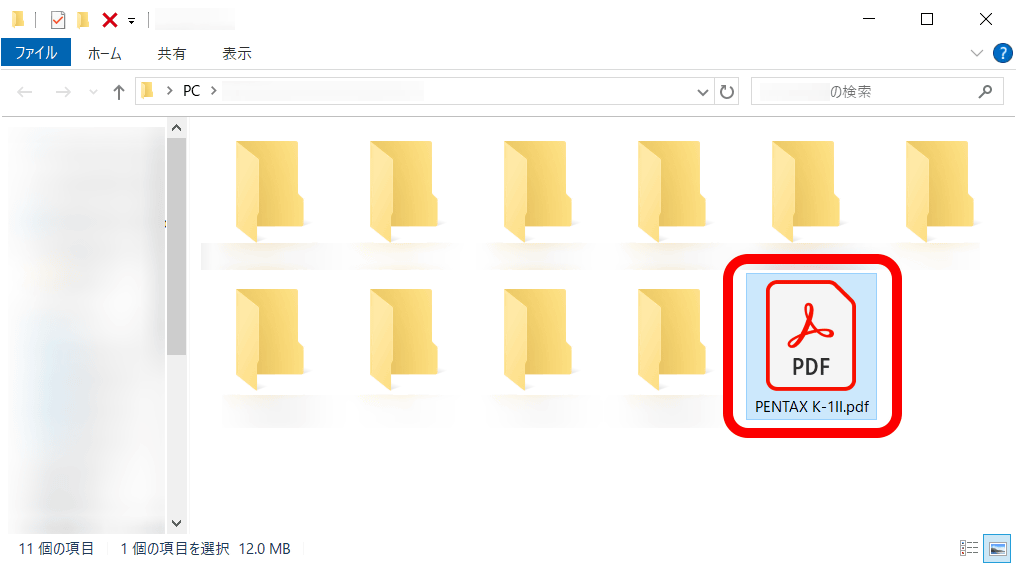
When I checked the specified folder, the scan results were saved as a PDF file. All you have to do is open the lid, turn it on, insert the document, and press the 'Scan' button to scan. You can also change settings such as image quality and scanning method from the touch panel or ScanSnap Home. The ScanSnap iX2500 is very simple to operate, and anyone can use it with ease.
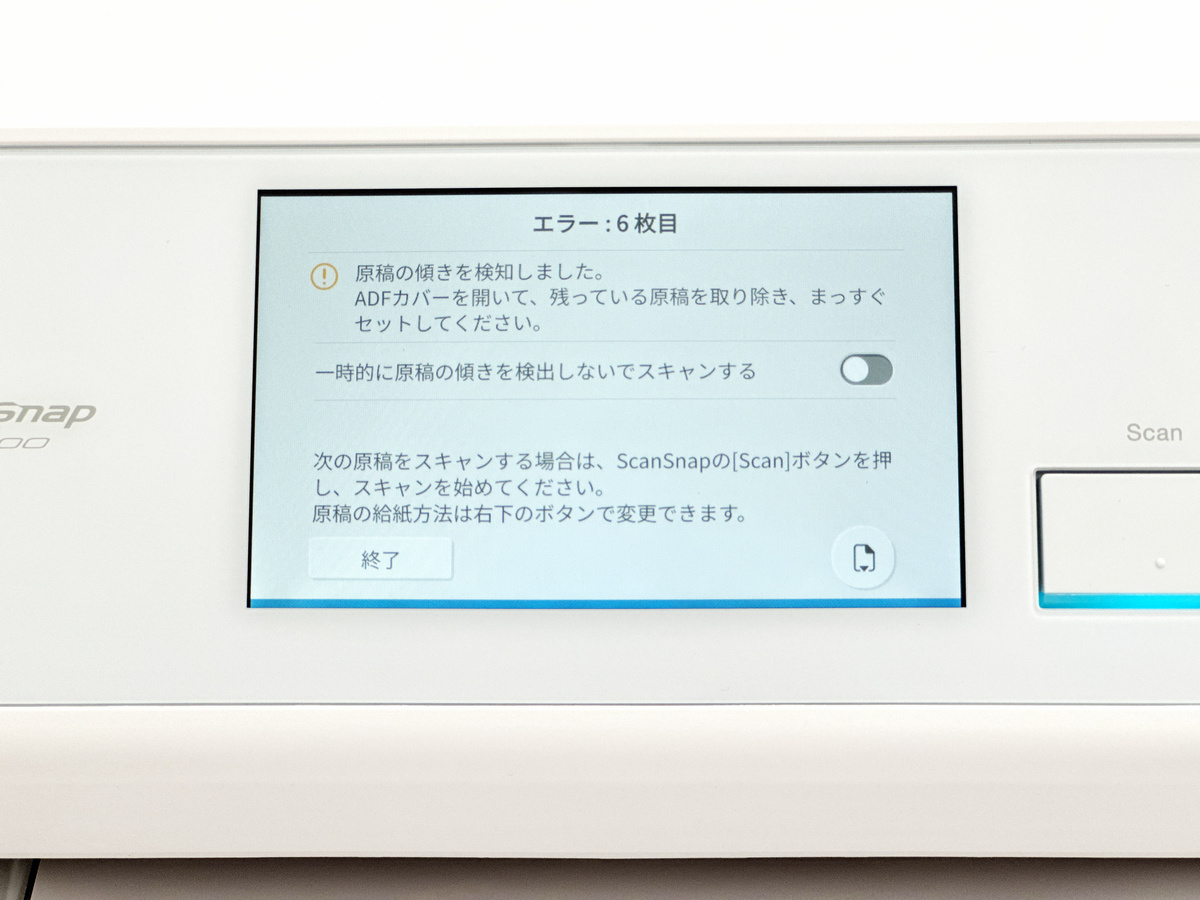
◆4: Pause to prevent damage to documents inserted at an angle
The ScanSnap iX2500 uses a brake roller and an ultrasonic multi-feed sensor based on the paper-feeding technology developed for commercial scanners, and is equipped with a function that stops the document before it is damaged even if the document is fed at an angle. As a test, I deliberately inserted one page of a catalog at an angle and scanned it.
You can see in the following movie how the ScanSnap iX2500 detects that paper is fed at an angle and pauses.
If the scan was paused, an error message appeared on the screen stating 'Document skew has been detected.'
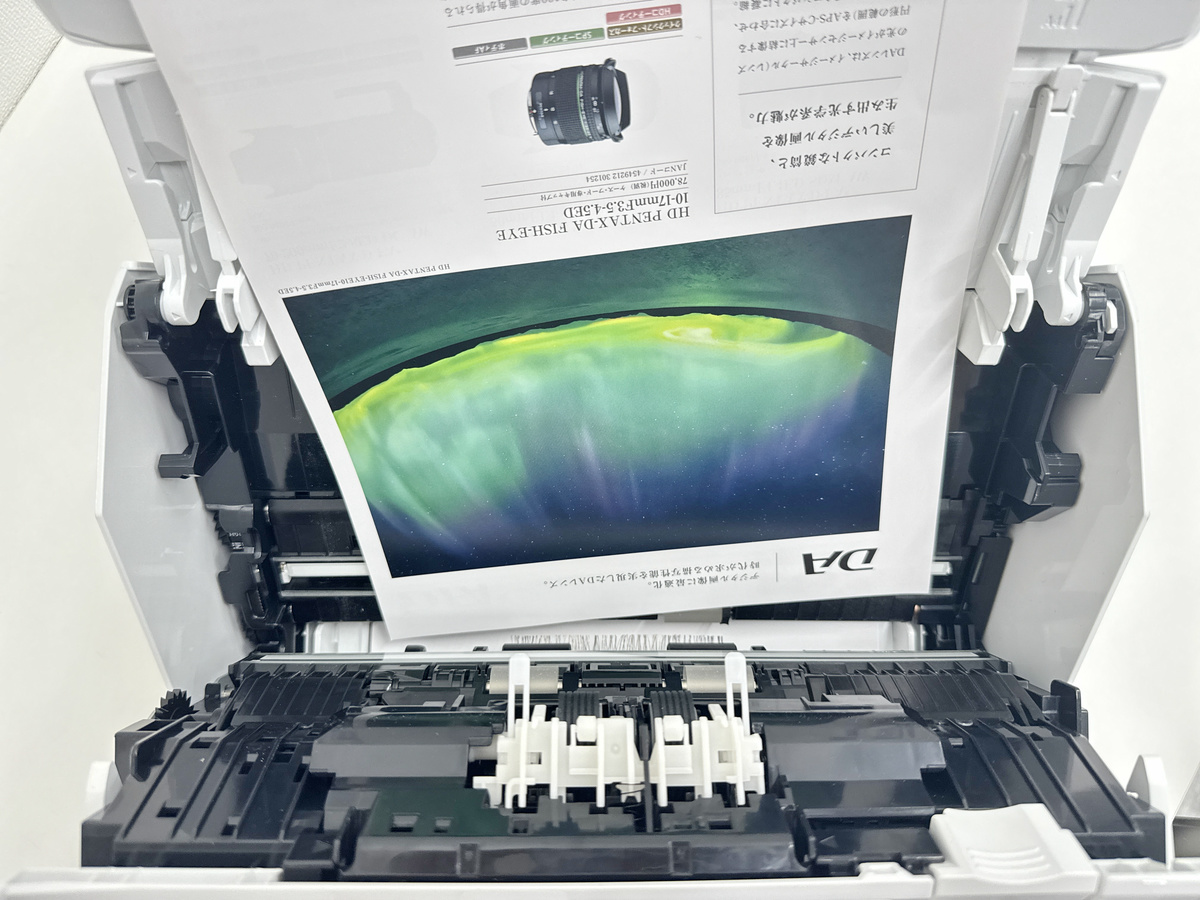
This is what it looks like when you open the cover. You can see that the scan stopped before the skewed document got caught in the rollers. If you remove the skewed document, straighten it out, reinsert it, and press the scan button, the scan will resume from where it left off.
◆5: 'Profile' function that can call up scan settings in cooperation with ScanSnap Home
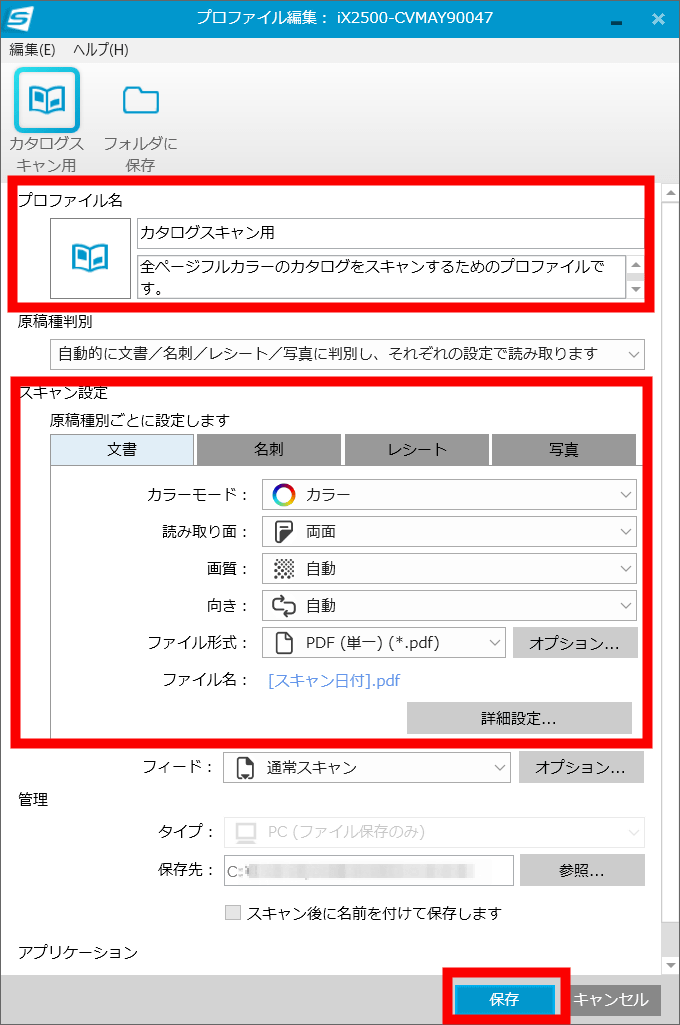
With the ScanSnap iX2500, you can now register up to 100 scan settings, such as save destinations and file formats, as 'profiles.' To edit a profile, click 'Edit Profile' in ScanSnap Home.
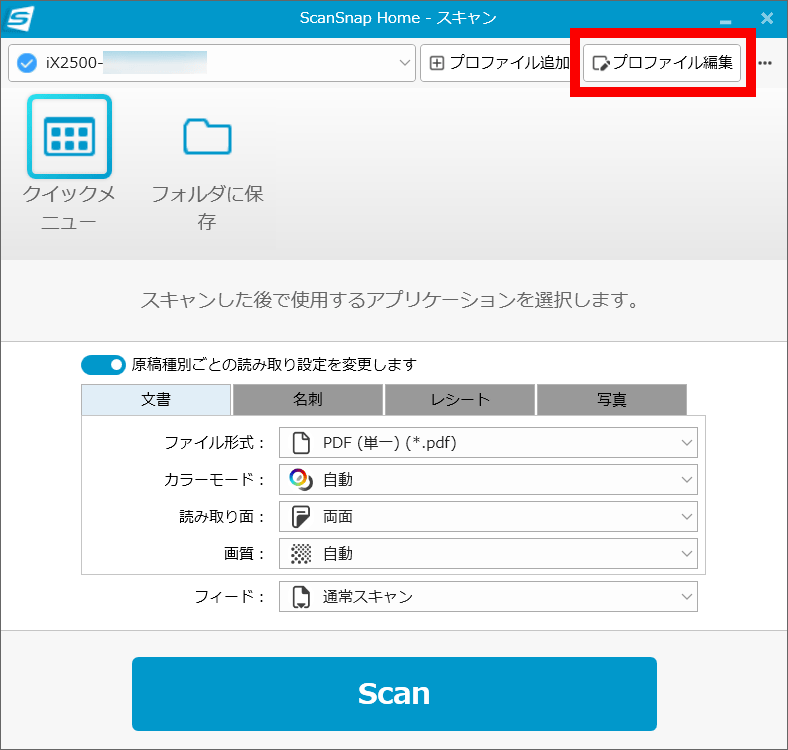
The profile editing screen looks like this. Enter an icon, title, and description in 'Profile Name', set 'Scan Settings', and click 'Save'
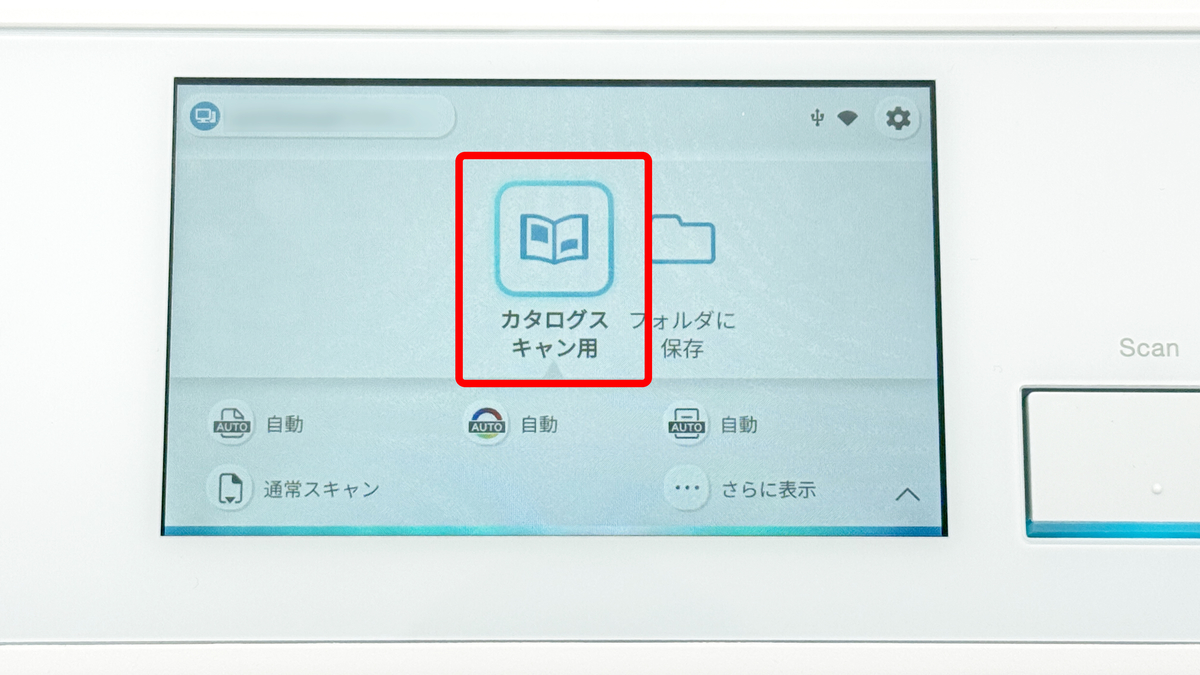
Once you save the profile, it will be automatically loaded when you connect to the ScanSnap iX2500. Even if you are using a different ScanSnap iX2500 than usual, if you are connecting to the same PC as this time, the profile will be loaded on the ScanSnap iX2500 as shown below. In other words, you will no longer need to redo the scan settings and file saving settings every time you connect. In addition, a future update to ScanSnap Home will provide a function that allows you to load a profile into the ScanSnap iX2500 just by holding your smartphone over the device.
◆Scanning from your smartphone with ScanSnap iX2500
Using the free 'ScanSnap Home' app for iOS and Android, you can scan without a PC. Scanned data can be saved on your smartphone or uploaded to the cloud.
'ScanSnap Home' on the App Store
ScanSnap Home - Apps on Google Play
https://play.google.com/store/apps/details?id=com.ricoh.pfu.scansnaphome&hl=ja
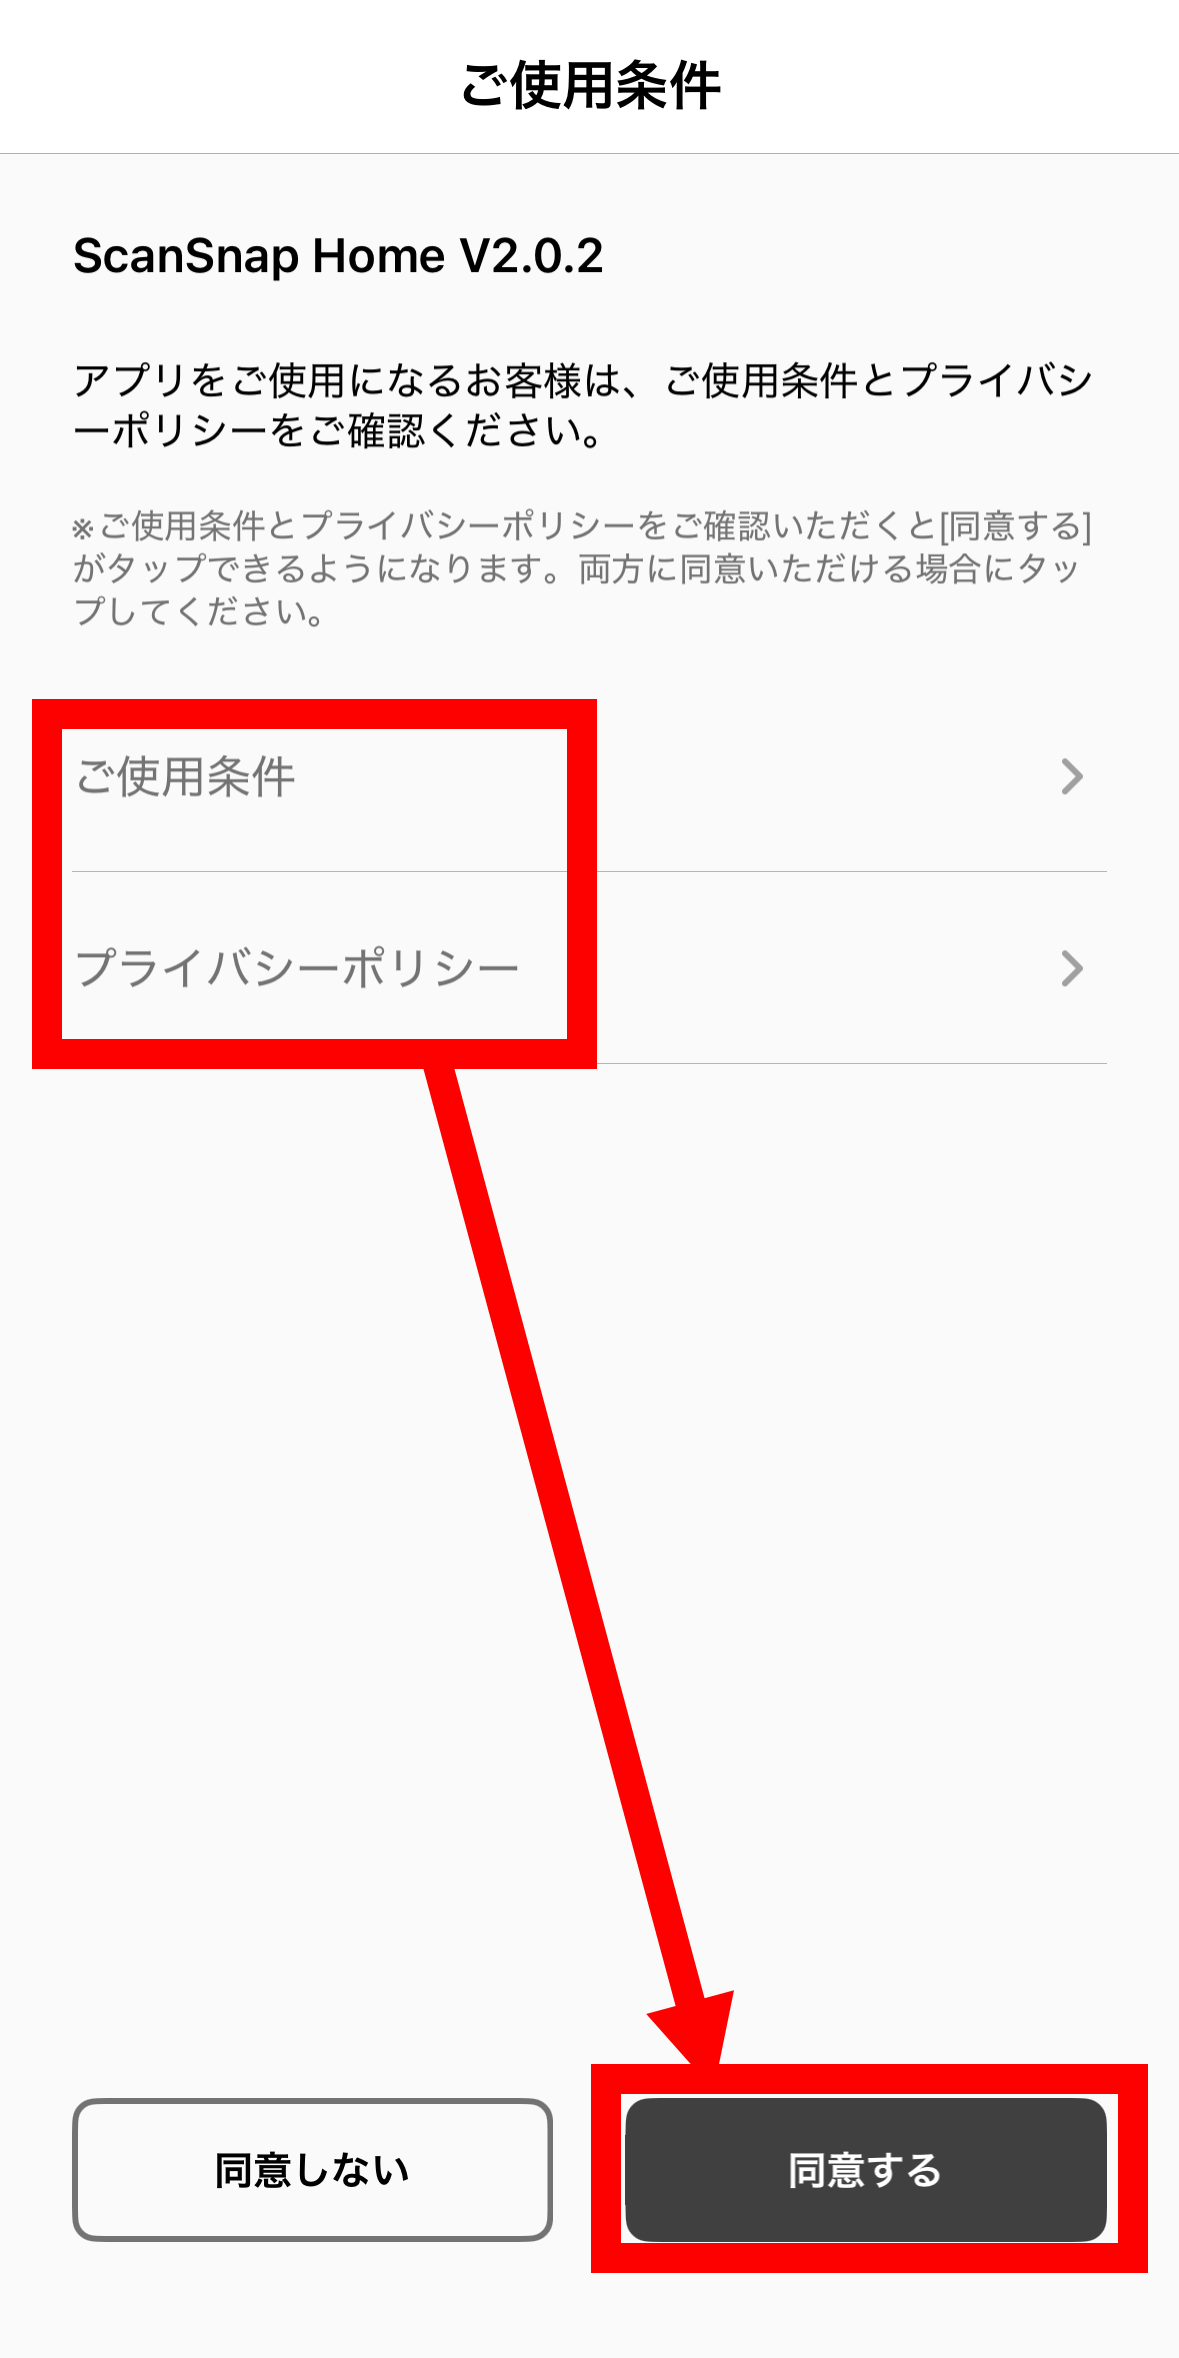
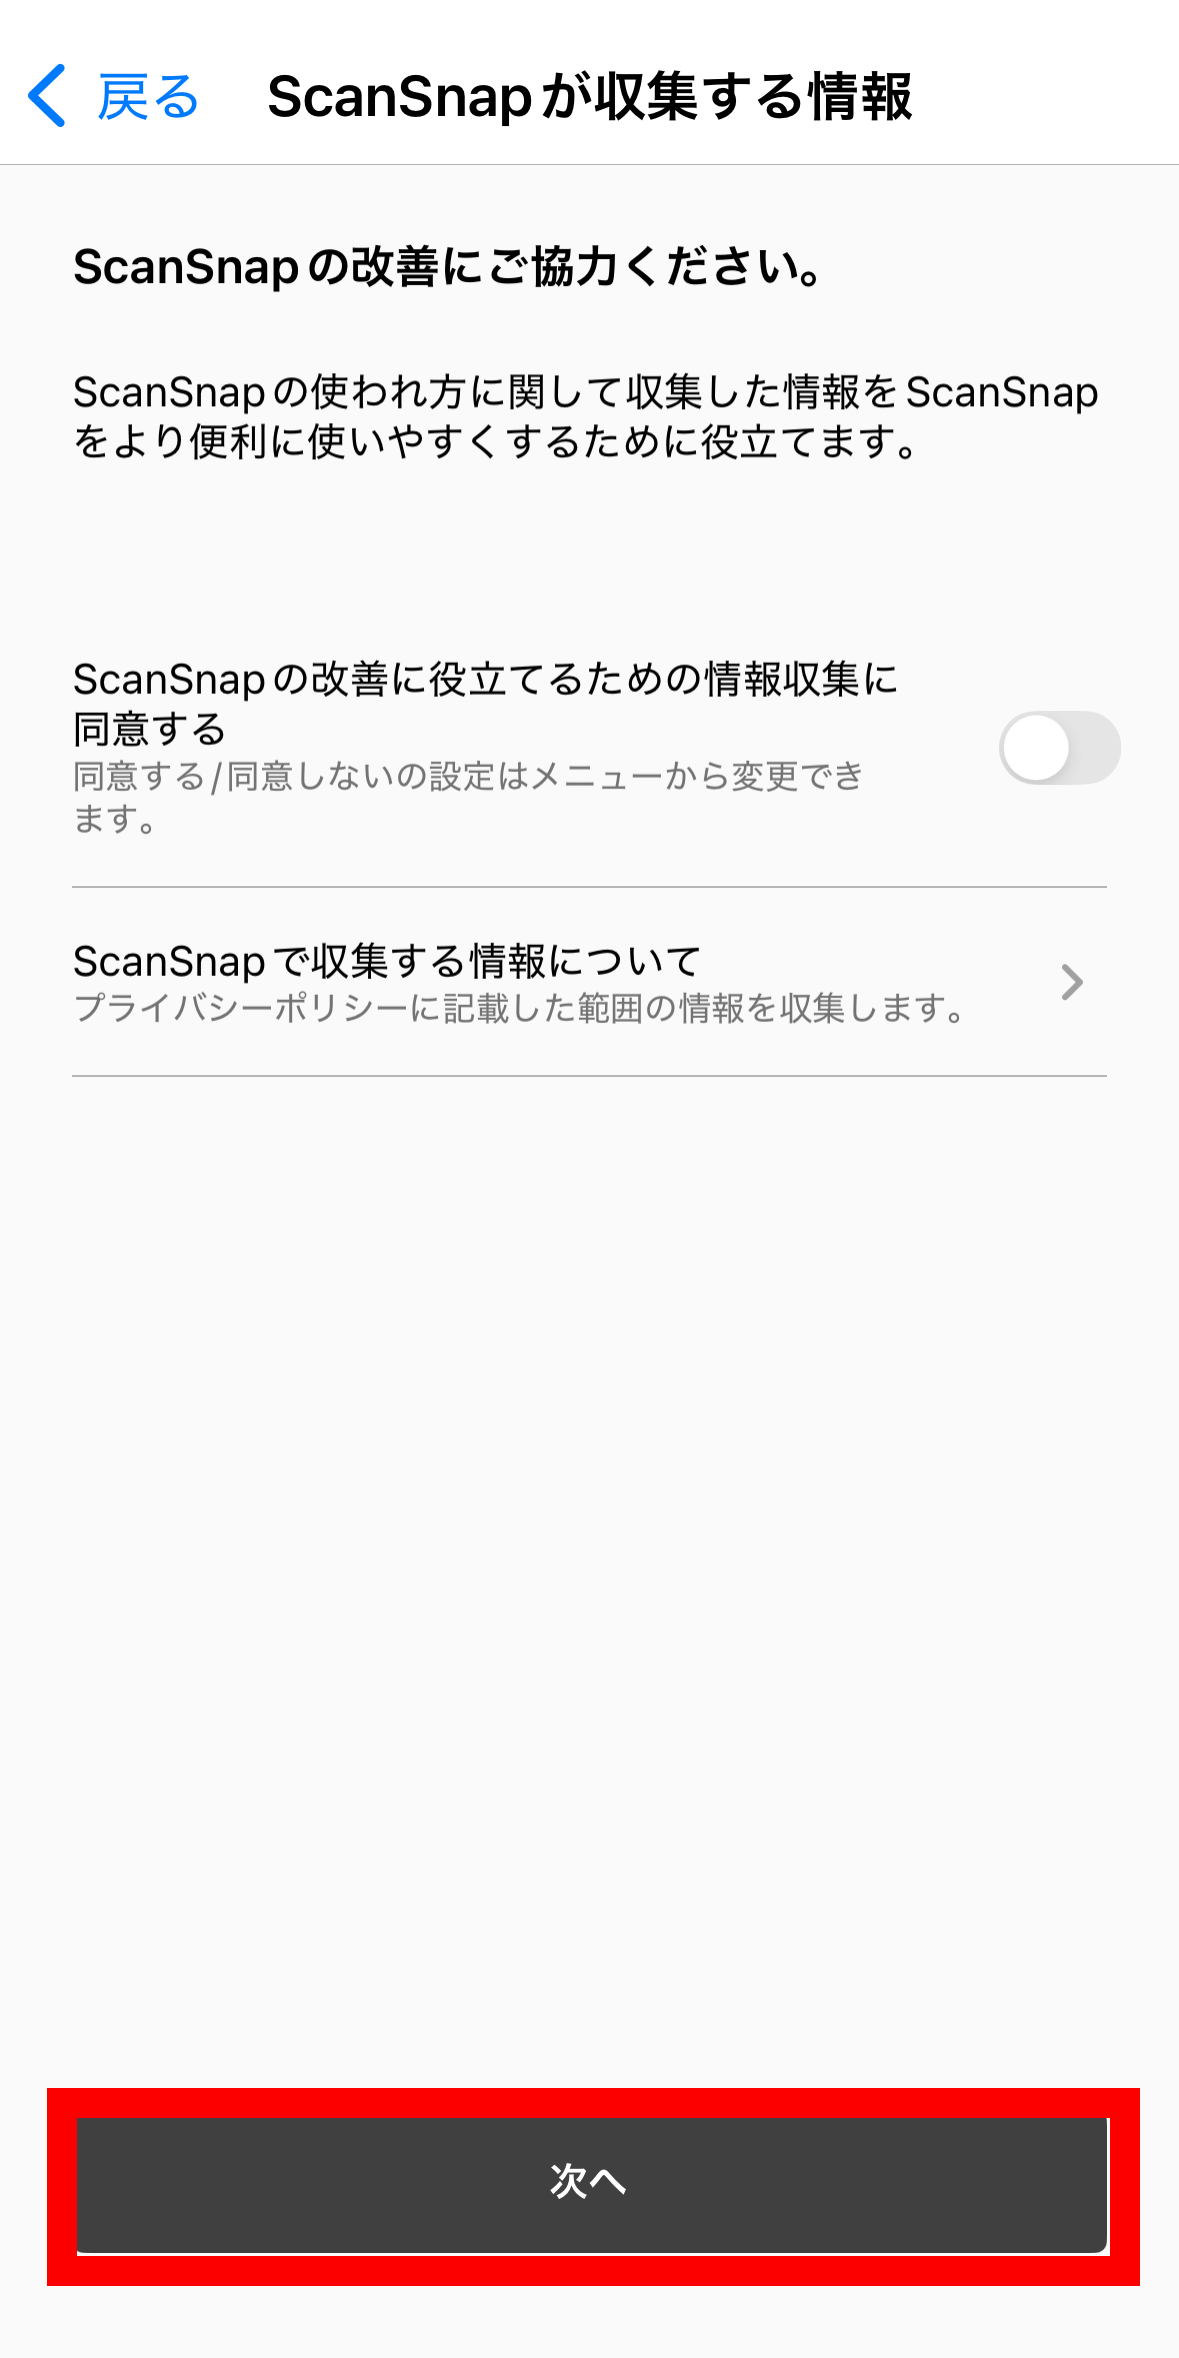
Since we are scanning with an iPhone this time, we will install the iOS version. After launching the app, read the 'Terms of Use' and 'Privacy Policy' and tap 'Agree'.
Tap 'Next'.
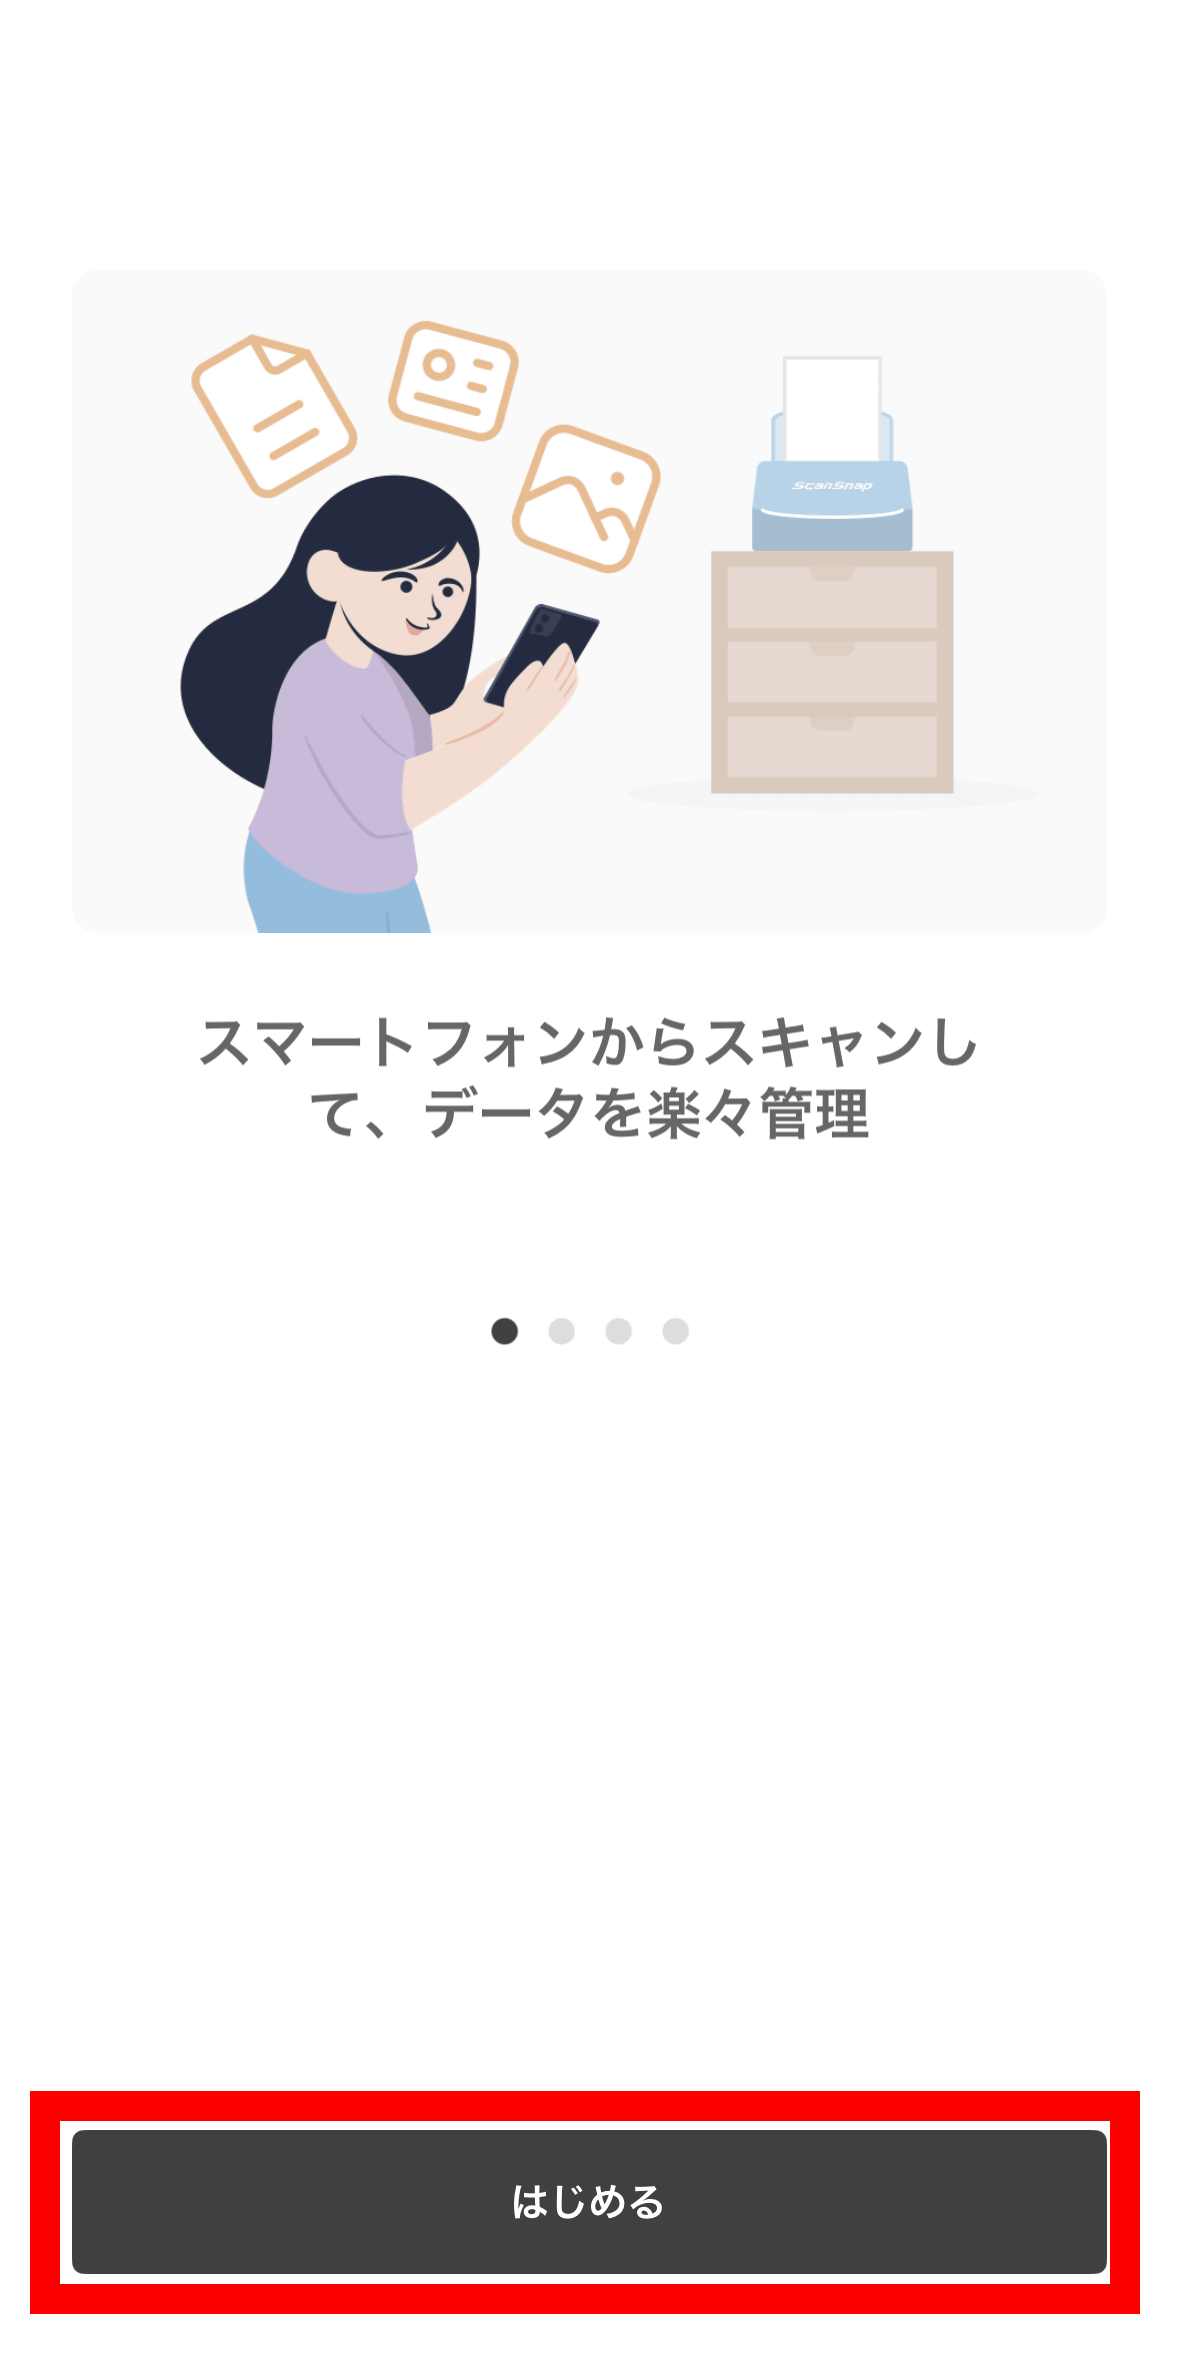
Tap 'Get Started.'
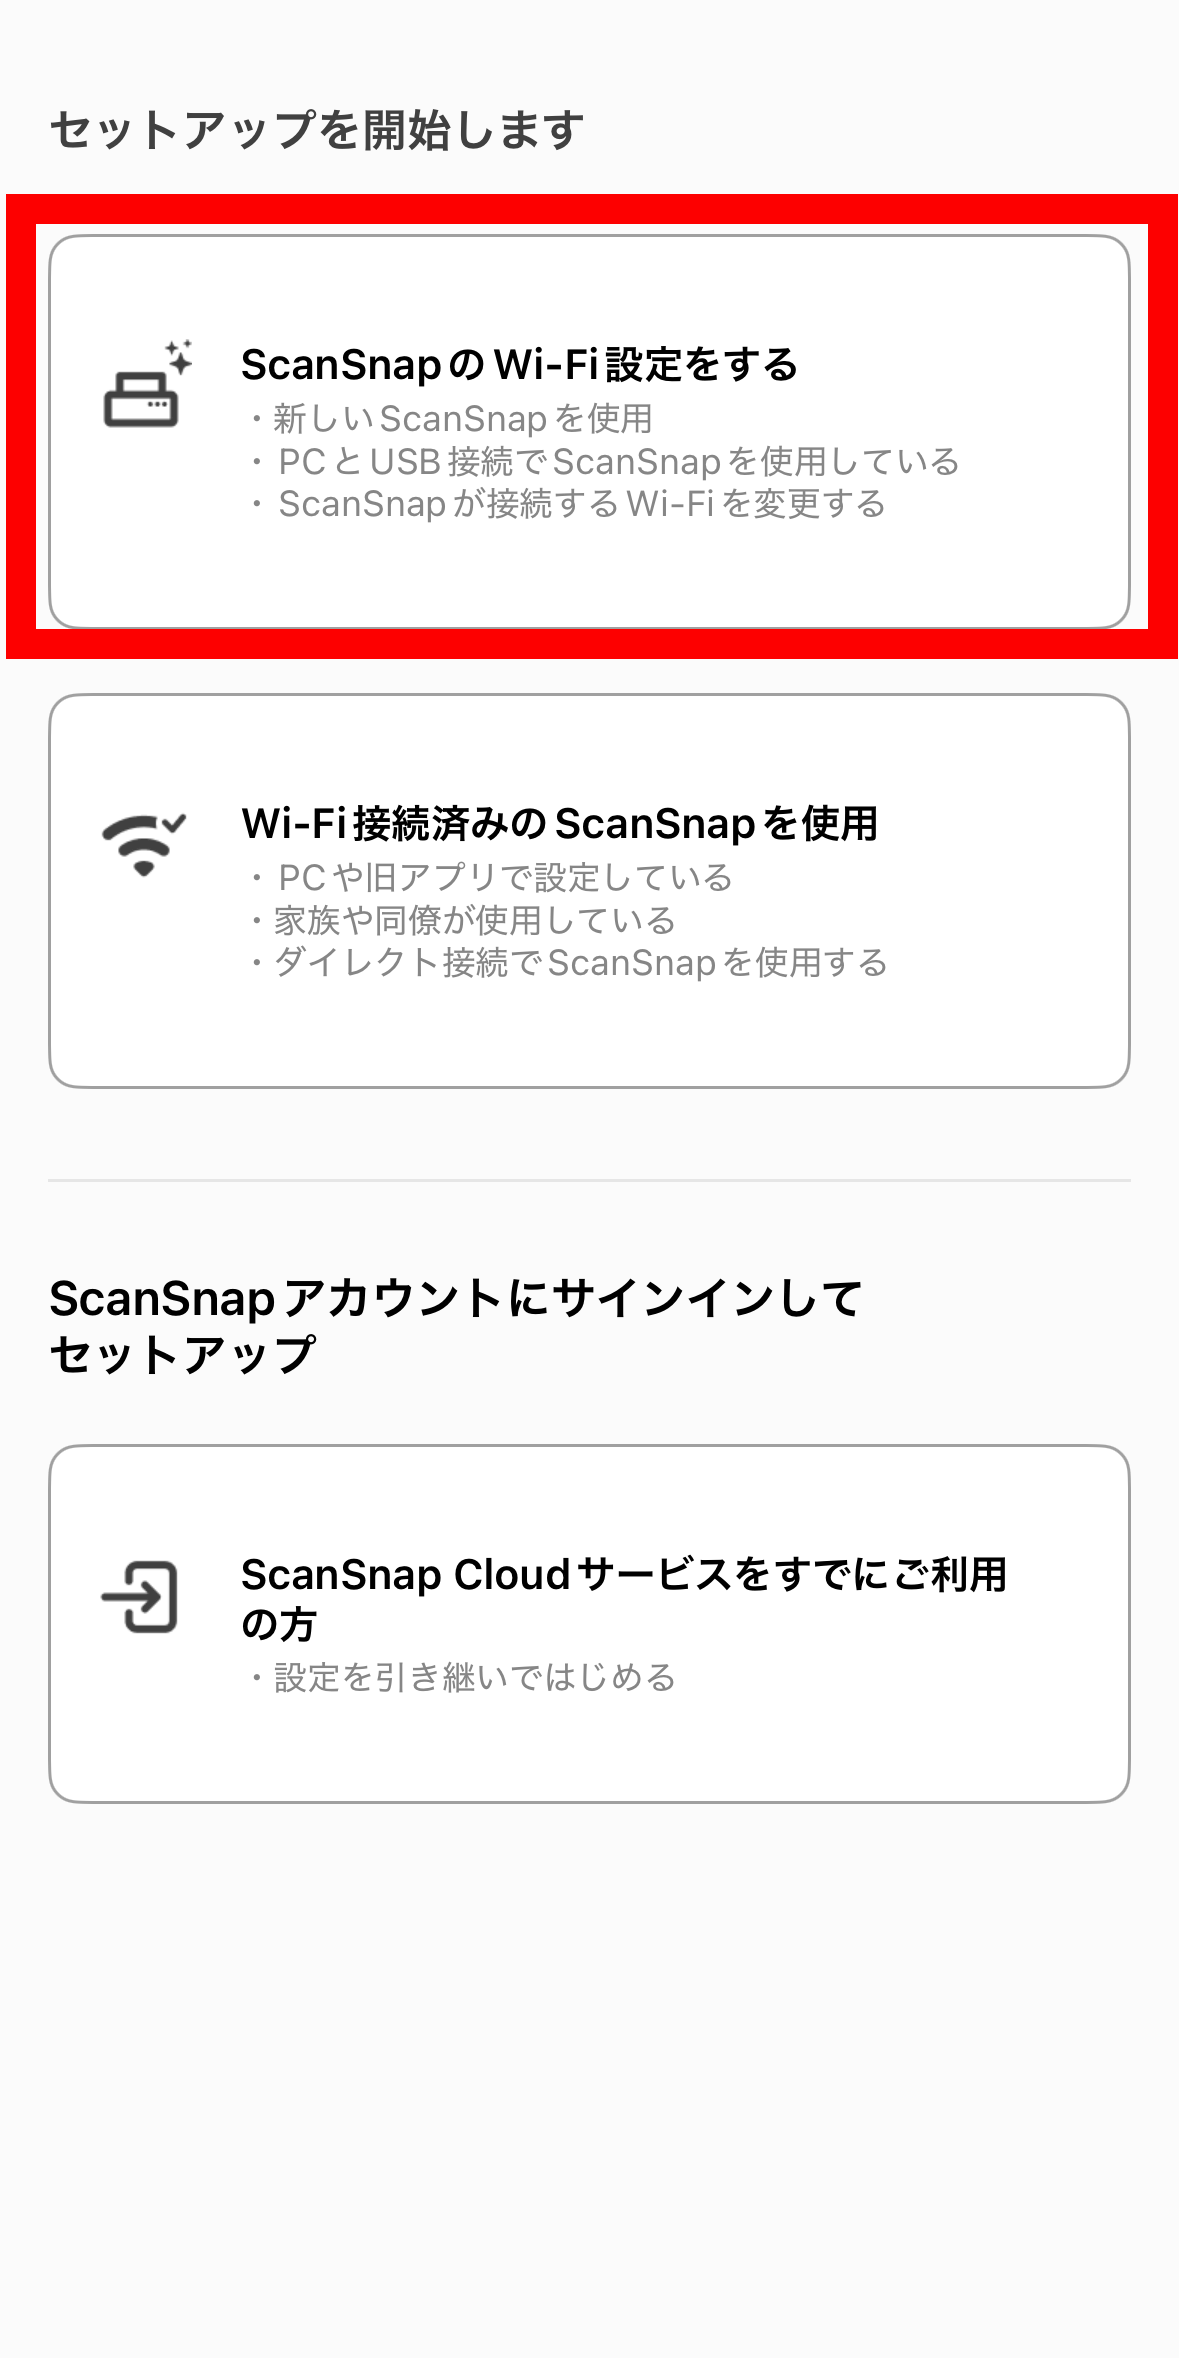
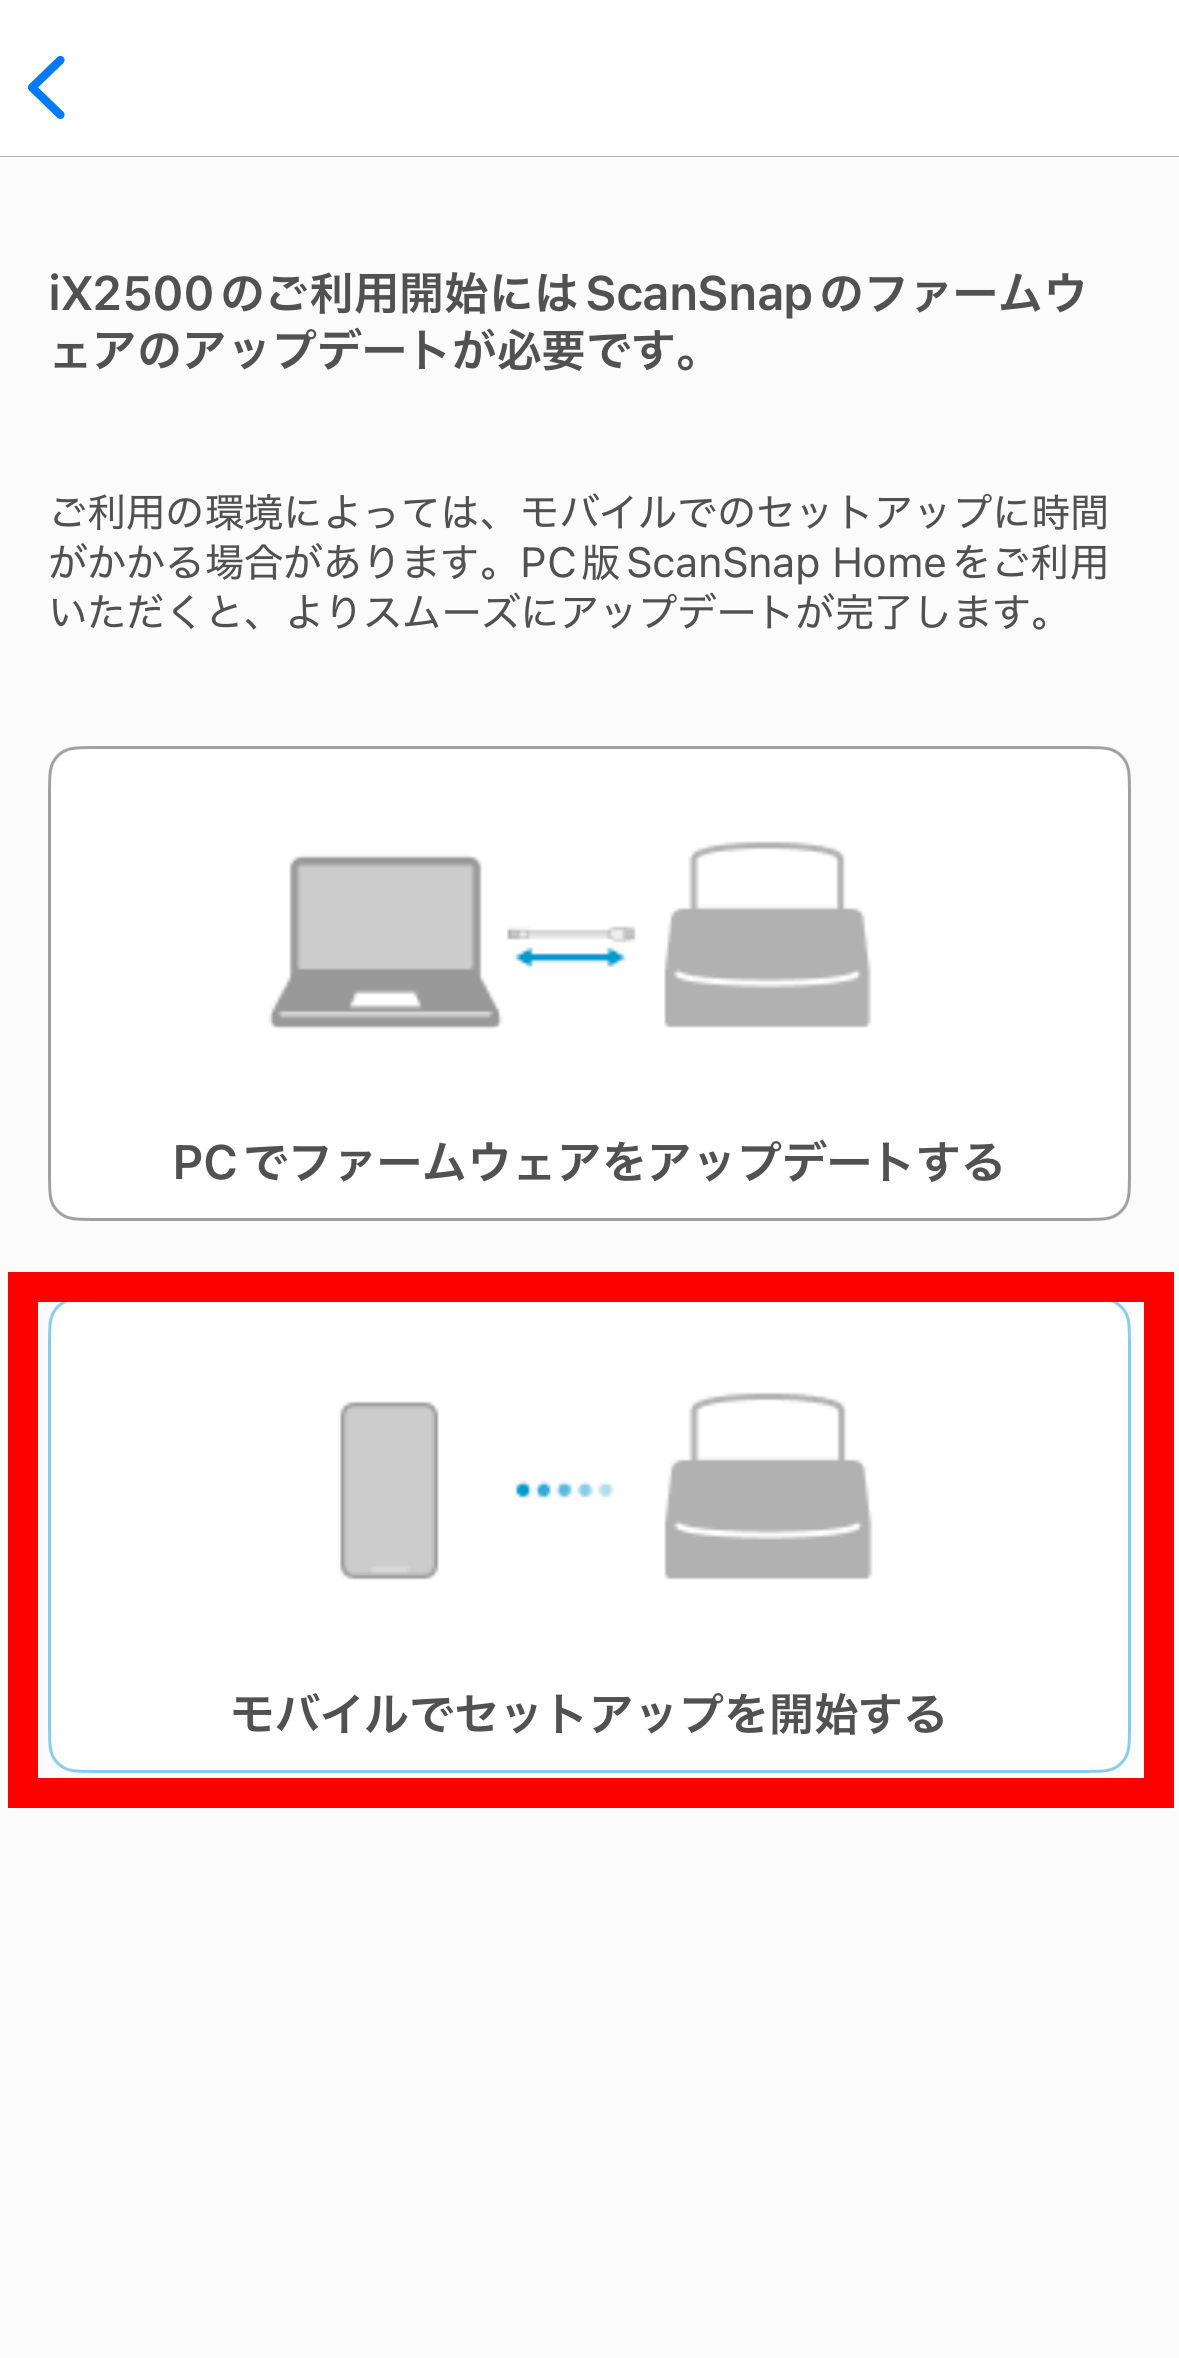
Select 'Set up ScanSnap Wi-Fi.'
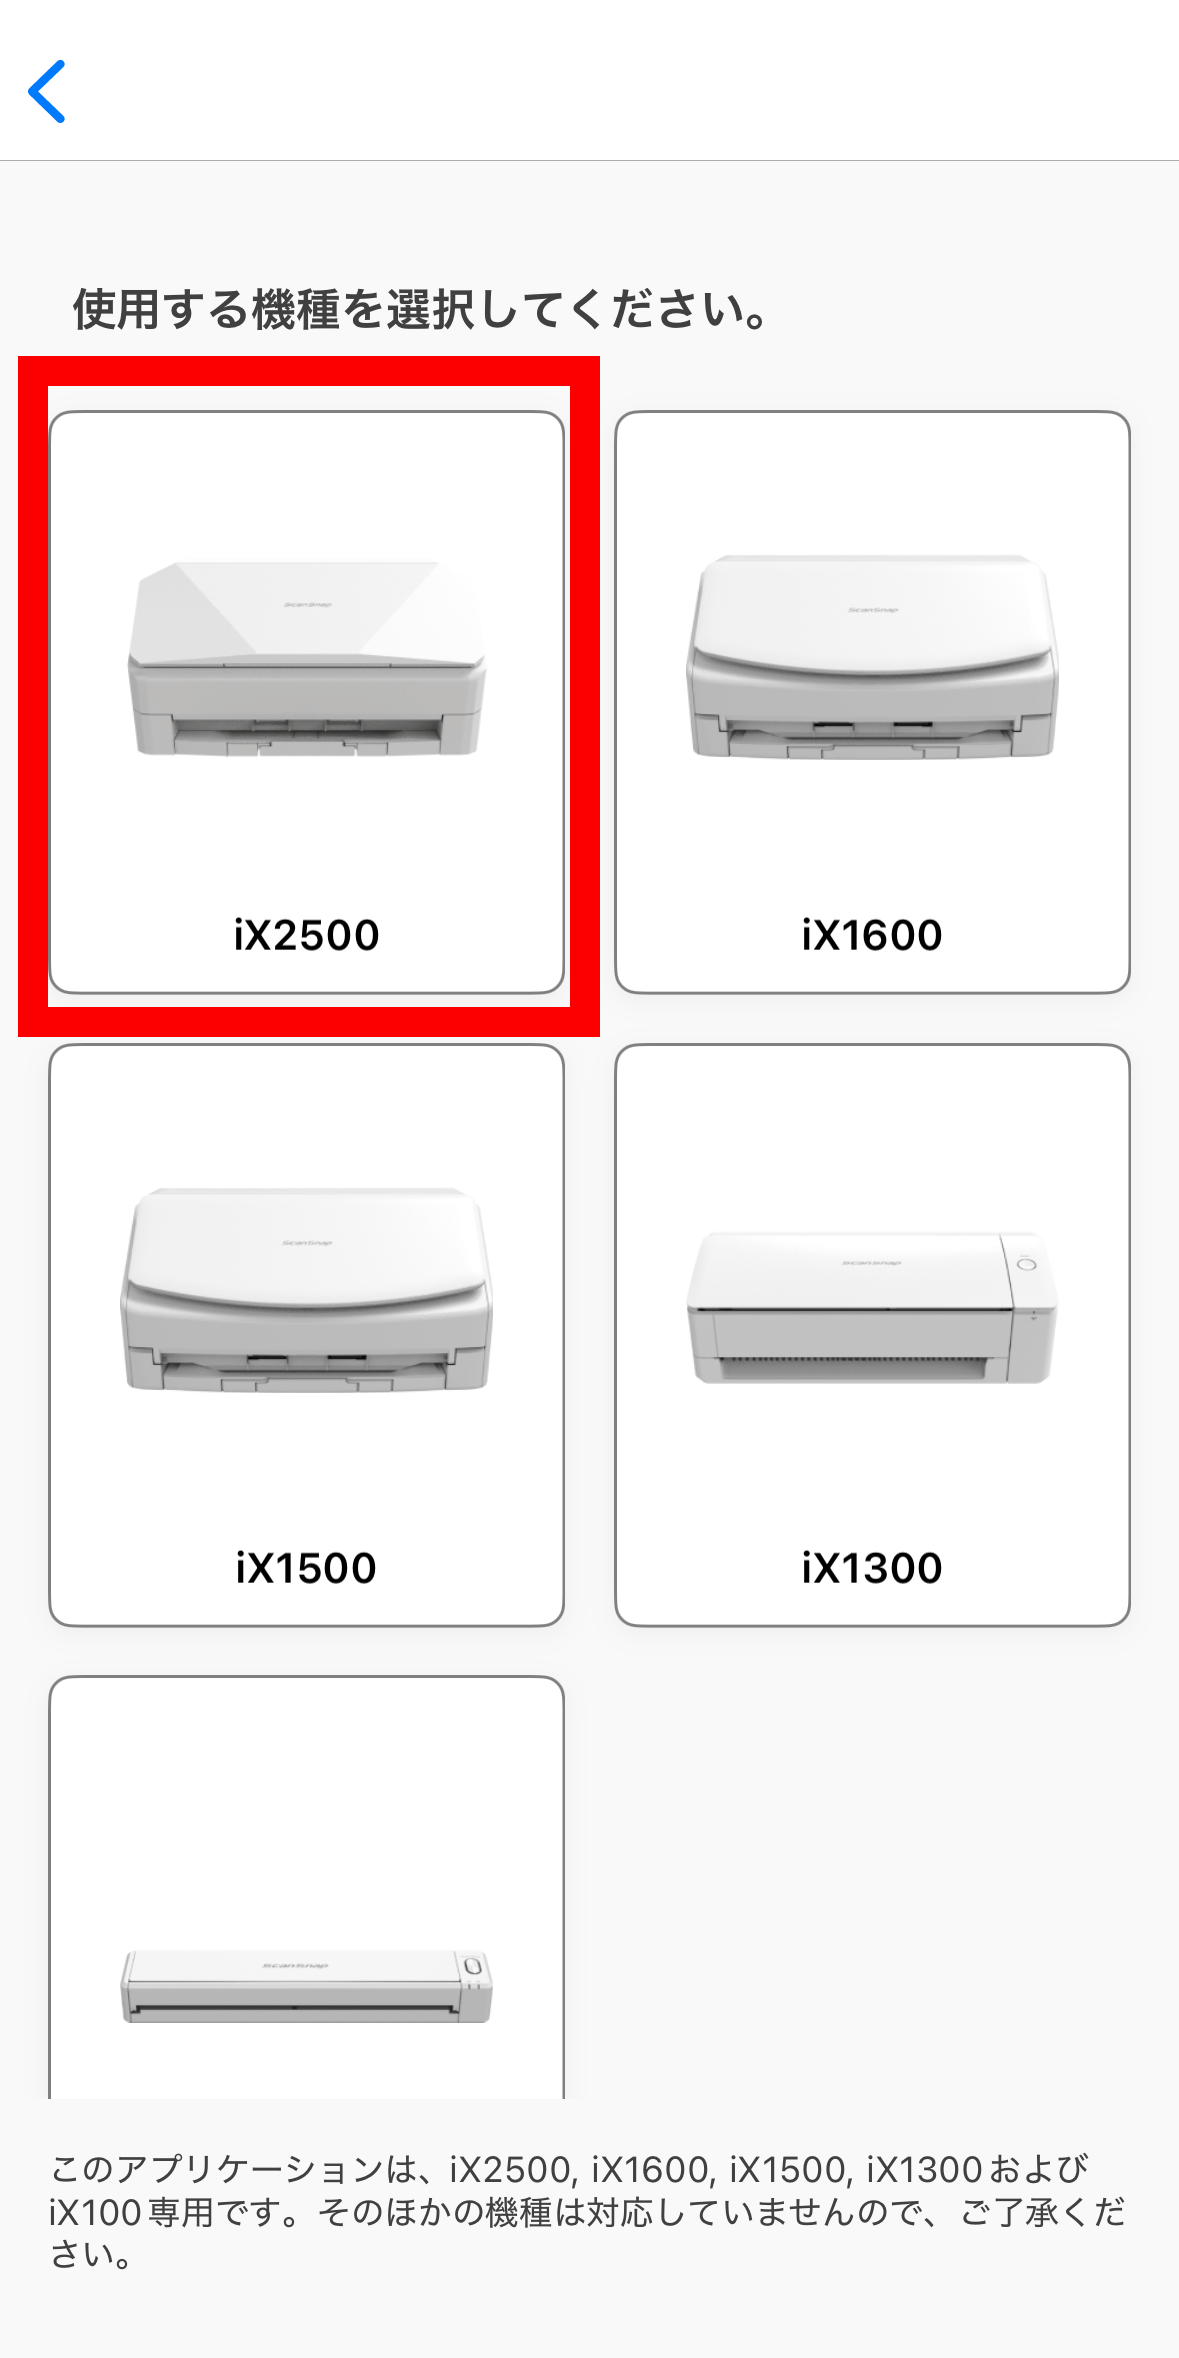
Select 'iX2500'.
Select 'Start setup on mobile.'
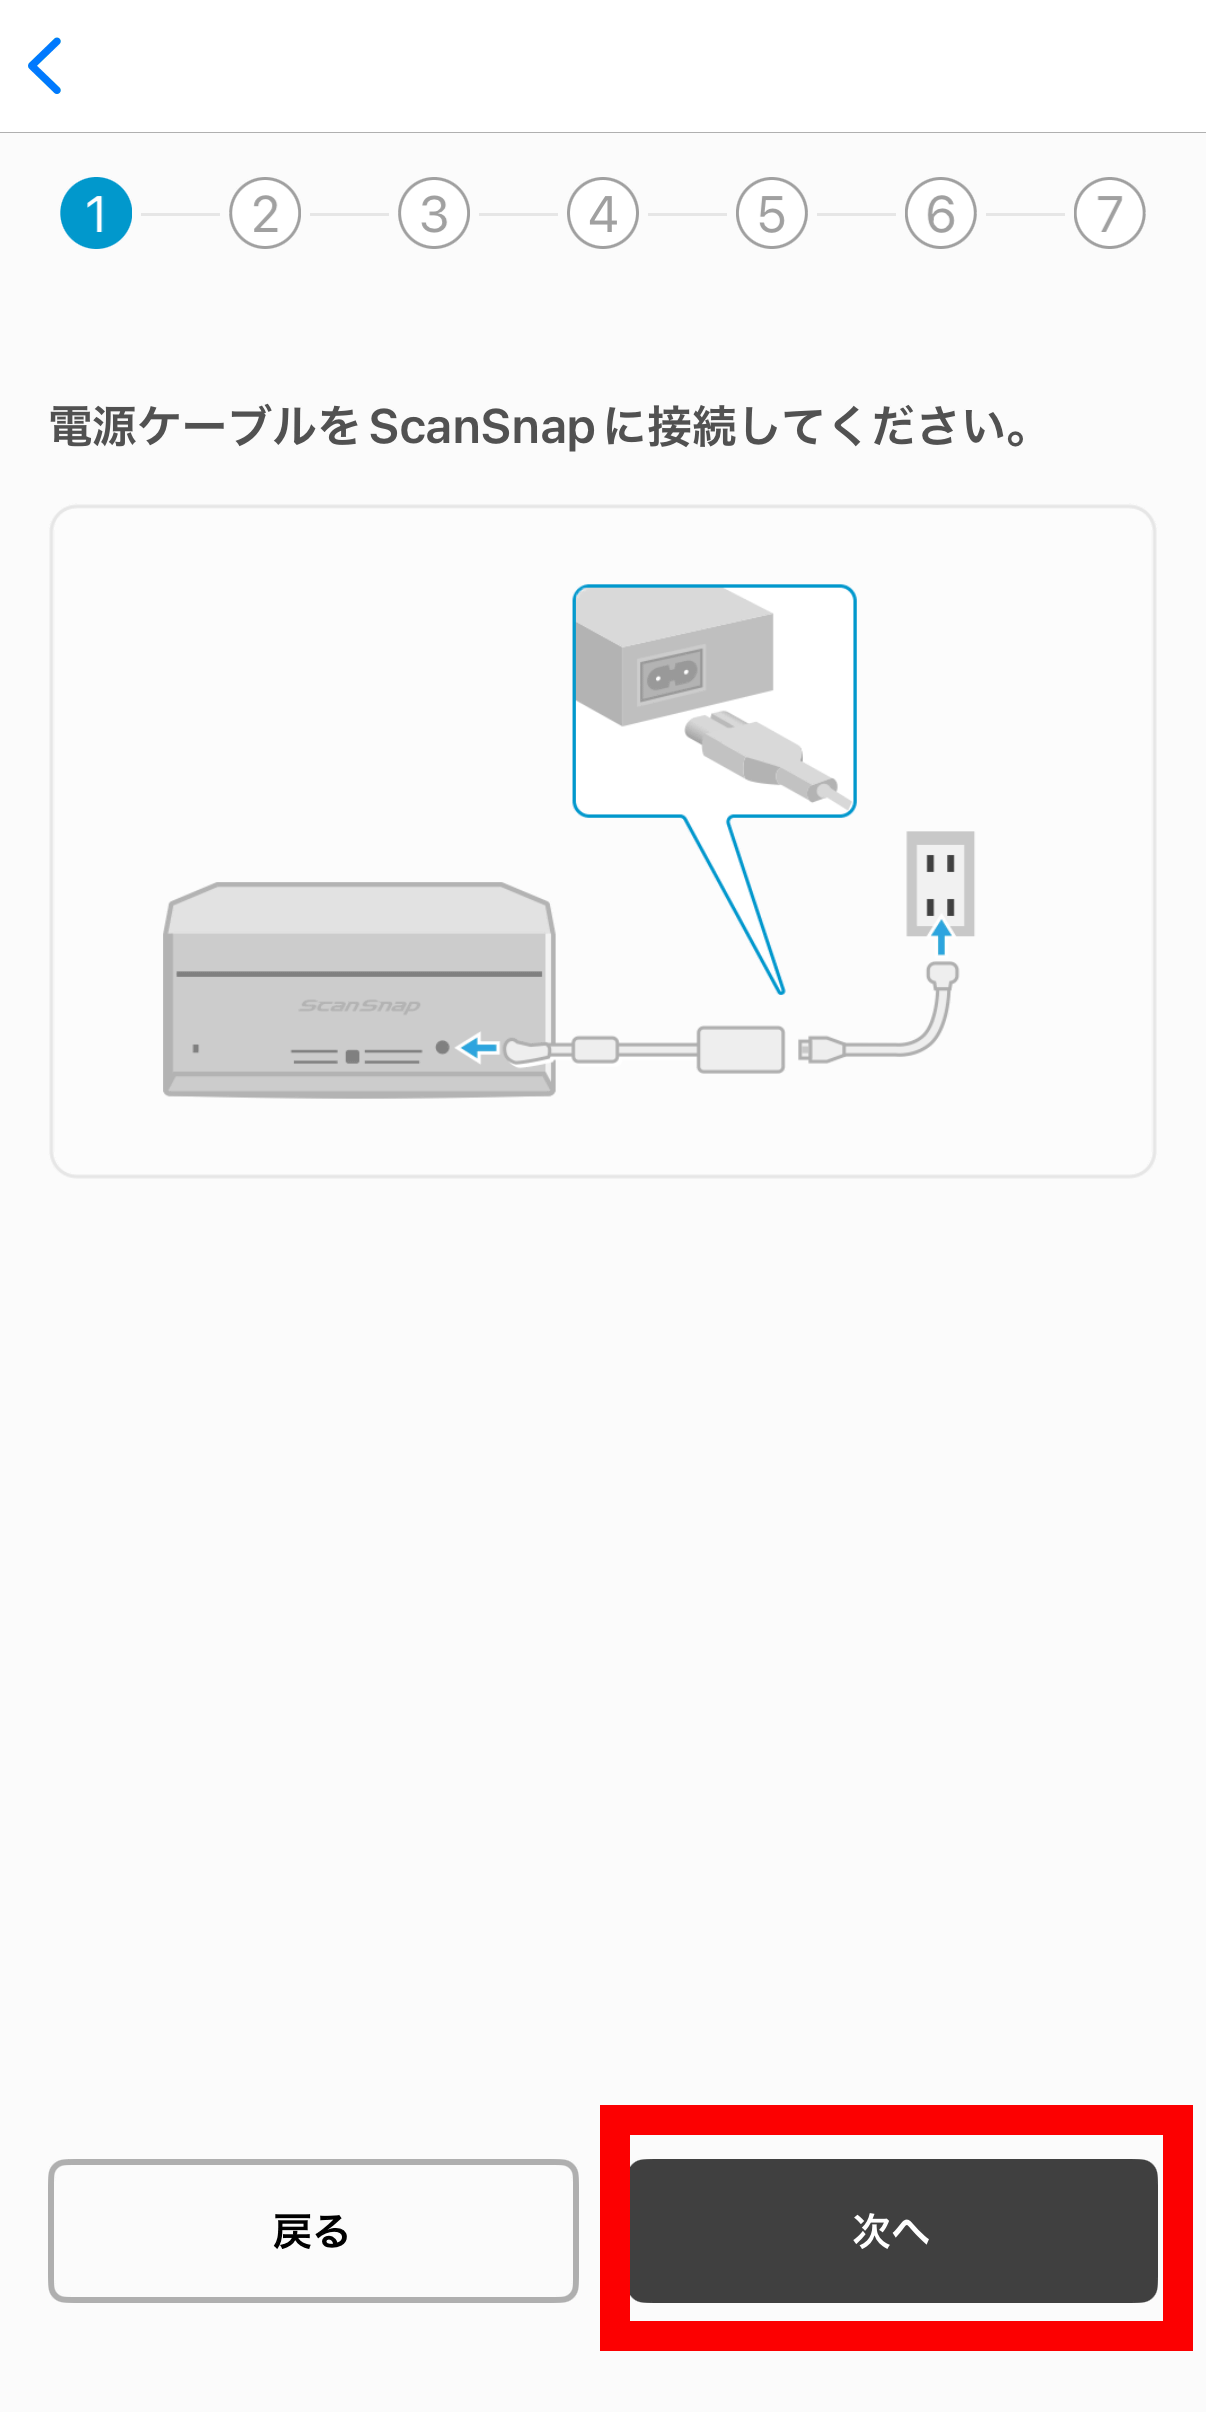
After confirming that the ScanSnap iX2500 is connected to a power source, tap 'Next'.
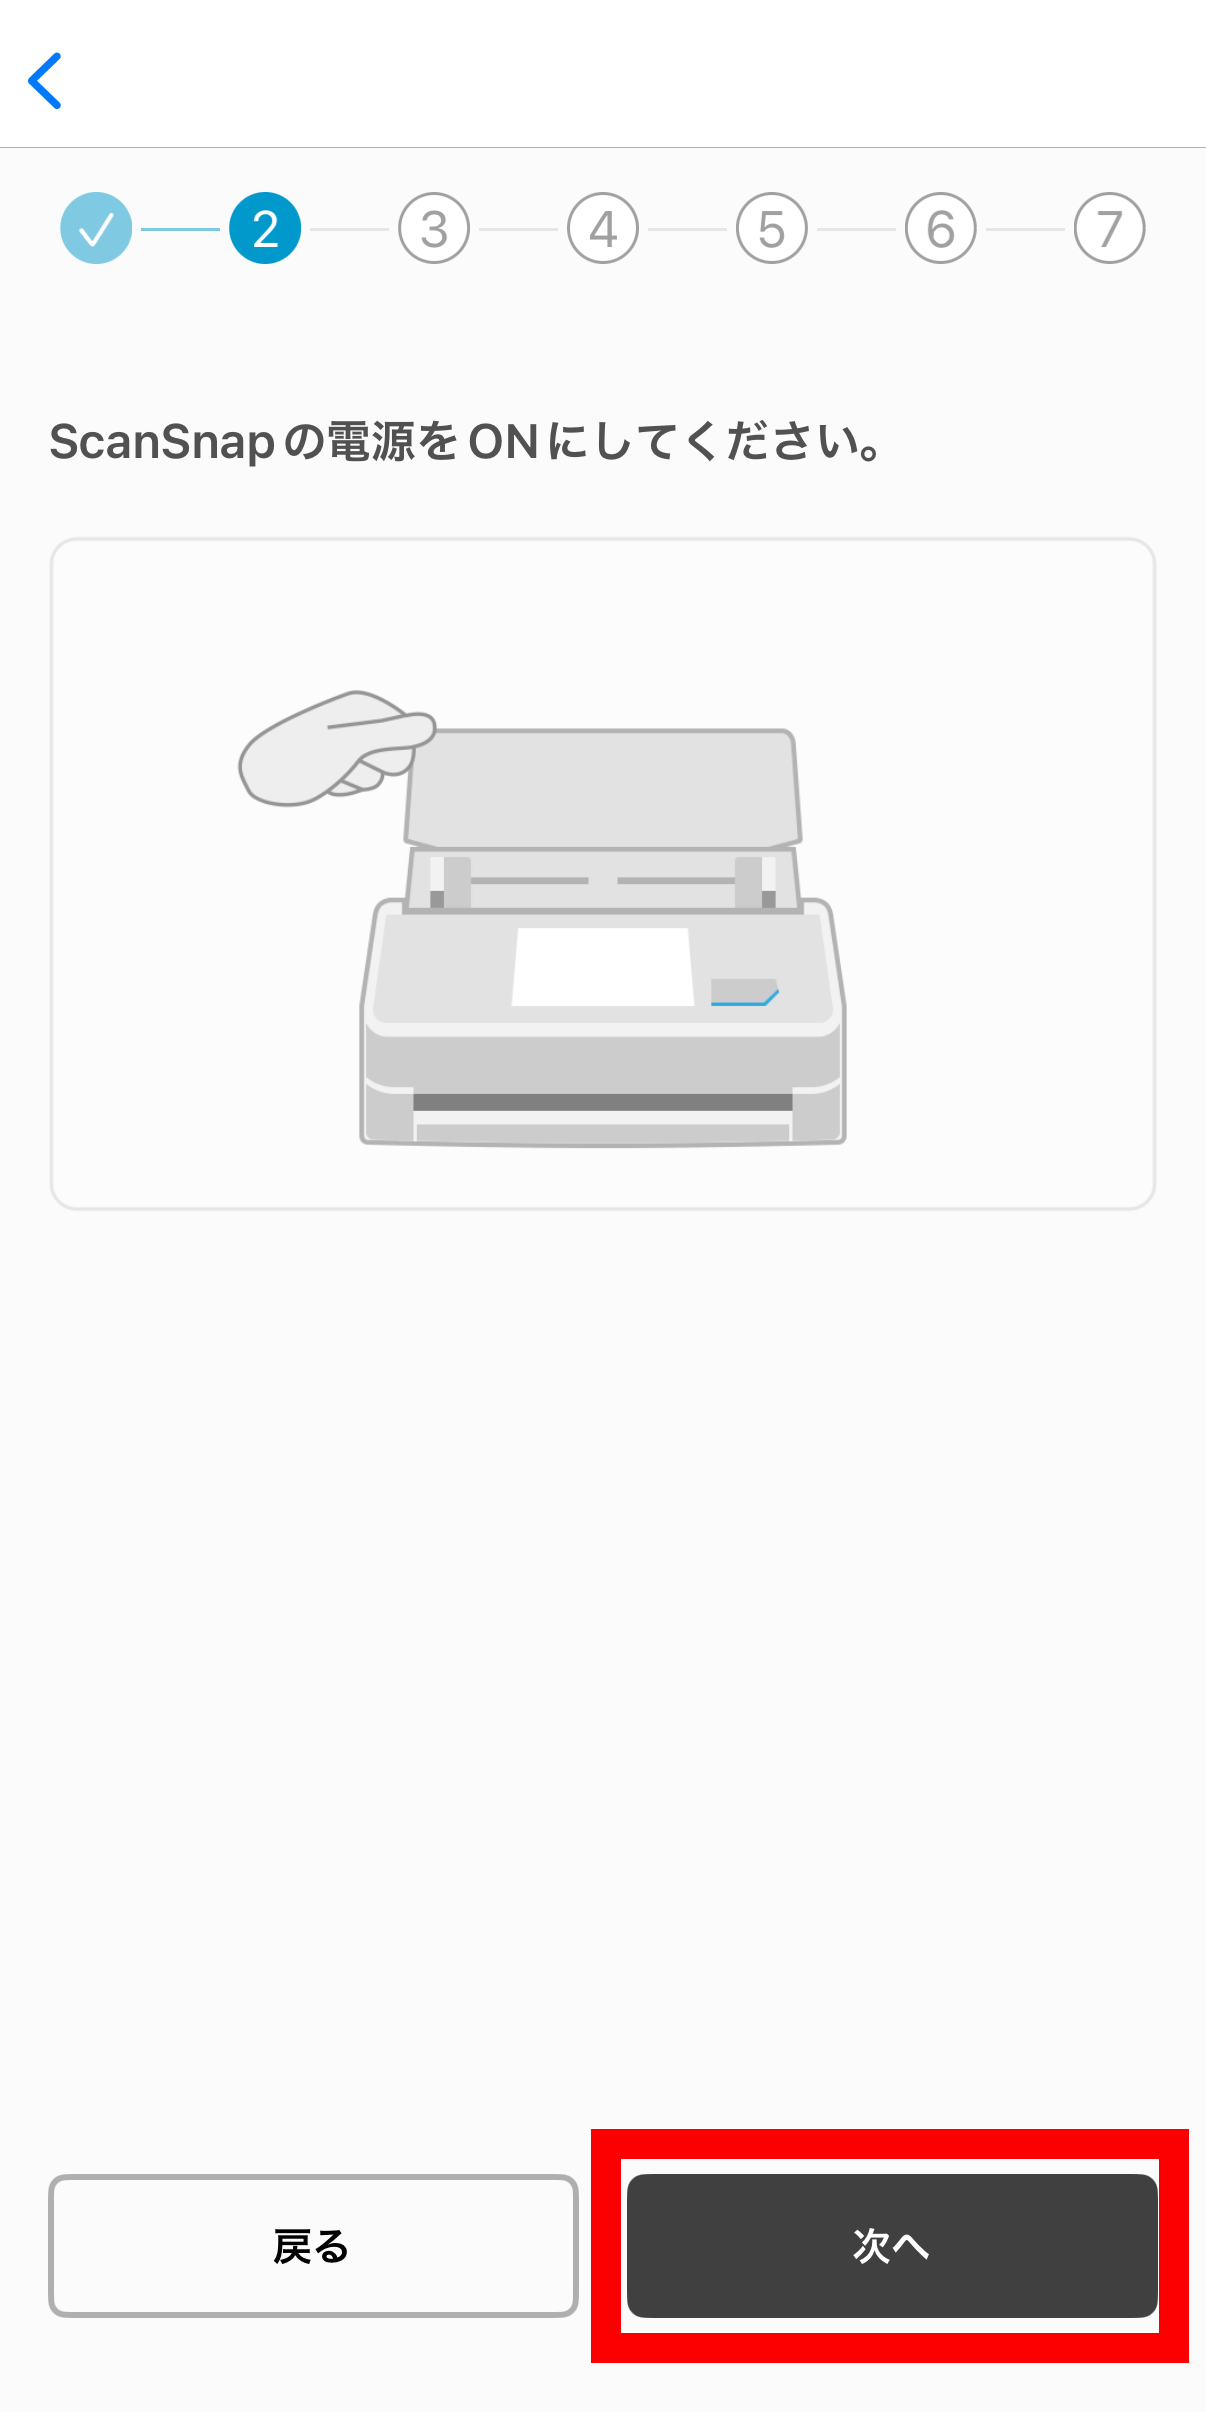
Open the lid of the ScanSnap iX2500 and turn it on, then tap 'Next.'
After operating the ScanSnap iX2500 as instructed, tap 'Next.'
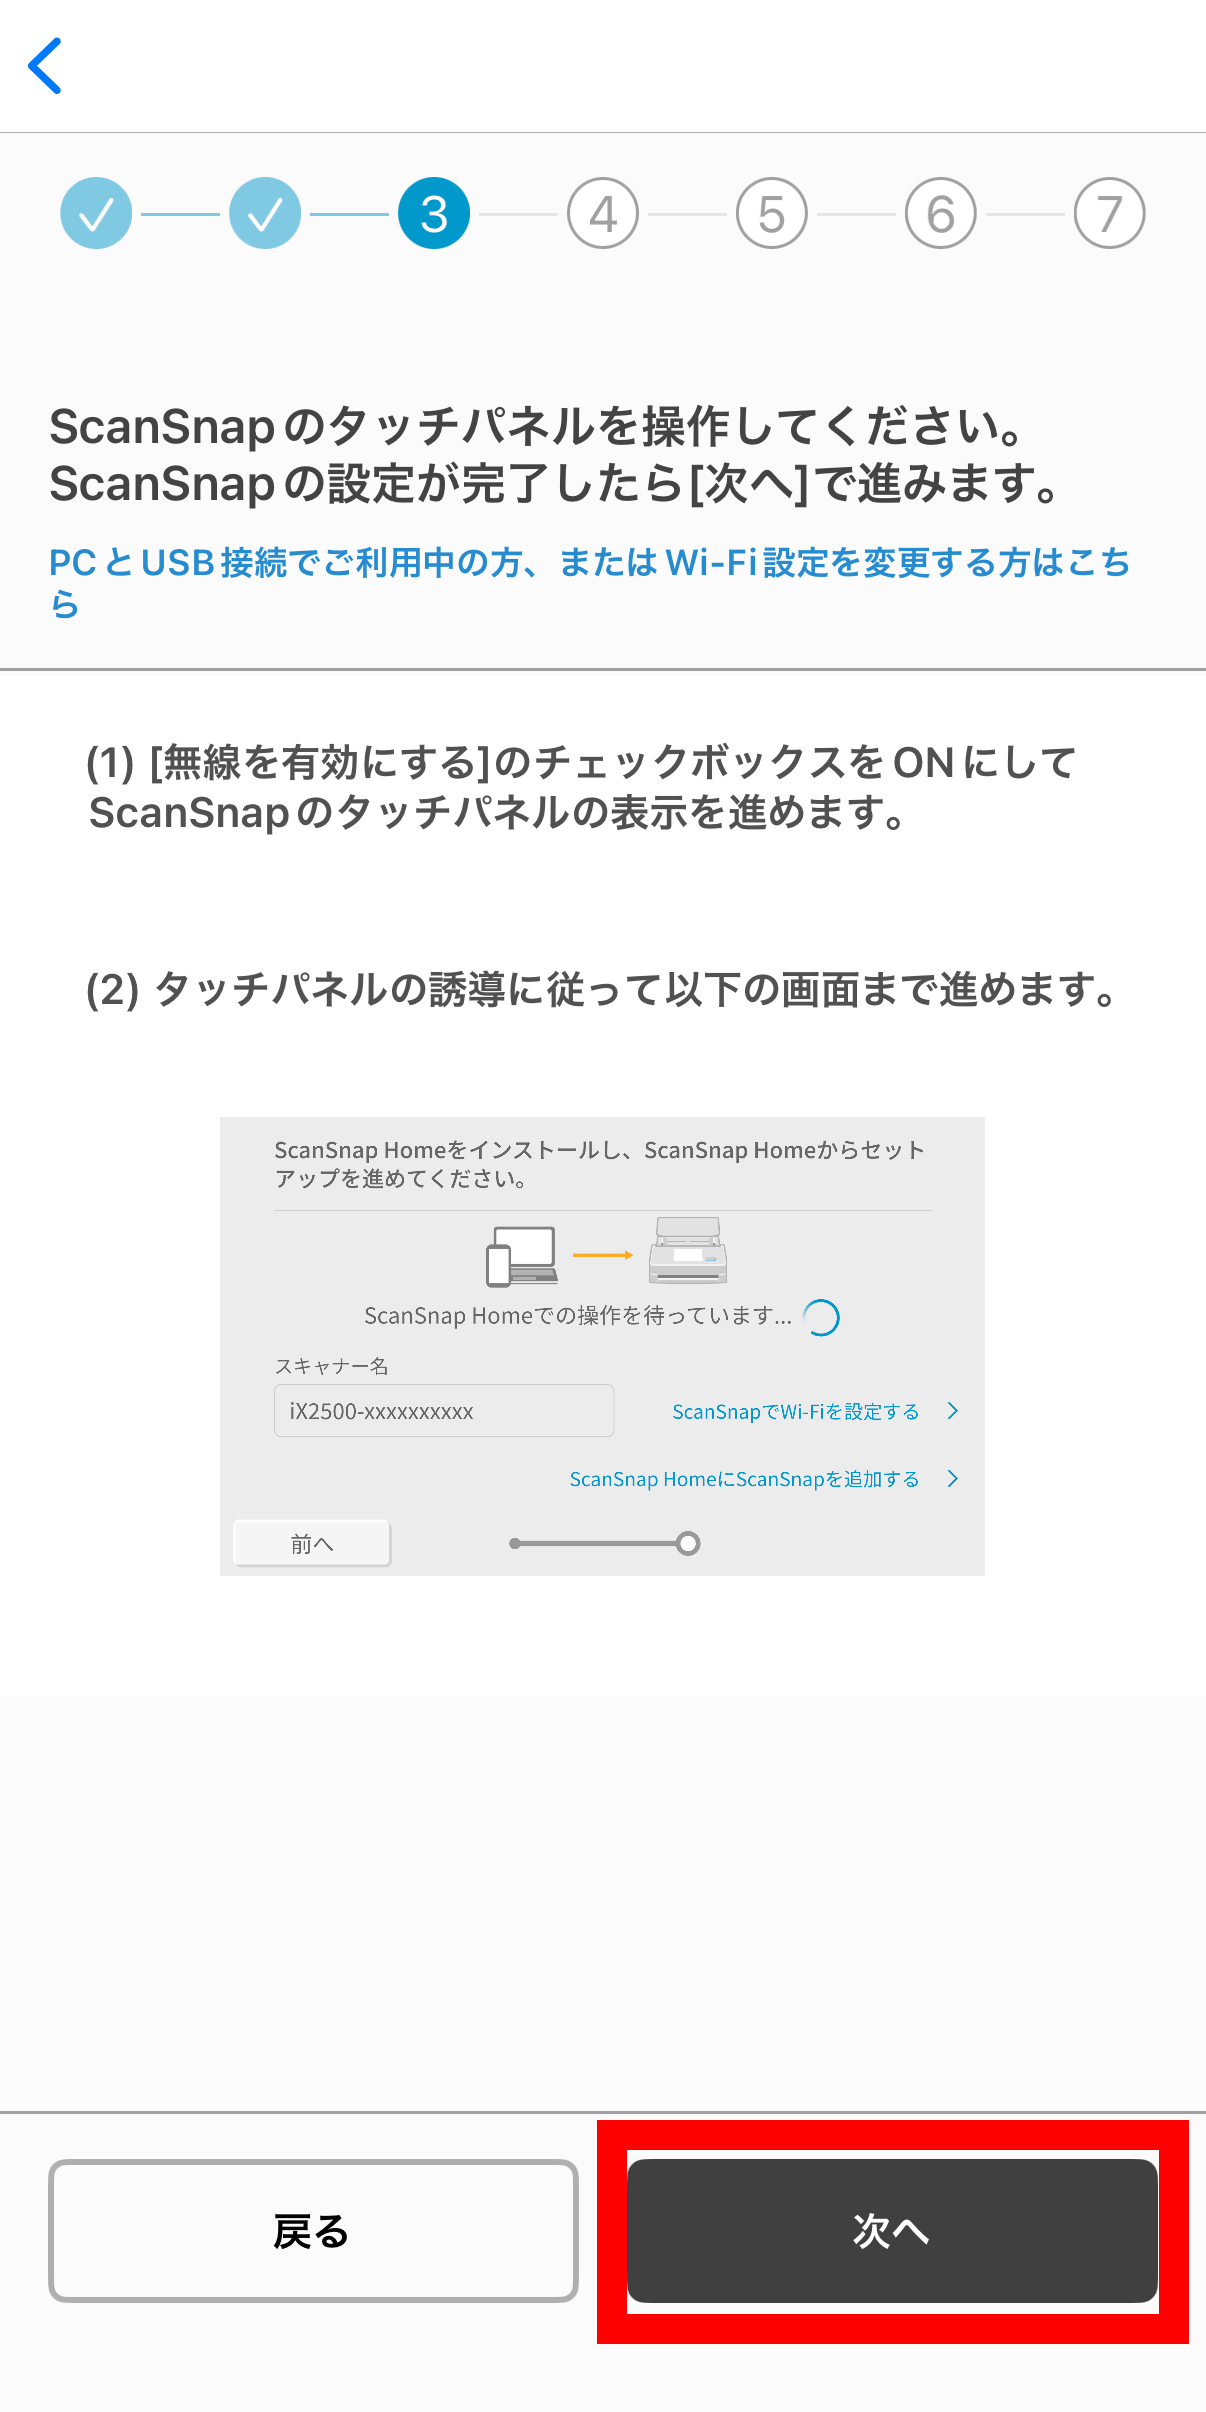
The ScanSnap iX2500 will be recognized and displayed, so tap it.

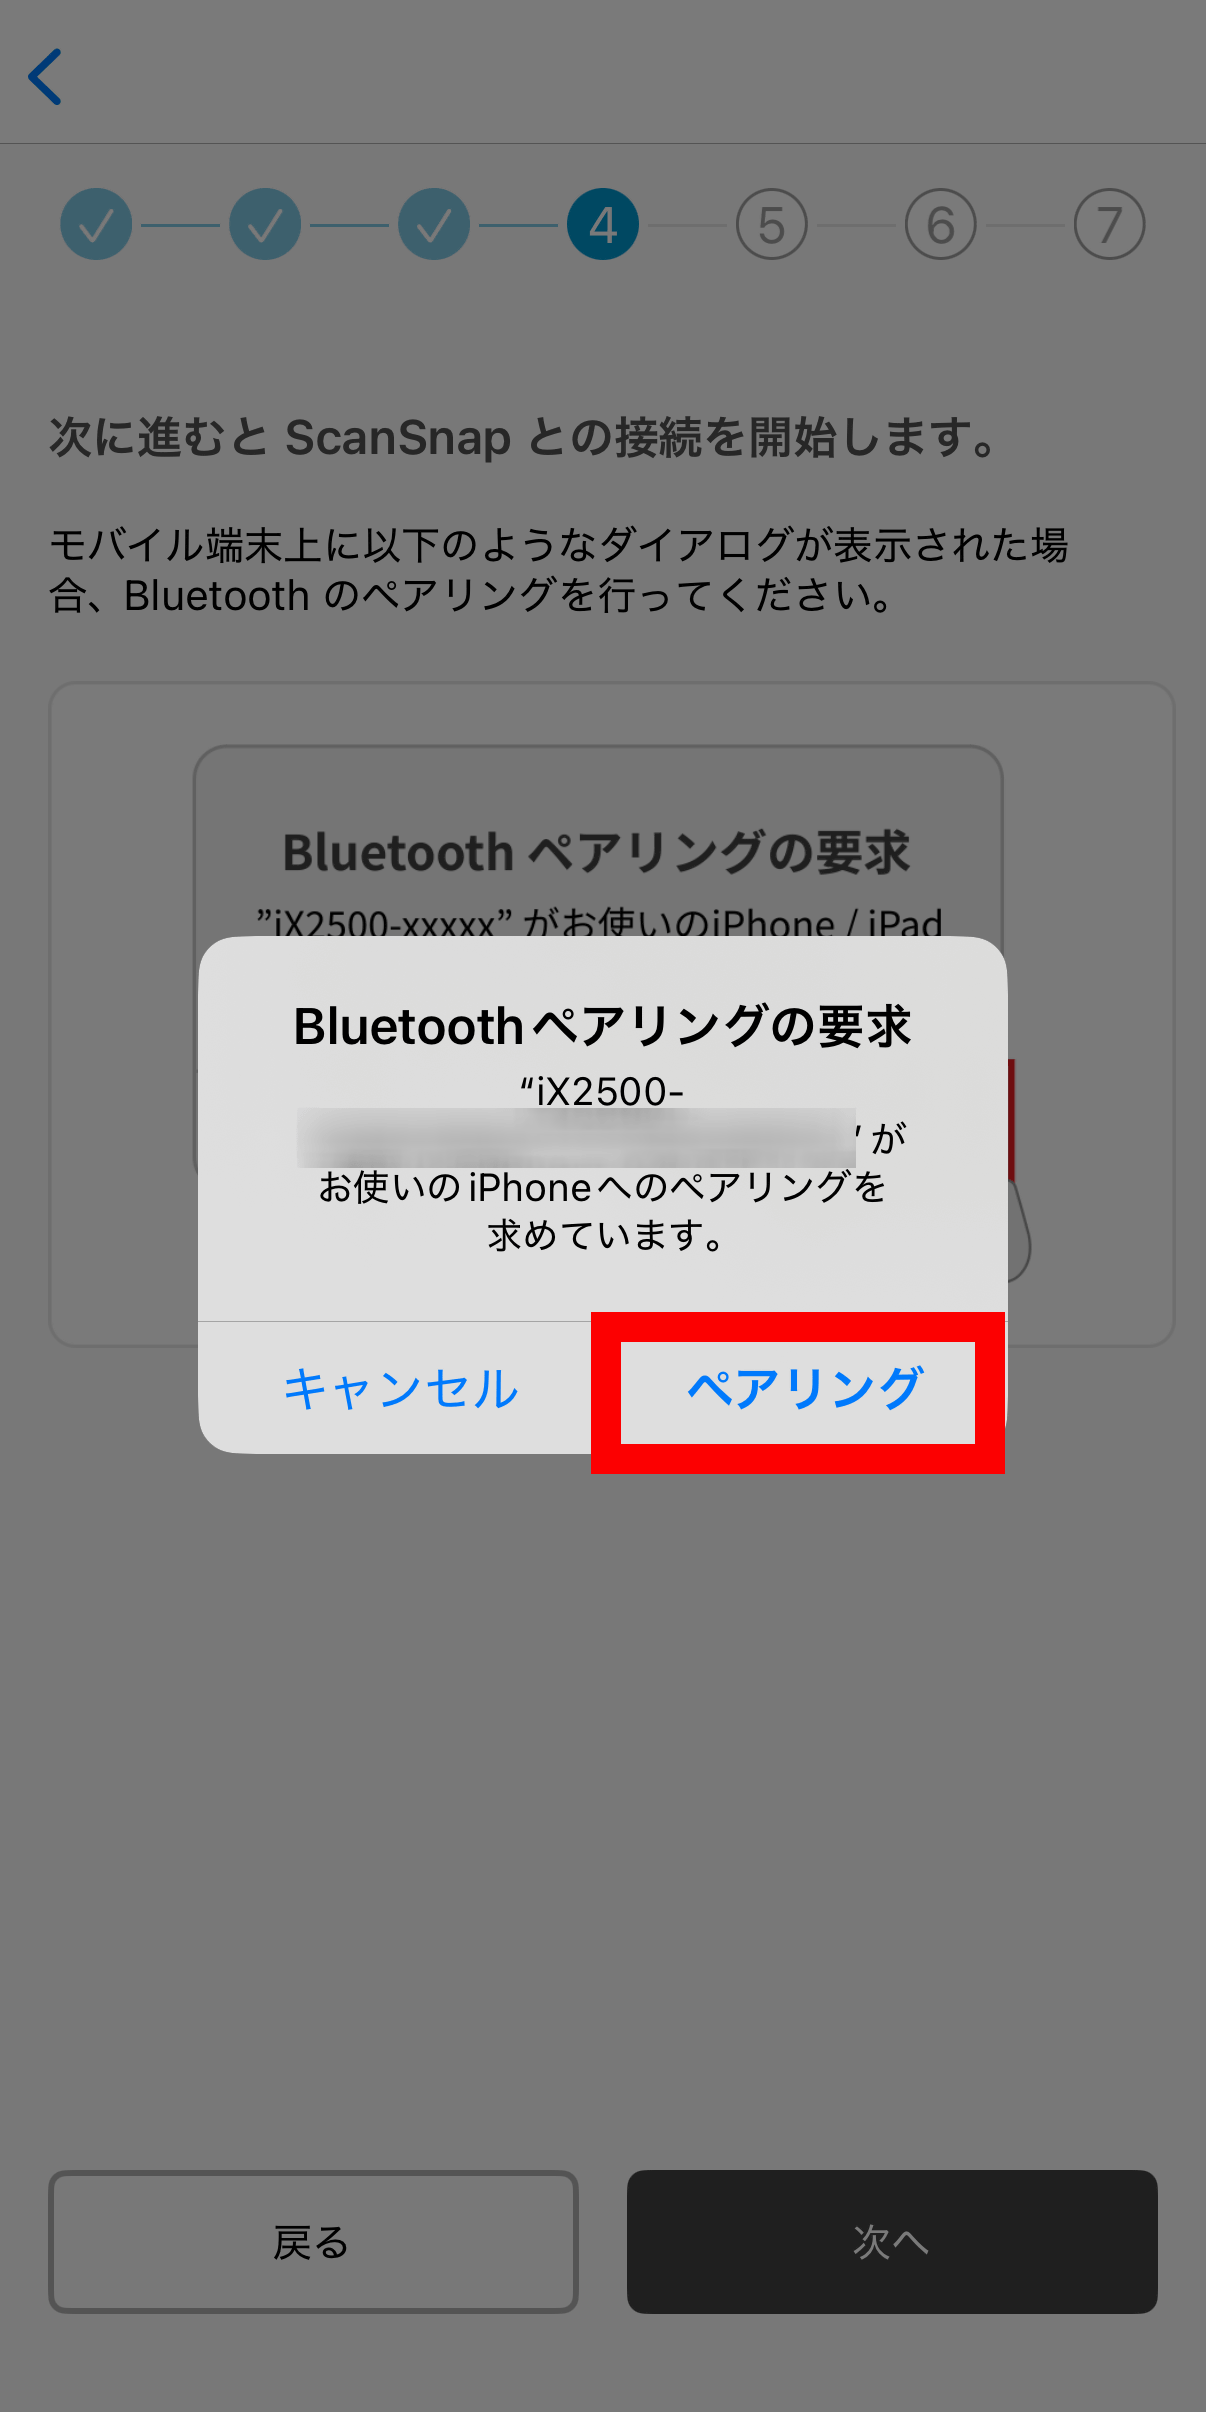
A request for Bluetooth pairing will be displayed, so tap 'Pair'.
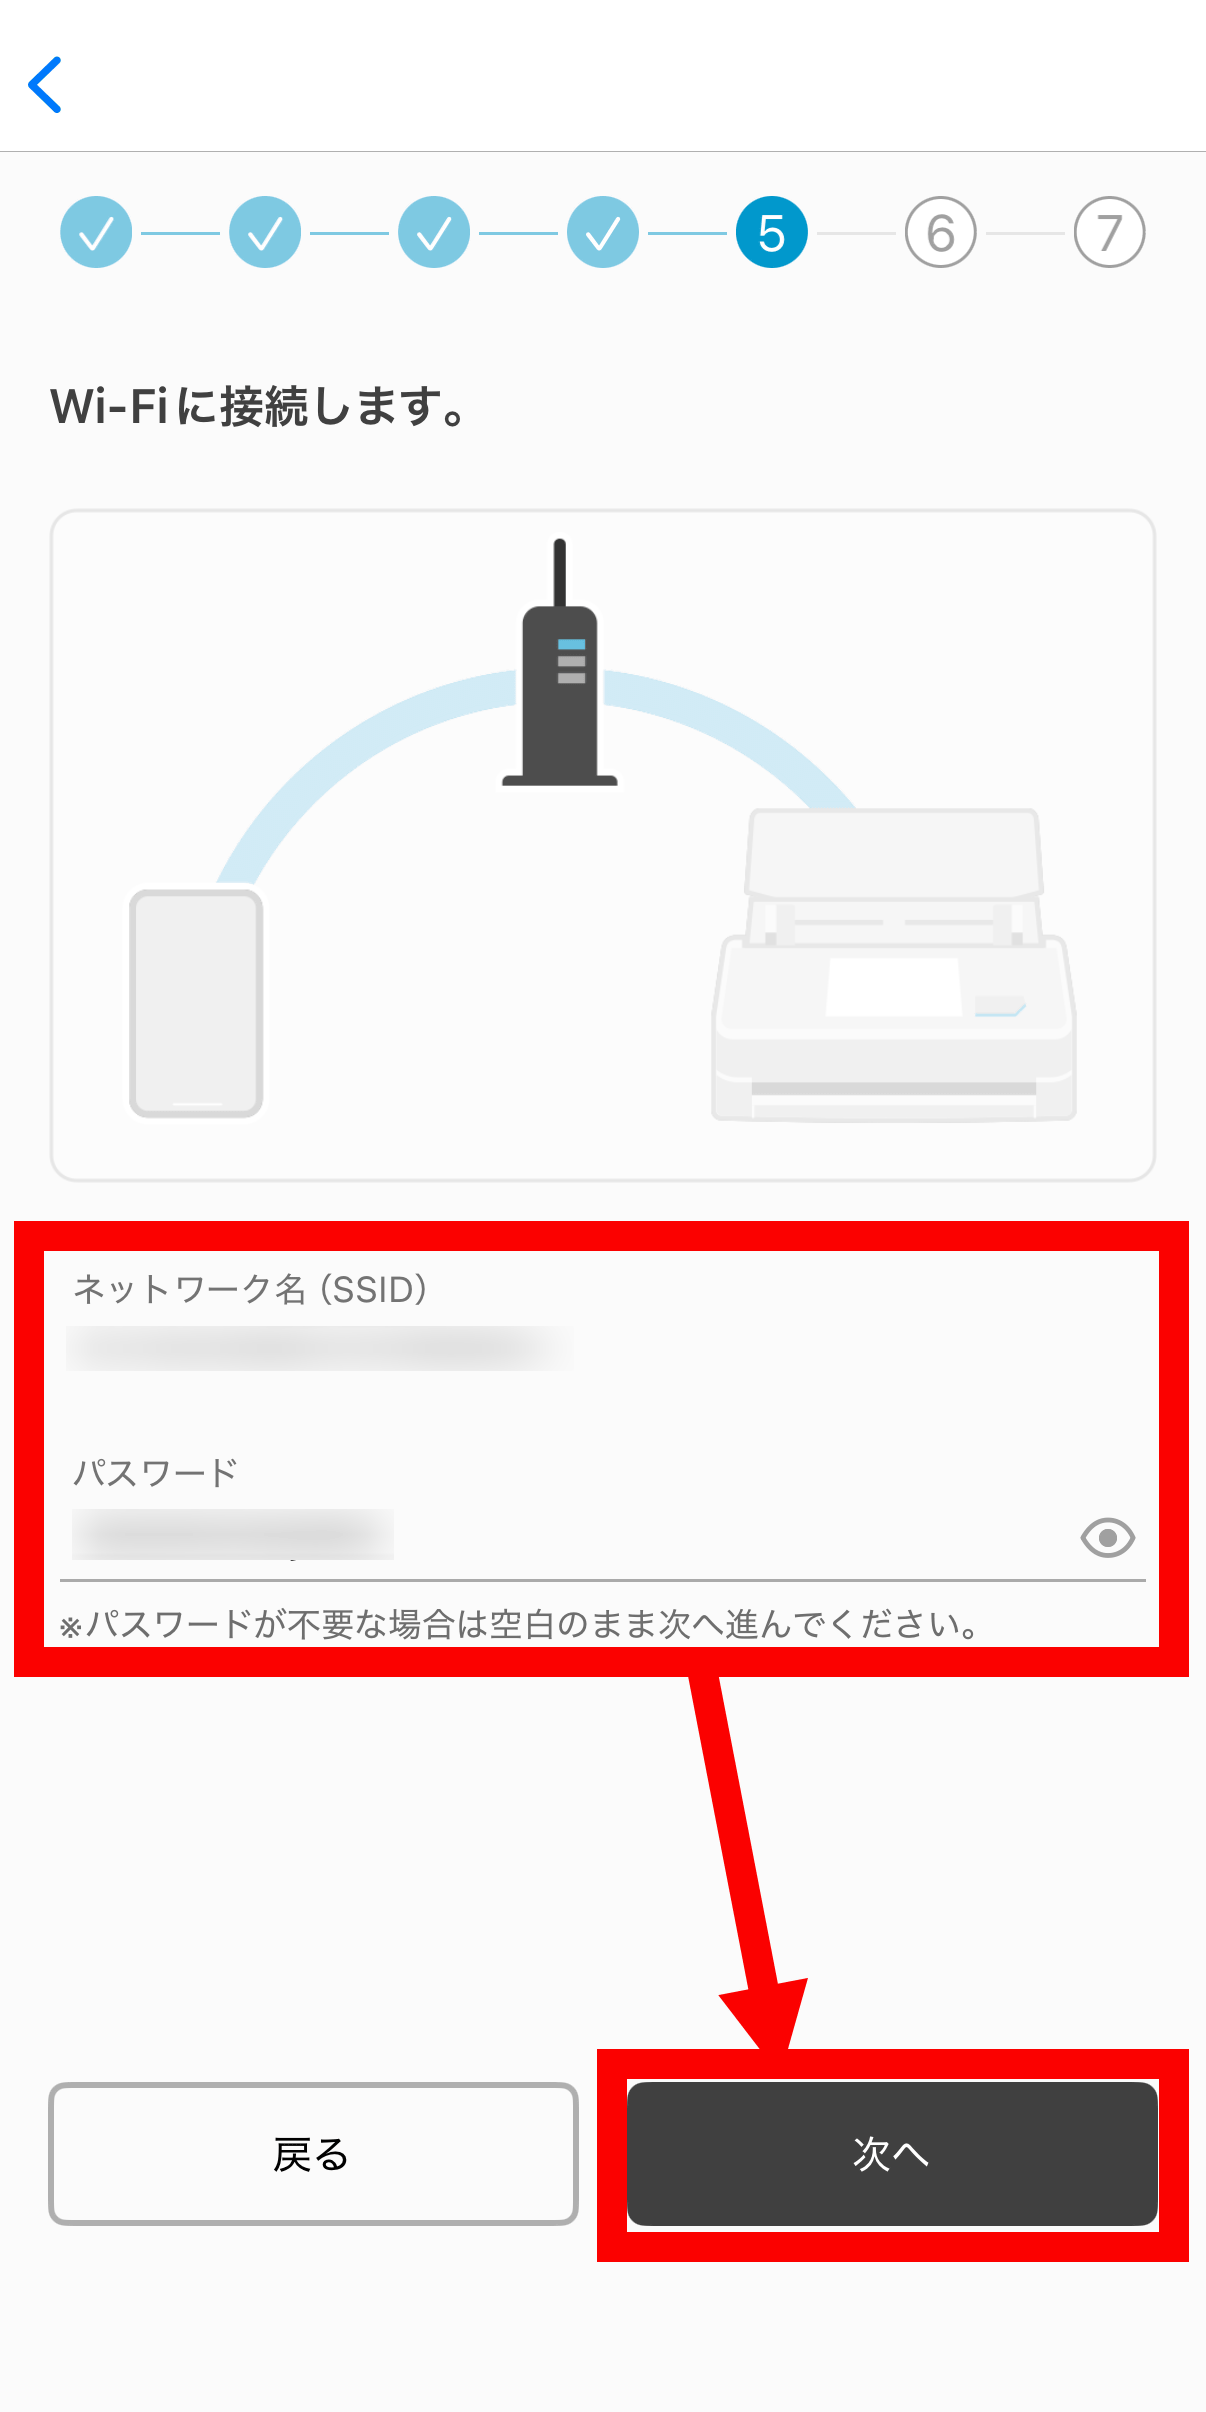
The Wi-Fi connection setting screen will be displayed. Enter the SSID and password for the Wi-Fi access point to which you want to connect the ScanSnap iX2500, then tap 'Next'.
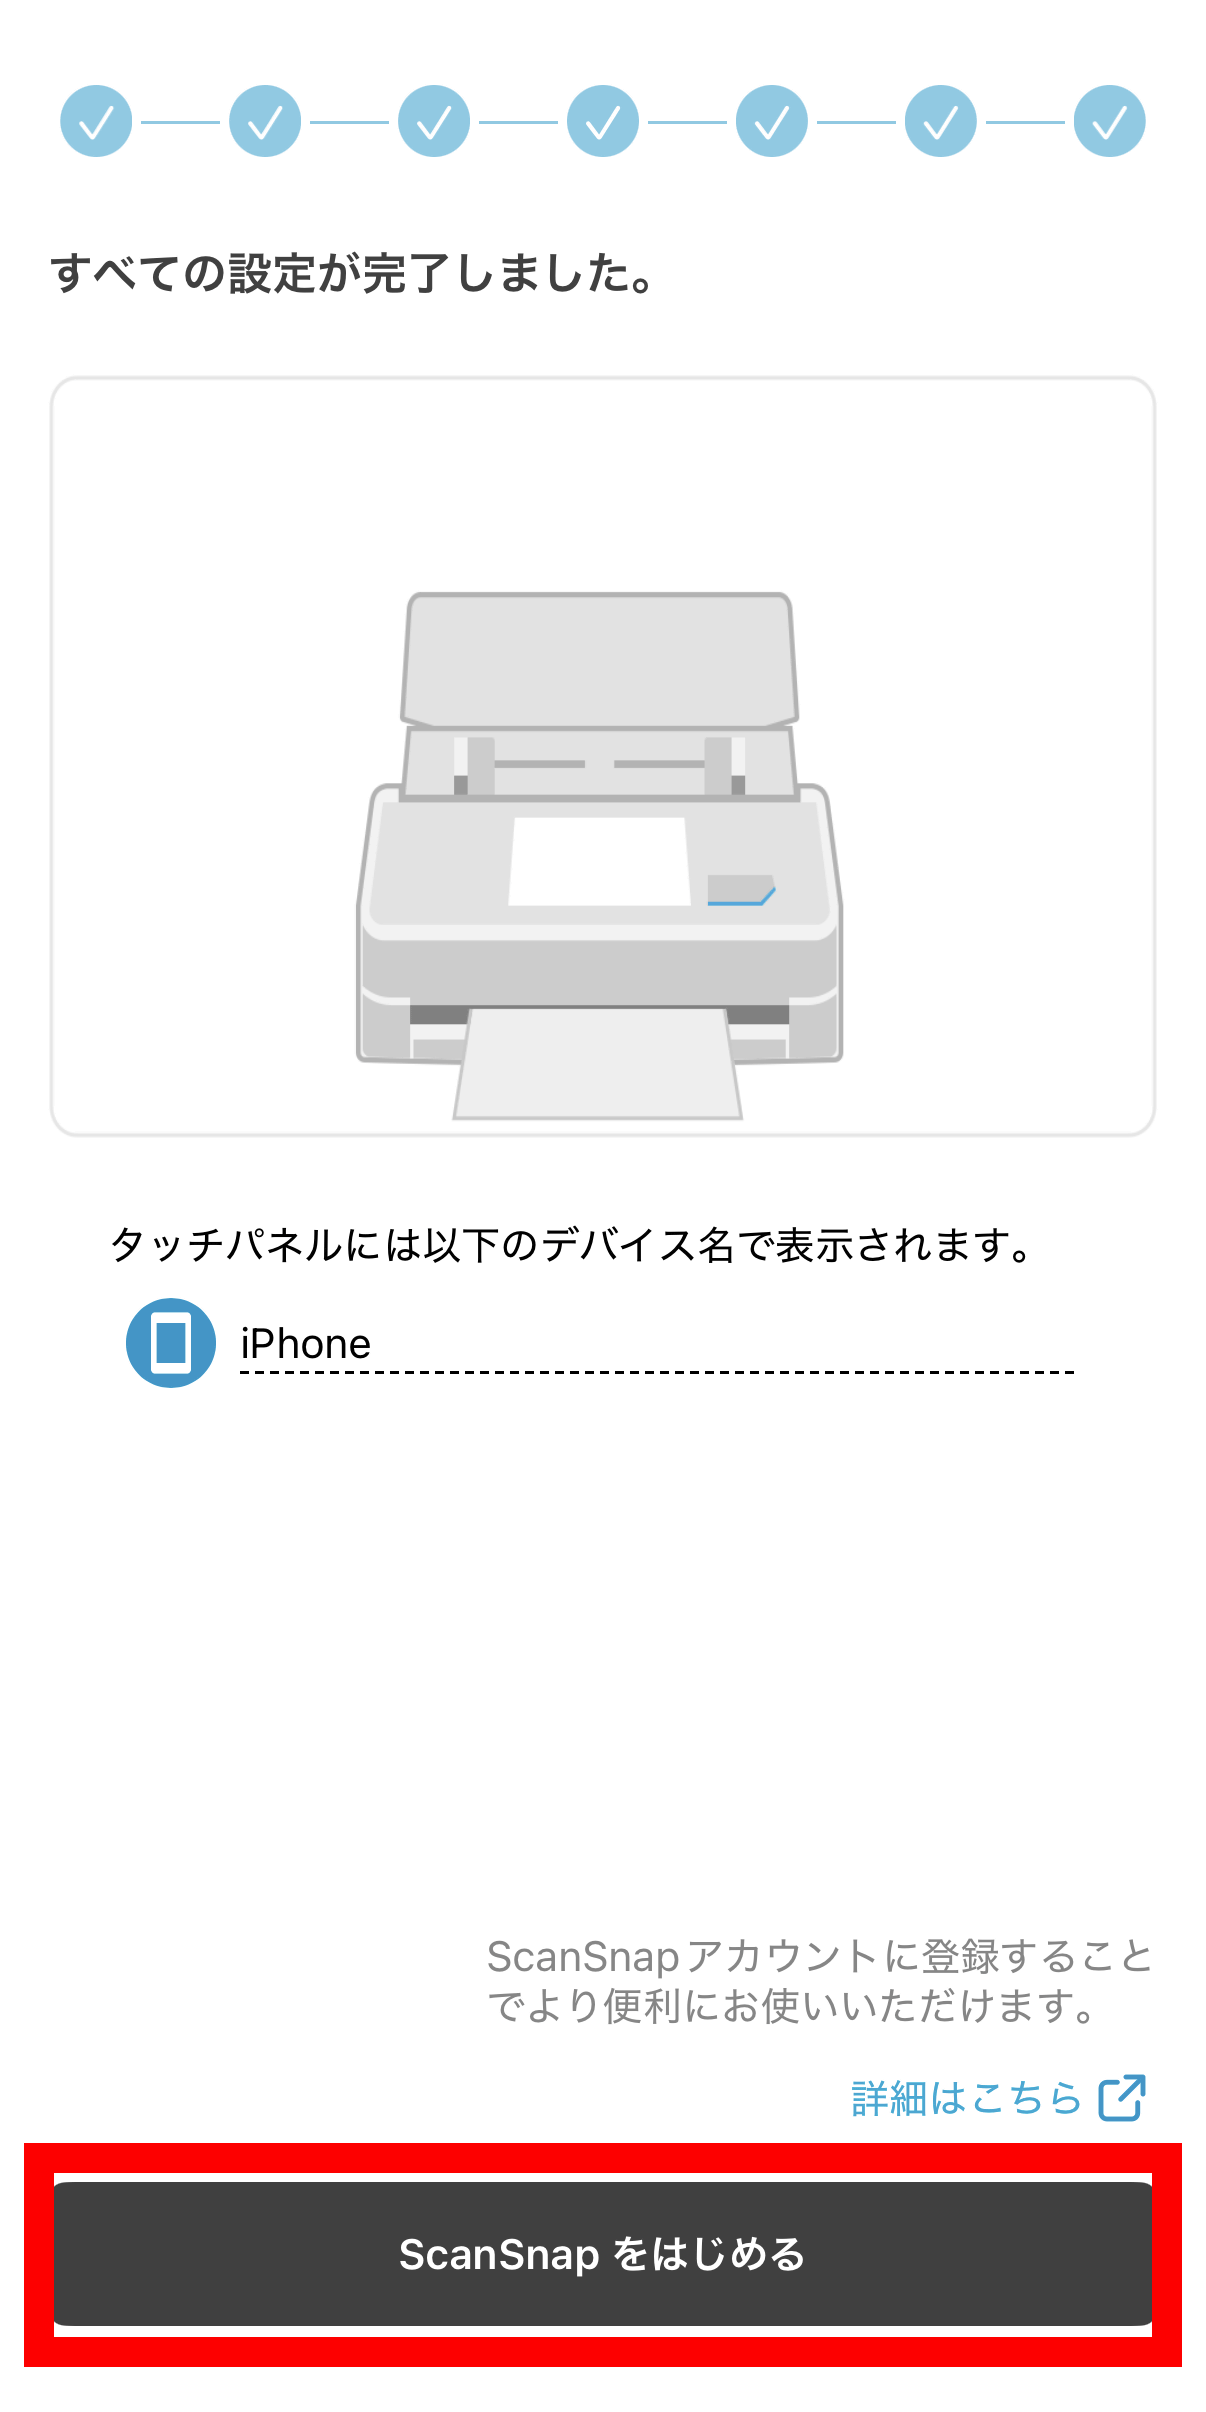
Now, the ScanSnap iX2500 is connected to your smartphone and can access the Wi-Fi wireless LAN. Tap 'Start ScanSnap'.
The scan screen looks like this. As with the PC version, the settings are very simple and you can scan by pressing 'Scan'.
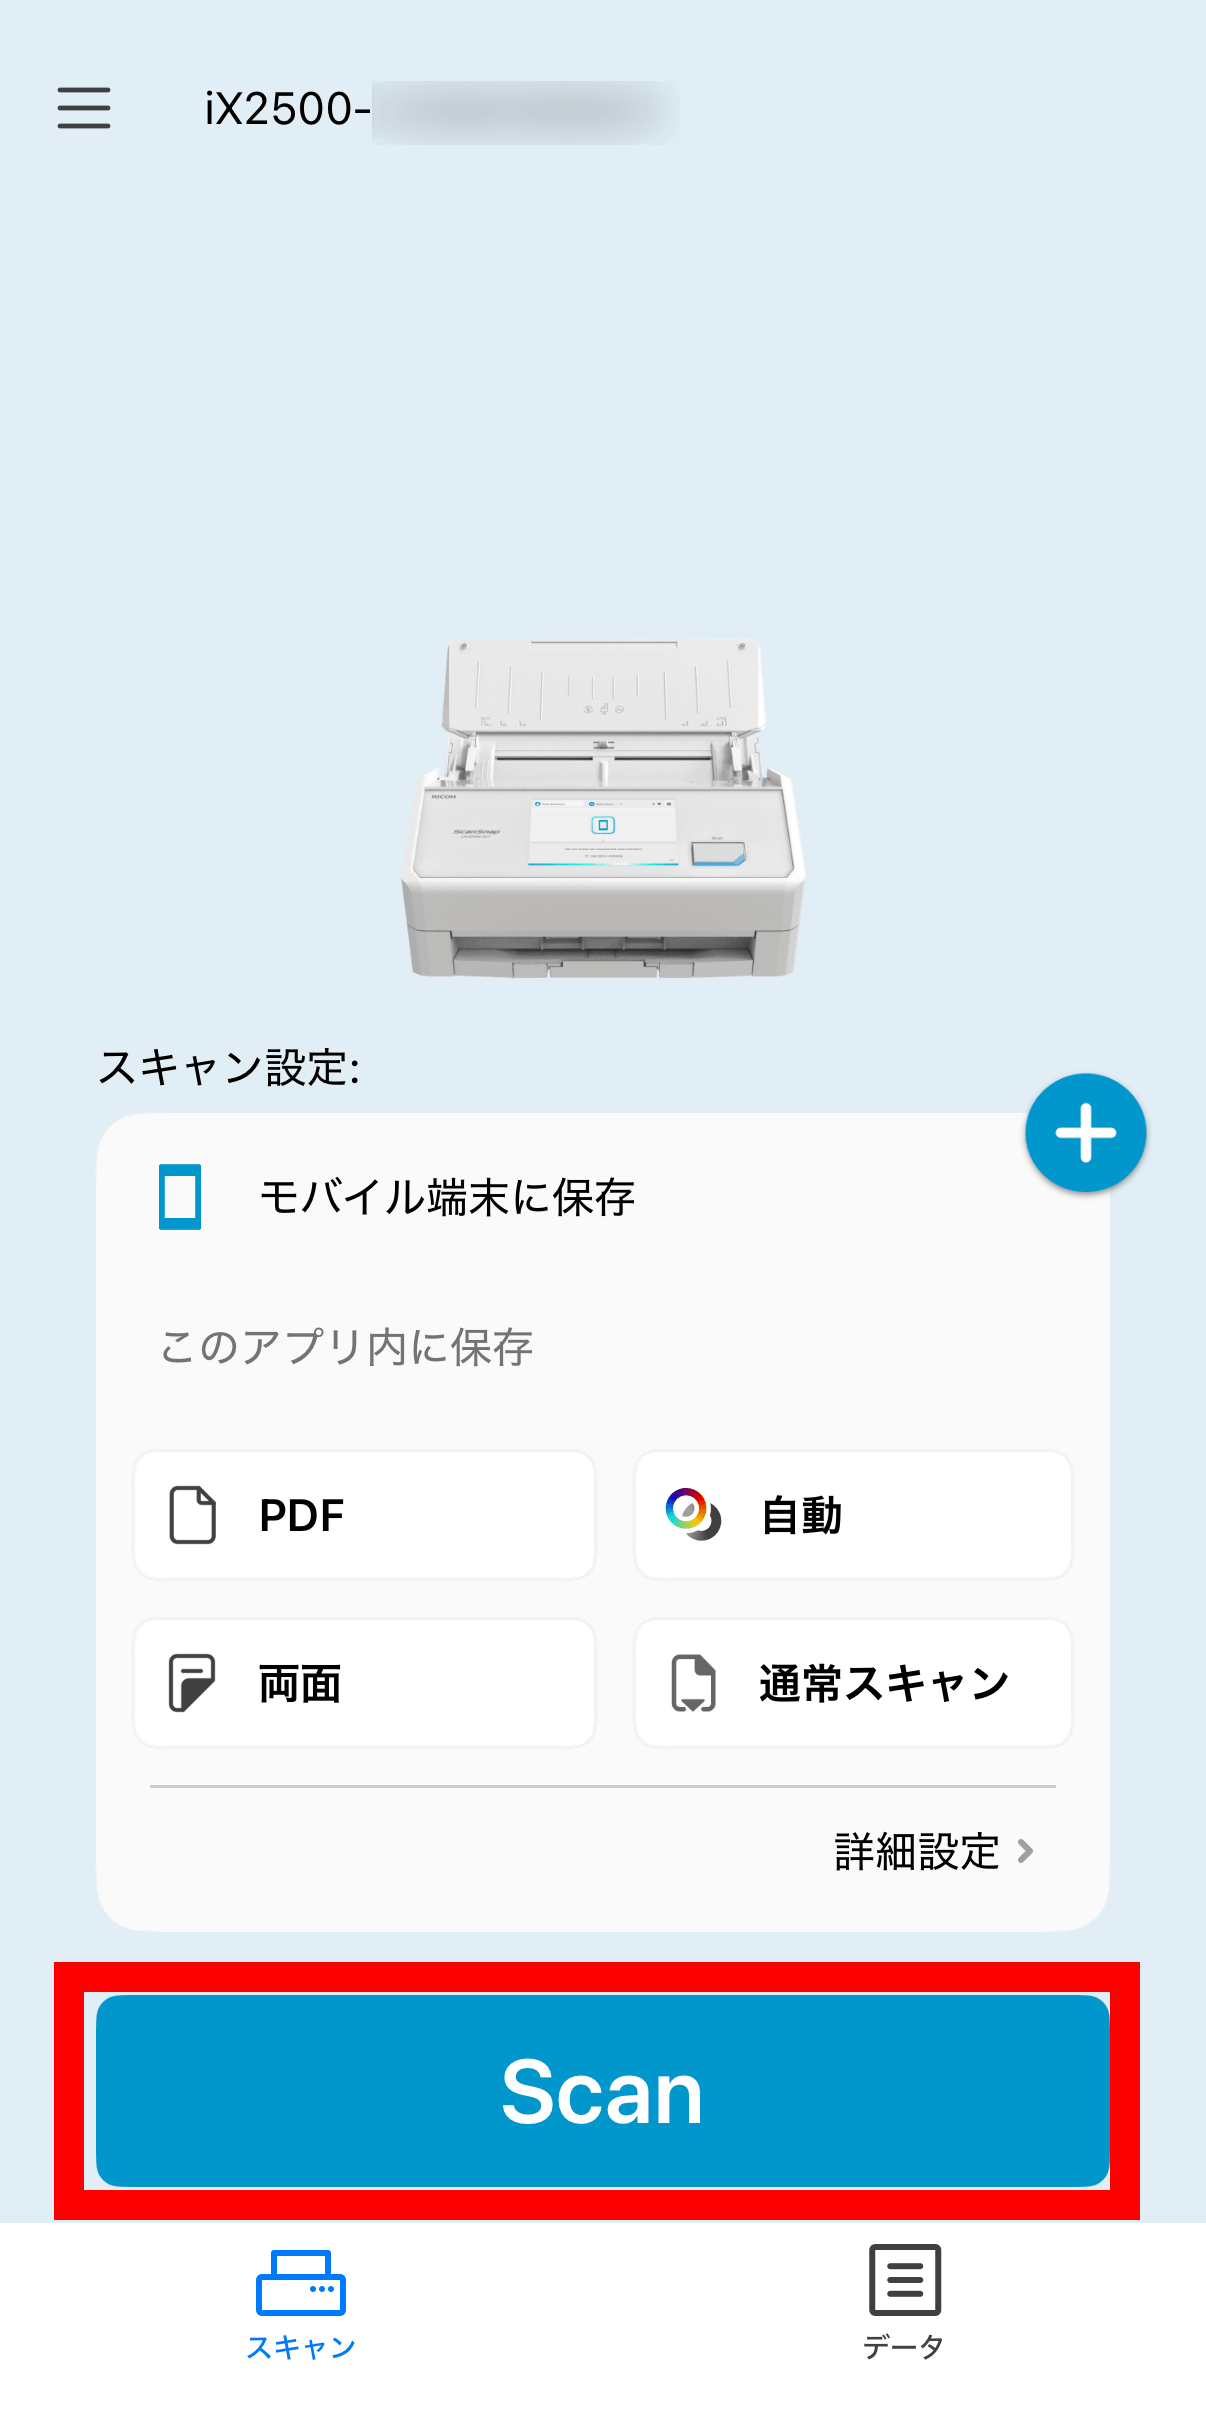
PDF files scanned via smartphone can be created as 'searchable PDFs.'
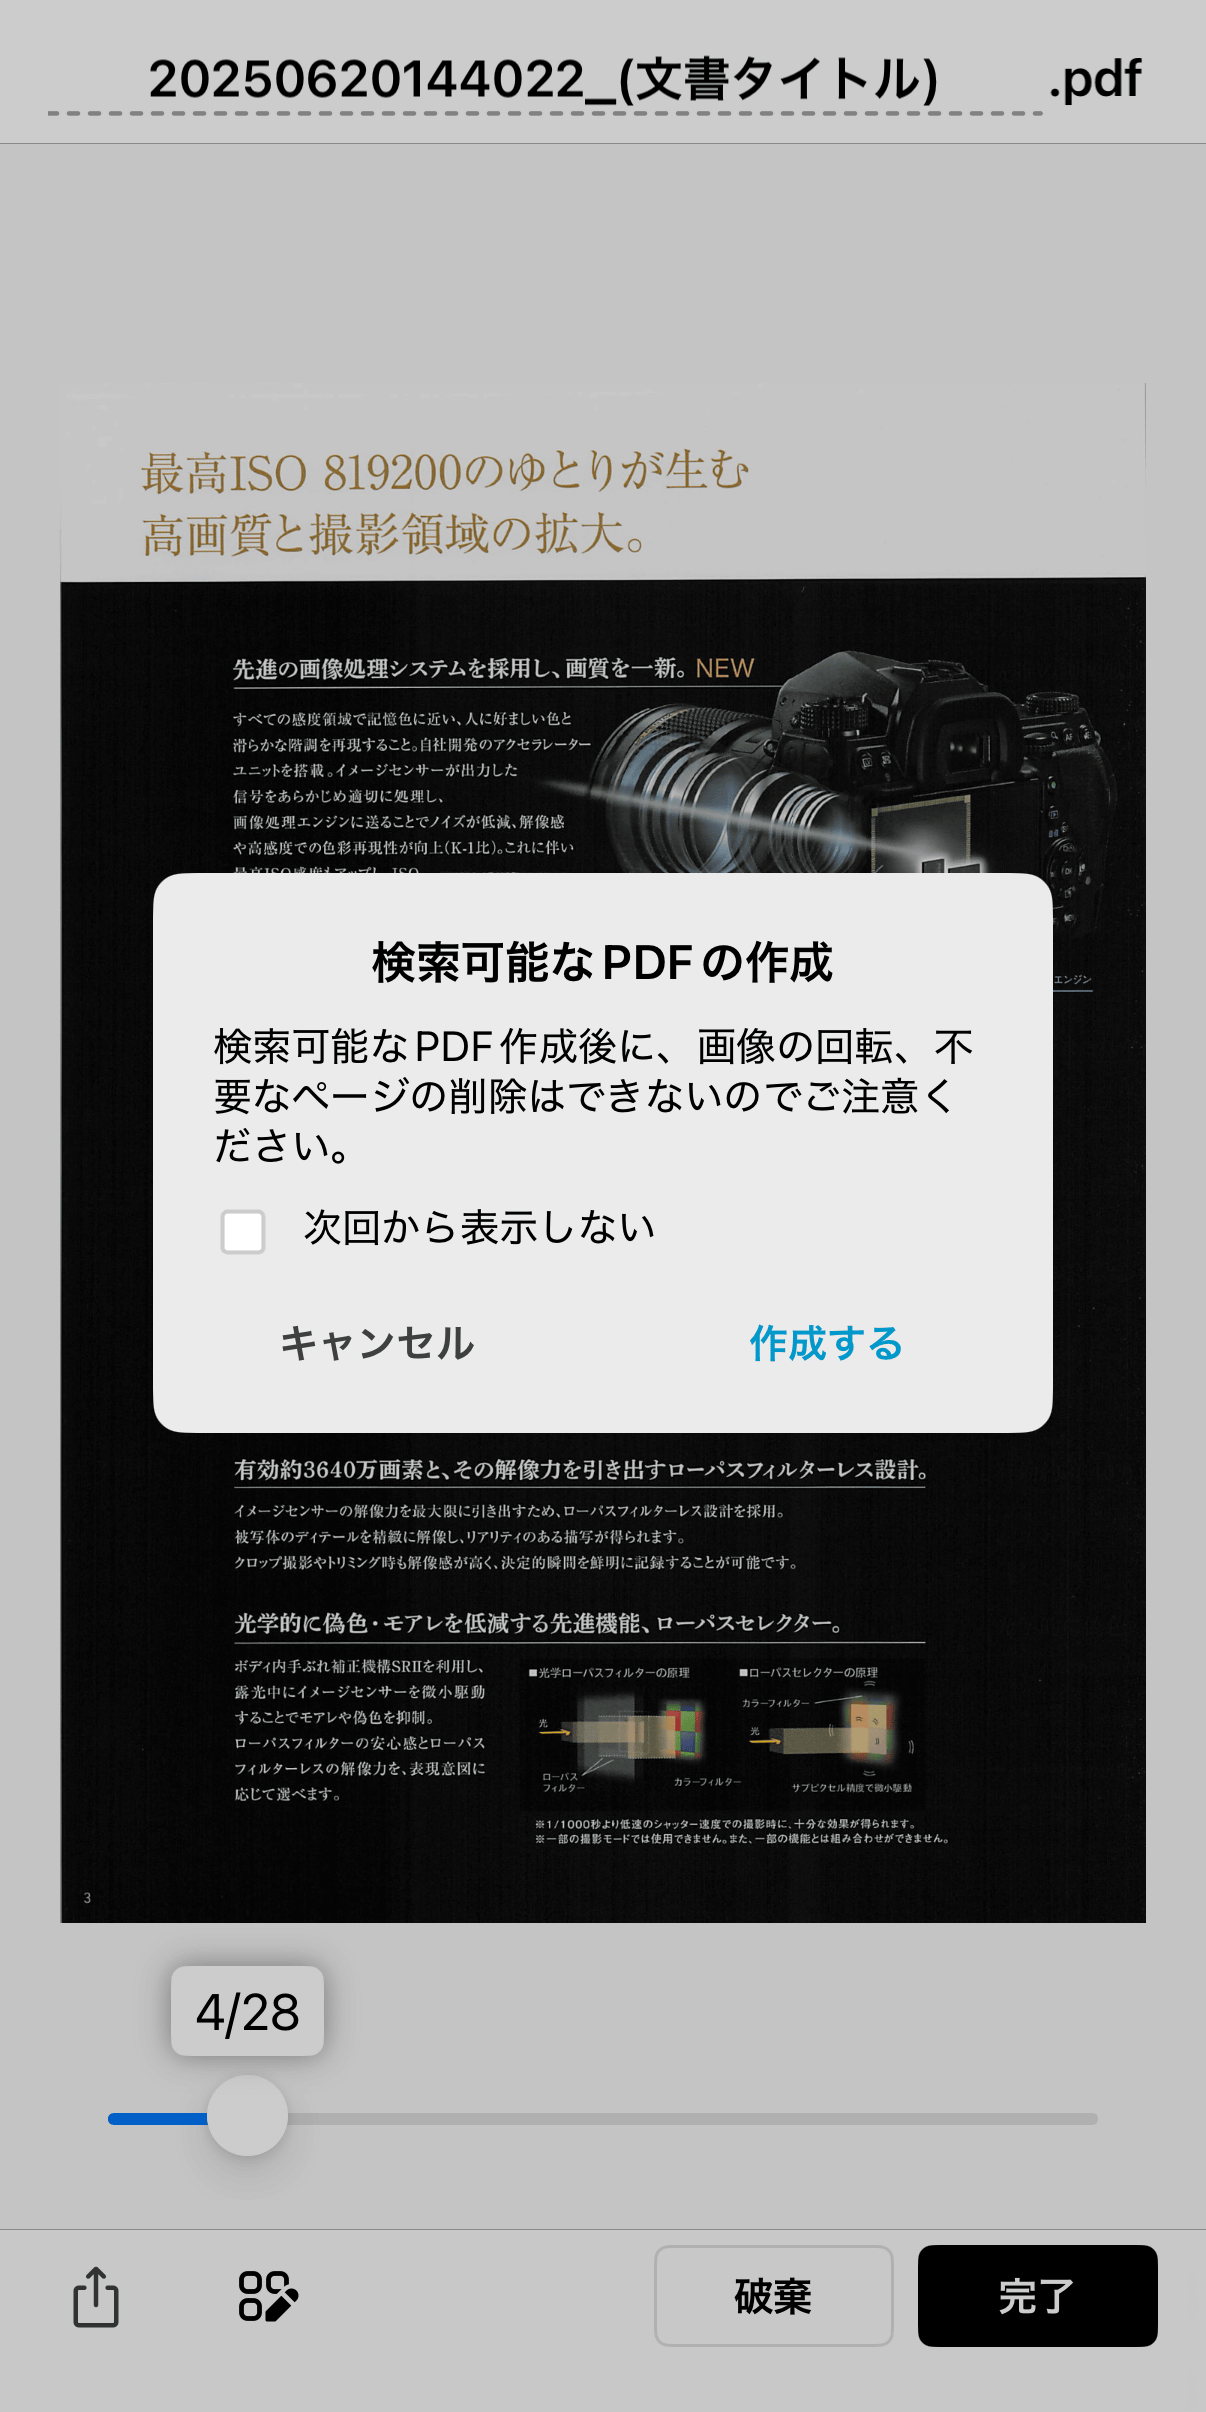
If you register for
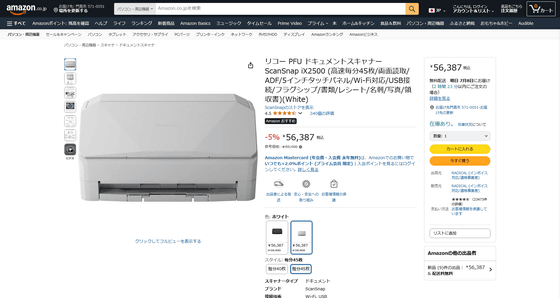
The ScanSnap iX2500 will be released on June 24, 2025, and the price is 59,400 yen including tax. It is also available on Amazon.co.jp and can be purchased for 56,387 yen including tax.
Amazon | Ricoh PFU Document Scanner ScanSnap iX2500 (High-speed 45 pages per minute/Double-sided reading/ADF/5-inch touch panel/Wi-Fi compatible/USB connection/Flagship/Documents/Receipts/Business cards/Photos/Receipts) (White) | ScanSnap | Document scanner mail order
Related Posts: