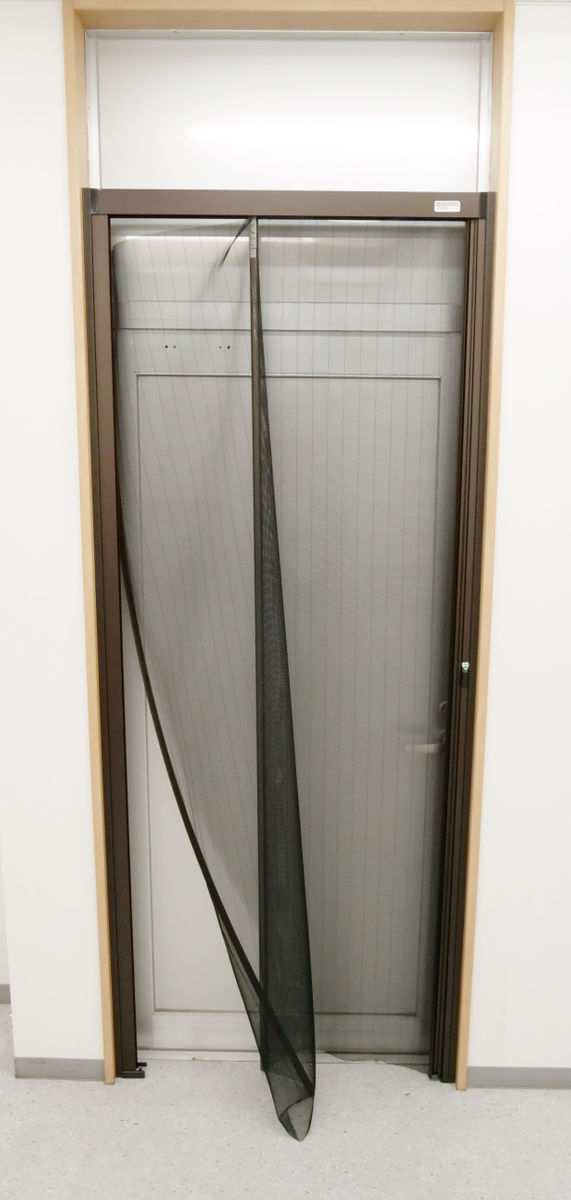
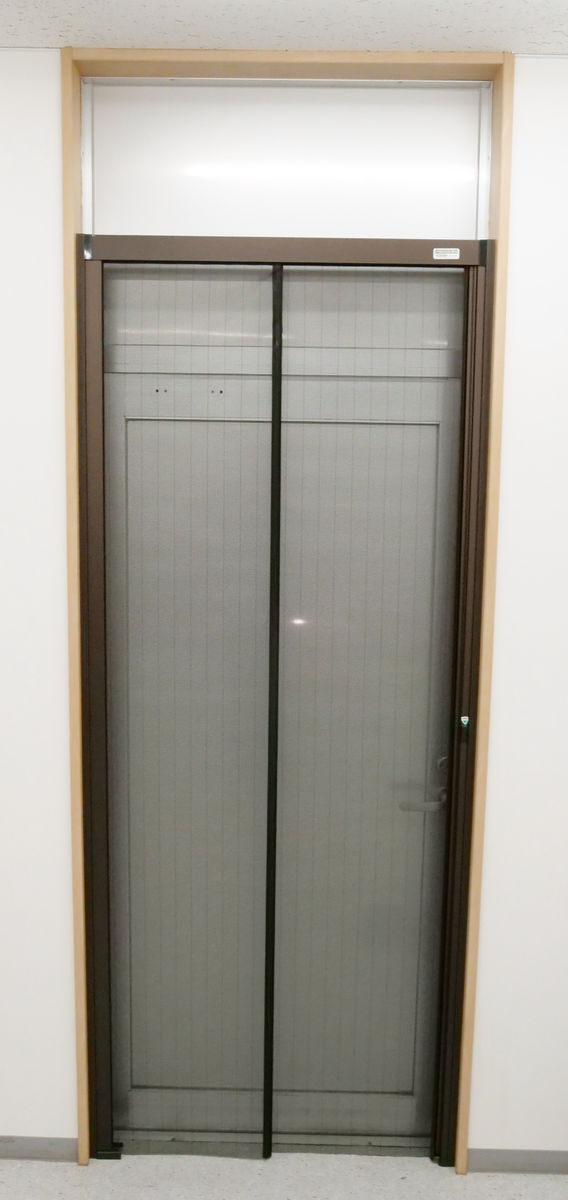
'No-cut rotary screen II' was installed in the first floor conference room of the GIGAZINE editorial department to prevent insects from entering while allowing ventilation.
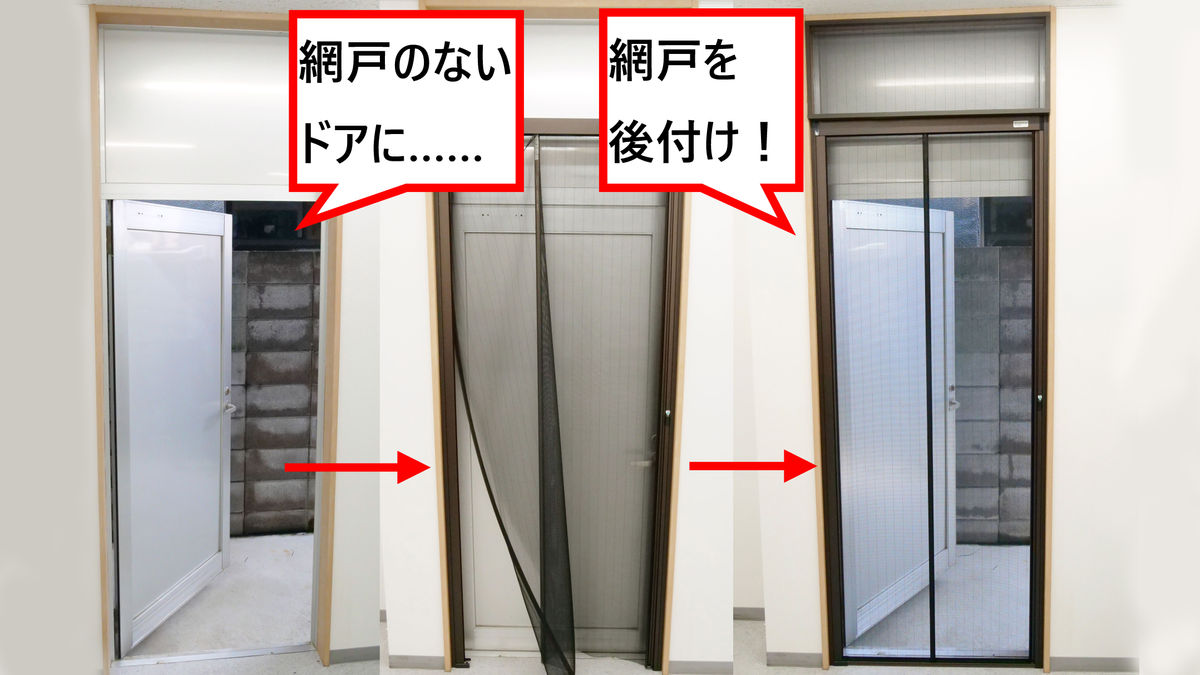
Whether in summer or winter, living with doors and windows closed tends to make the air bad, so it is important to regularly change the air in the room to prevent infectious diseases and reduce carbon dioxide concentrations. However, there are probably many people who do not want to open doors without screens because they may let in insects. Even at the GIGAZINE editorial department, when we opened a door without a screen for ventilation, more and more insects came in, so after searching around, we found the ' No-Cut Rotary Screen Door II ', which can be attached with double-sided tape and is easy to open and close, so we tried to provide comfortable ventilation.
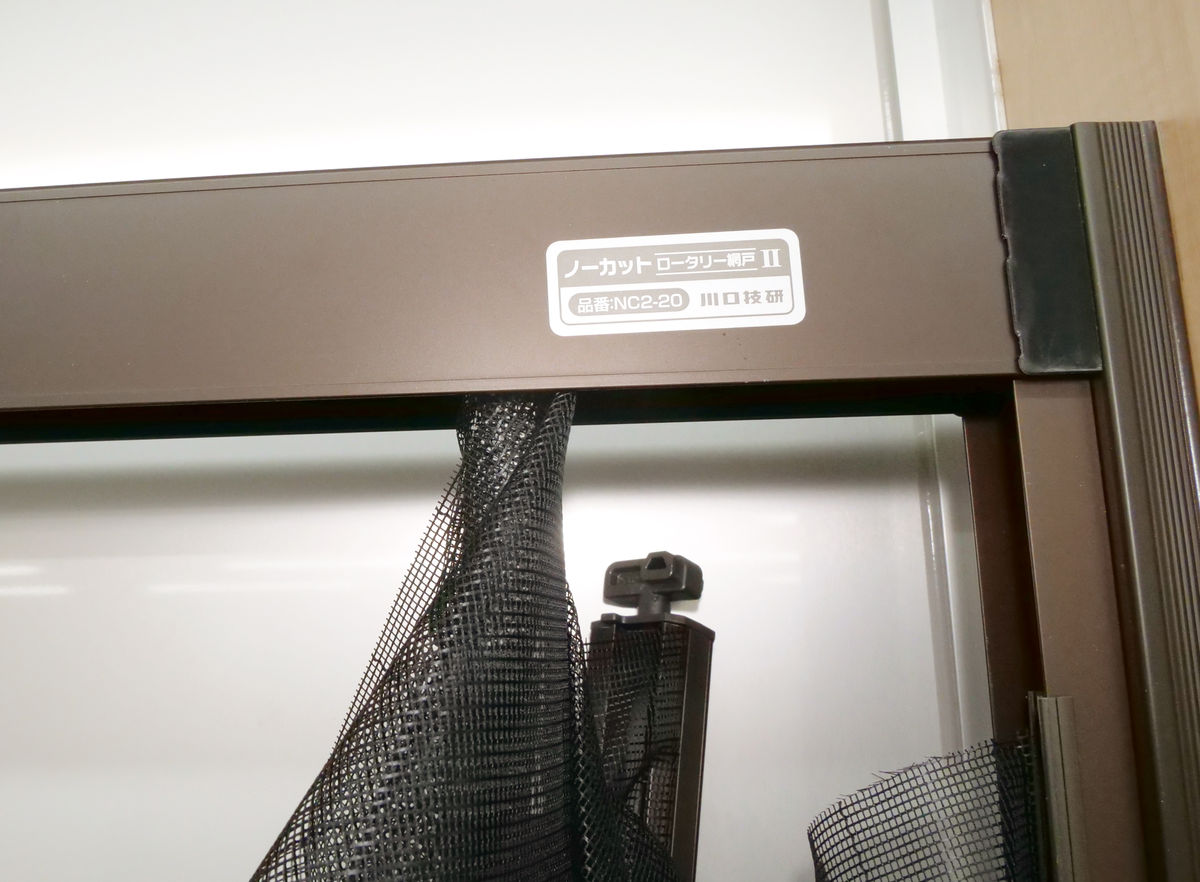
No-Cut Rotary Screen Door II (Two) | Kawaguchi Giken
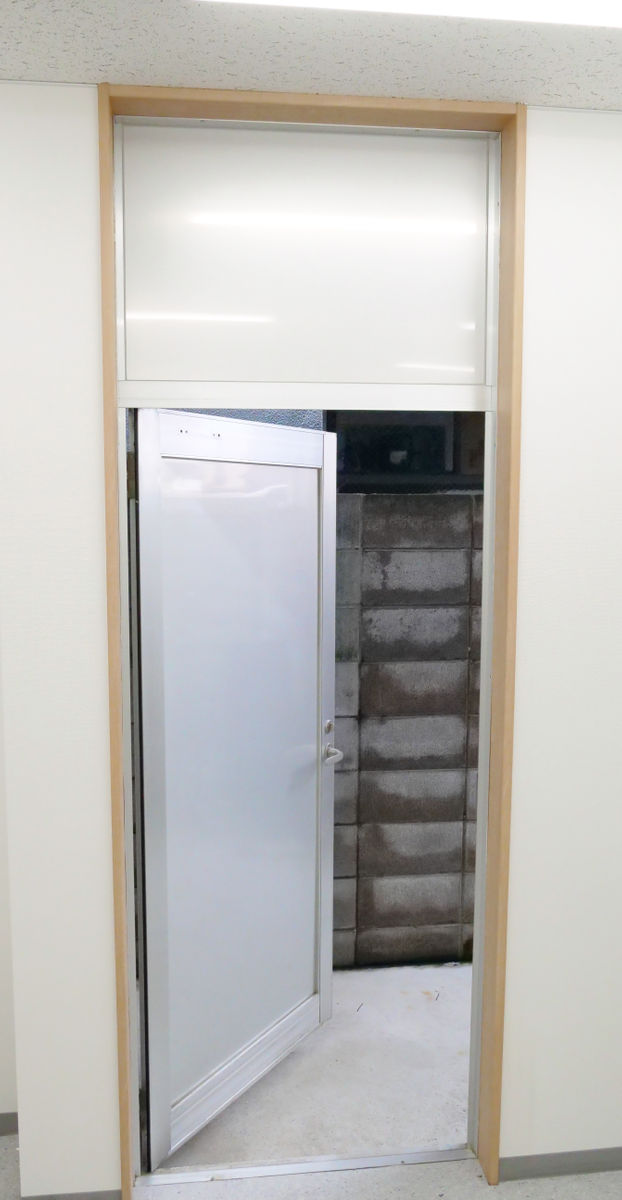
The editorial department of GIGAZINE has a door like this leading to the back door, but as you can see, there is no screen, and when it is opened for ventilation, insects frequently come in.
When I was looking for a good screen door, I found Kawaguchi Giken's '
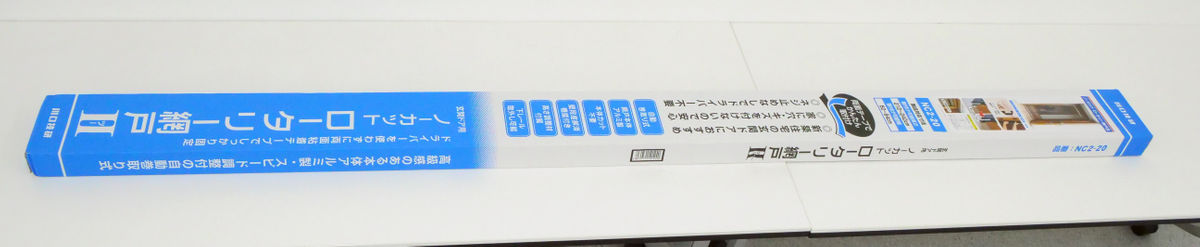
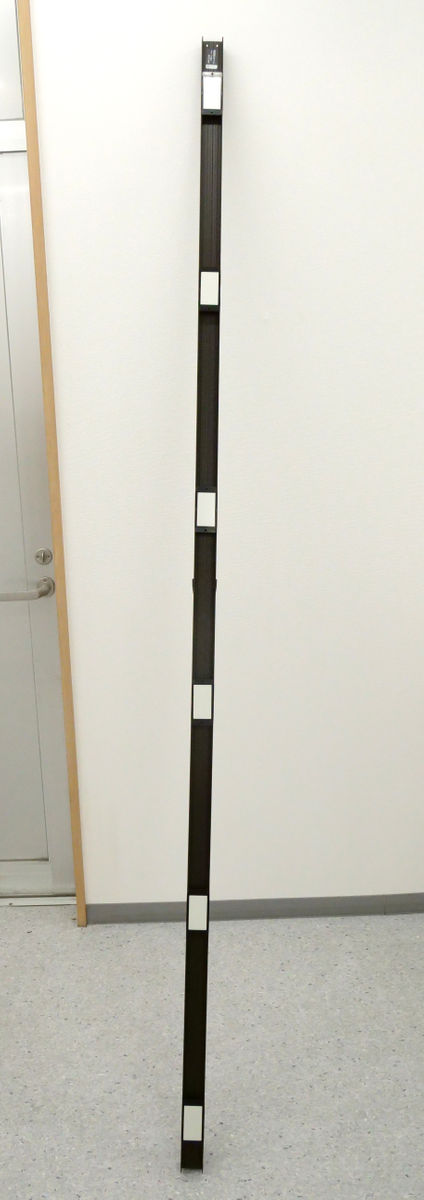
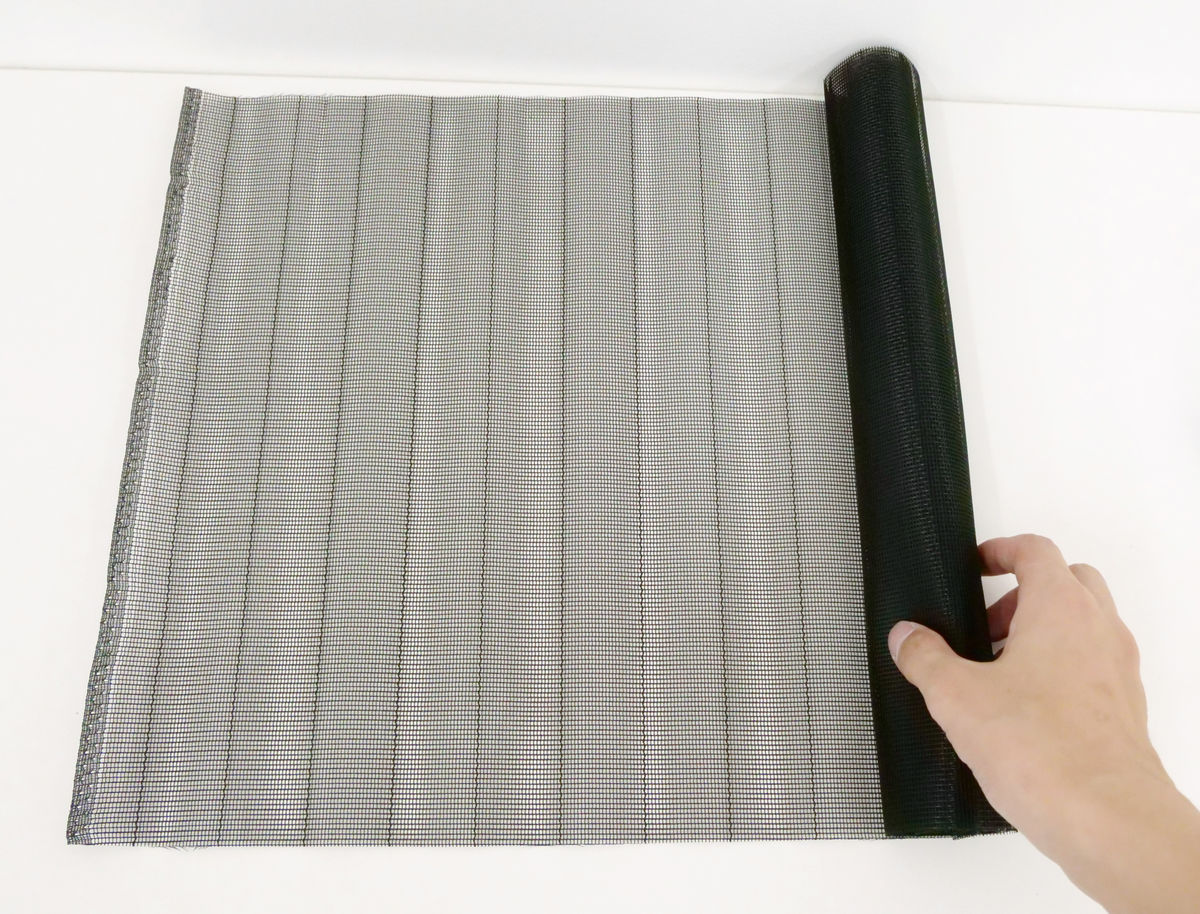
This is what arrived. The package alone is over 2 meters long.
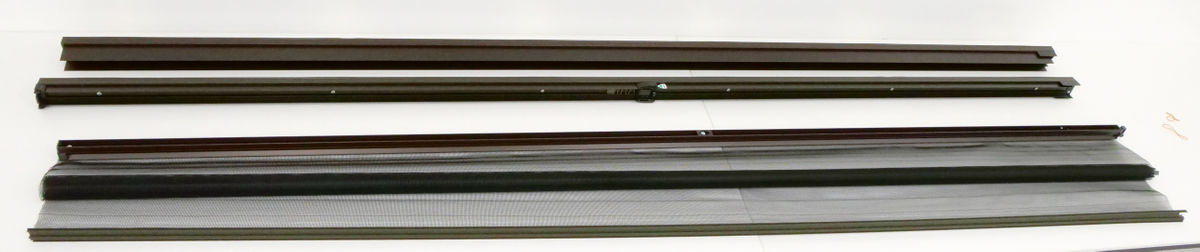
The contents consist of two long aluminum frames and one spool with a net already attached.
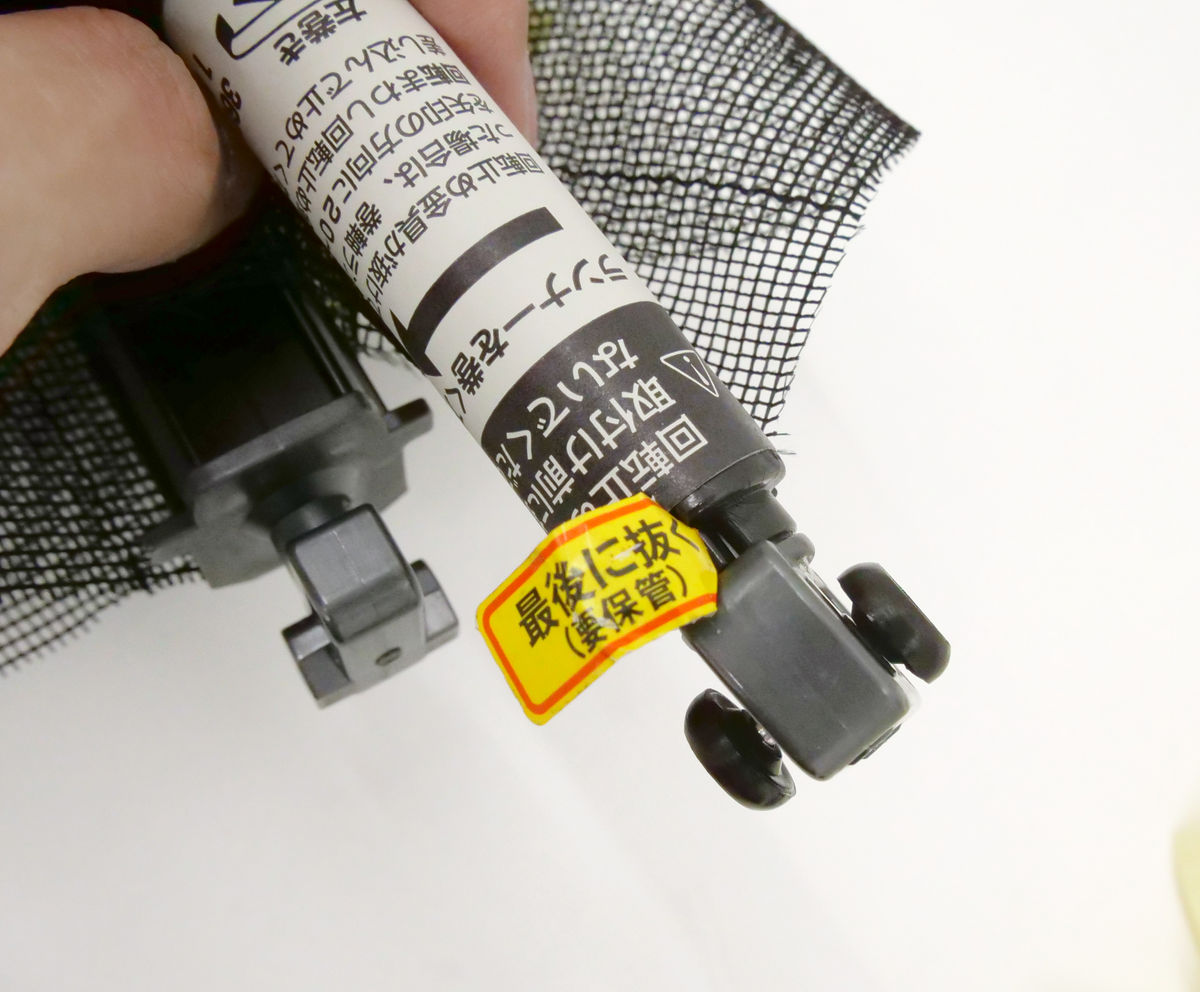
The reel is fitted with a metal stopper to prevent the net from being automatically wound before installation.
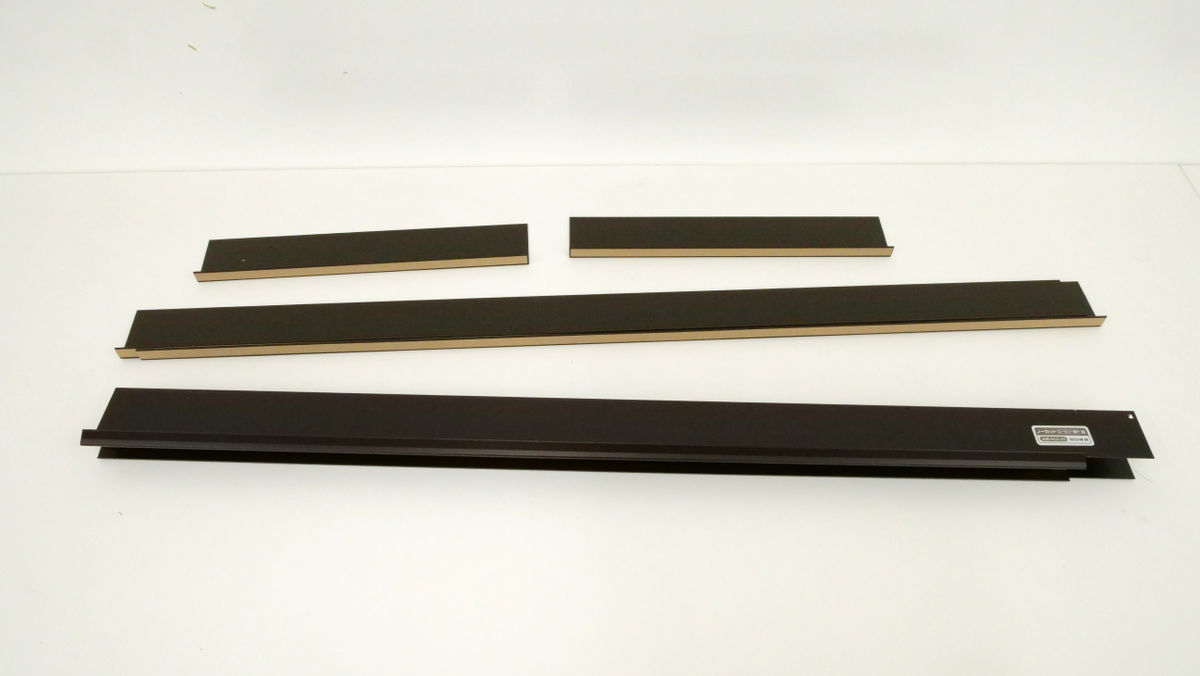
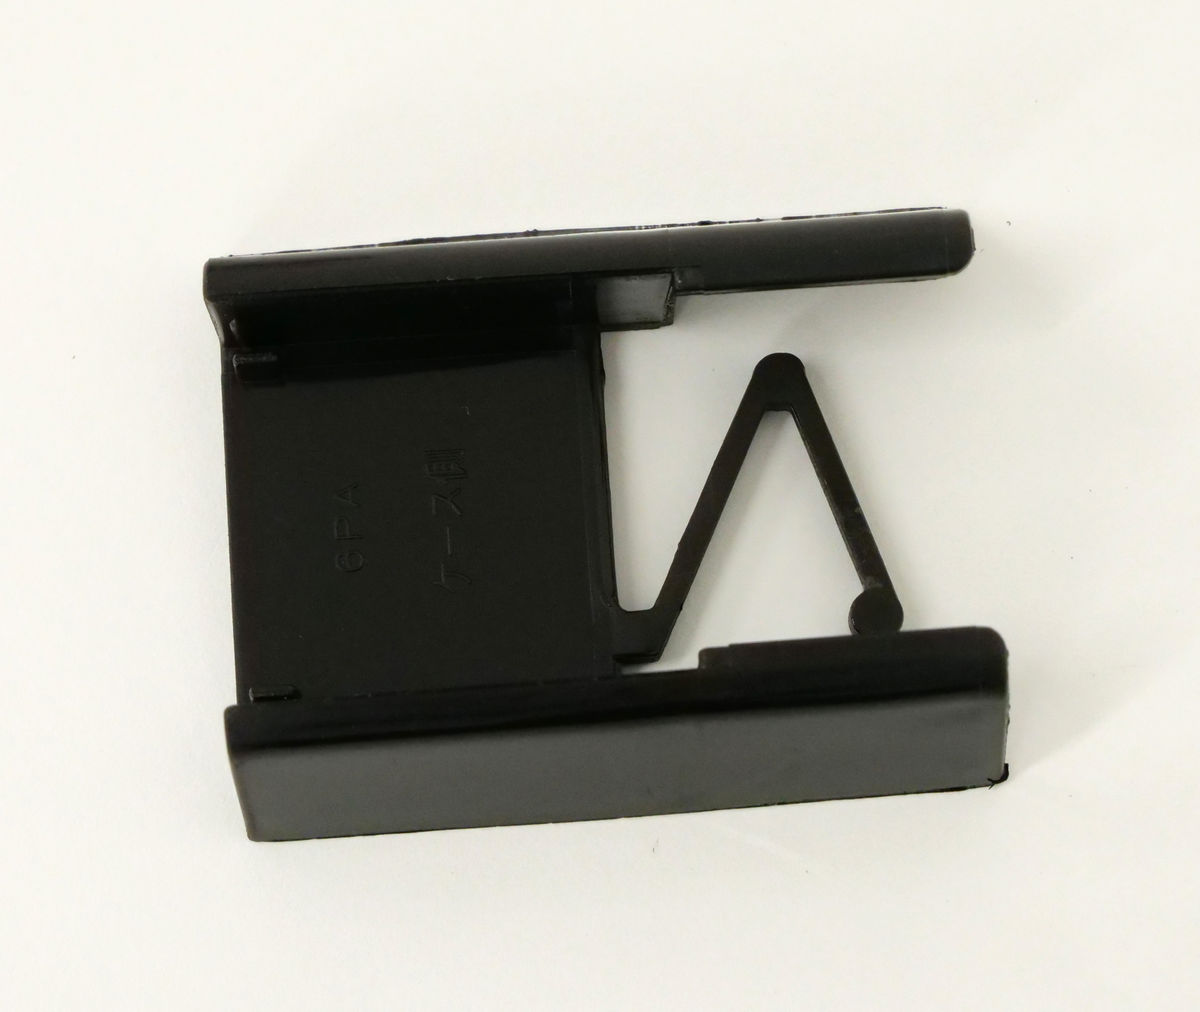
Next are two plastic covers, one large and one small, and two short frames.
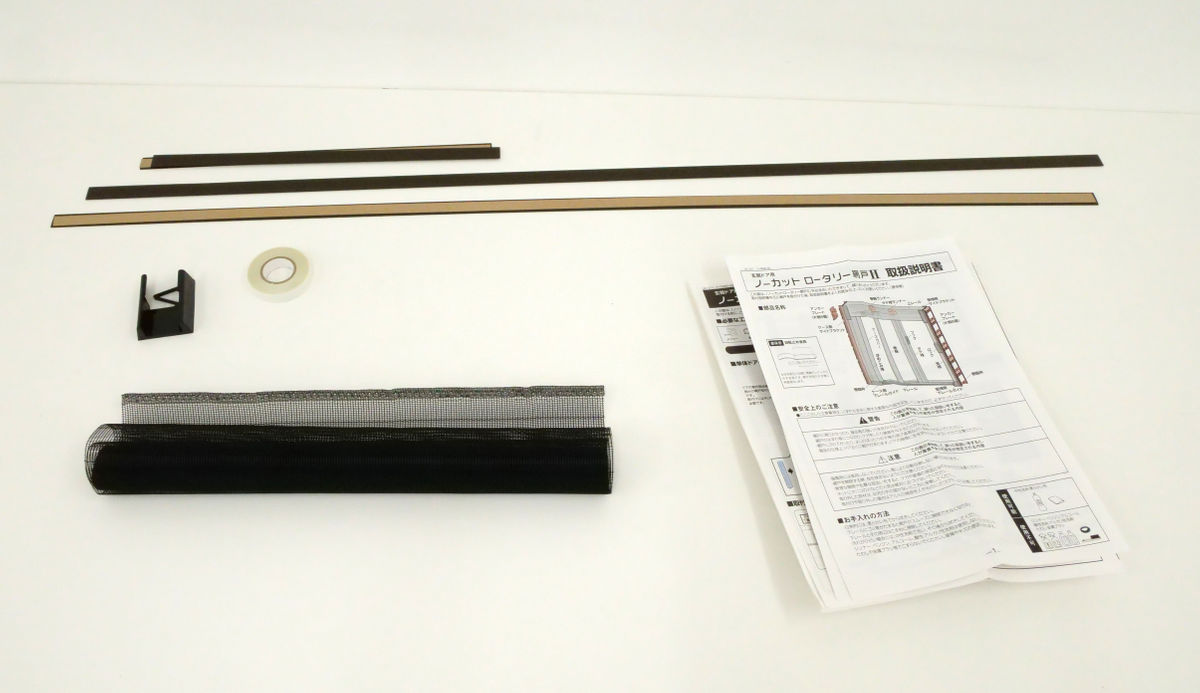
Other items included are height adjustment material, double-sided tape, auxiliary net, and instruction manual.
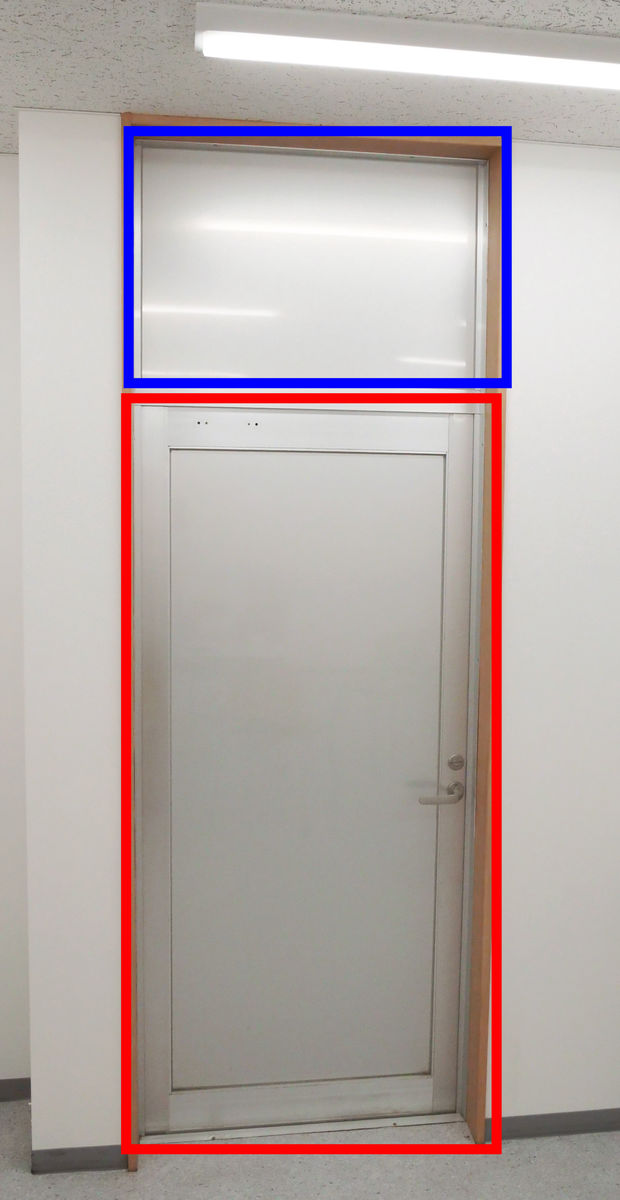
How to attach these is to first attach the screen door to the part surrounded by the red frame, then attach the height adjustment material and auxiliary net to the part surrounded by the blue frame to cover both the top and bottom. In addition, you will need a hacksaw, a tape measure, and a utility knife to install it.
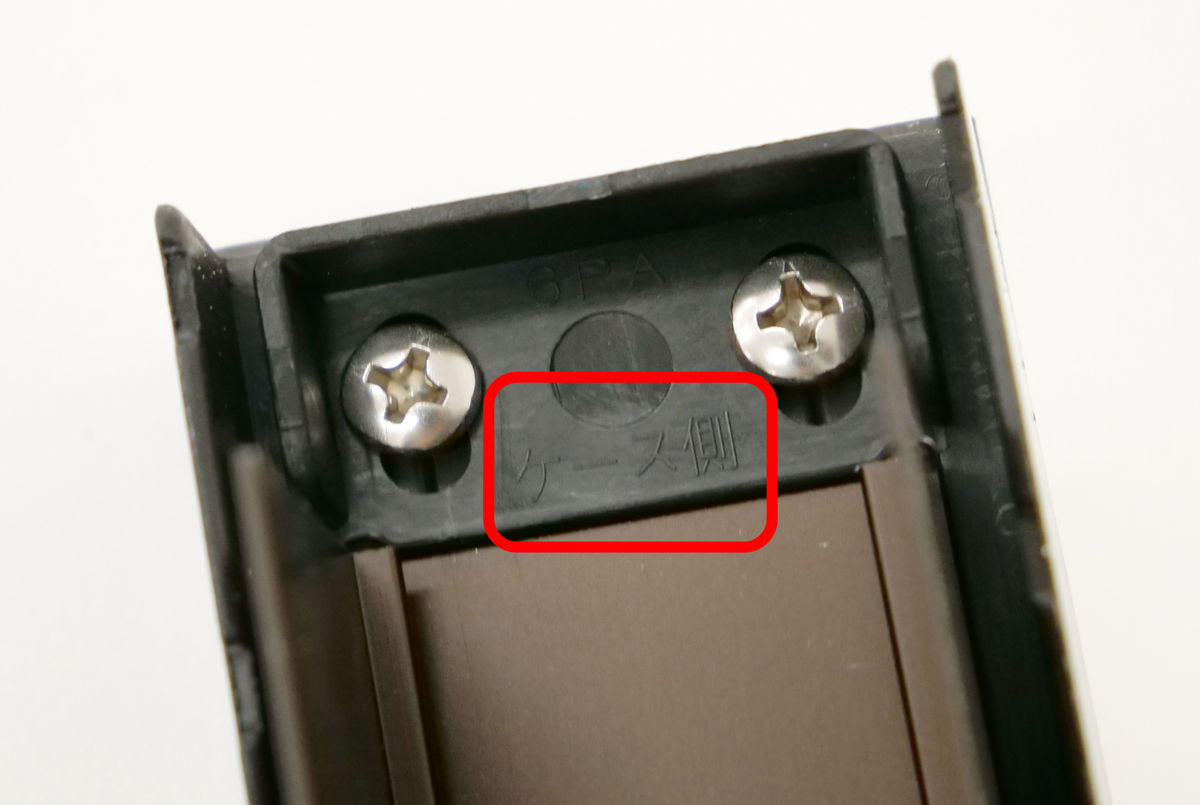
First, attach the following part, called the 'case side bottom rail guide', to the frame that will be installed vertically. This is the part that the screen door fits into when folded.
Of the two frames, pick the one that says 'Case side.'
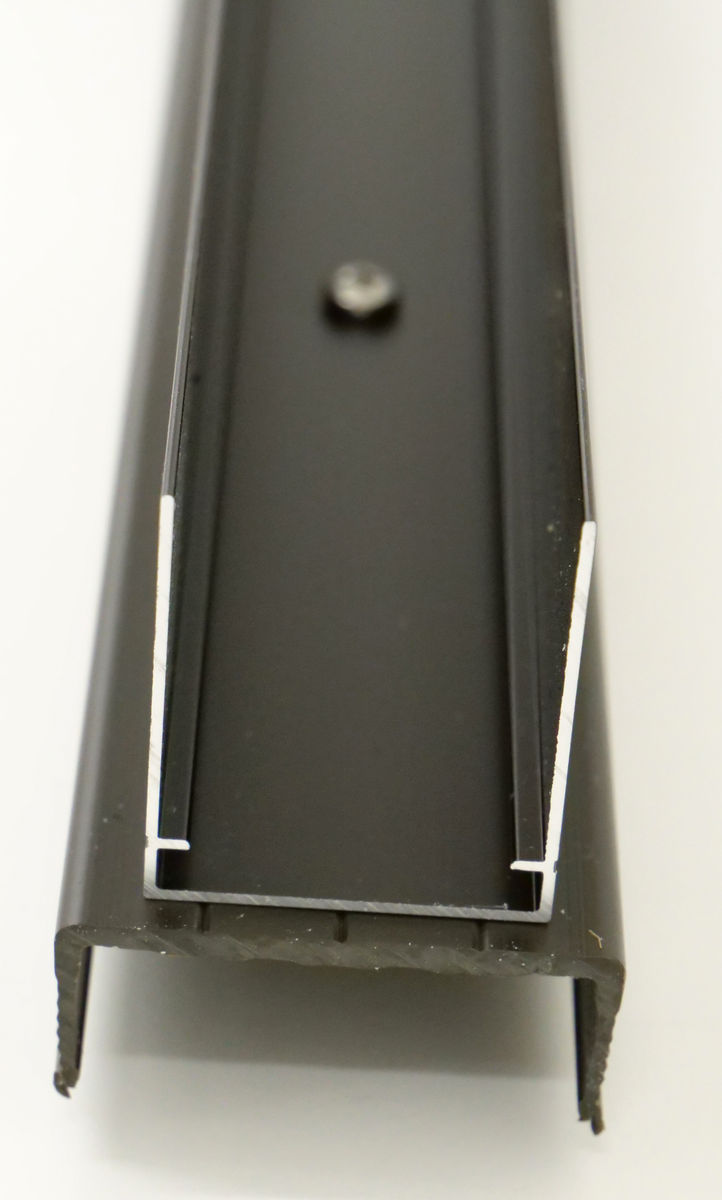
One end has this shape...
Fit the lower rail guide into the case.
It fits perfectly like this.

Next, we'll check the position where we'll attach the frame. The No-Cut Rotary Screen II is compatible with both right- and left-opening doors, so you can choose to install the screen to open to the right or left. The editorial office's door opens to the right (the doorknob is on the right), so we decided to install the screen so that it would open from right to left. Temporarily place the frame to which the case-side lower rail guide was attached earlier on the left, and the other long frame on the right.

There are six double-sided tape strips on the back of these frames, allowing them to be attached to wooden or aluminum frames.
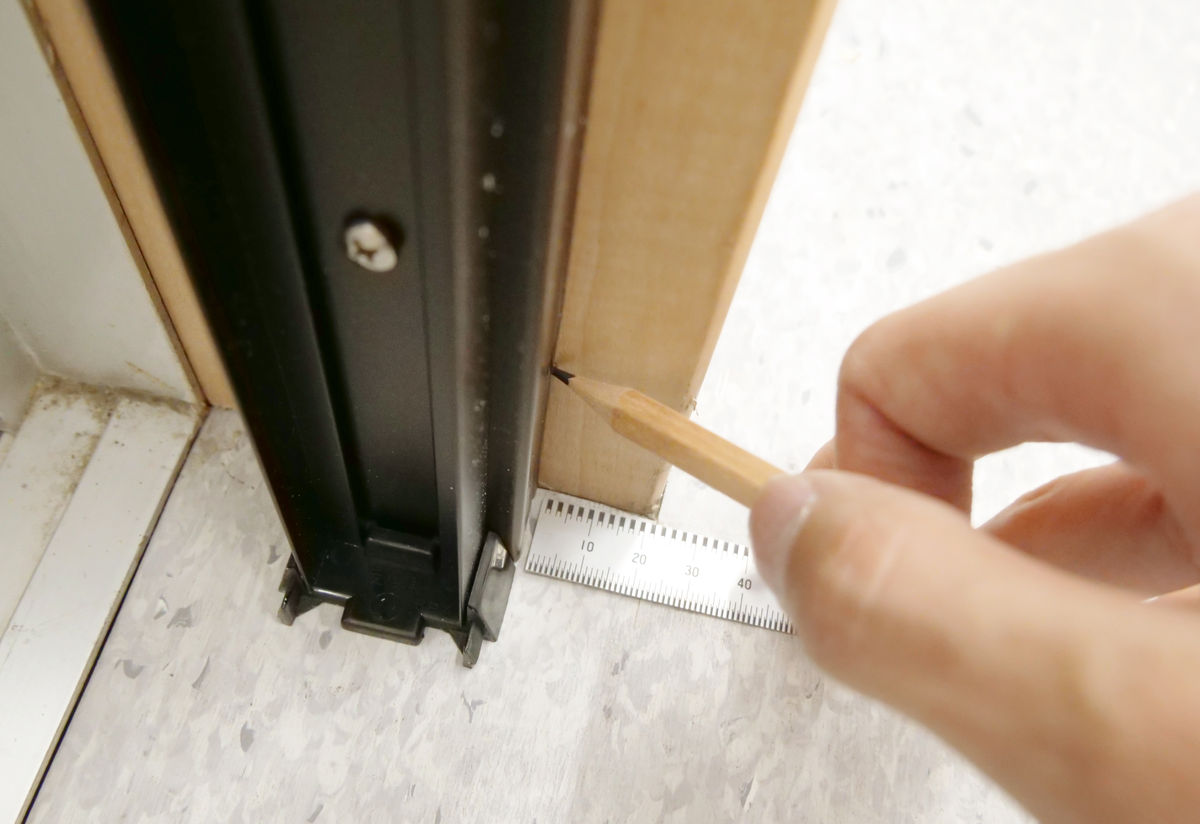
Next, decide where to glue the frame. Look for a suitable position so that the screen door does not interfere with the doorknob when it closes.

Mark the wooden frame. It is recommended to use a tape measure or ruler to determine the distance from the edge, so that it will not slip off. Mark the two frames on the left and right and you're done.
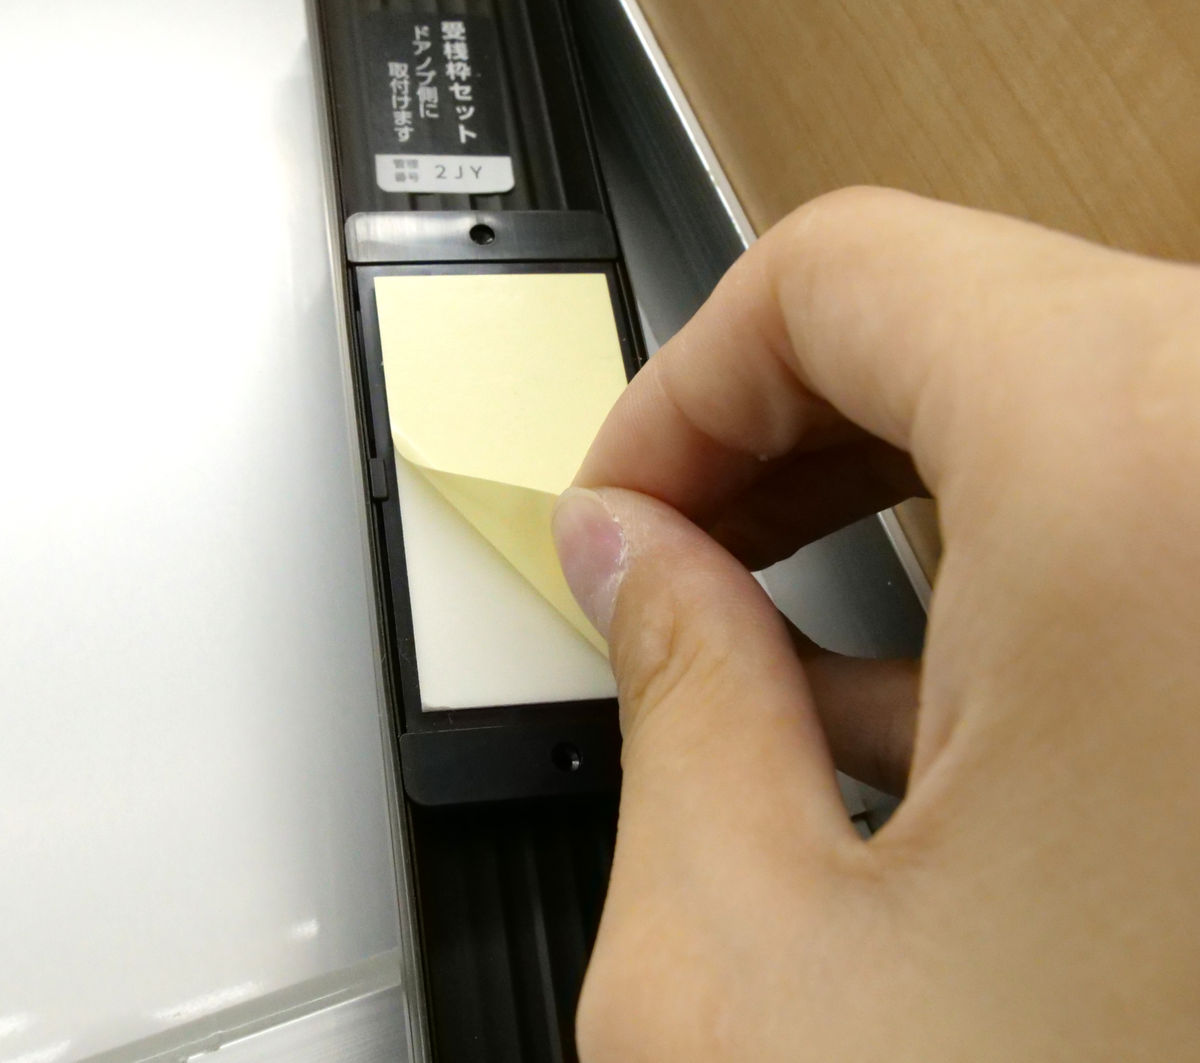
Once the position is decided, peel off all six pieces of double-sided tape attached to the frame.
Gently wipe the installation position...
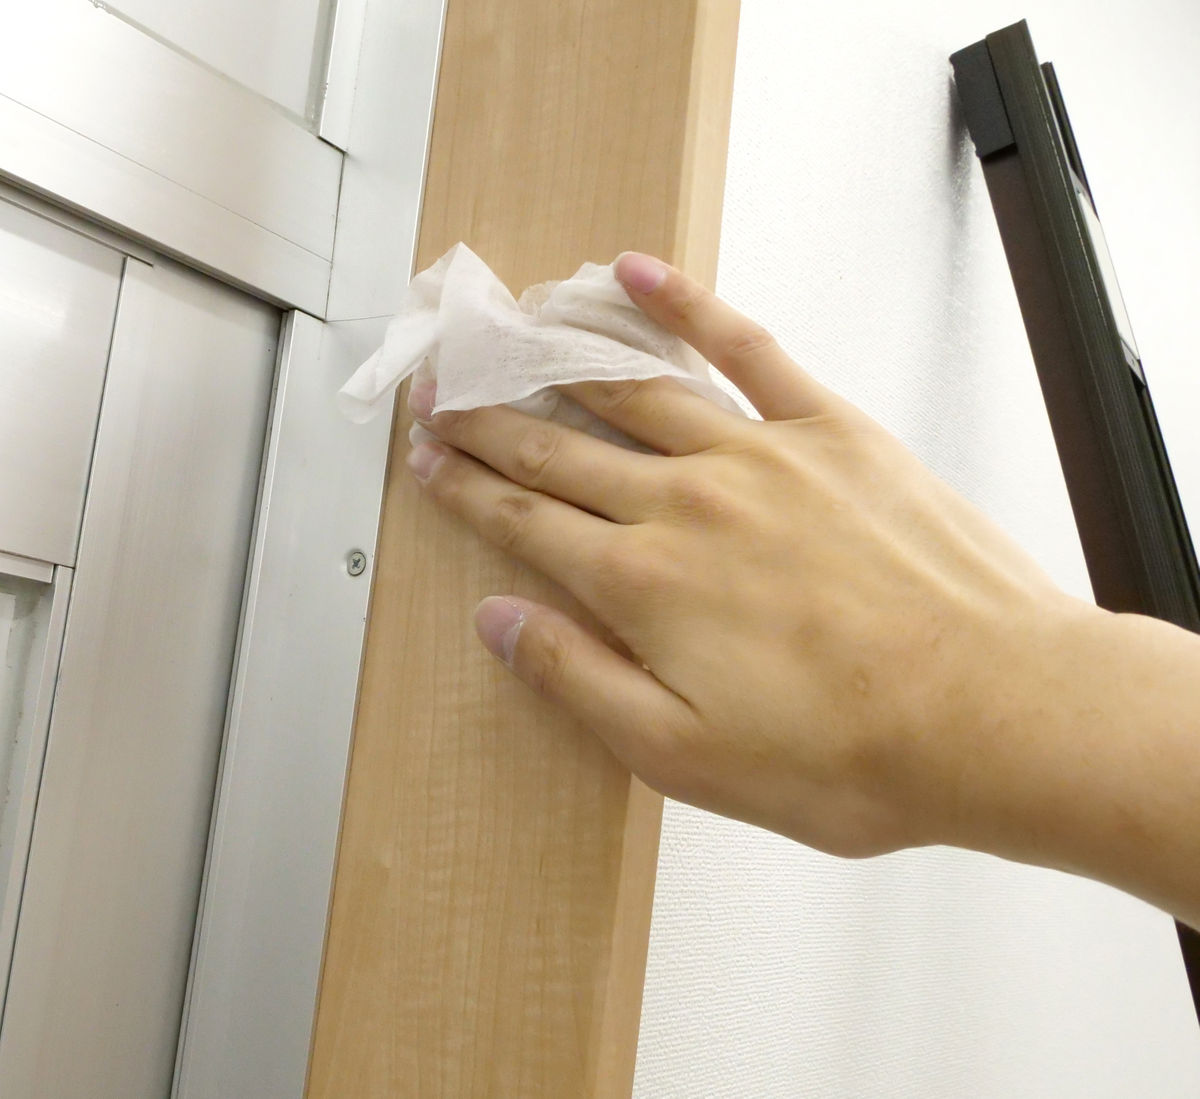
Then glue it perfectly according to the mark.

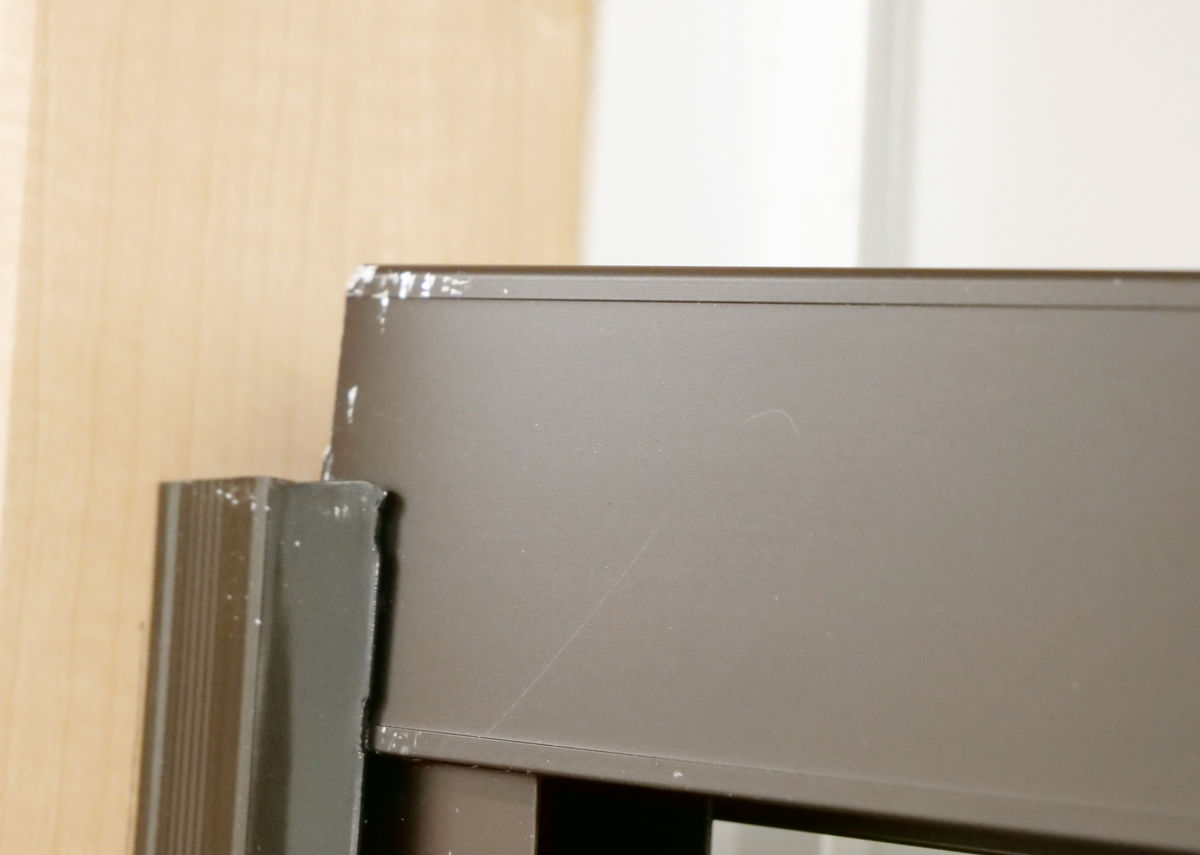
Glue both pieces together and the vertical frame is now complete.
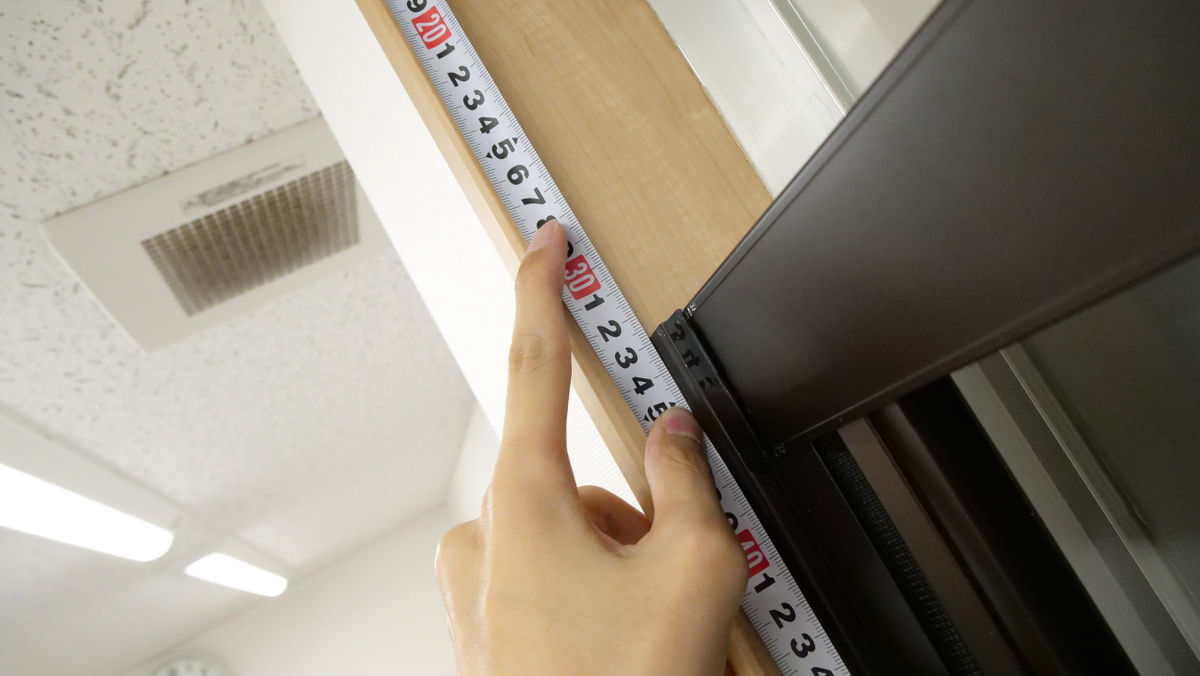
Next, we will install the horizontal frame, but this is the most difficult part of the work. We will use a hacksaw to cut the frame. This is because the frame is made long, about 90 cm long, and is made on the premise that it will be 'cut' to fit the width of the door of each household. By the way, the door of the GIGAZINE editorial department was about 85 cm wide, so it was necessary to cut it by more than 5 cm.
The instruction manual will tell you exactly where to measure the length, so use a tape measure to determine the exact length. There is an upper and lower frame, but you need to be careful because the lengths you cut are different.
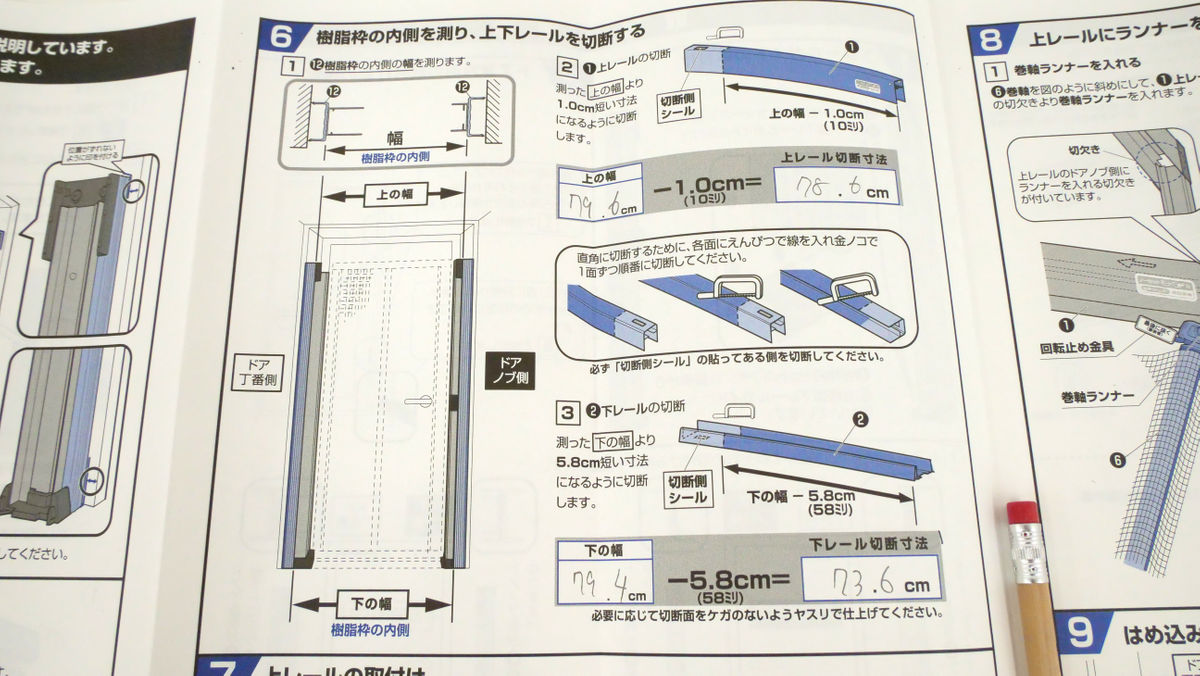
Once you know the length, mark the frame so you know where to cut.

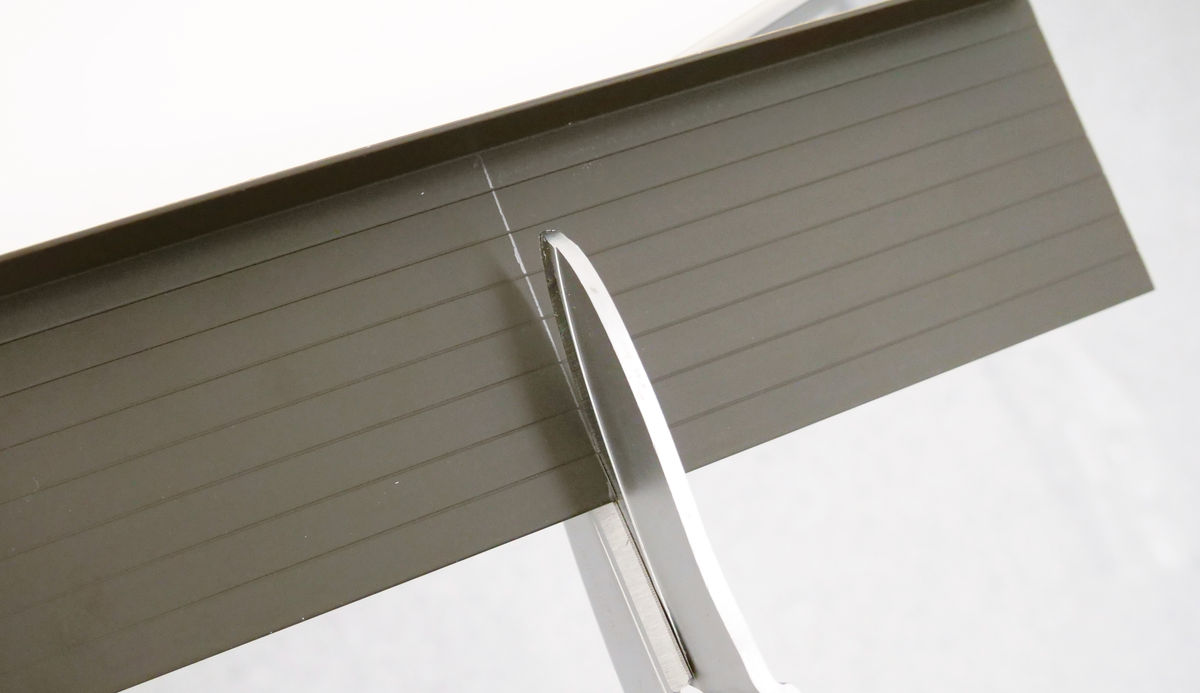
Then, cut it with a hacksaw. The frame is quite sturdy and it is unlikely that you can cut it with scissors, so you will definitely need a saw or a similar tool.
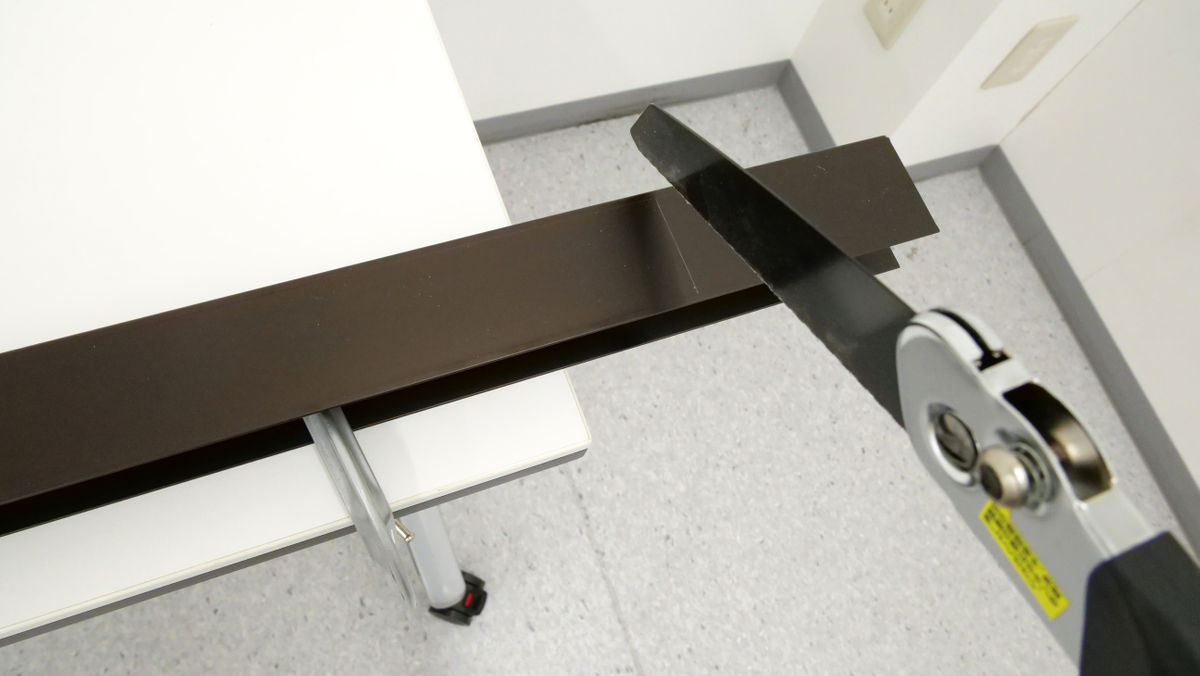
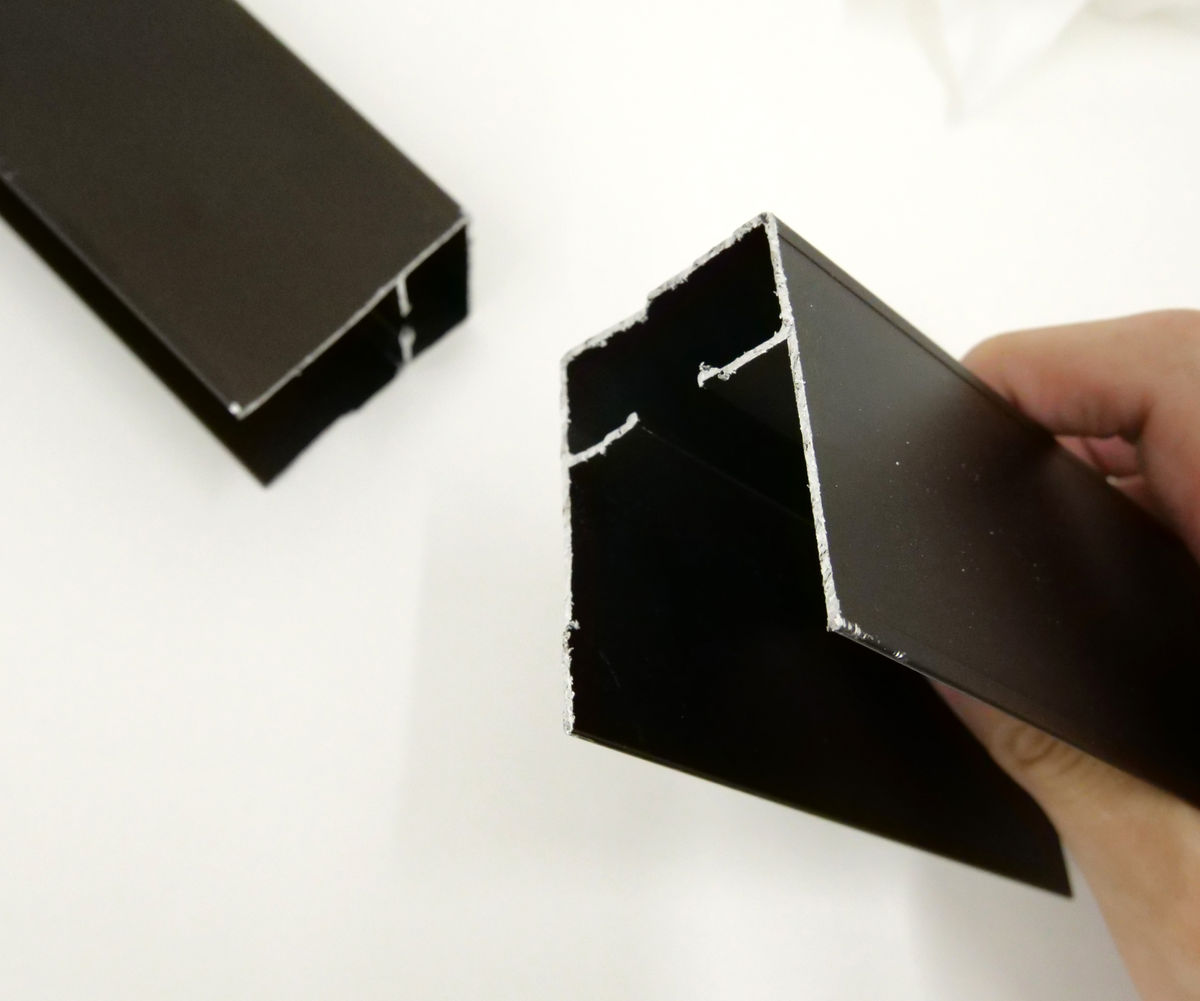
After about 10 minutes of chopping, I was able to separate it into two pieces. Here's what the cut surface looks like.
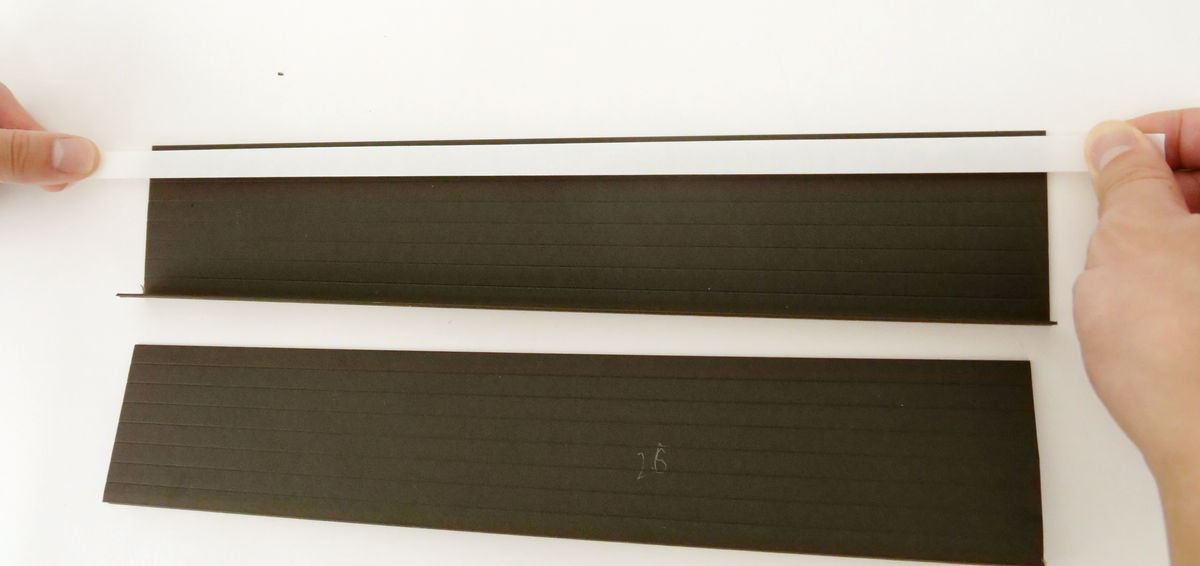
Cut the bottom frame in the same way.
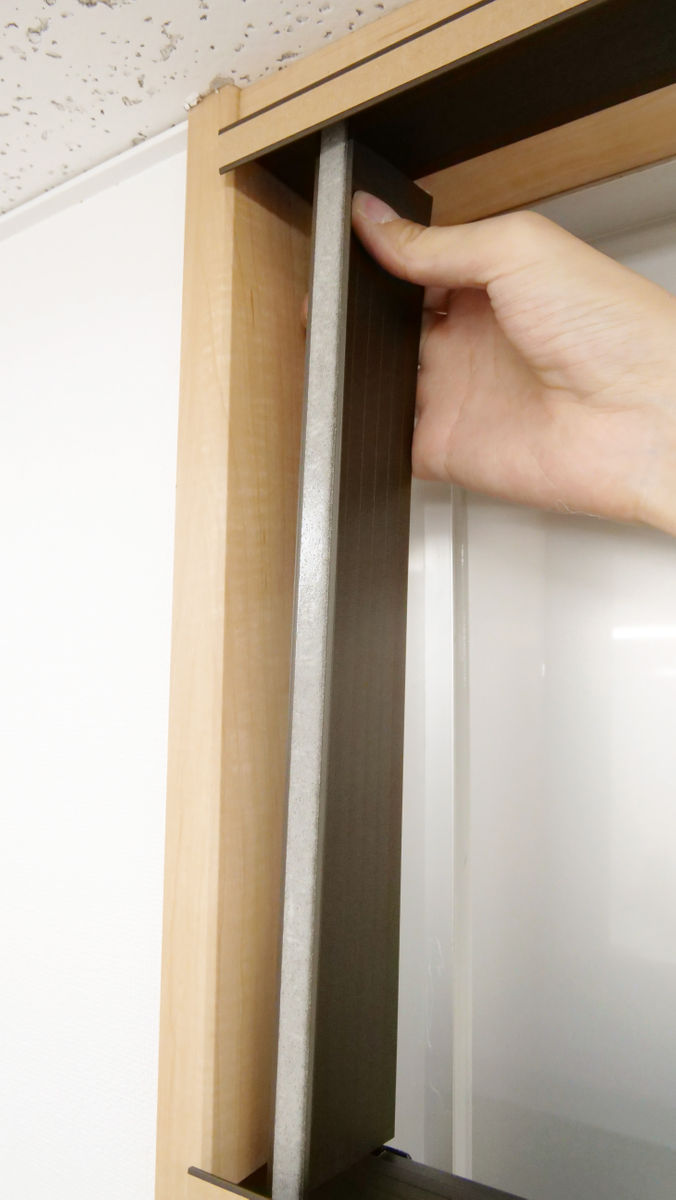
Next, we will attach the upper frame. The end of the frame that was not cut off...
Fit it into the vertical frame you installed earlier.

Attach the other side by sliding it from the top ...
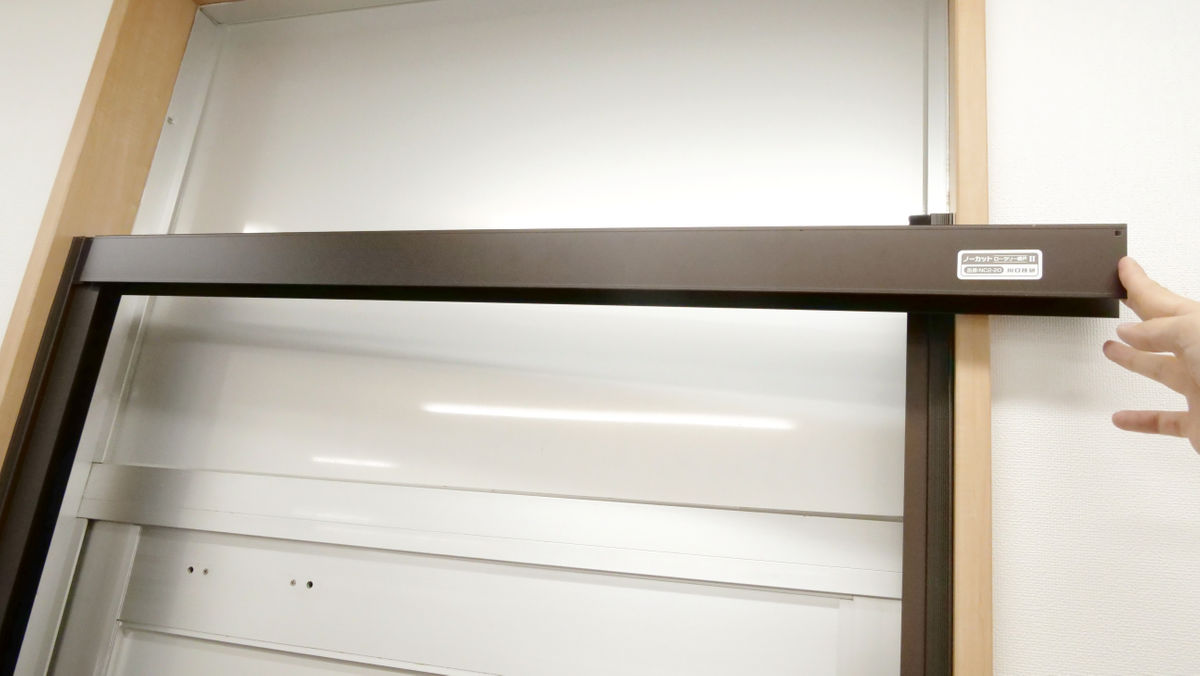
The top frame is completed.

Before attaching the bottom frame, the reel with the net attached to the end is attached. The top of the reel has a protrusion called the 'reel runner.'
Fit this into the rail on the upper frame ...
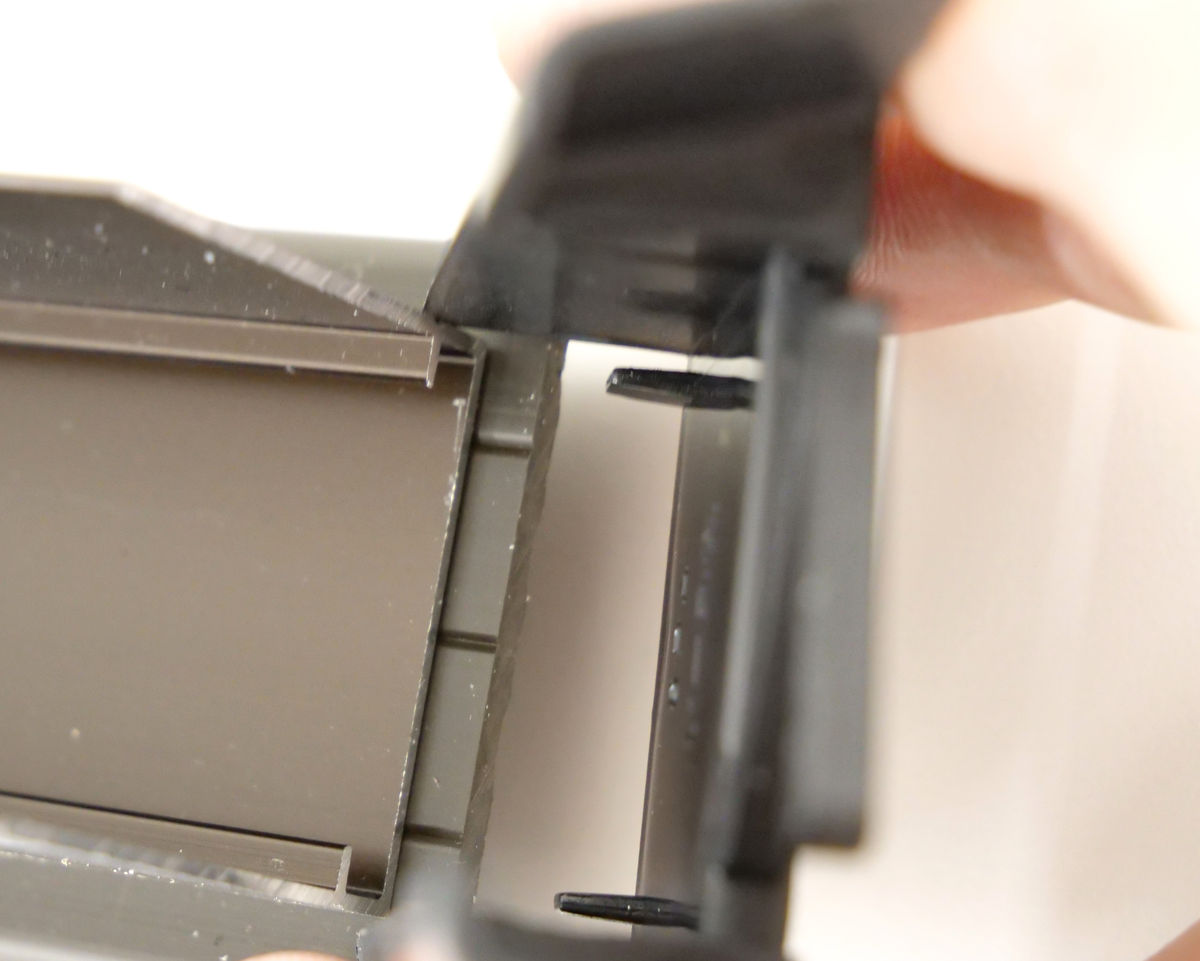
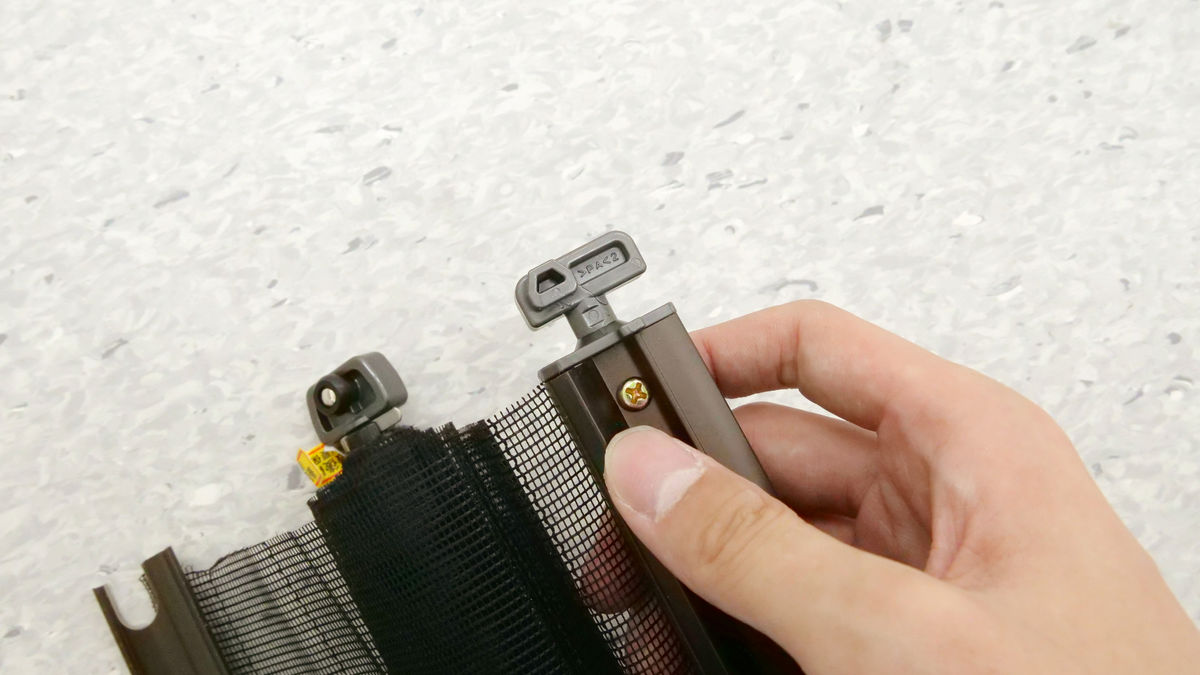
Slide the reel. Once you have fitted the reel, fit the doorknob side shaft in as well.
This completes the installation of the winding shaft in the middle of the screen and the shaft on the doorknob side. The left end is dangling.
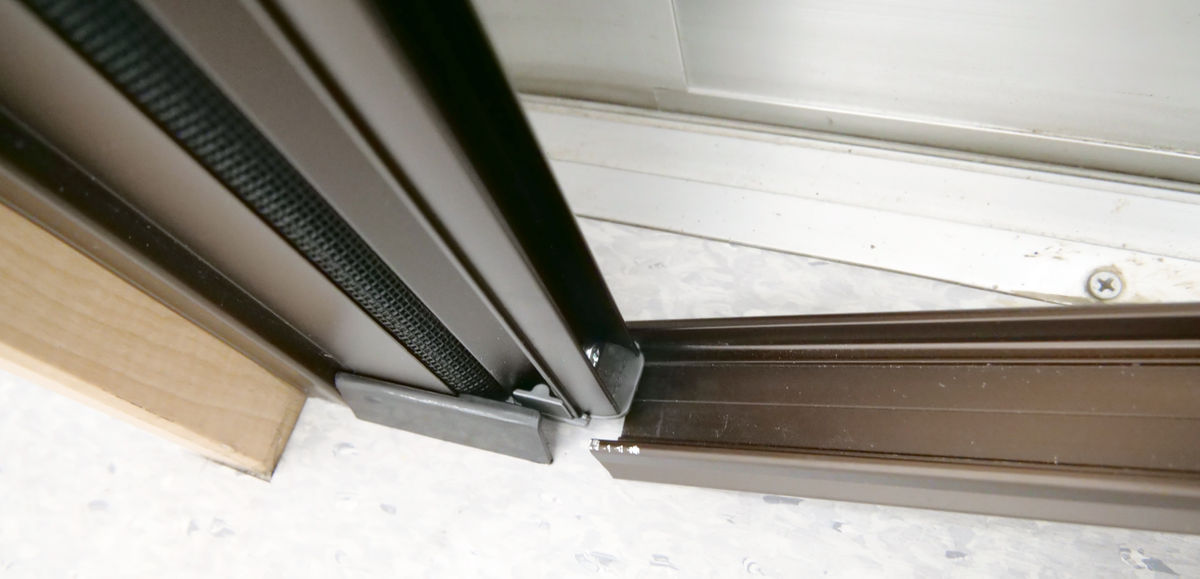
The frame on the left side does not have any protrusions, so you can just push it tightly into the frame to attach it.
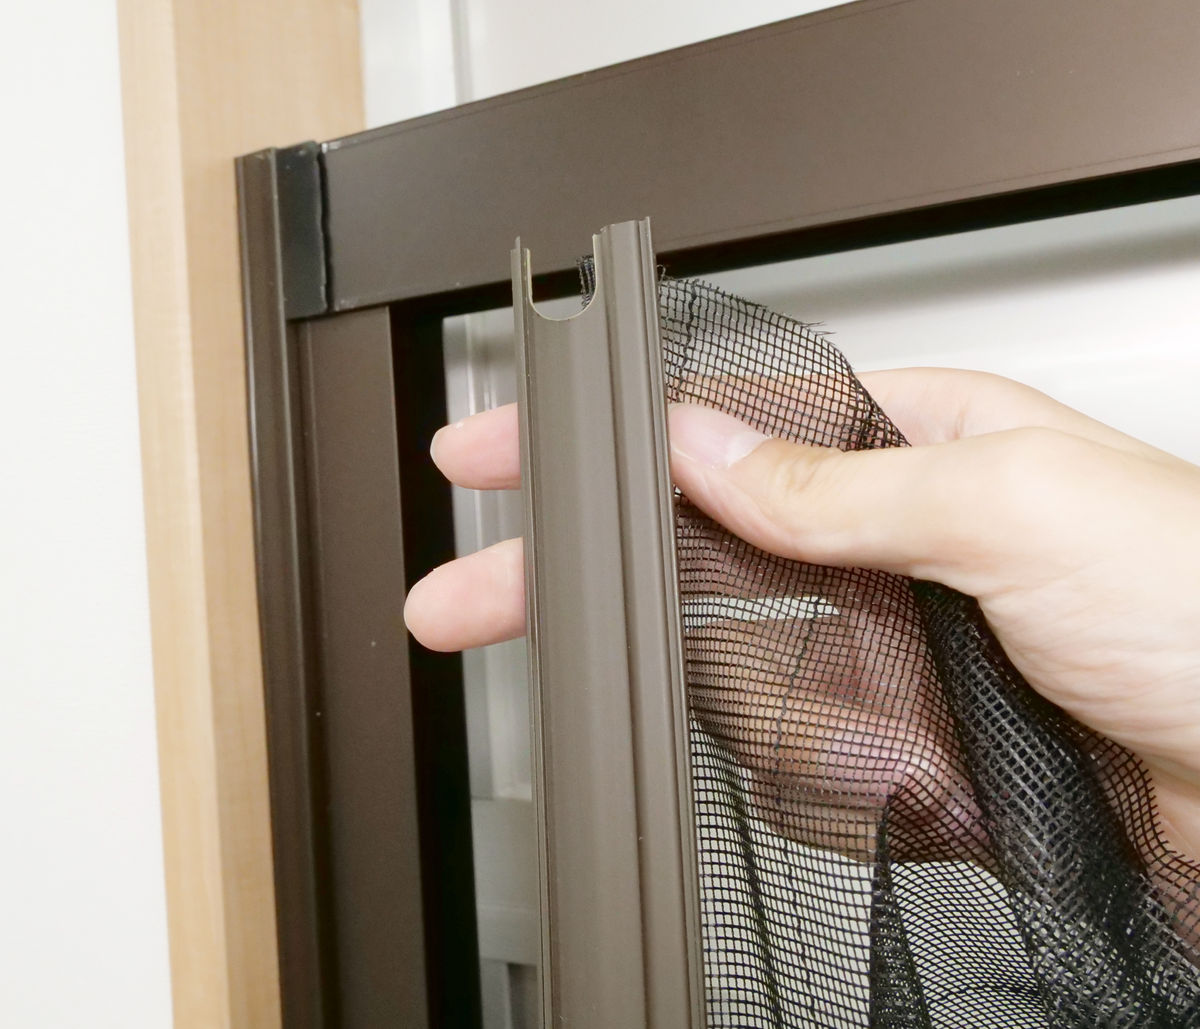
Press it evenly from top to bottom. When you press it all the way in, you will hear a 'click.'
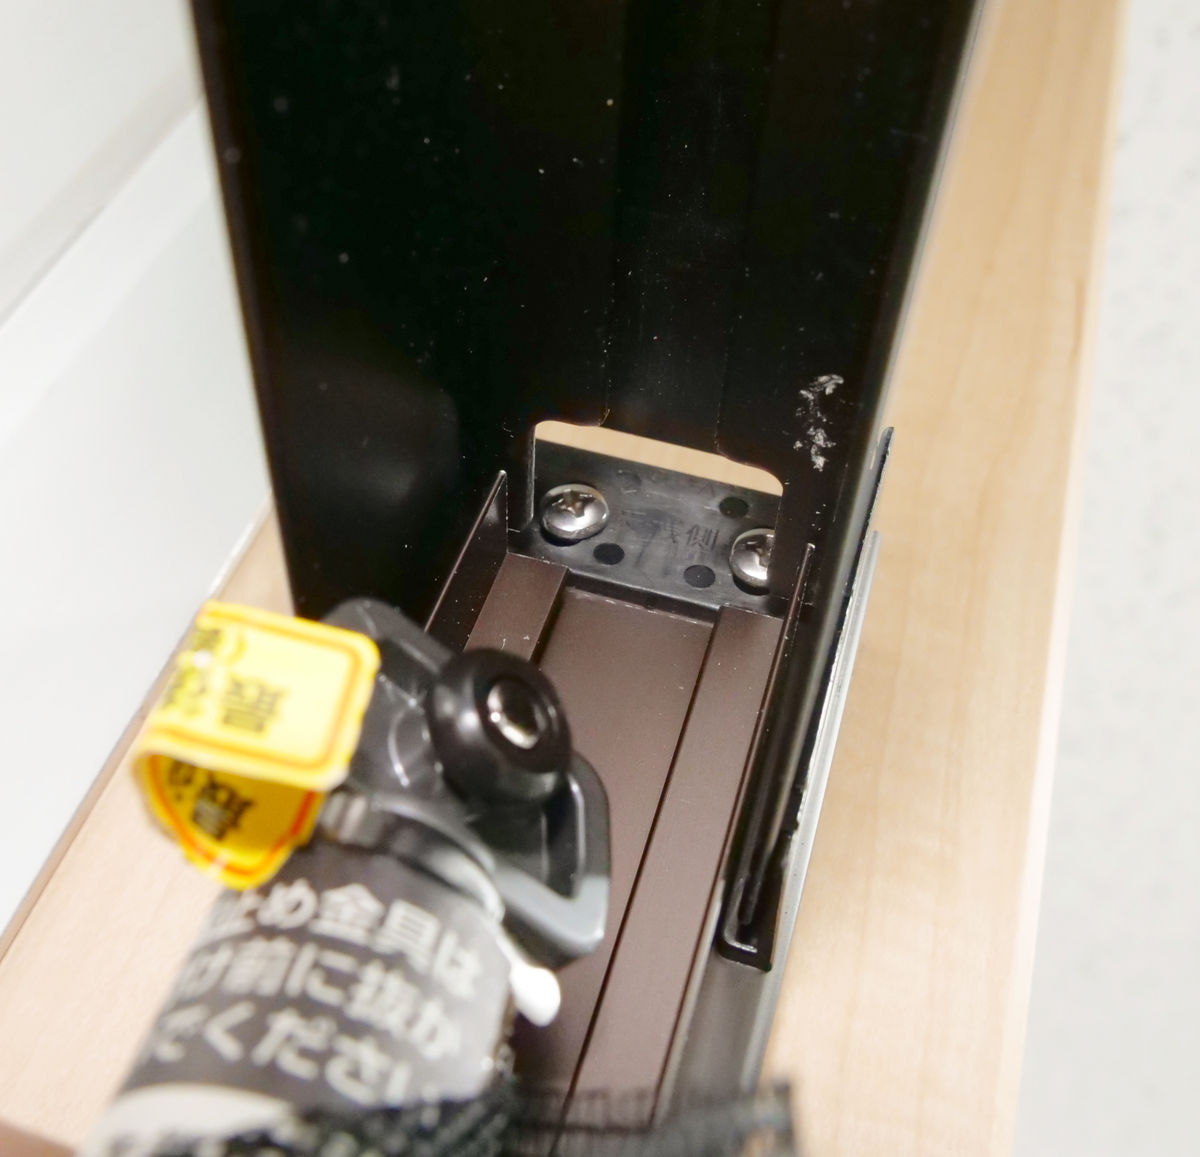
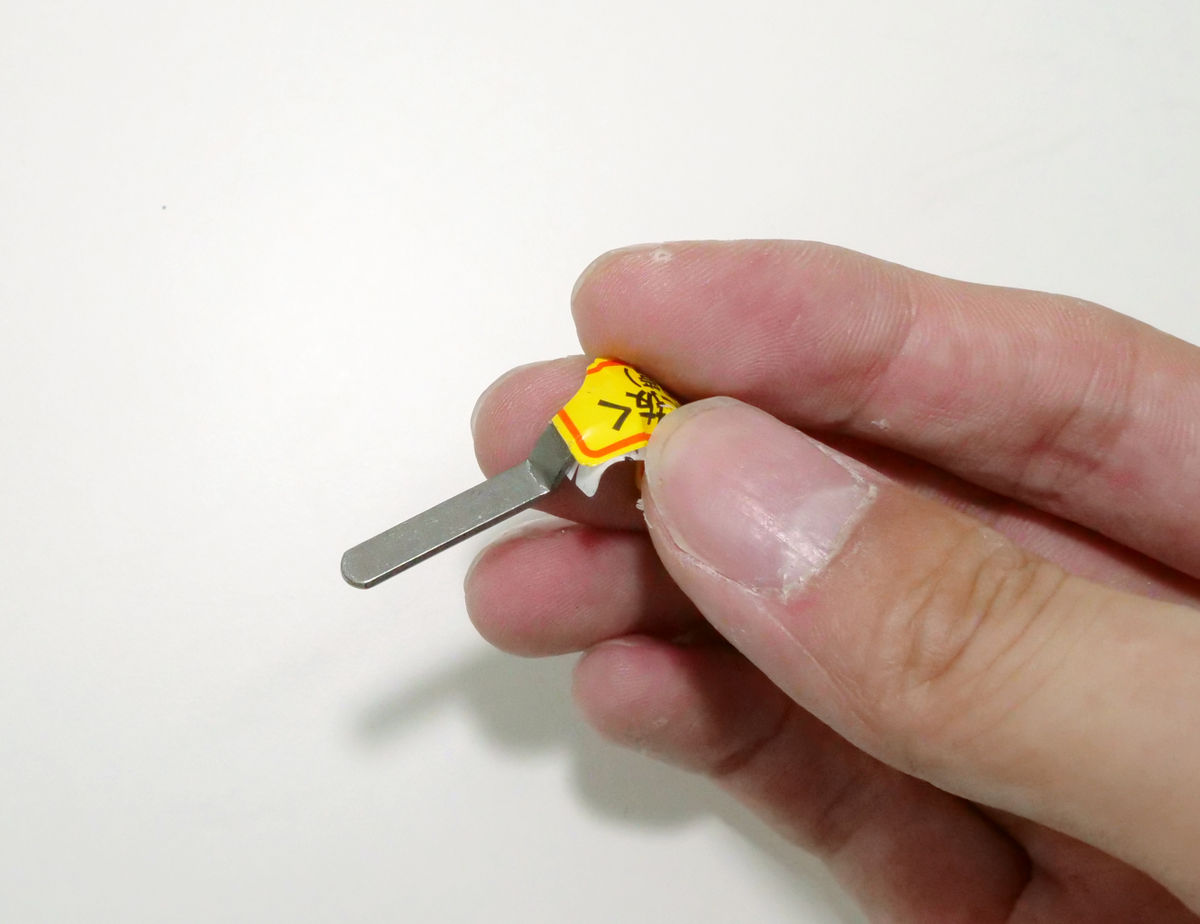
Finally, pull out the anti-rotation bracket attached to the reel...
The net is wound around the reel and is now taut on both sides.
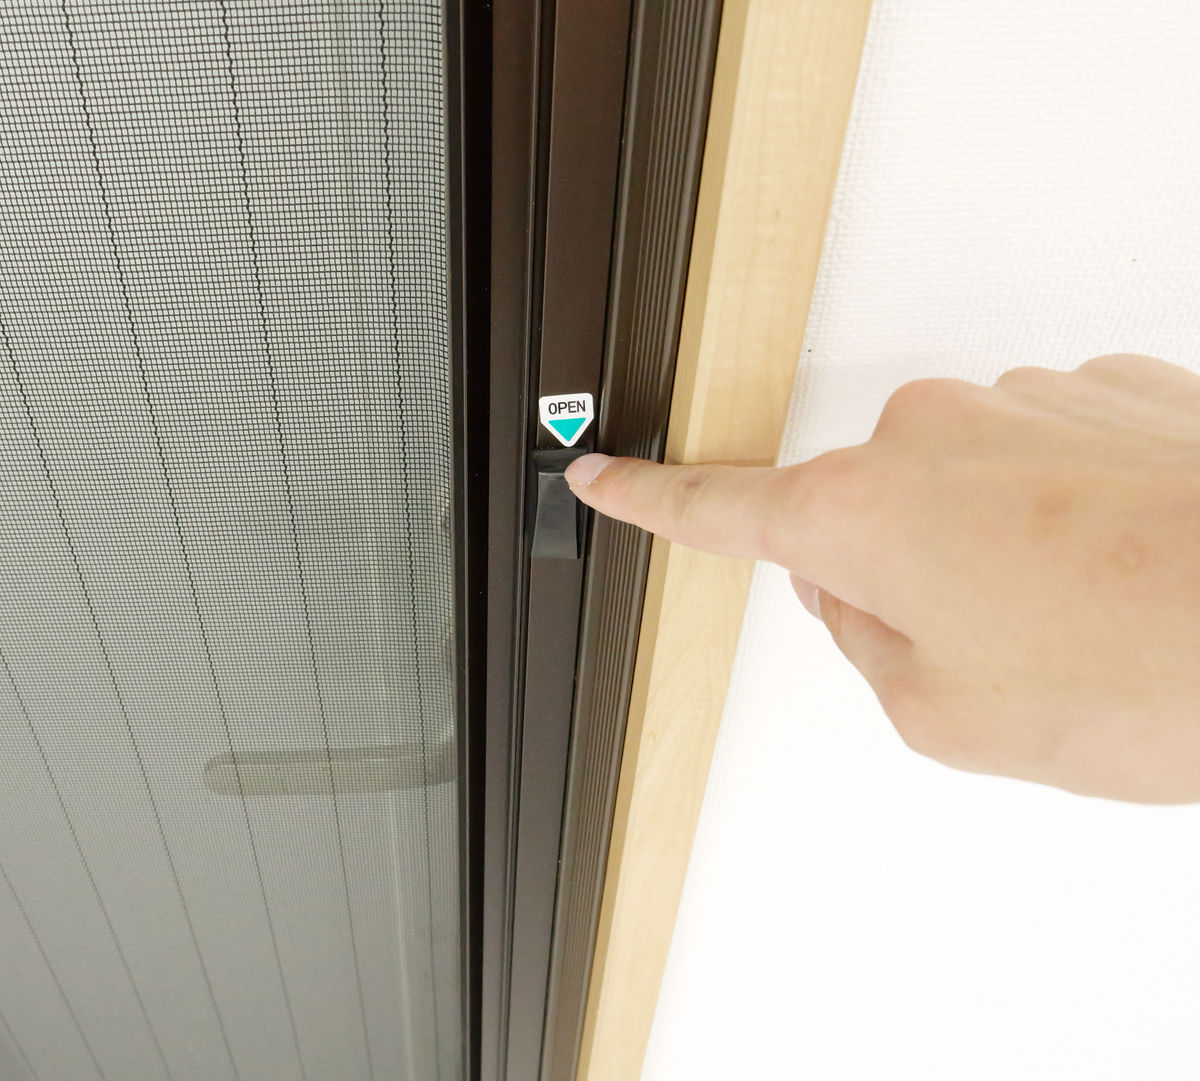
Push down the lever where it says 'OPEN' to open the screen door.
With the screen door open, attach the bottom frame and you're done.
You can see how the No-Cut Rotary Screen Door II opens and closes in the video below. When closing the screen door, you need to move it by hand, but when opening it, you just need to press the lever.
The installation of the roll-up screen is now complete. Next, we move on to filling in the gap above the screen.
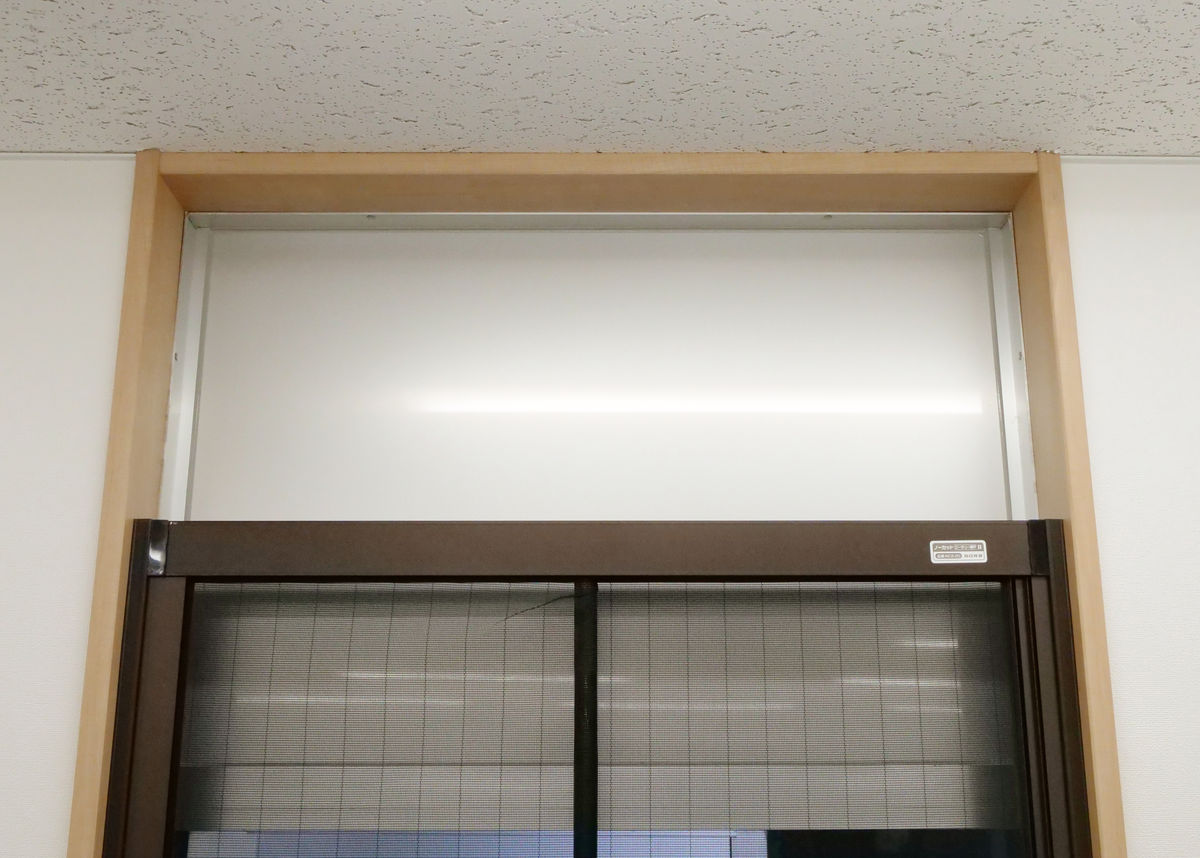
First, measure the height and width of the gap.
Next, cut the height adjustment material to fit the length of the mounting part. The height adjustment material was made of resin and was thin, so I used large scissors to cut it this time.
Then, attach double-sided tape to the back of the height adjustment material ...
Attach the height adjustment material vertically and horizontally.
Next, take out the auxiliary net ...
Attach the height adjustment material with double-sided tape so that it covers the gap.

Cut off any excess netting with a utility knife.
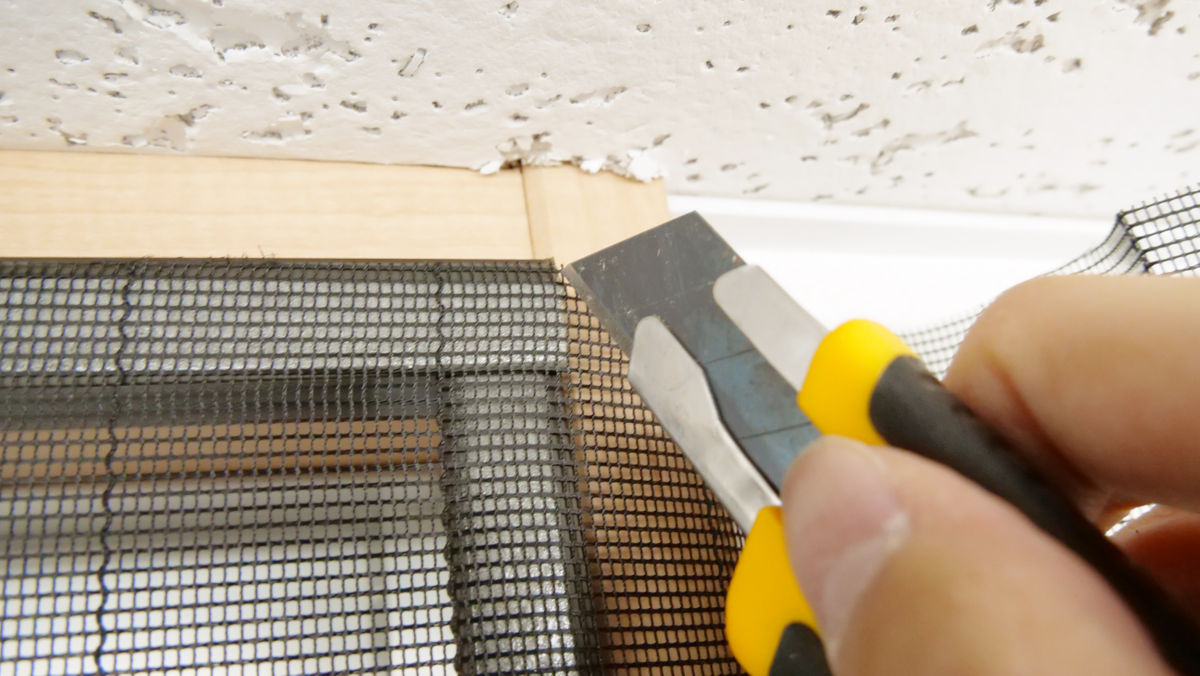
Finally, cut the cover that holds the net to the appropriate length ...

Just stick it on top of the net and it's complete.
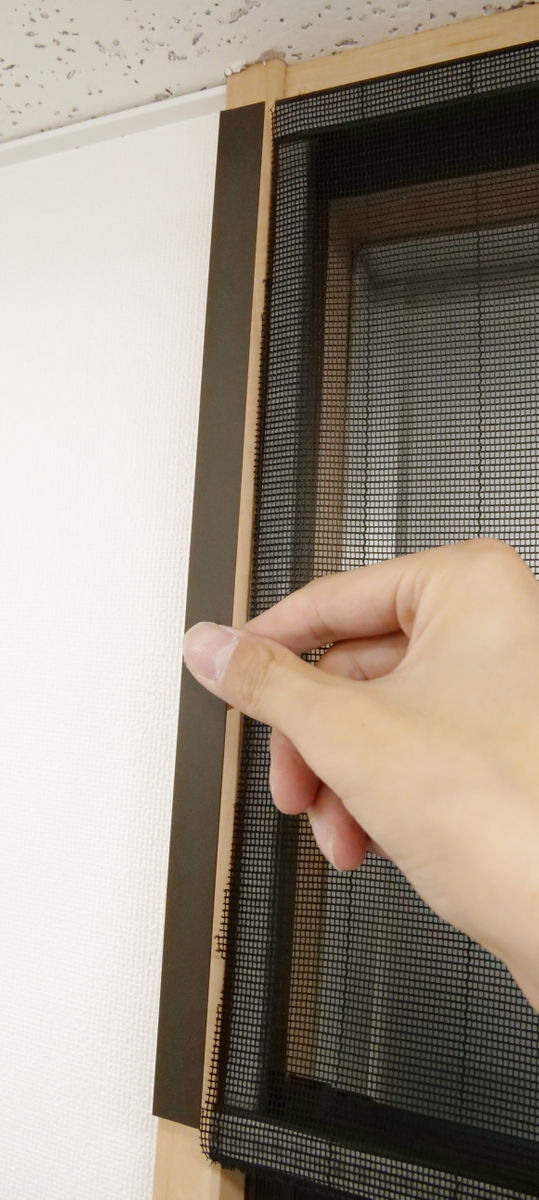
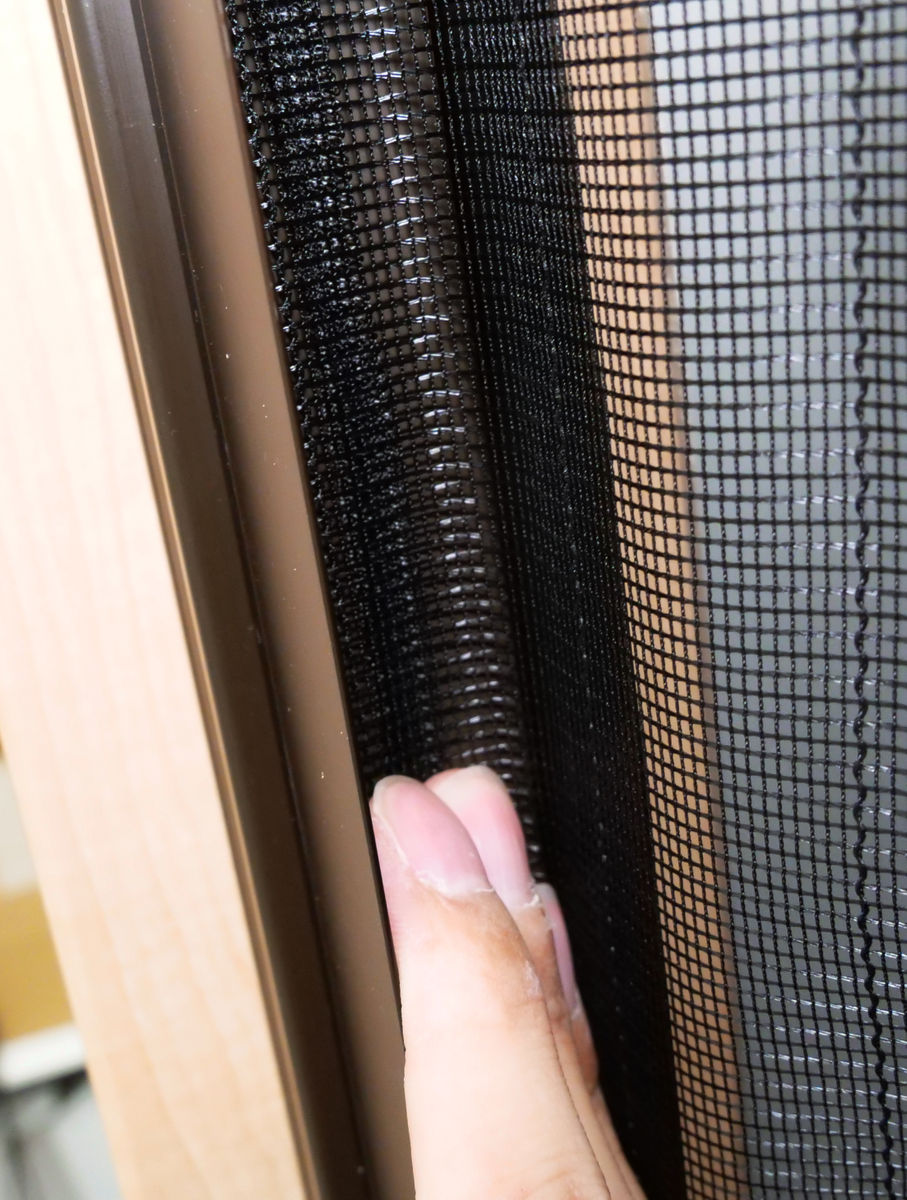
After attaching the height adjustment material, it looks like this, with all the gaps covered with mesh.

This is what it looks like from an oblique side view.
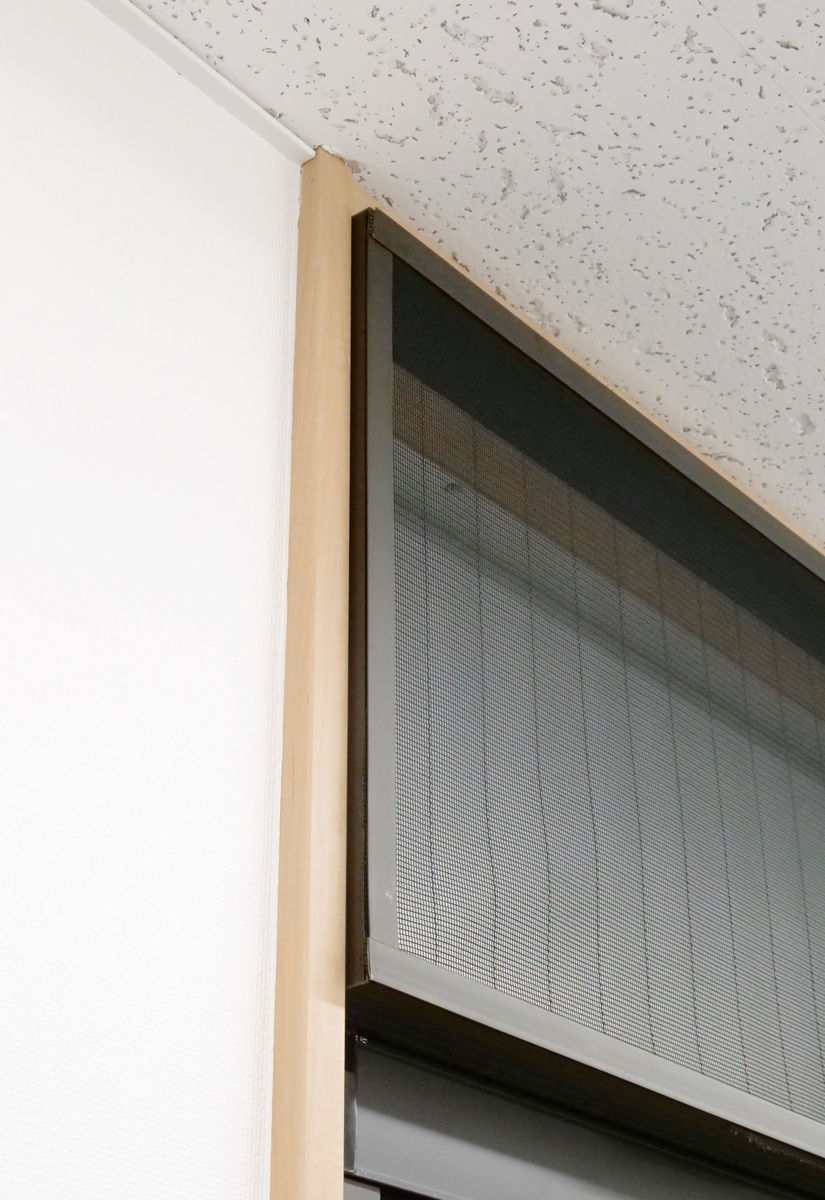
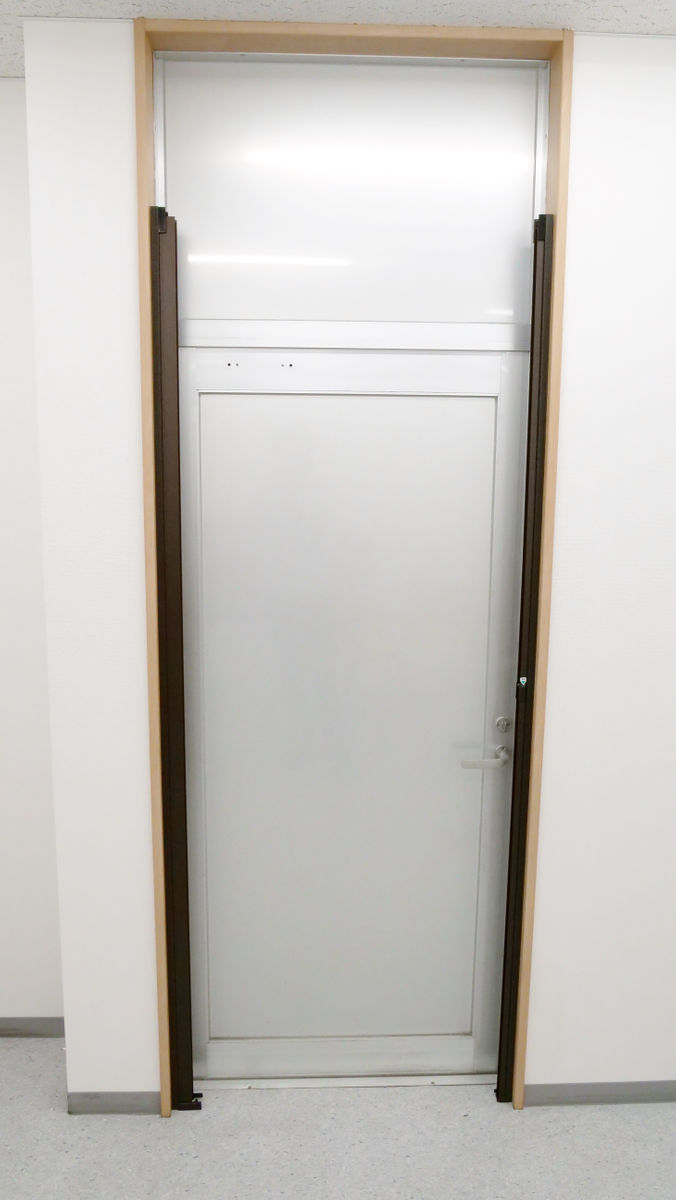
And here is what the whole picture looks like after installing the No-Cut Rotary Screen Door II. Now, even if I open the door, no insects come in.
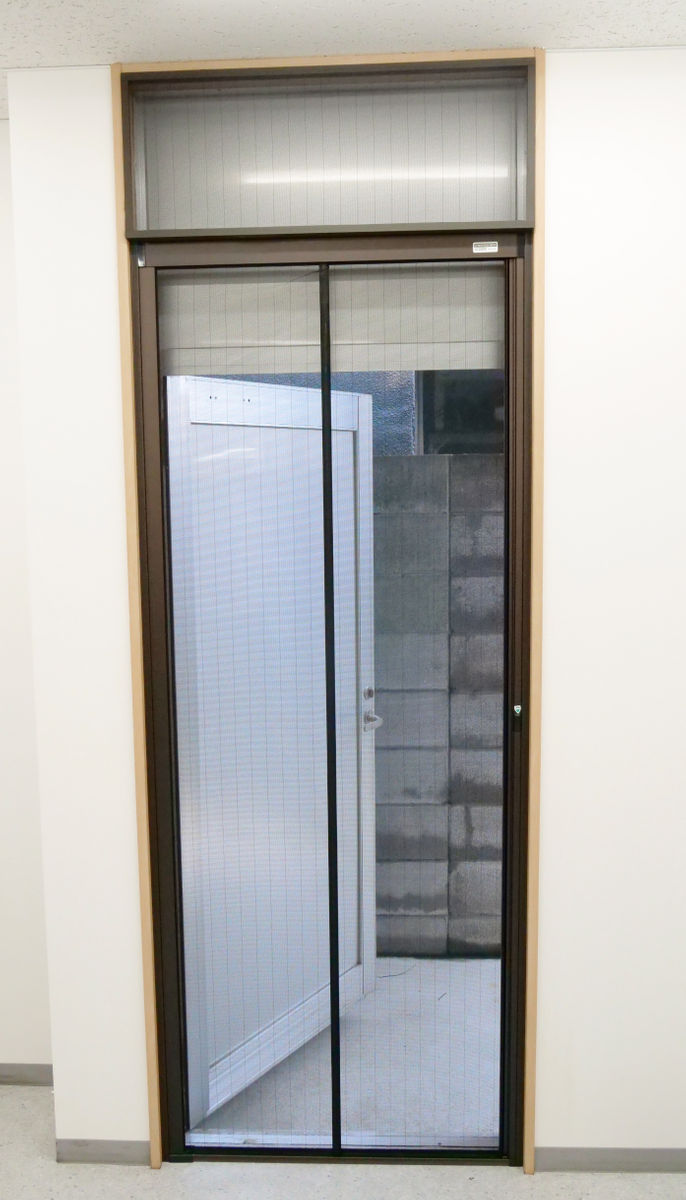
I was able to do everything from unpacking to installation by myself, and it took about 3 hours in total while taking photos. Before installation, I thought that cutting with a hacksaw would be a little difficult, but the actual work was simple, so even an amateur could install it neatly.
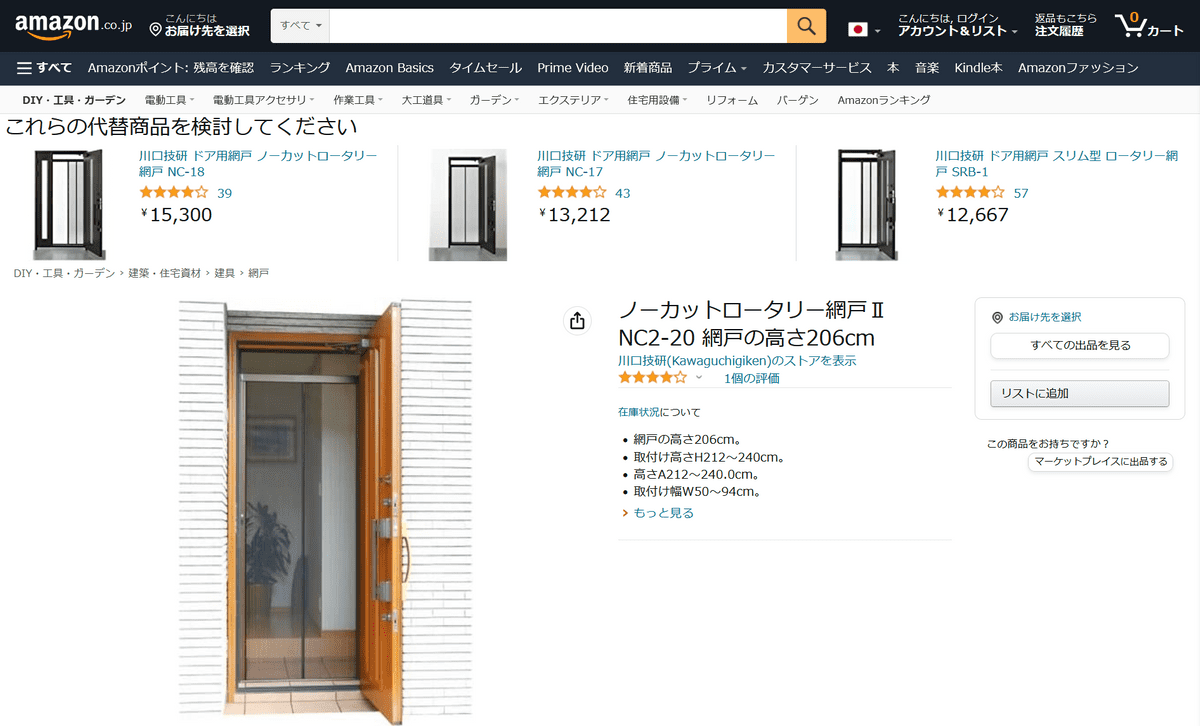
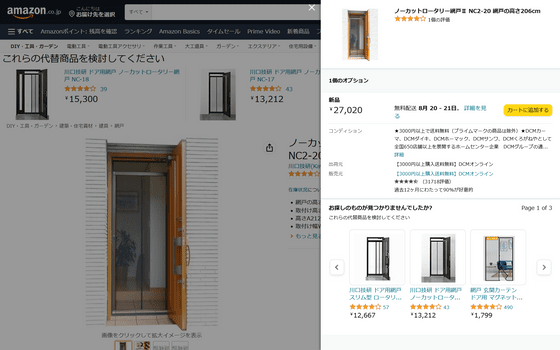
The model I purchased this time was the No-Cut Rotary Screen II 'NC2-20', which is sold at Amazon.co.jp for 27,020 yen including tax. The No-Cut Rotary Screen II was a type that was attached with double-sided tape, but there are also other types of '
Amazon | Uncut Rotary Screen II NC2-20 Screen Height 206cm | Screen
Related Posts: