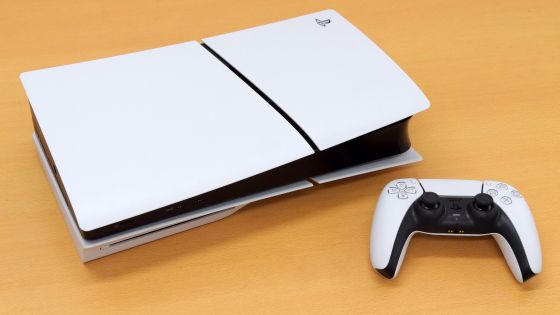
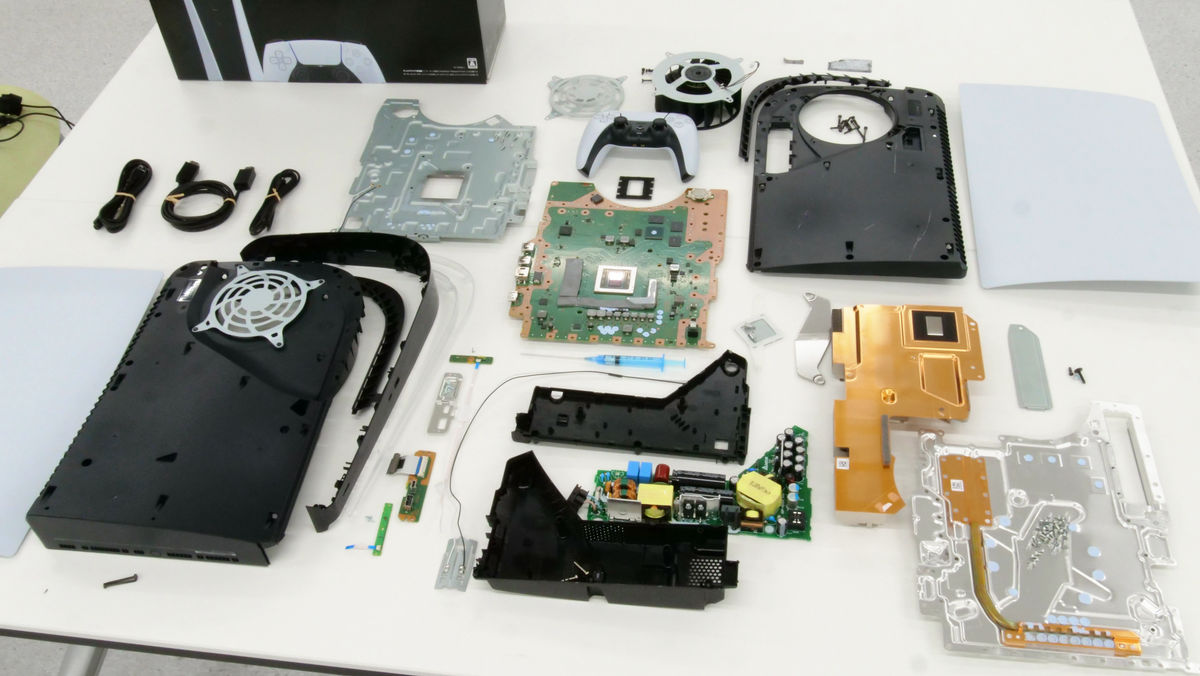
I disassembled the PlayStation 5 (PS5) to find out the secret behind its explosive speed

The
PlayStation®5 | Play Has No Limits | PlayStation
https://www.playstation.com/ja-jp/ps5/
For models equipped with a Blu-ray drive, a disassembly video was released on the official PlayStation Japan YouTube channel before their release.
Official release of disassembled video of 'PlayStation 5 (PS5)' - GIGAZINE
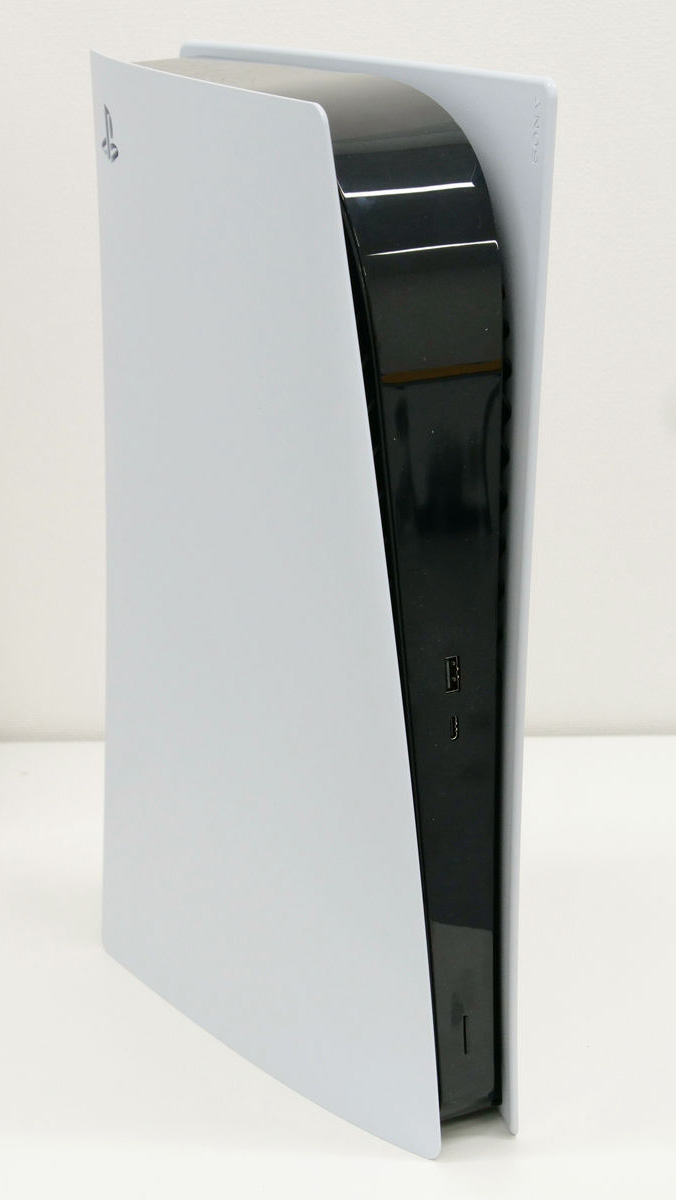
The model we will be disassembling this time is the 'PS5 Digital Edition,' which does not have a Blu-ray drive.
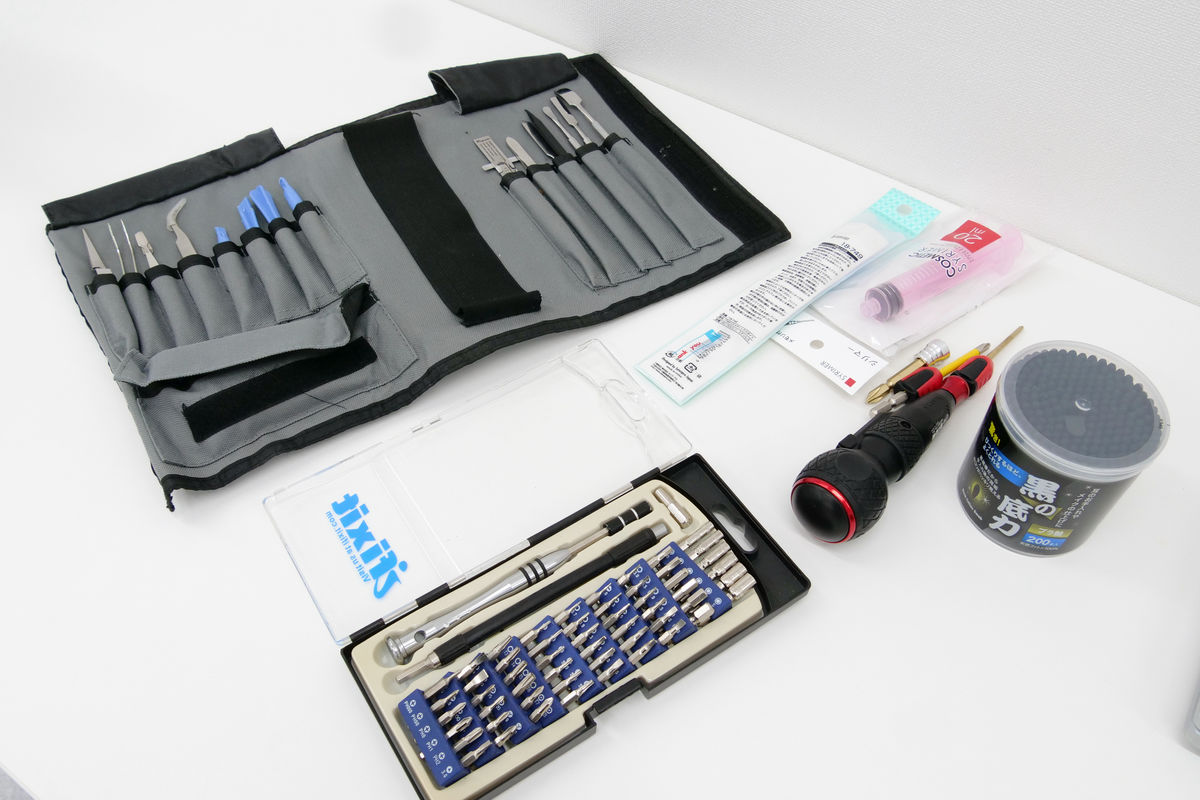
To disassemble the device, we used
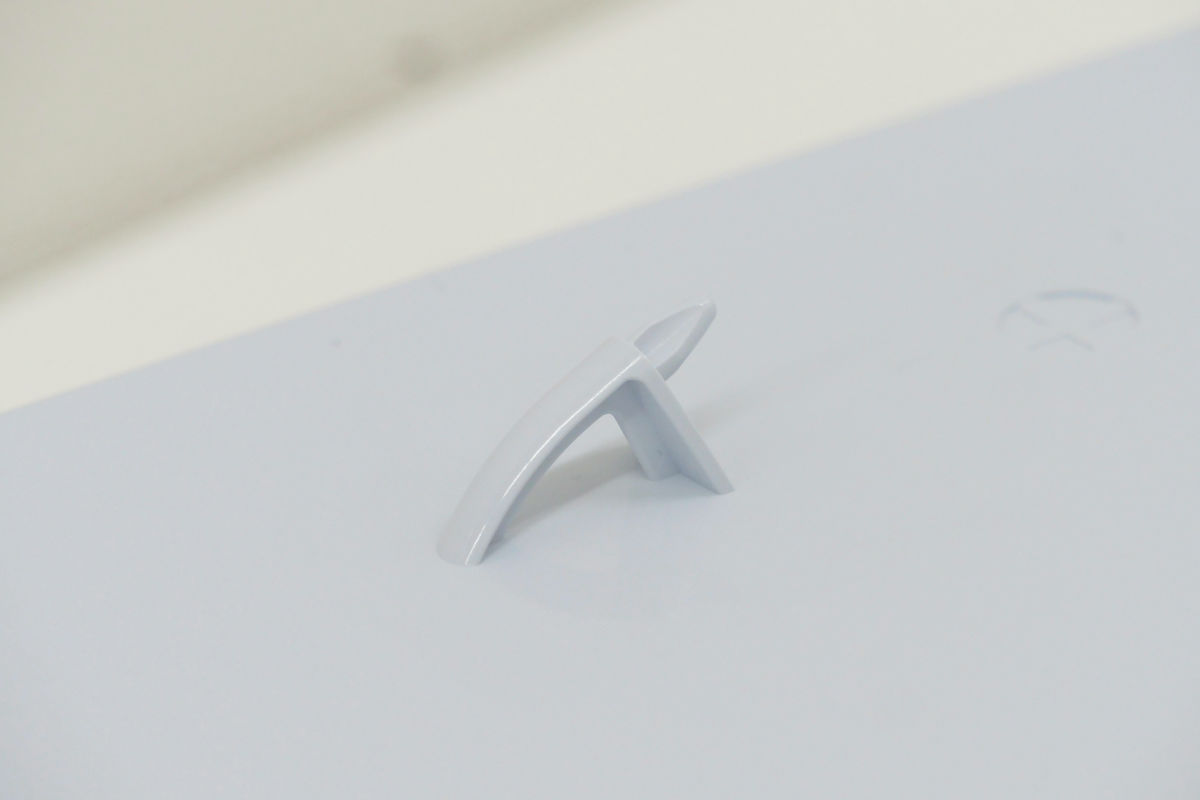
First, remove the white panel with the logo. Lift the logo part...
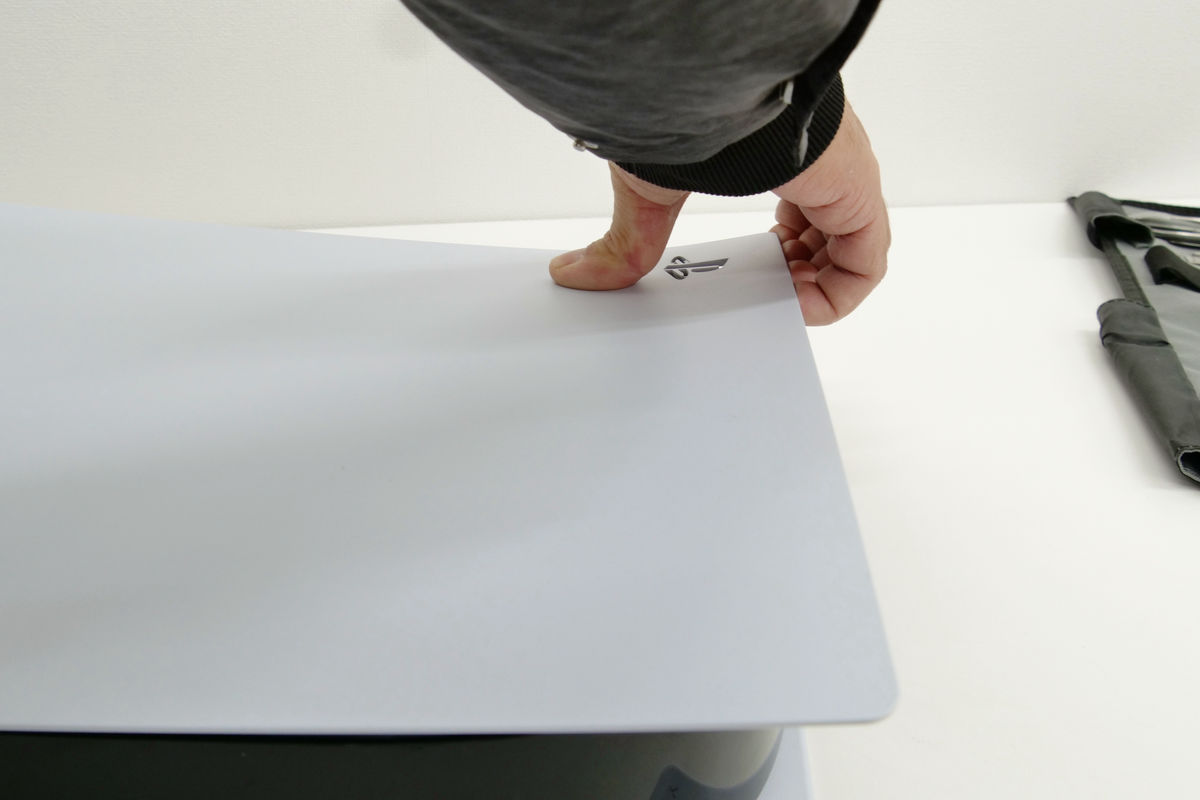
Simply slide the white panel towards the bottom of the PS5.
There is a round, inset protrusion in the PlayStation logo area, so you need to lift the logo and then slide the entire unit in.

The only other thing is the following tabs, so once you get used to it, it's easy to remove the white panel. However, the first time I tried it, I struggled because I didn't know how much force to use to lift the logo.
The part framed in red is a dust catcher that can be used to vacuum the dust inside the PS5. The dust catcher is only on the logo side, not on the other side.
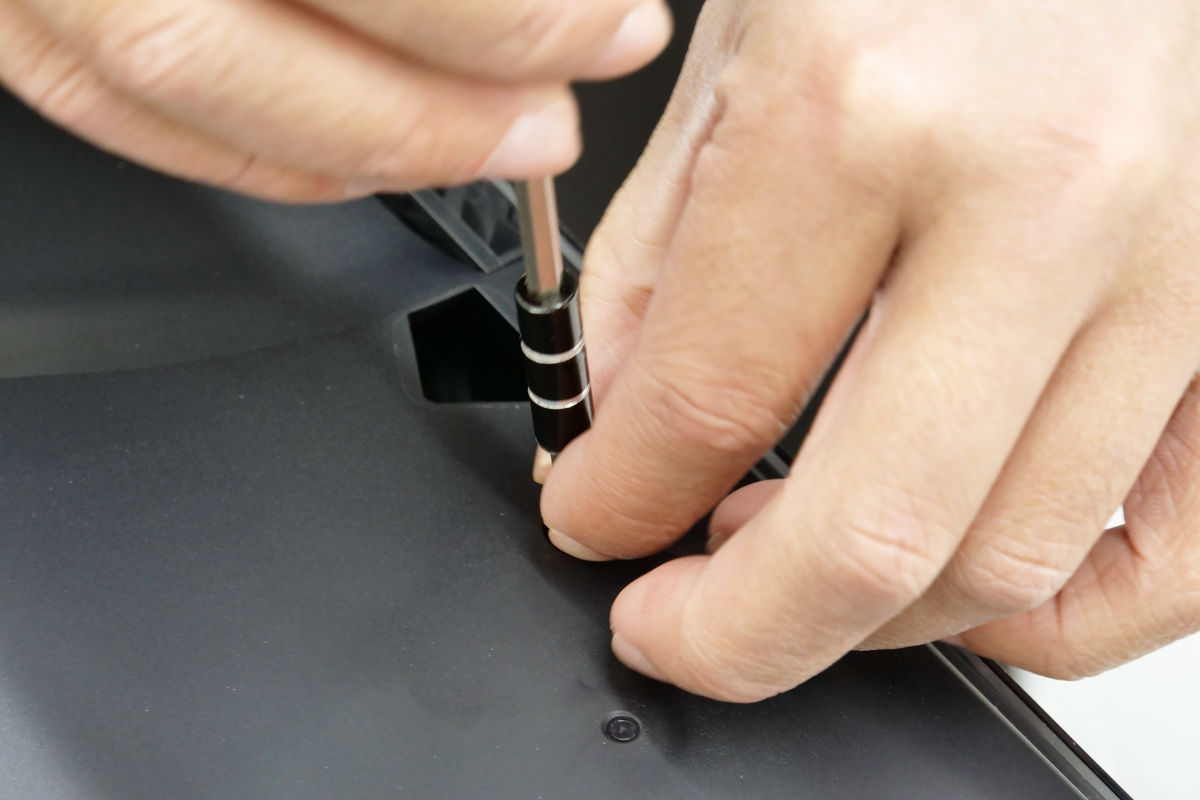
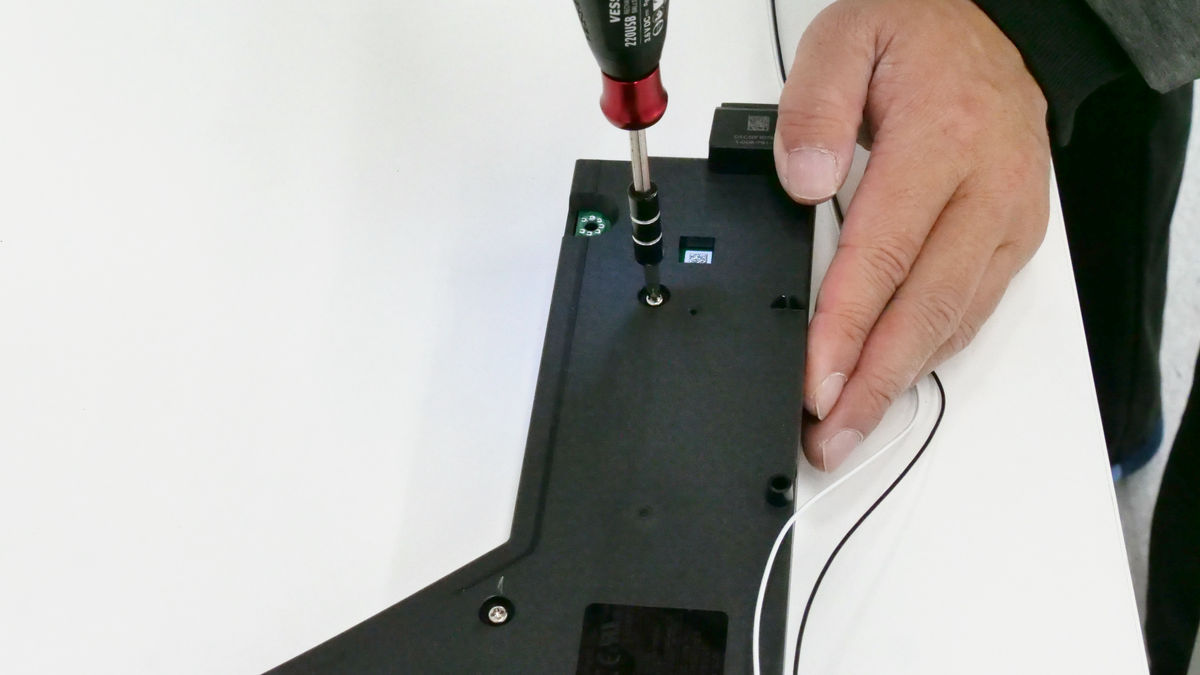
The black case under the white panel is secured with screws on both sides. The screw on the side with the PlayStation logo was removed using a T9 Torx wrench included in the iFixit repair kit. There are two screws.
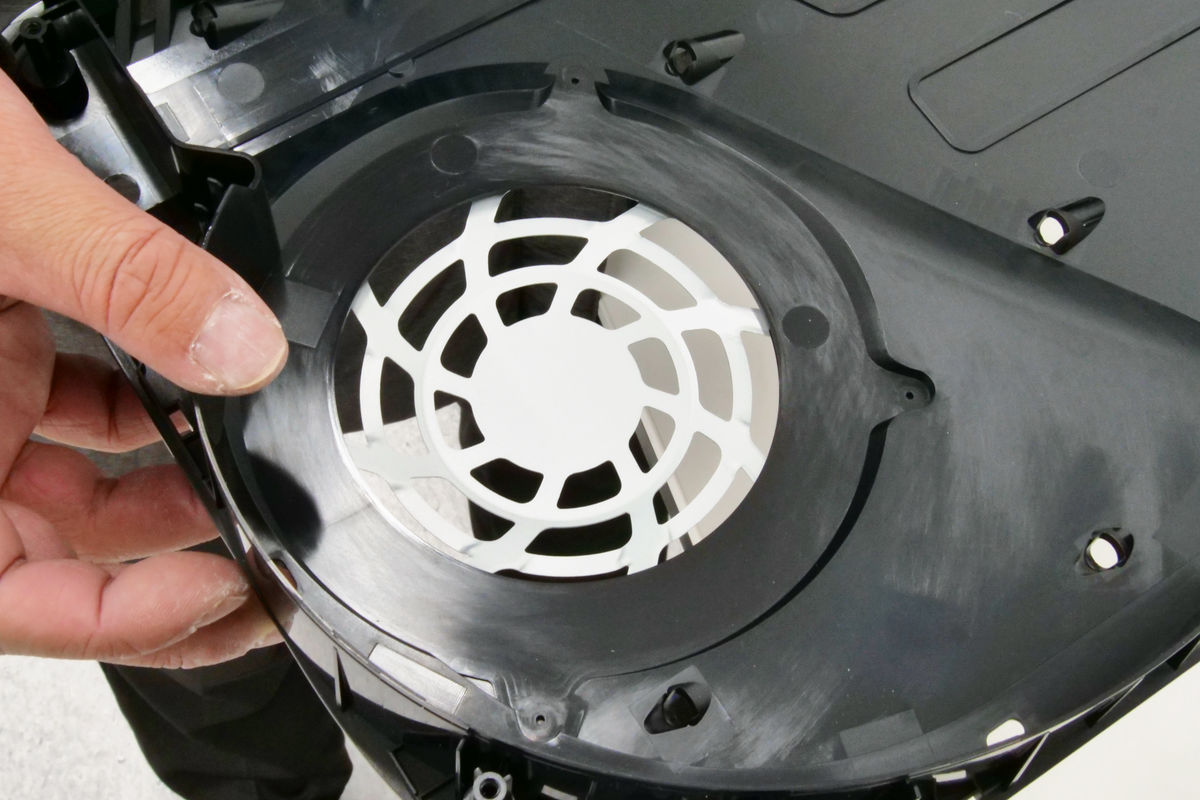
The PS5's fan is a double-sided intake type, with the fan exposed on both sides of the case. However, the fan cover on the side with the logo is riveted, making it impossible to disassemble from that side. The rivets appear to be made of plastic.
After disassembling everything, the fan cover looks like this from inside the case.
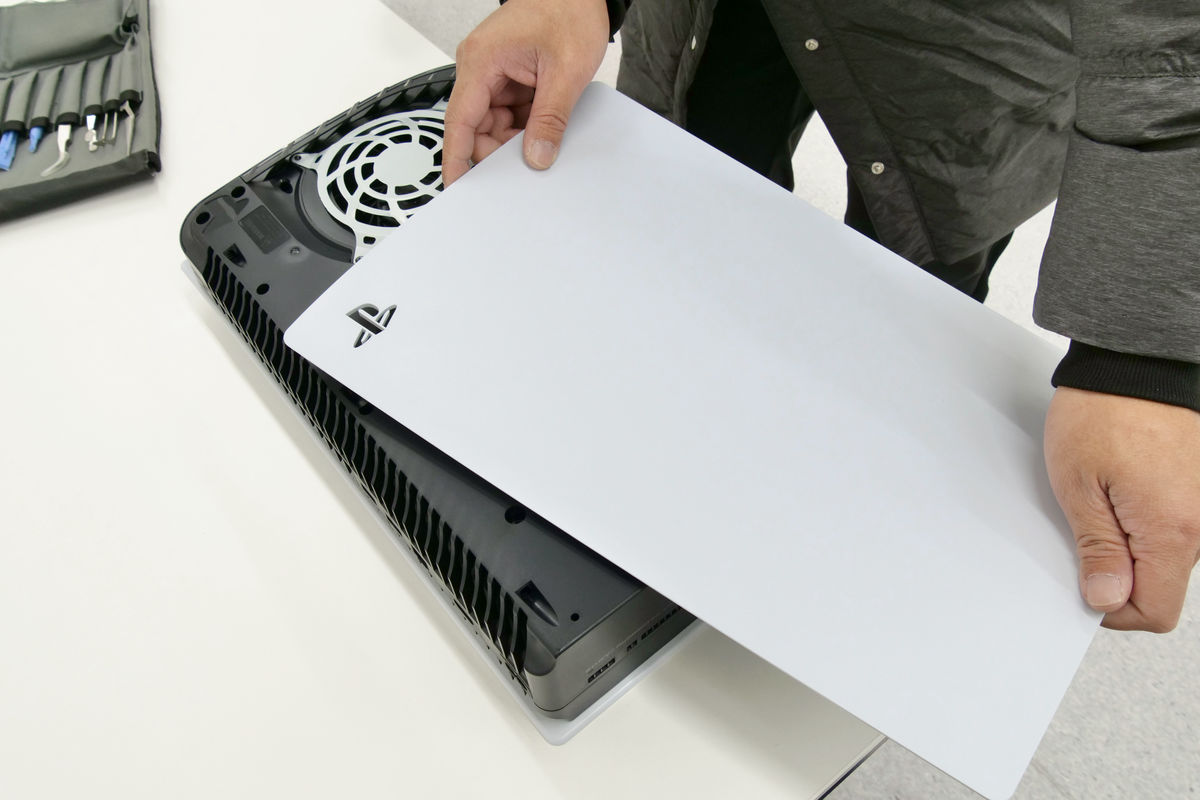
Next, I removed the white panel on the other side. The white panel without the logo is fastened with a snap-in mechanism at the top right, so you need to lift this and slide the panel toward the bottom.
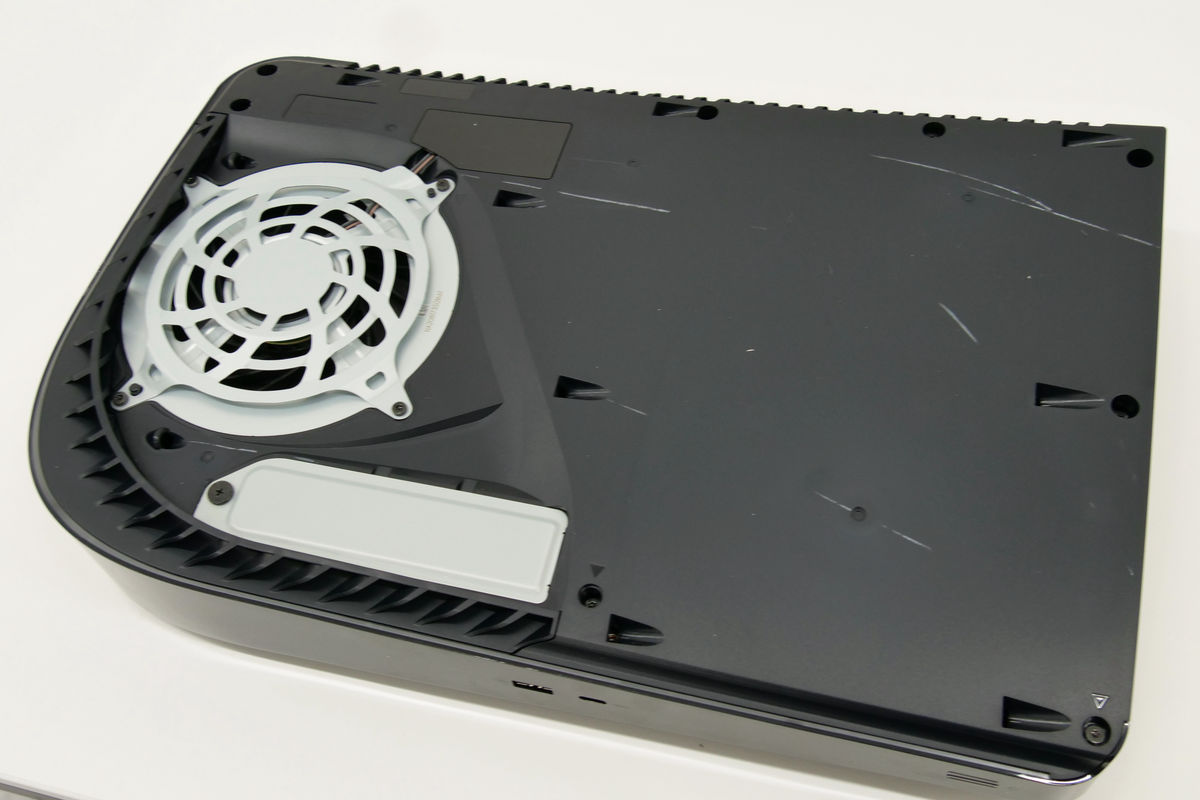
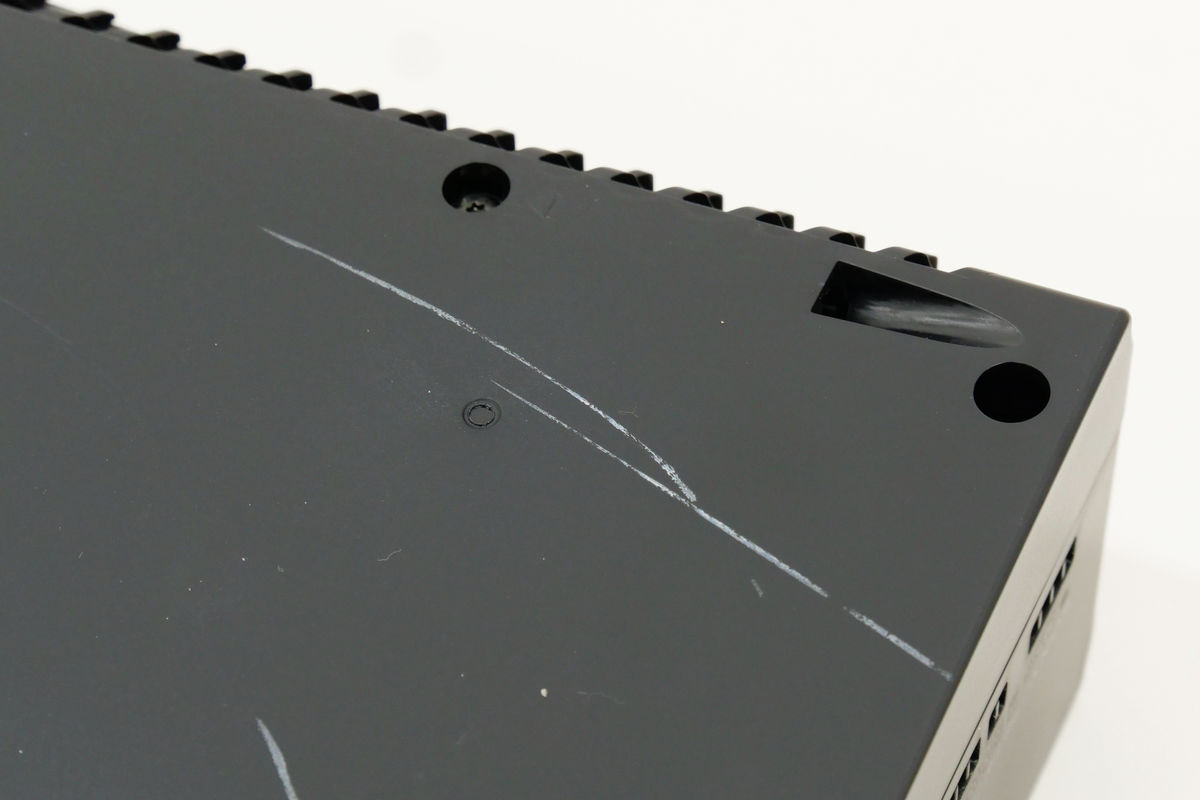
Please note that once the white panel is removed, white scratches will appear on the housing as shown below.
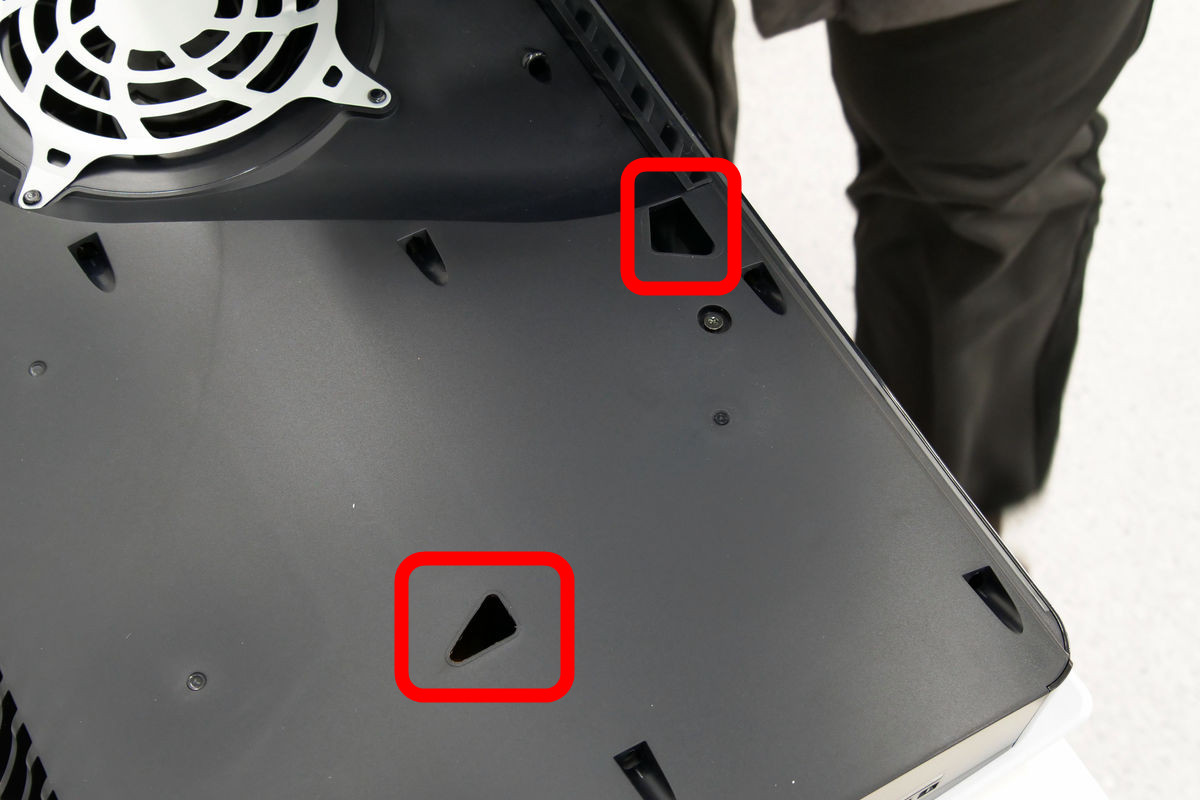
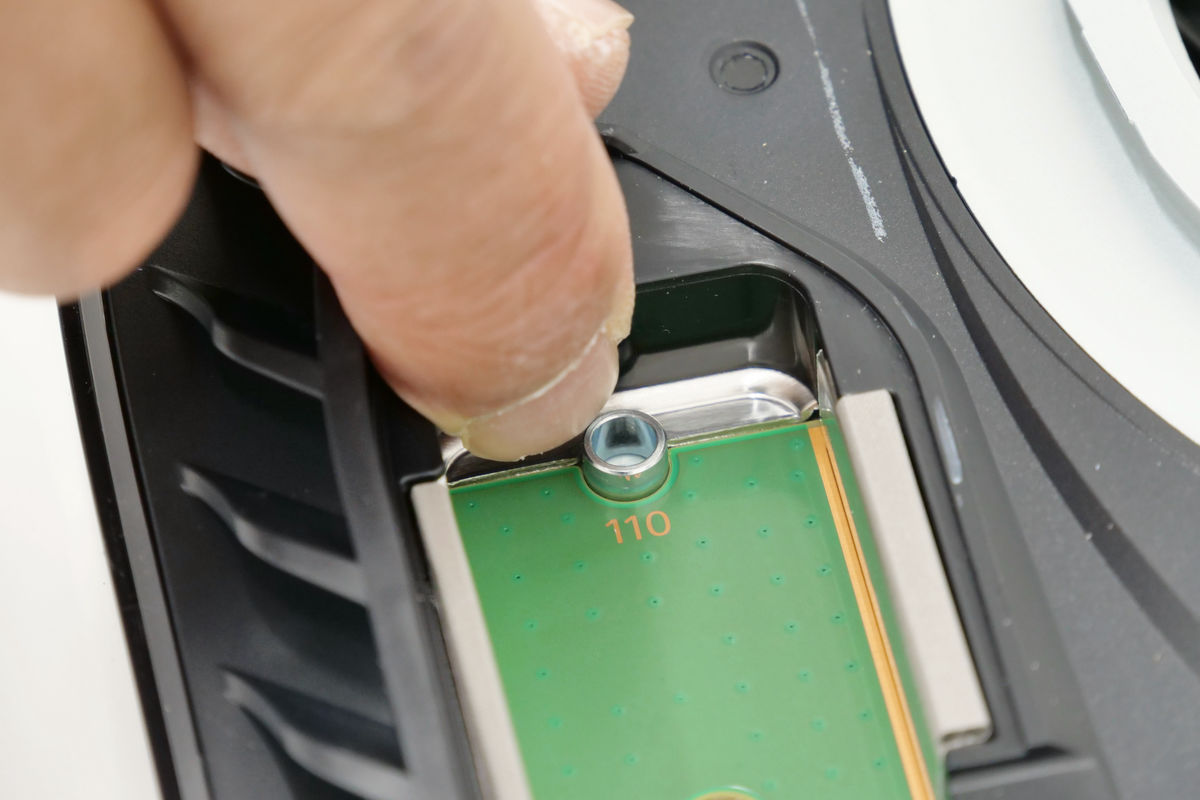
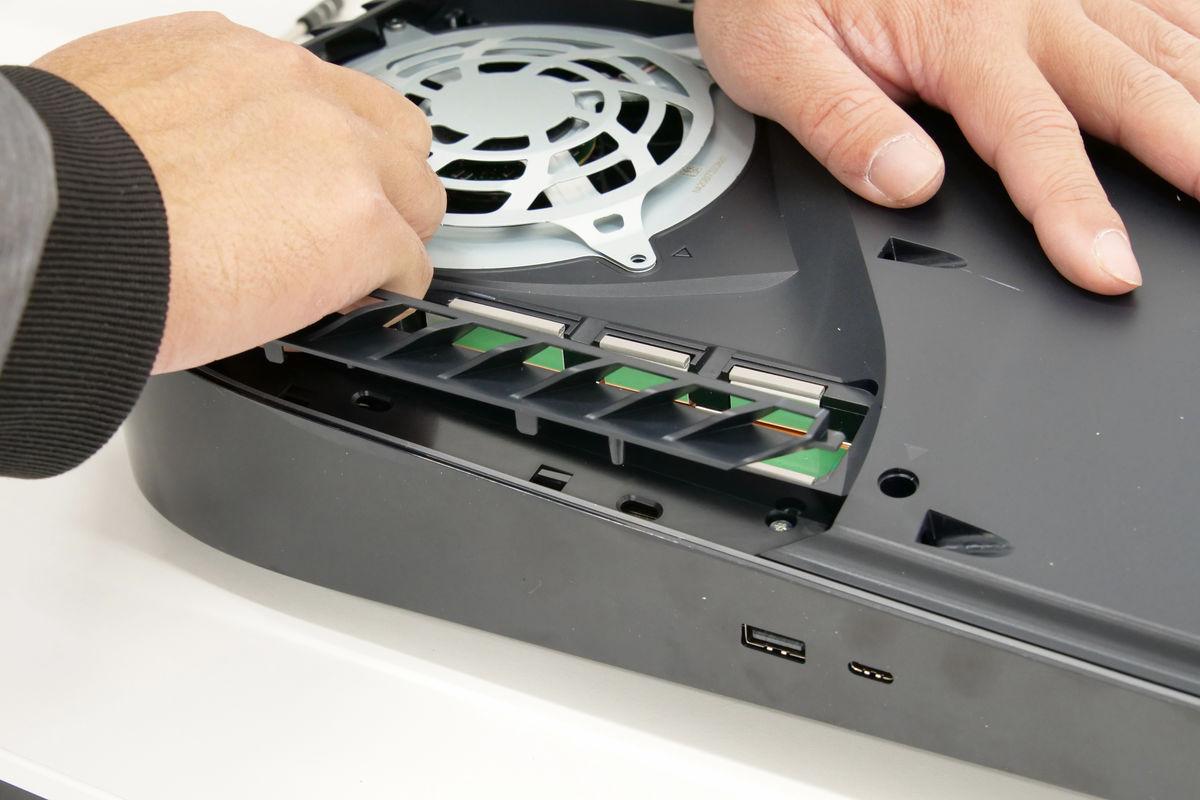
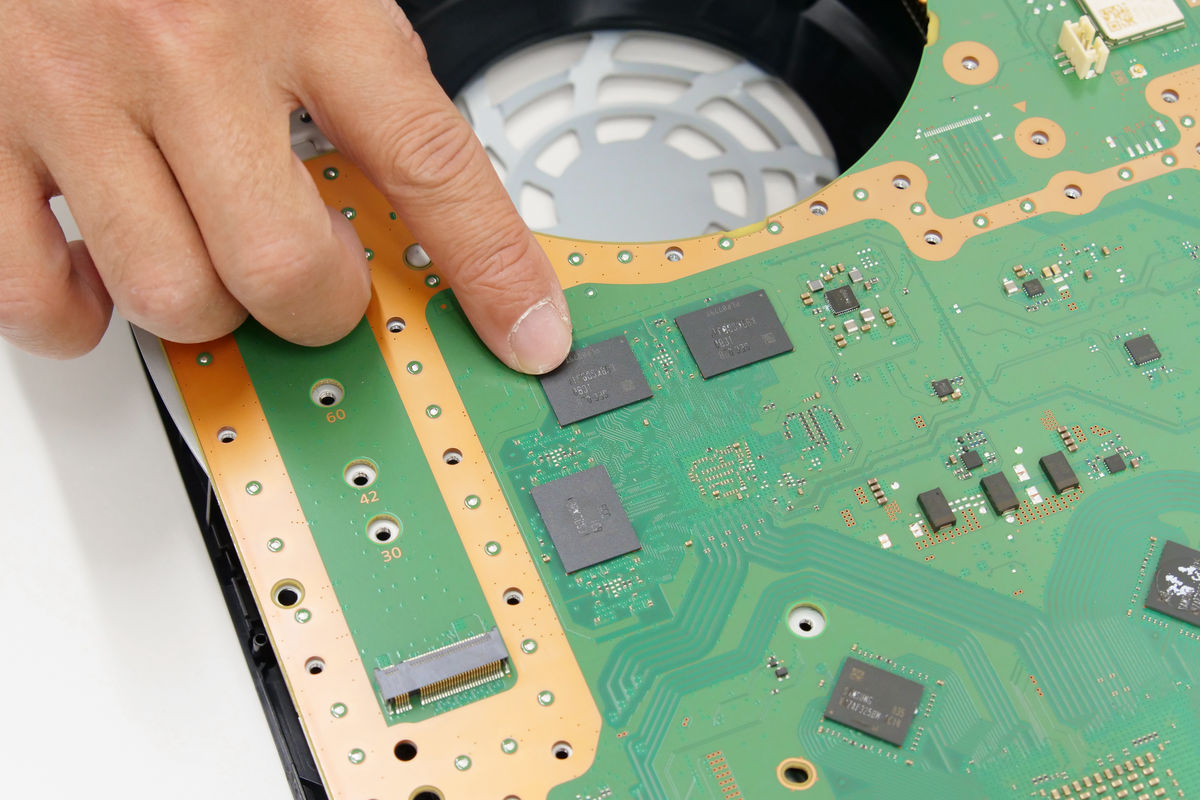
Let's take a break from the disassembly process and add expansion storage. Remove the white panel on the side of the case without the logo, then remove the vertical cover next to the fan. The screw securing this vertical cover is engraved with the circle, triangle, and square icons found on a PlayStation controller.

This will give you access to the M.2 interface that supports PCIe 4.0.

There is a screw in the part that says '110' here, so remove it...
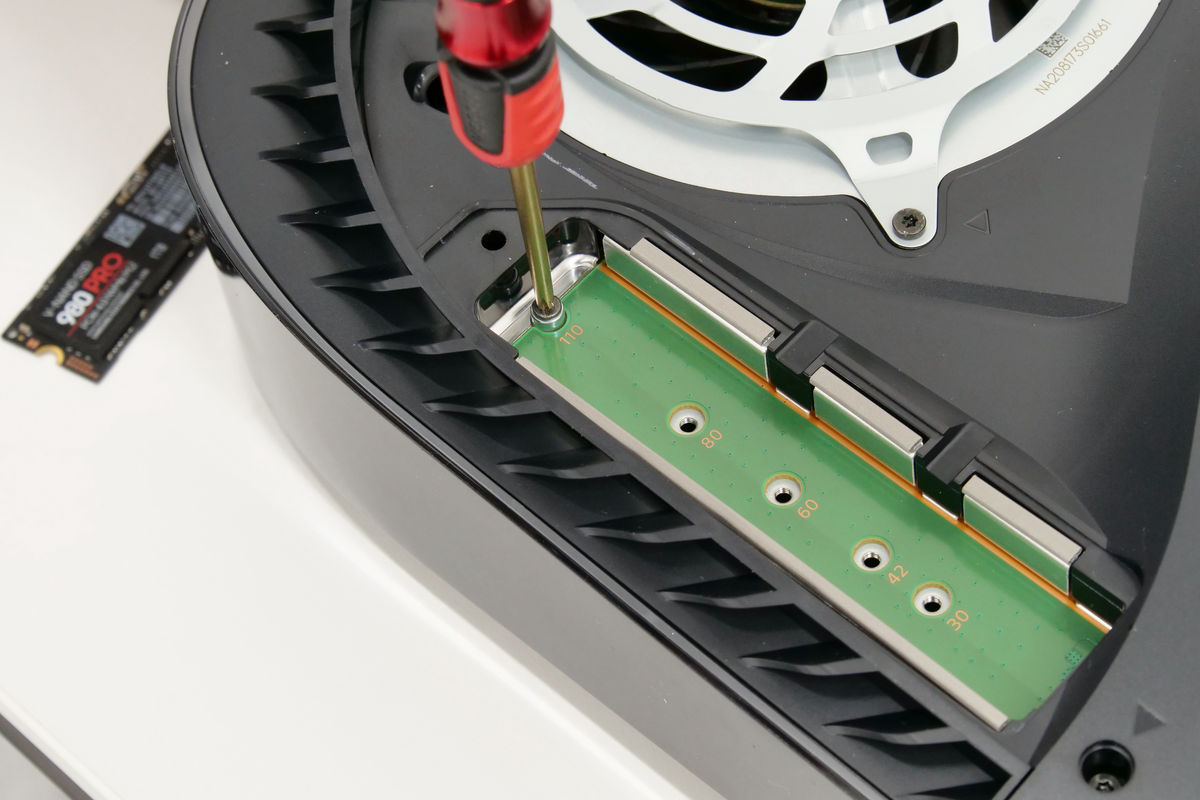
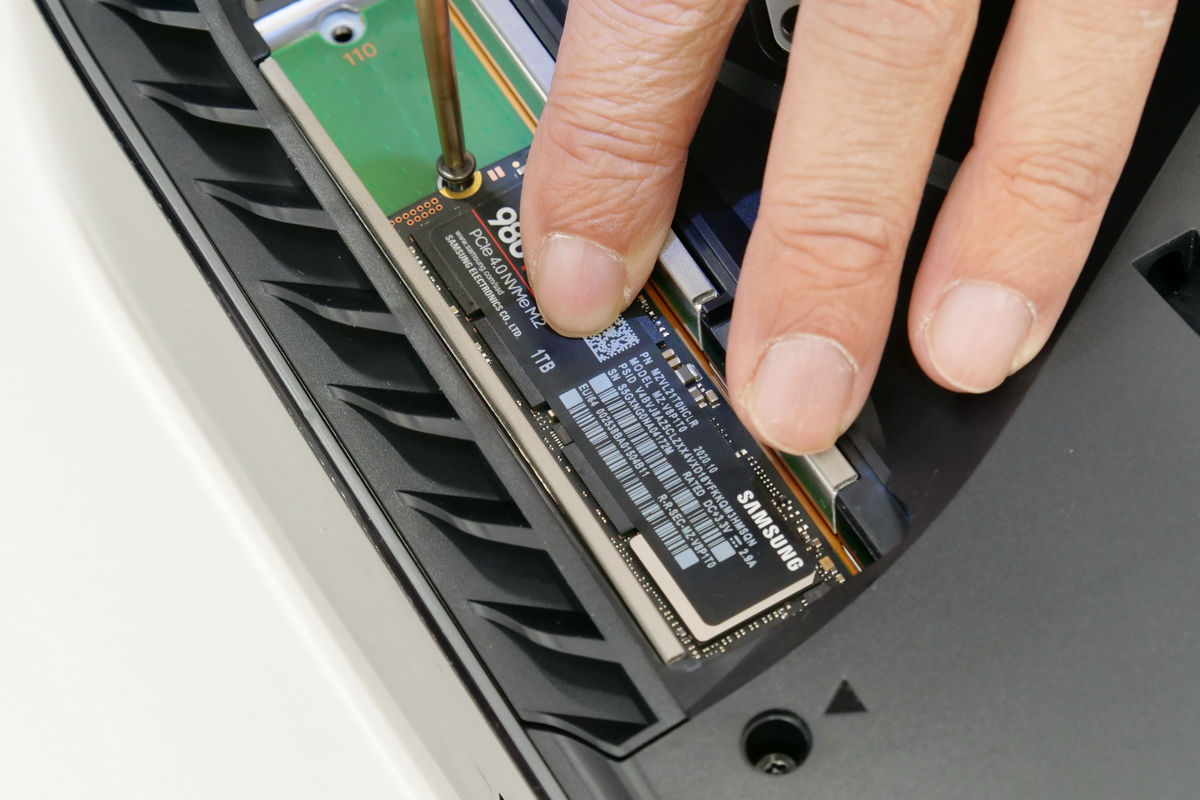
Remove the metal piece inside.
Place this in the appropriate position...

You can expand storage by inserting an M.2-compatible SSD and fastening it with screws. However, since the PS5 does not currently support expandable storage, when I inserted an M.2 SSD and started up the PS5, I got the message 'A module has been inserted in the expansion slot. Please turn off the power, remove the module, and then turn the power back on.' After a few seconds, the power automatically shut down.
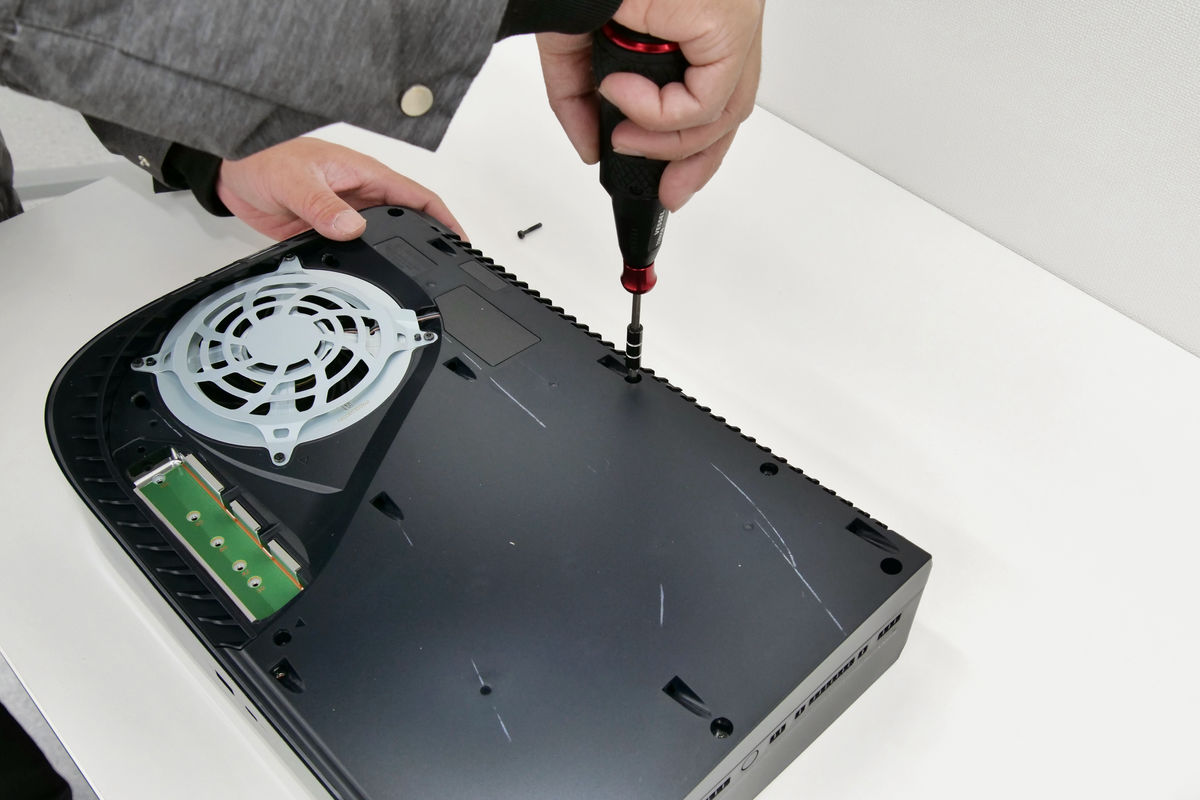
So, let's go back to the disassembly process. The screws on this side can also be removed with a T9 Torx wrench. There are seven screws in total.
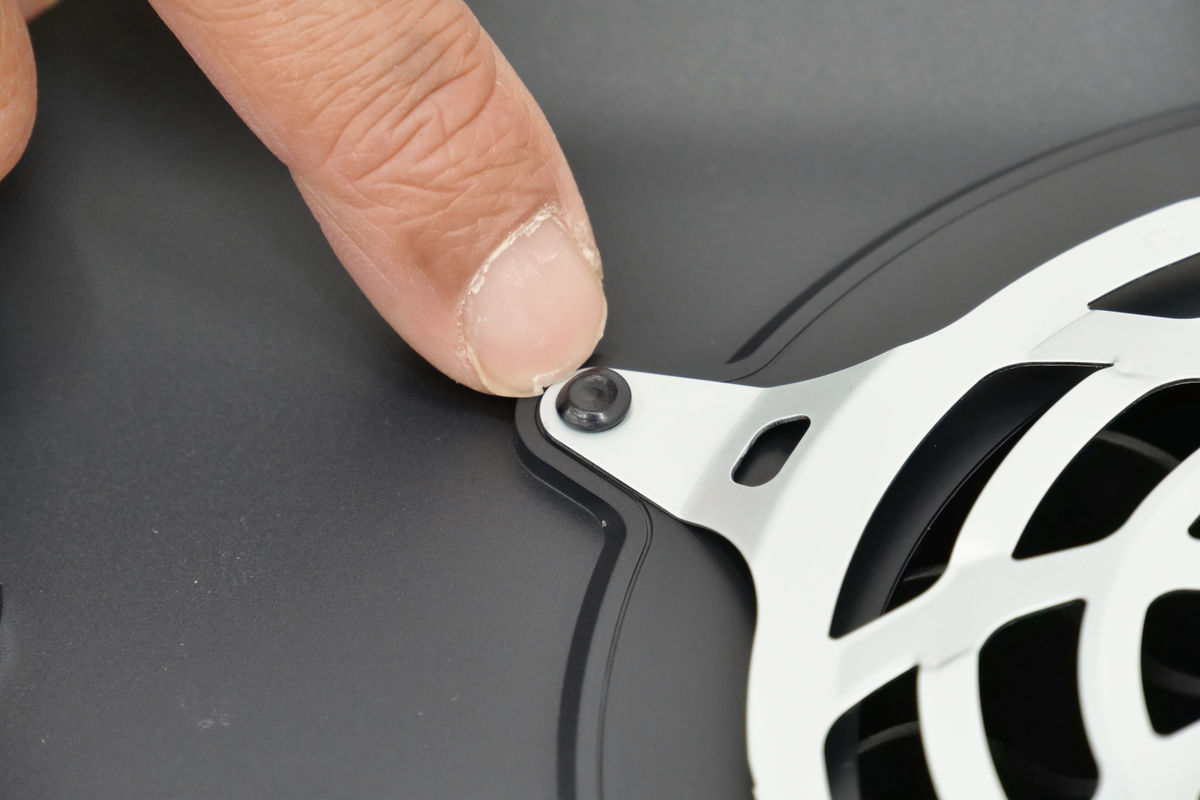
The screws on the fan cover could also be removed using the same T9 Torx wrench.
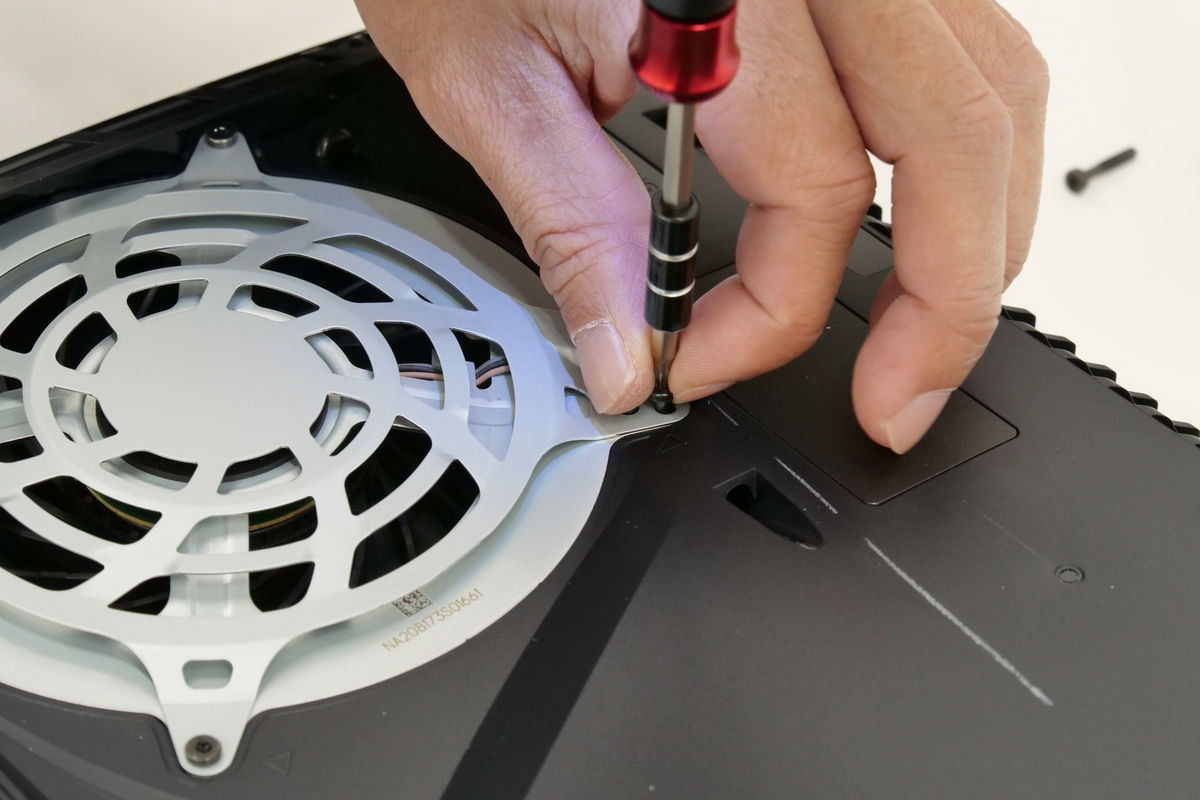
Some of the screws holding the fan cover in place are located underneath the ventilation cover, so remove it.
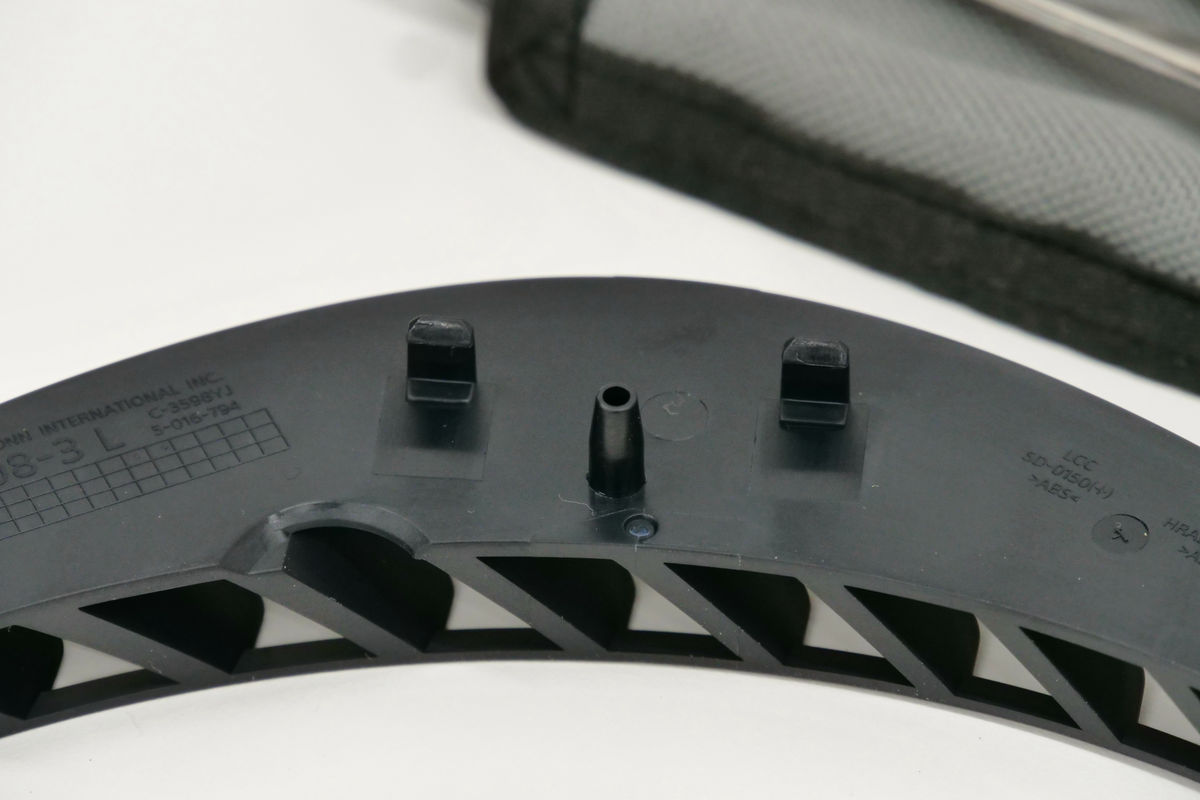
The cover is held in place by a claw like this, so you can remove it by simply pulling it with your hands.
This is what it looks like when you remove the fan cover.

There were four screws holding the fan cover in place, each of different lengths.

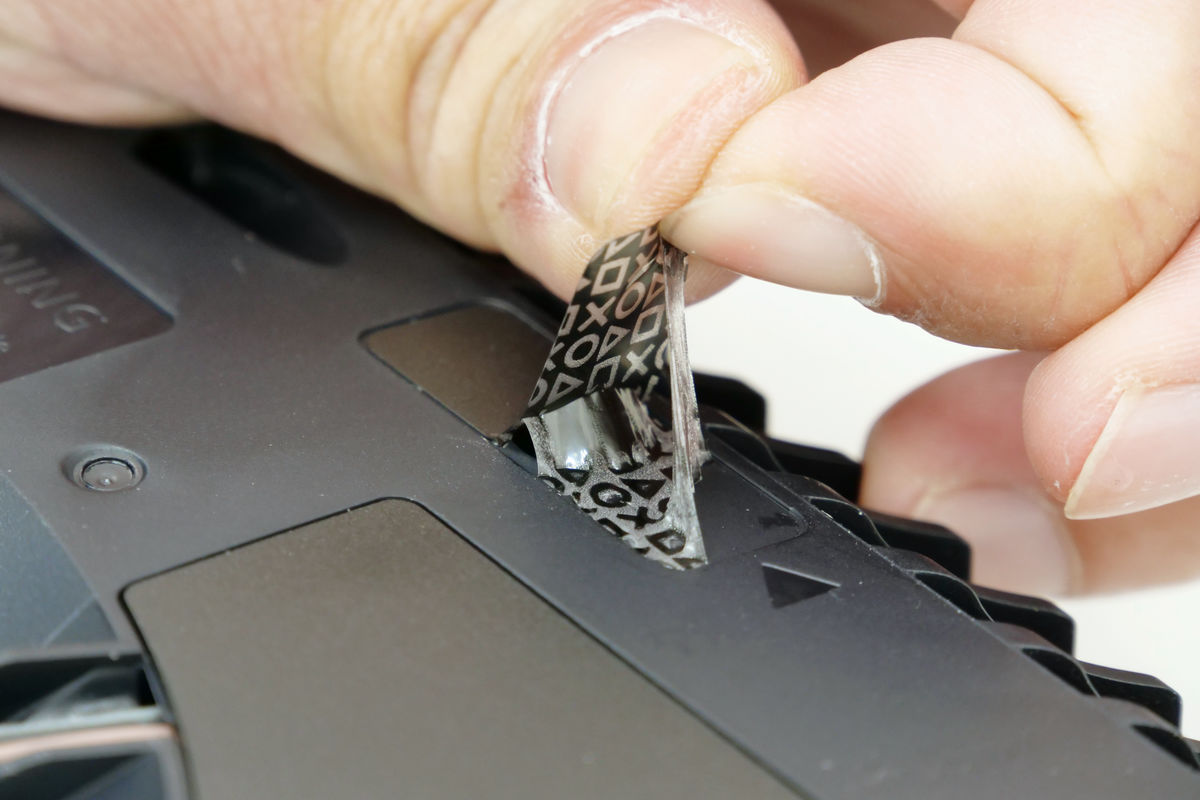
Next, peel off the black sticker next to the fan. Please note that removing this sticker and disassembling the PS5 will void the manufacturer's warranty, so please disassemble at your own risk.
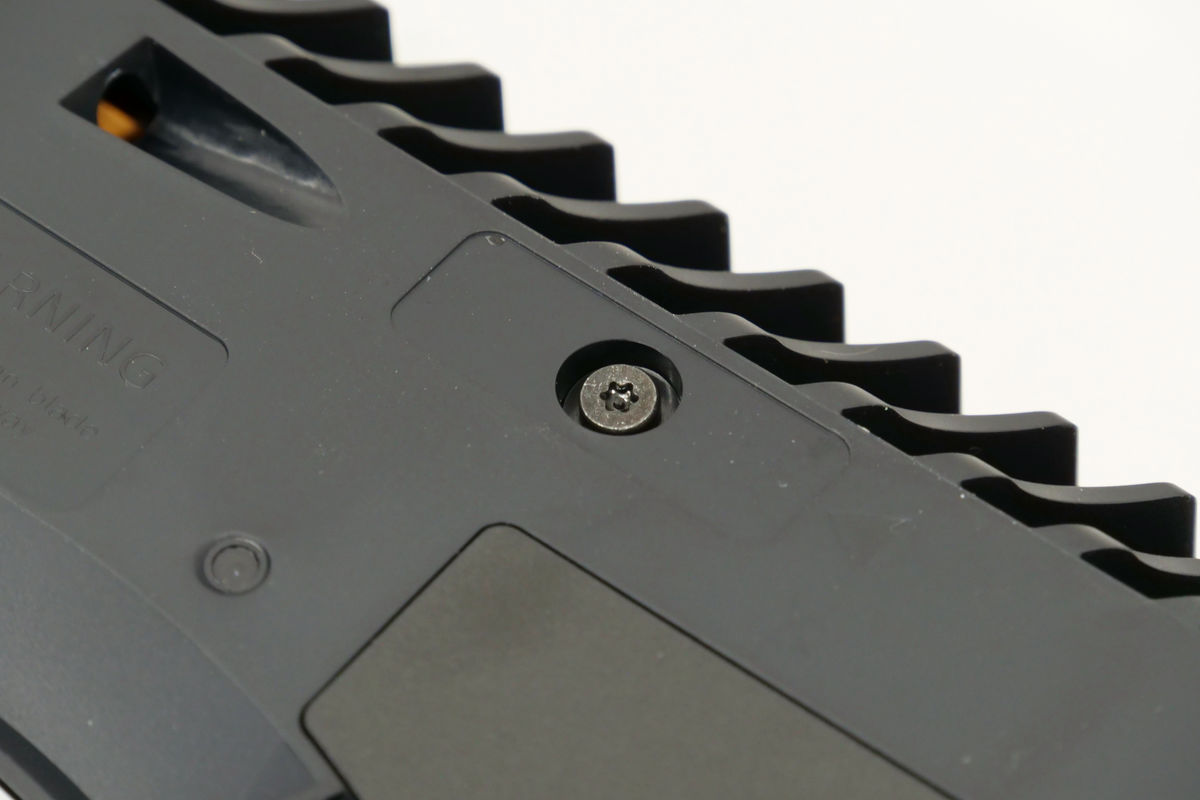
Remove the screw hidden underneath.
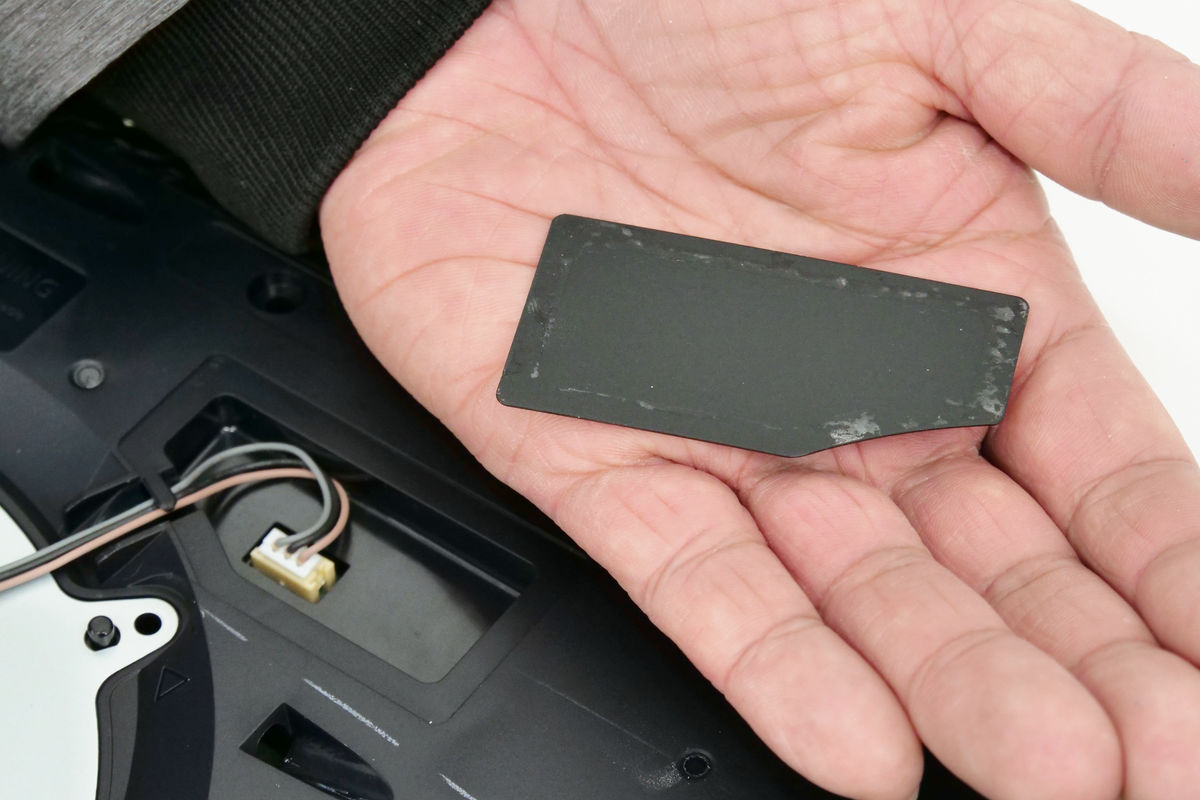
In addition, the part where the cable extending from the fan is inserted is also covered with a cover, so you will need to remove it by hand.
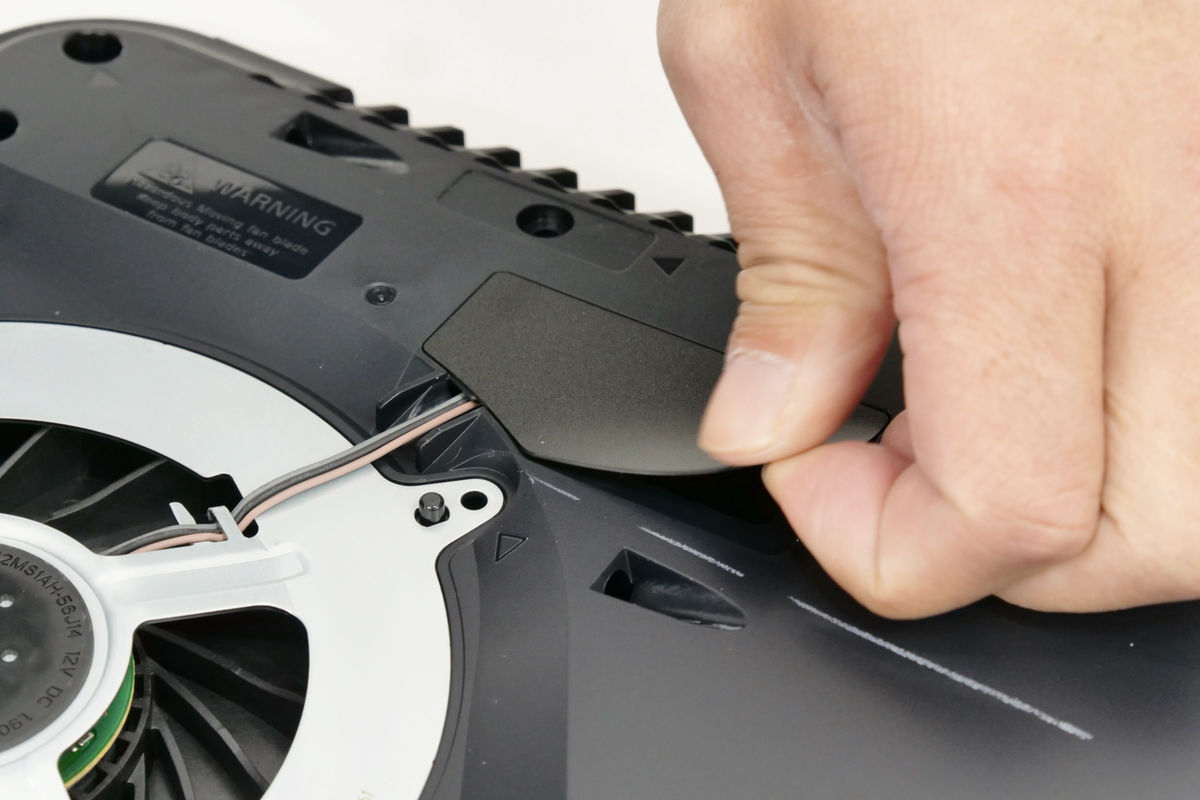
This cover is also only attached with adhesive and can be removed by hand.
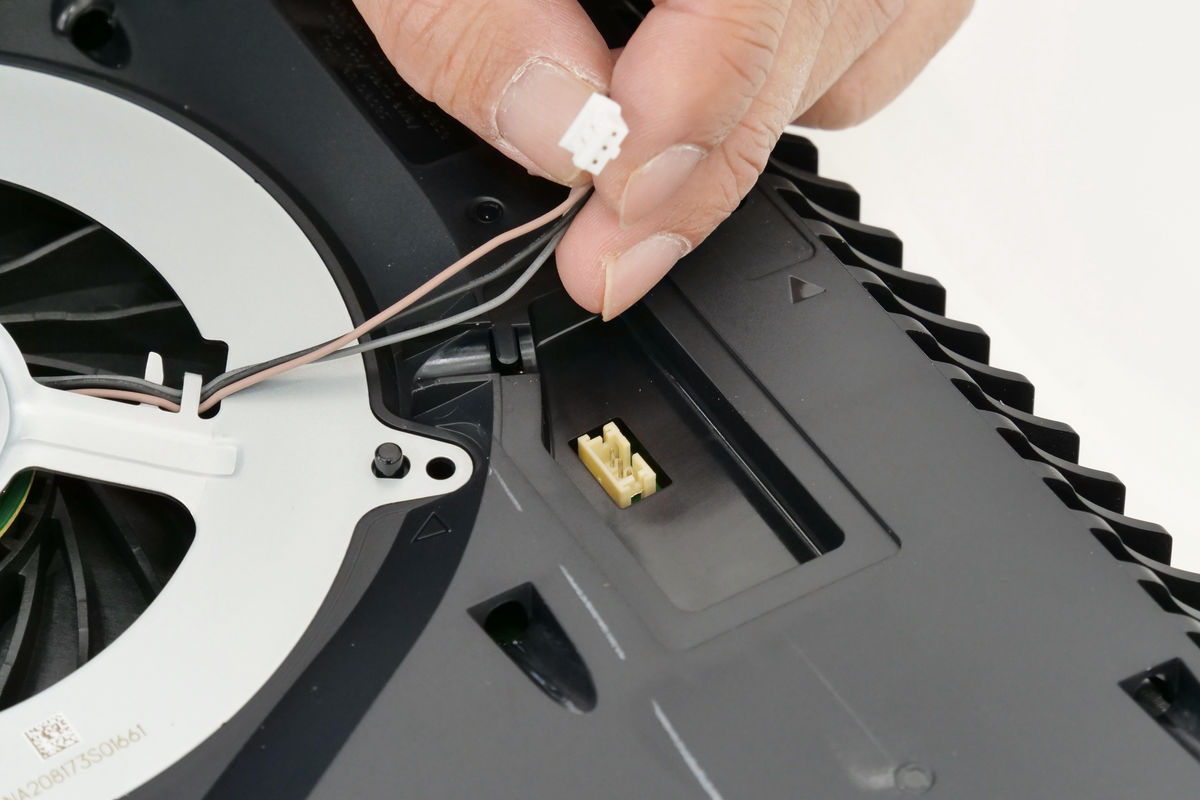
Remove the cable extending from the fan ......
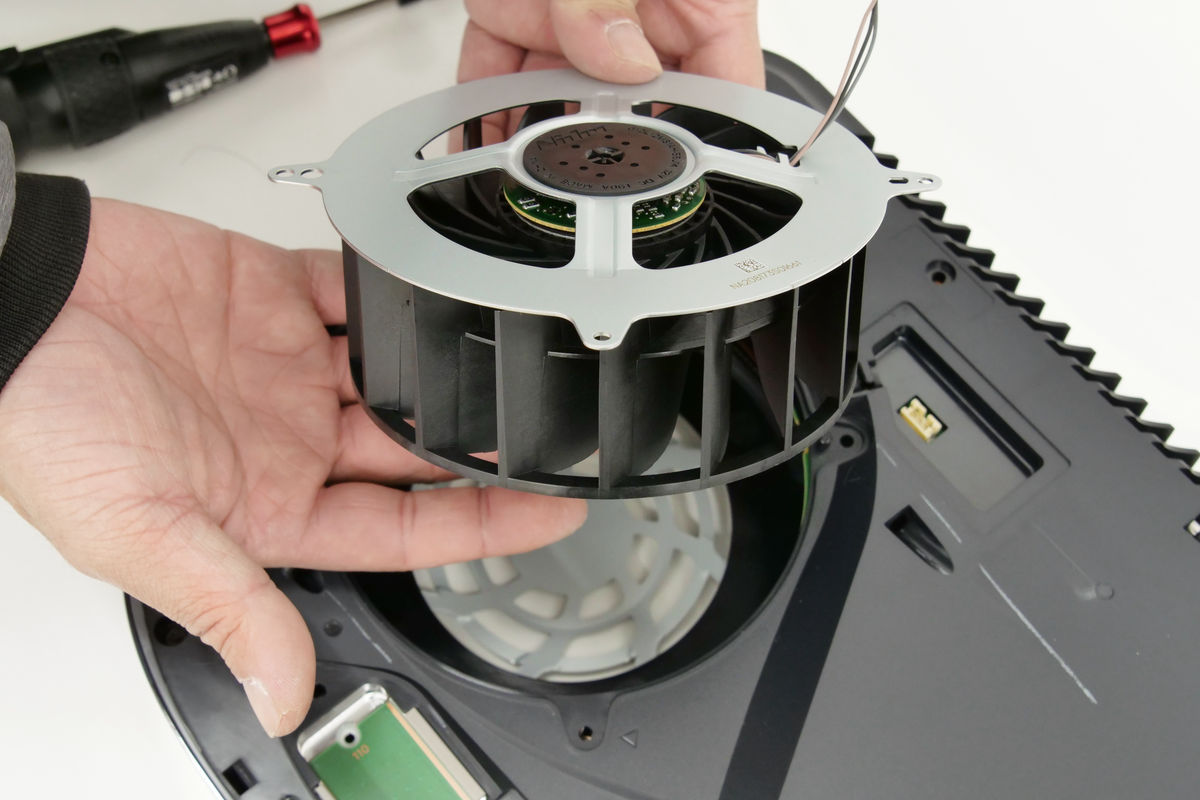
The large, double-sided intake fan, measuring 120mm in diameter and 45mm thick, can be removed. It is a Nidec DC fan.
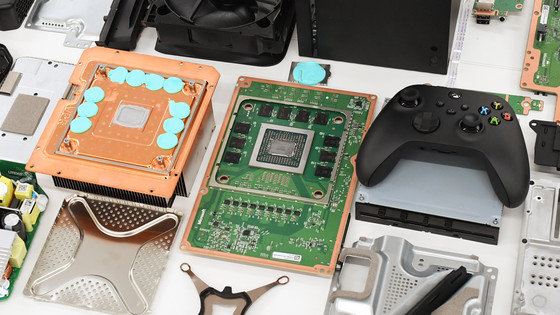
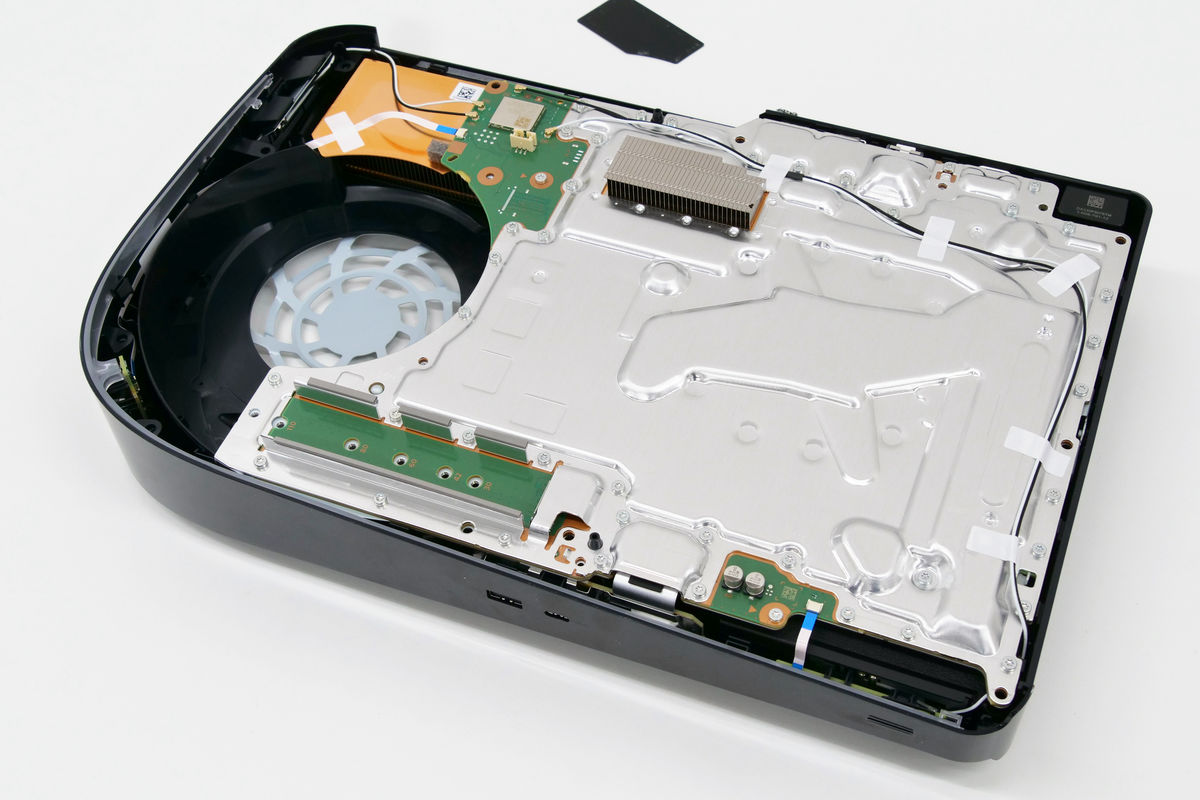
When you remove the black housing, you can see the circuit board, but most of it is covered by a metal shield. The silver part in the middle, which is a different color from the shield, is a heat dissipation fin that is integrated with the shield.
The black case that was removed had the word '

The black and white cable extending from the bottom connects to the built-in power supply and is secured to the shield with paper tape.
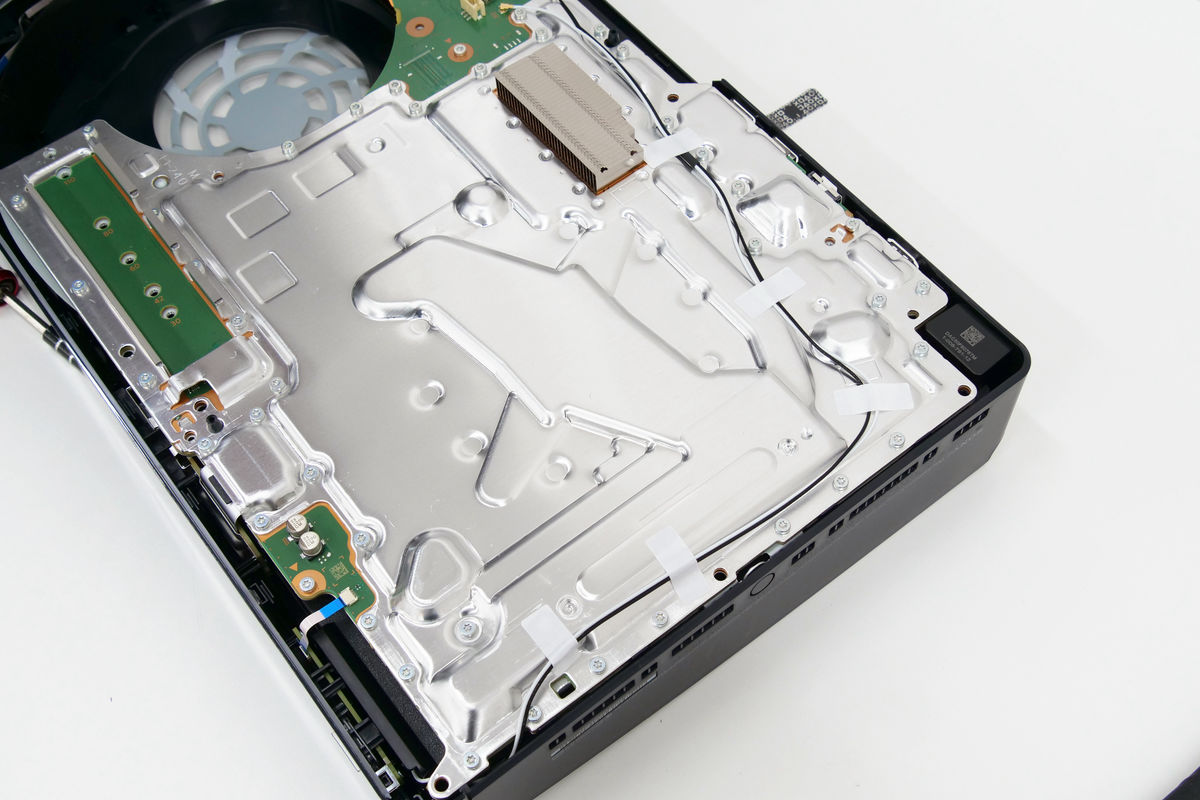
Disconnect this white and black cable from the motherboard.

There is a matching black and white cable connected to the board nearby, so remove this as well.
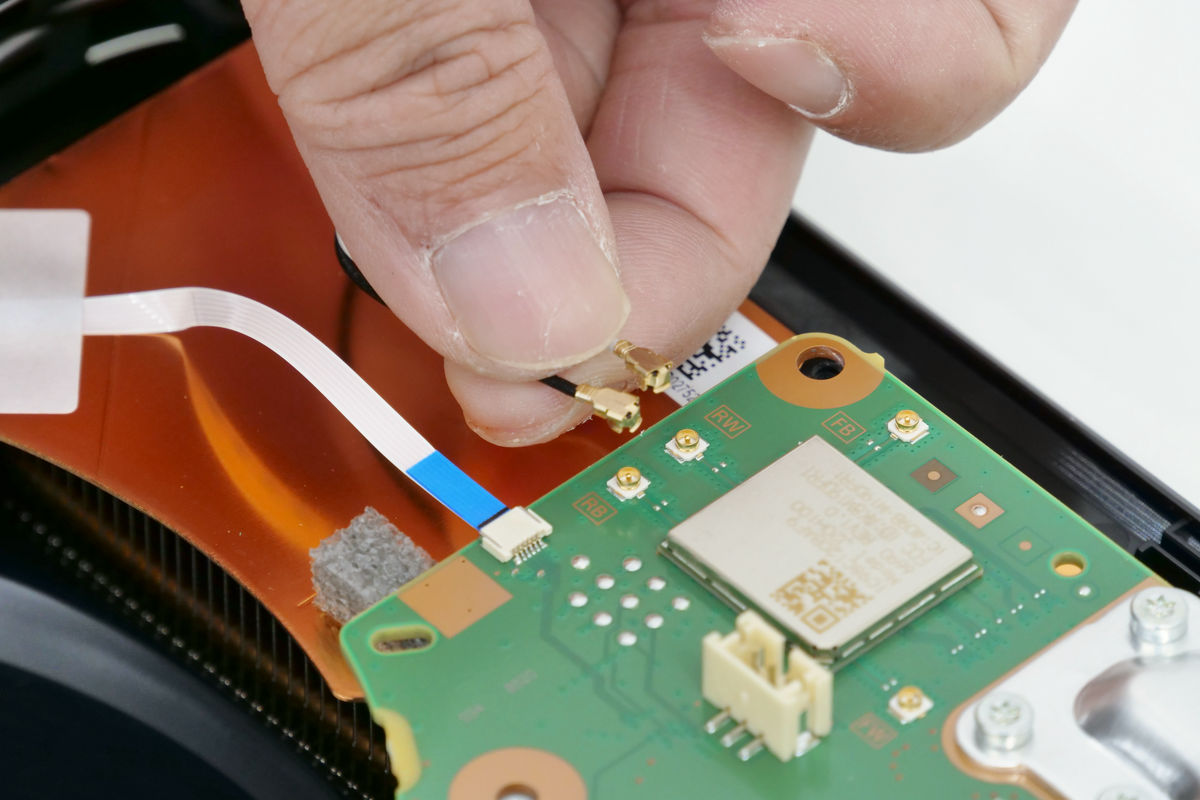
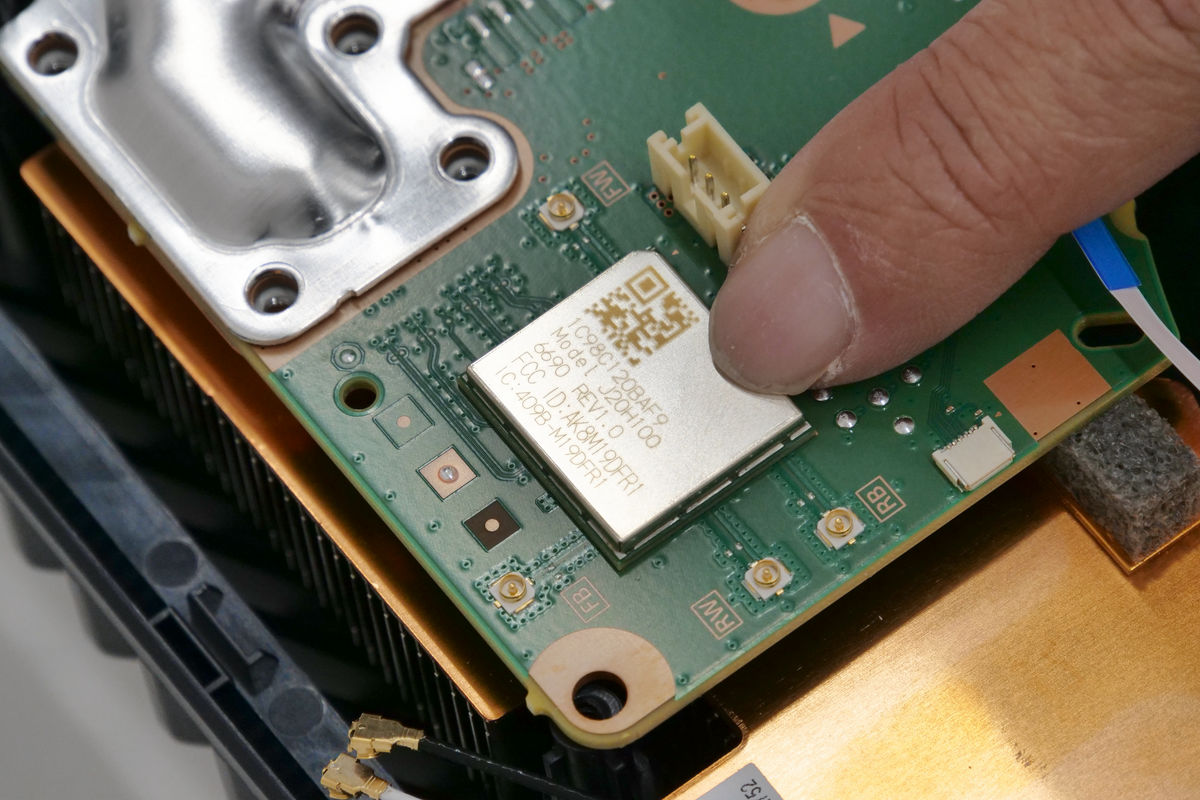
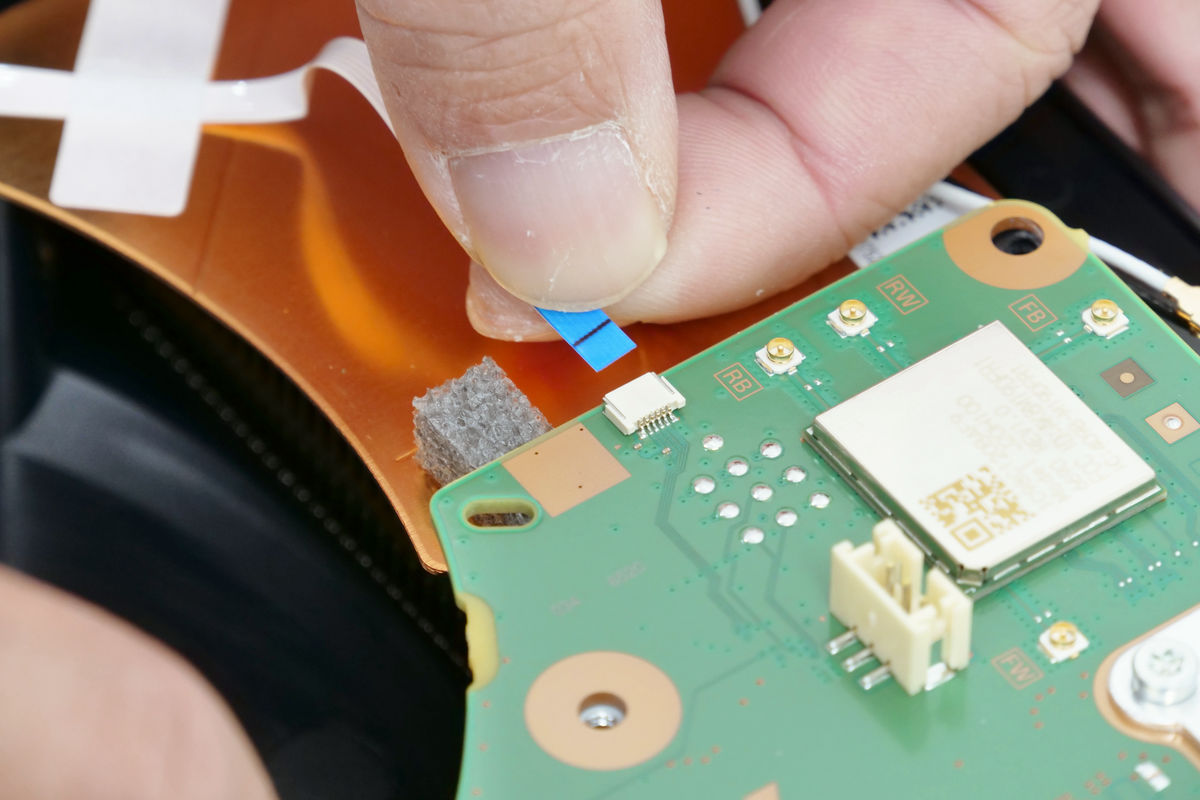
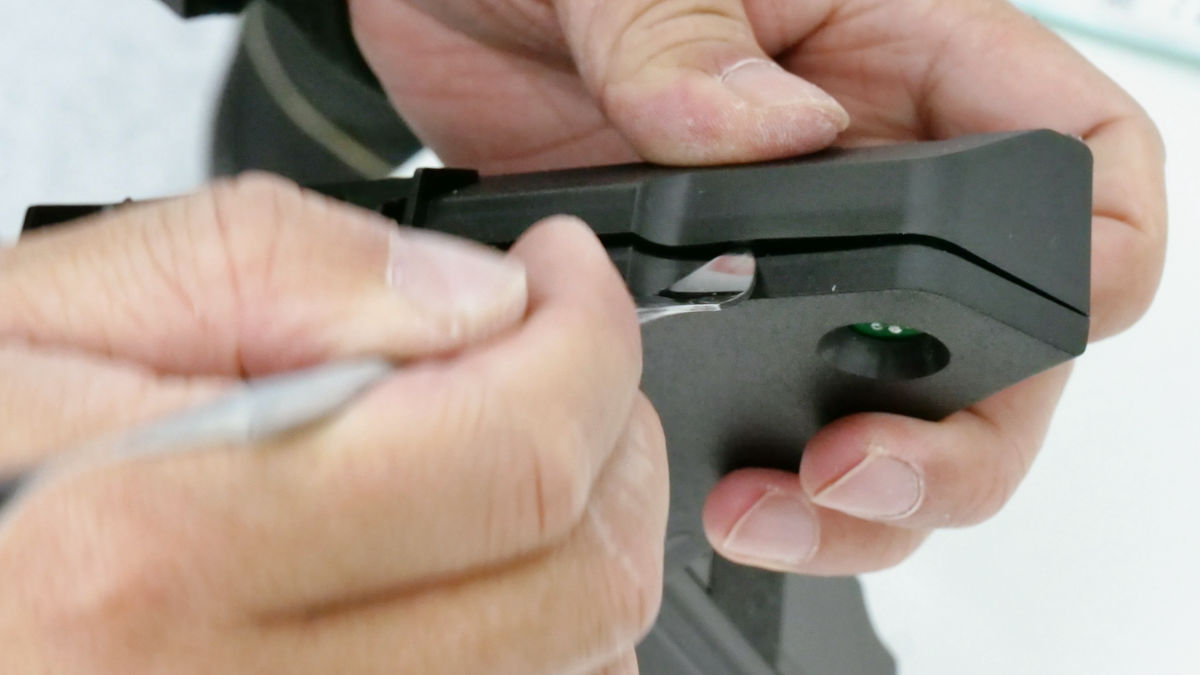
The wireless communication module chip 'J20H100' is sandwiched between the black and white cables. Its FCC ID is '
Additionally, there are similar white ribbon cables at the end of both hands in the photo below. Specifically, directly above the J20H100 and near the PS5 power button.
Pull the white ribbon cable in the opposite direction to the board.
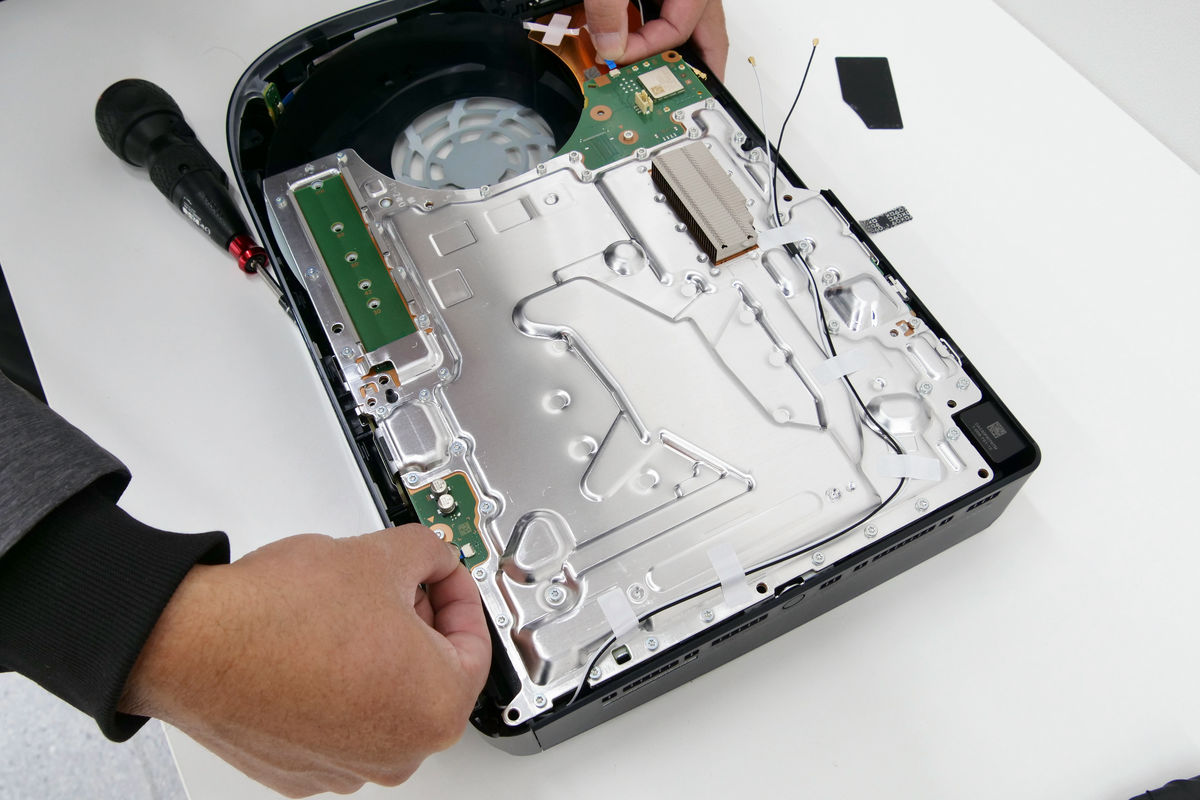
After disconnecting all the cables connected to the board, remove the screws that secure the silver shield to the board.
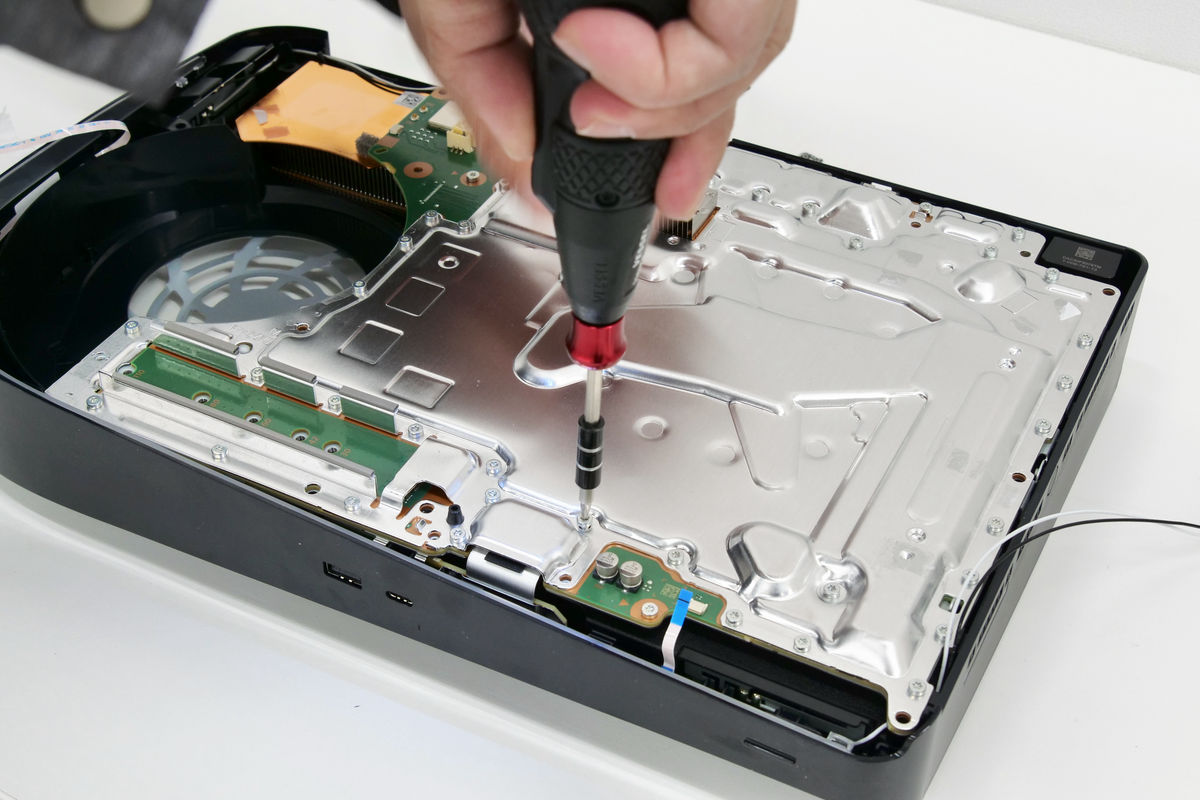
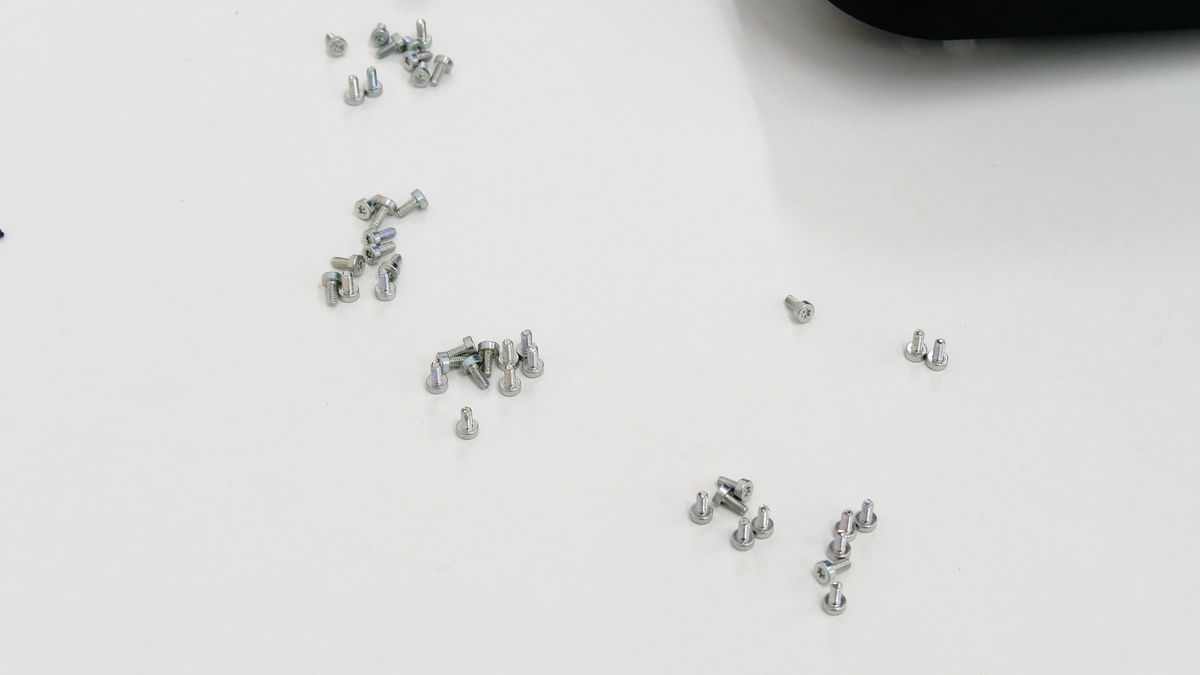
These screws can also be removed with a T9 Torx wrench, but there were a total of 43 of them.
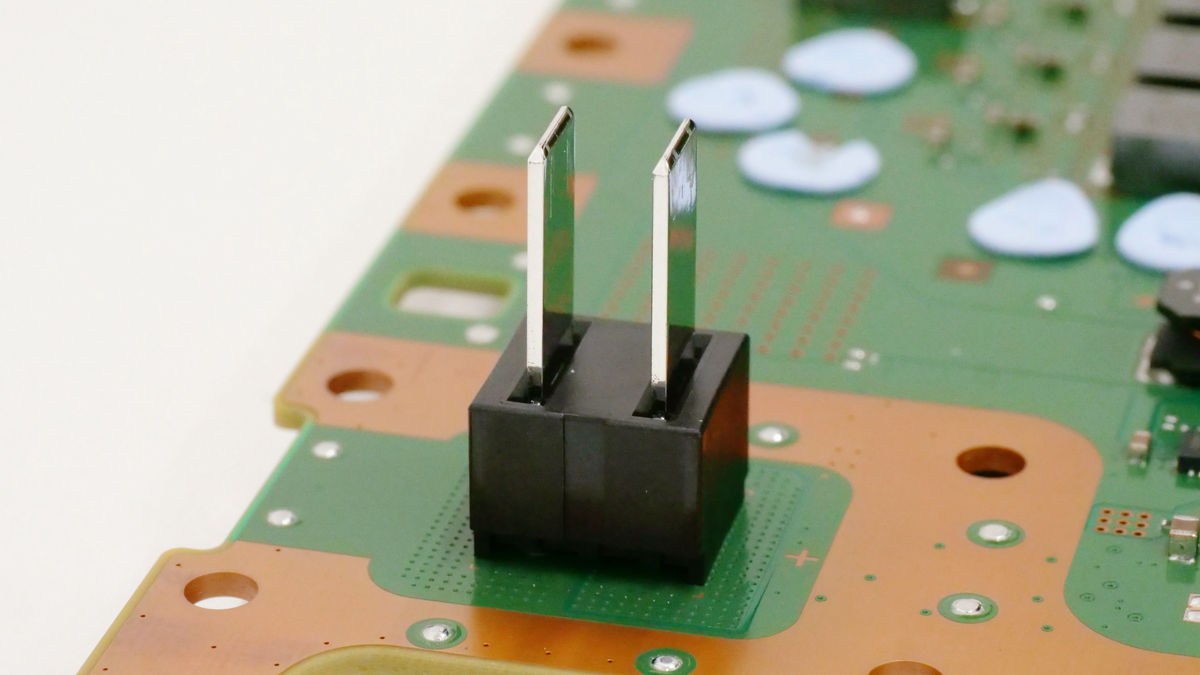
While removing the screws, I discovered two mysterious unused terminals. In

After removing the screws, remove the shield from the board. The various chips on the board have heat dissipation silicon stuck to them, which holds the board and shield in place, so it takes some force to remove it.
The light blue object attached to the shield side is heat dissipation silicone.
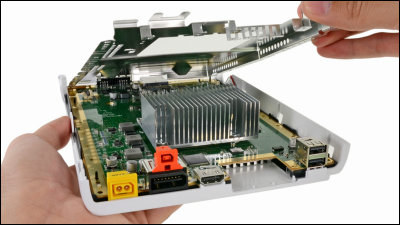
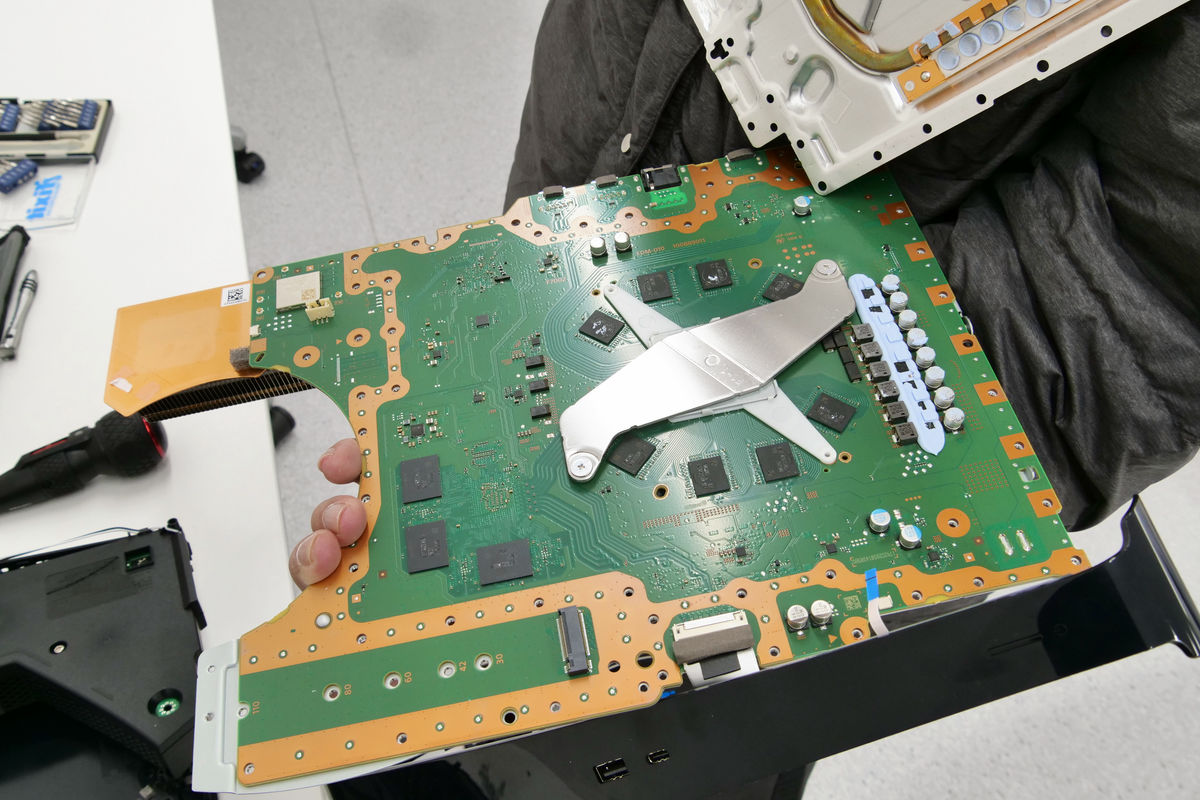
So, with the shield removed, the board finally appears. This is the back side of the board.

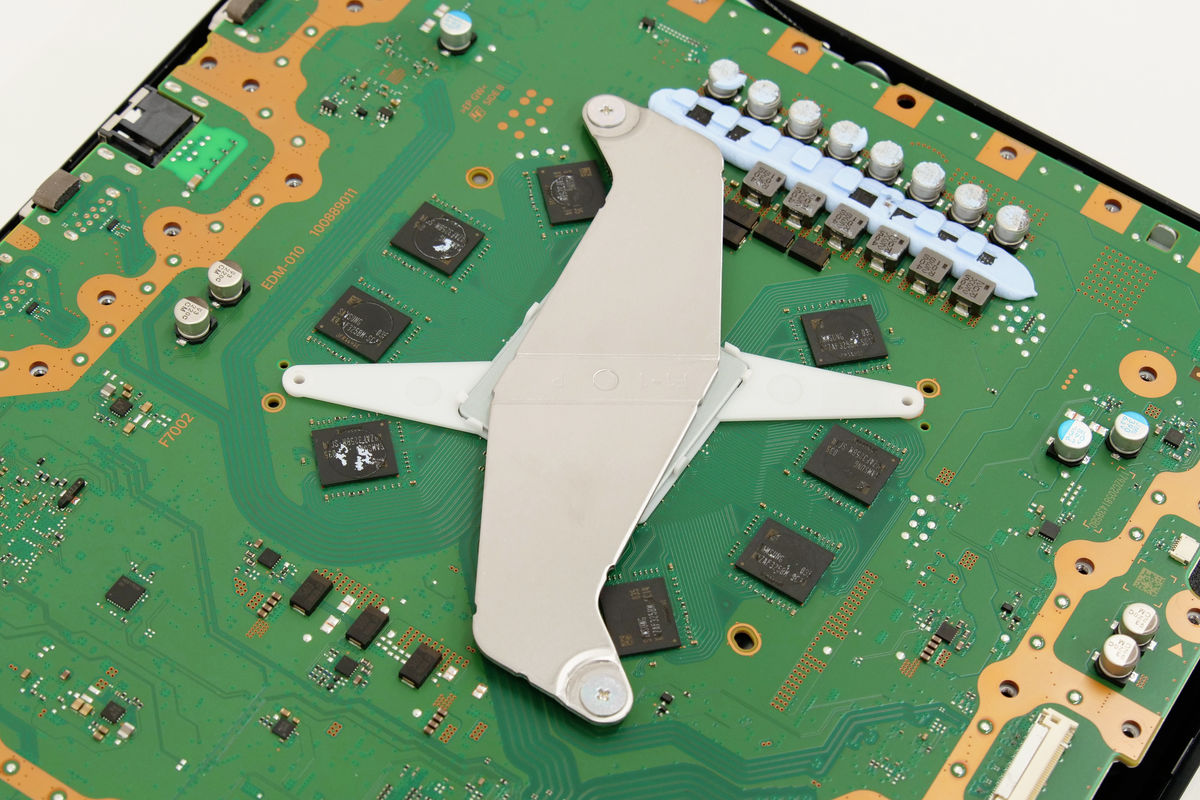
The parts that are arranged in a cross shape are also fixed with screws, so remove them.
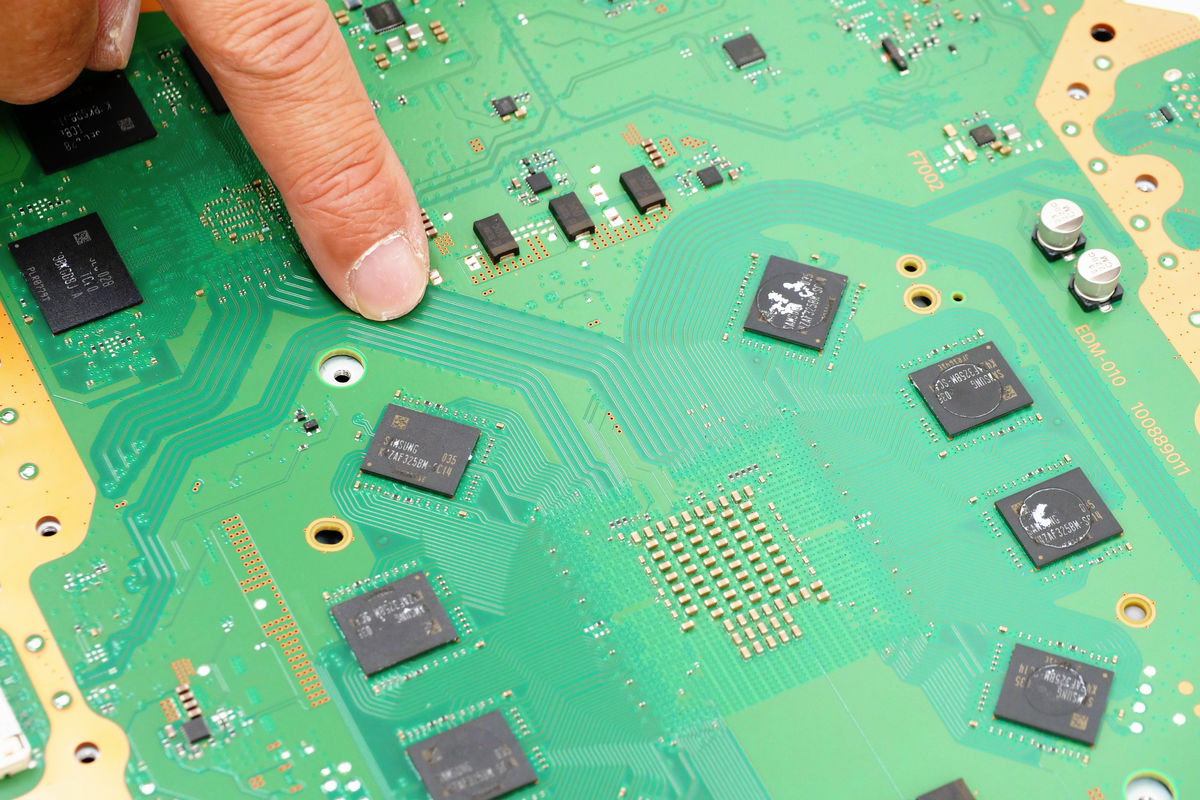
Below the fan are three custom SSDs for the PS5. These are on the back of the board, so you can see three, but there are also three on the other side, for a total of six SSDs, making up 825GB of storage.
The eight chips arranged in a circle in the center are GDDR6 16GB memory.
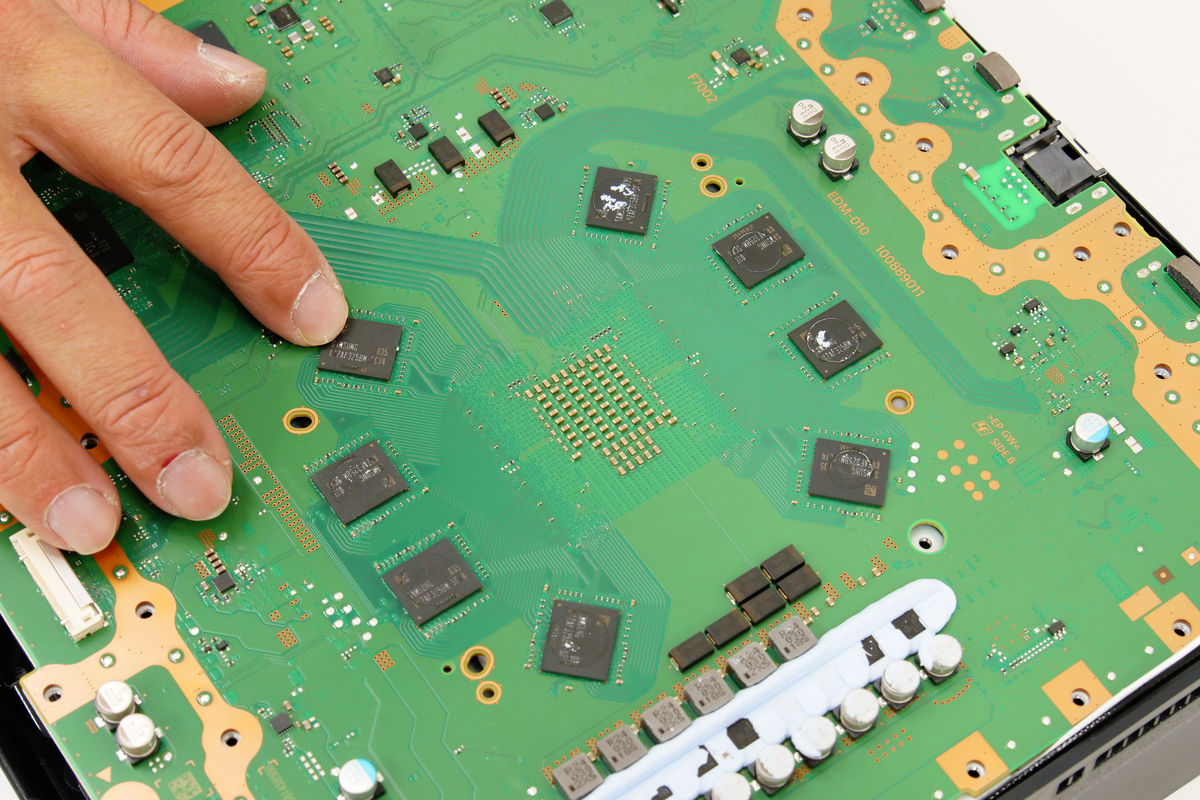
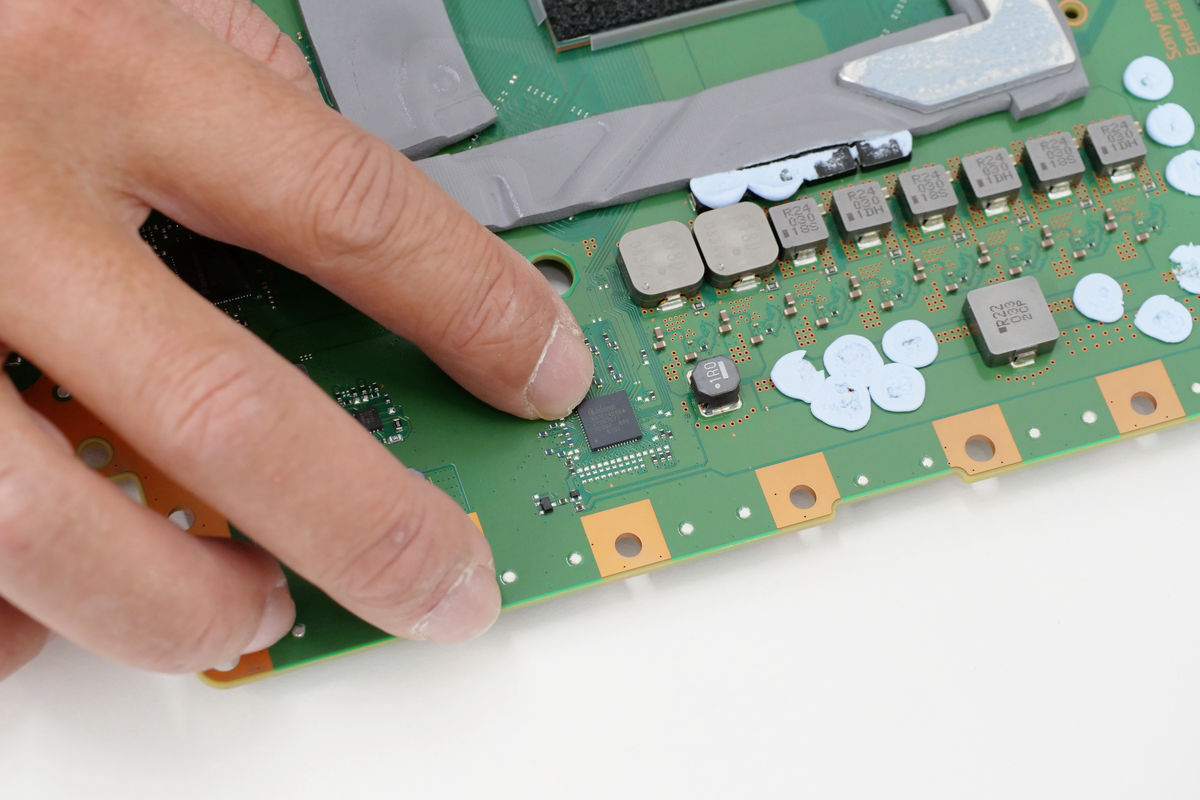
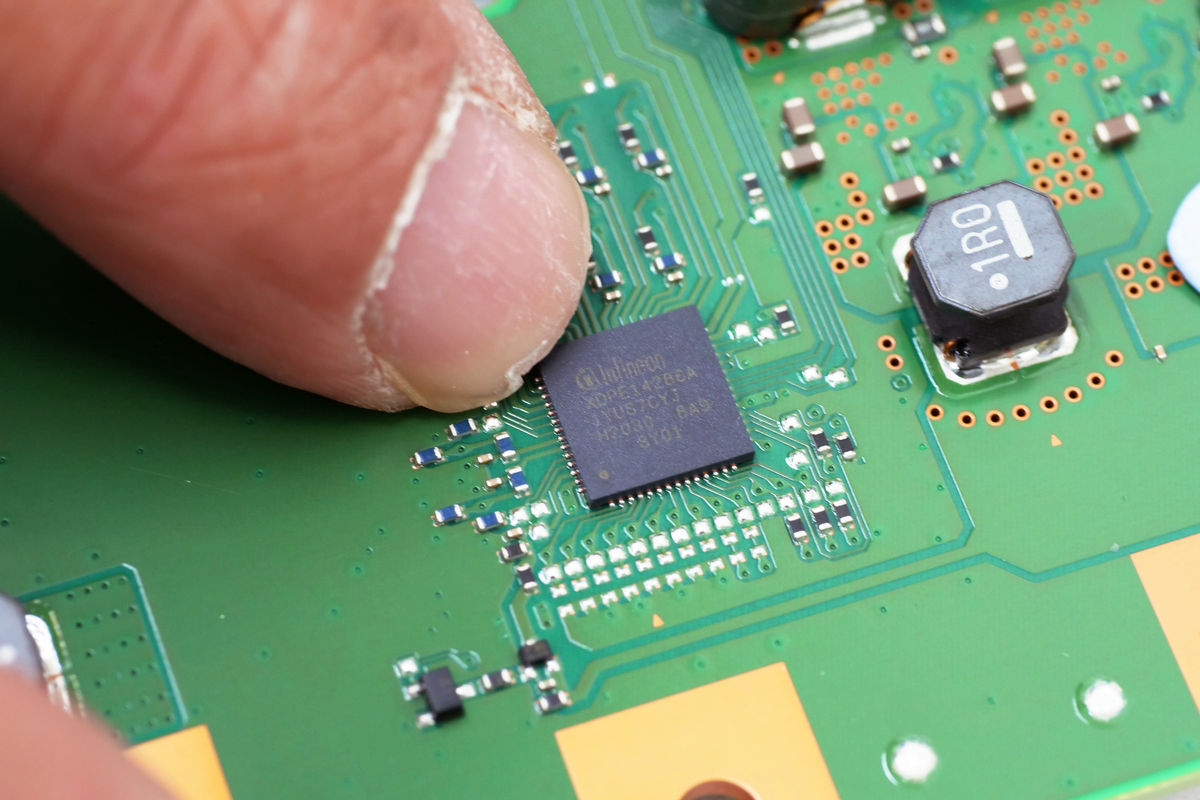
Other chips made by
There are coils for power management, etc.

The editorial staff member who performed the disassembly commented that 'the equal-length wiring is neater
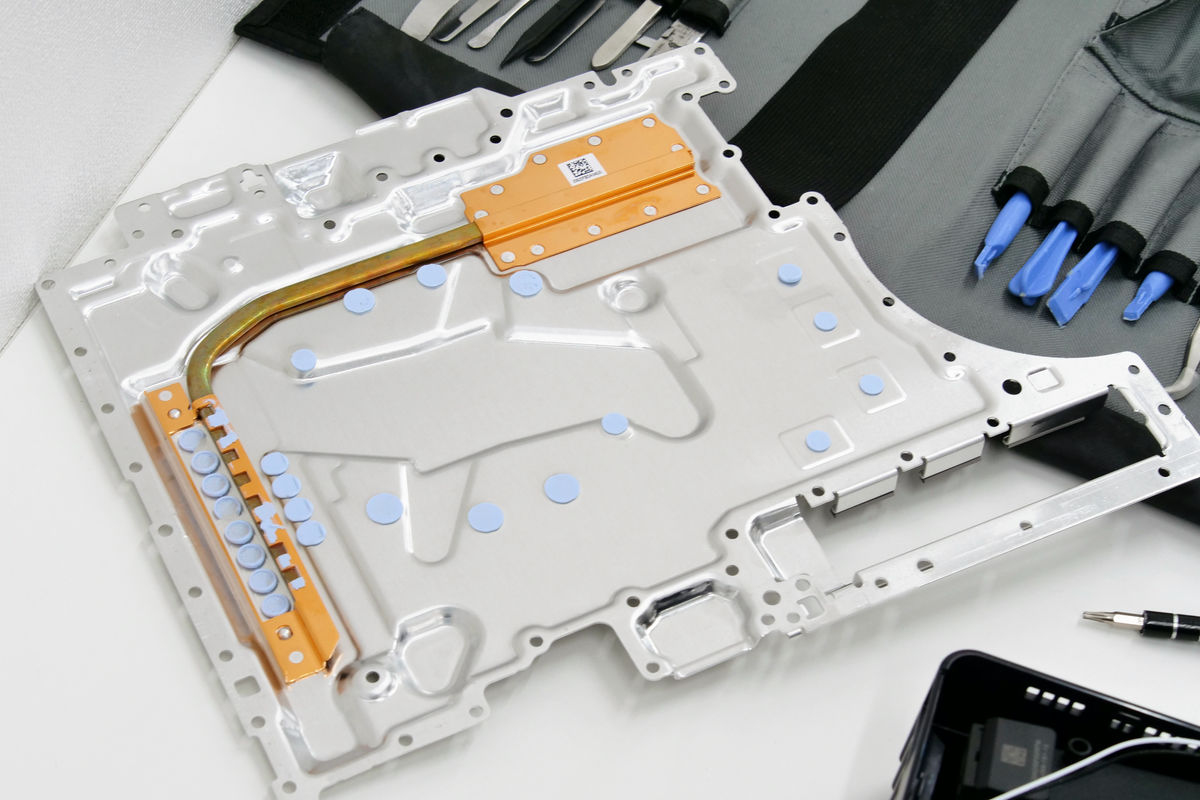
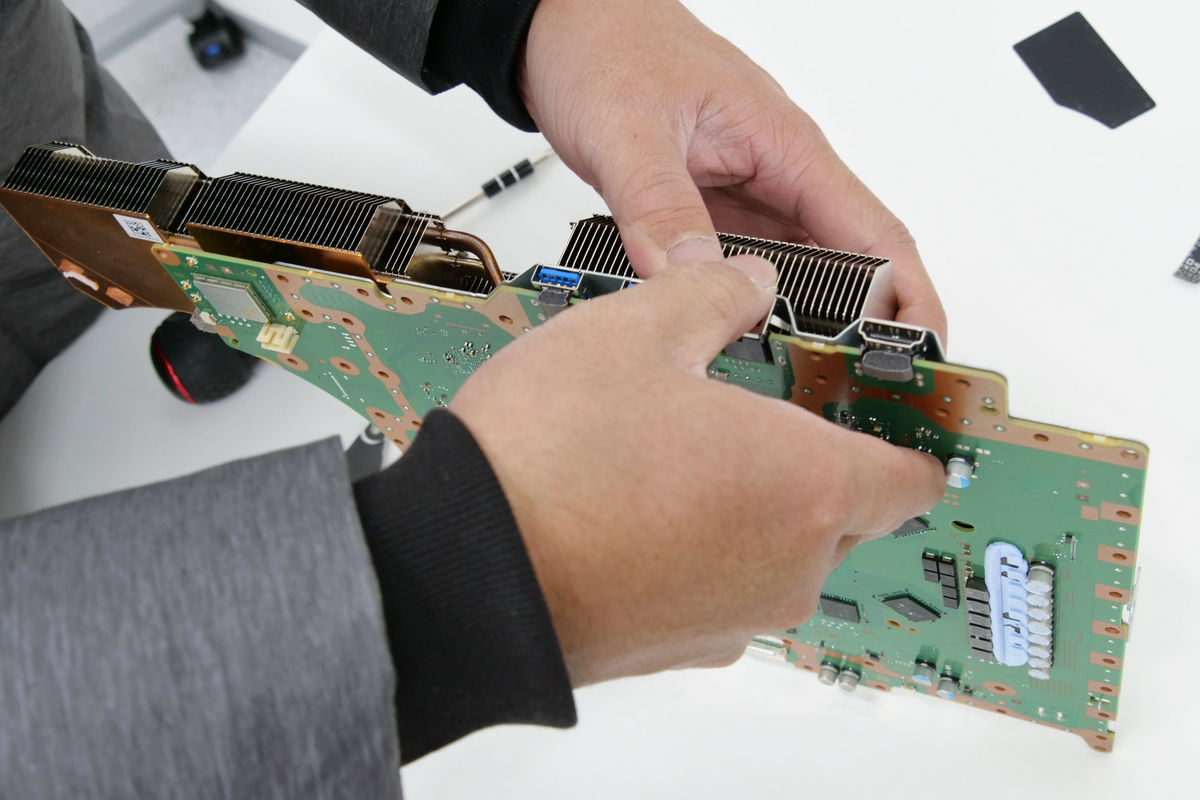
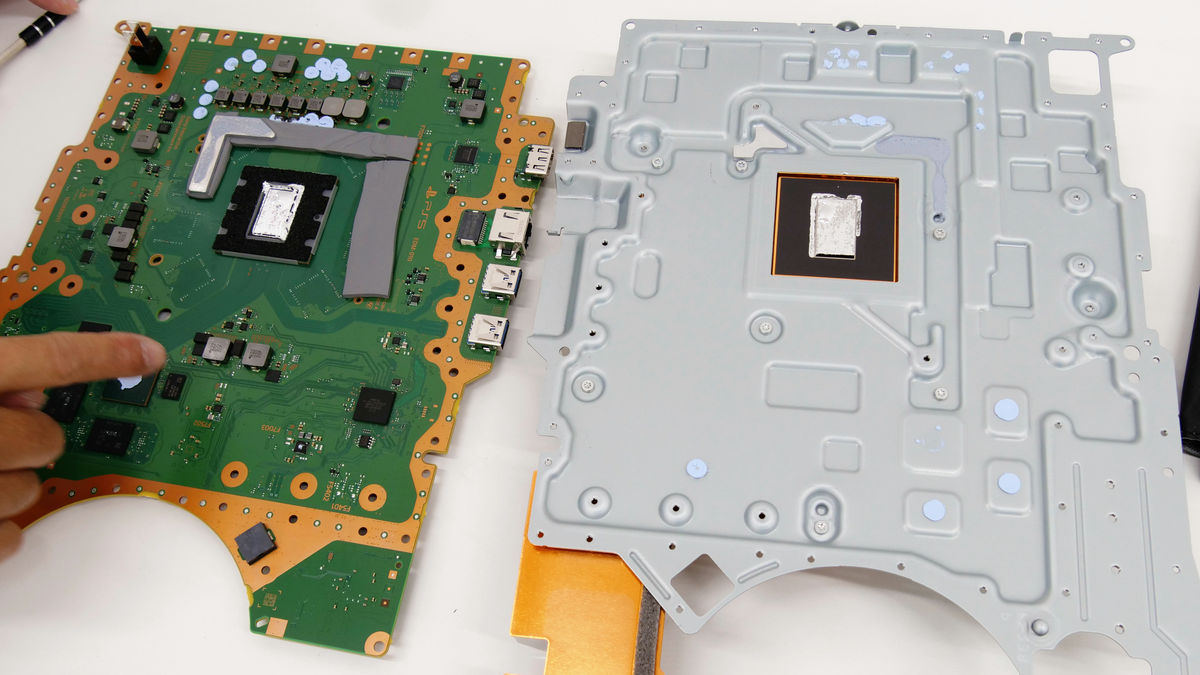
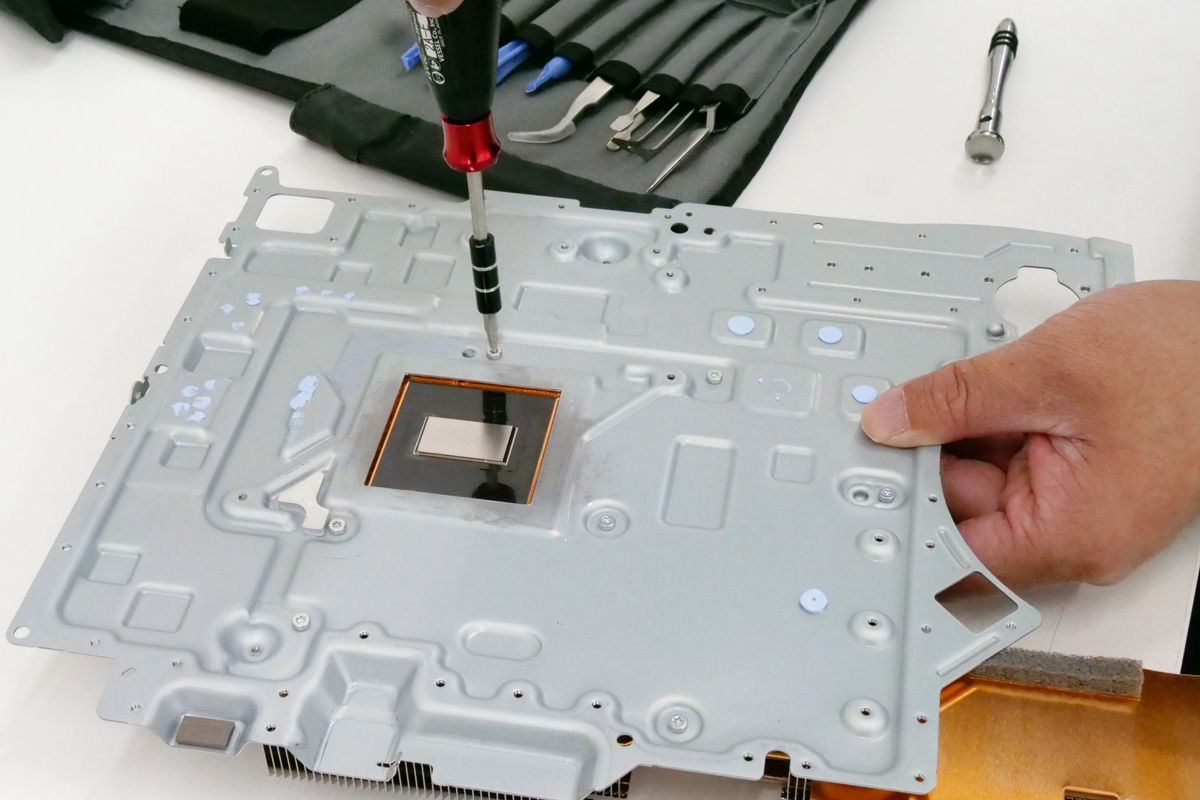
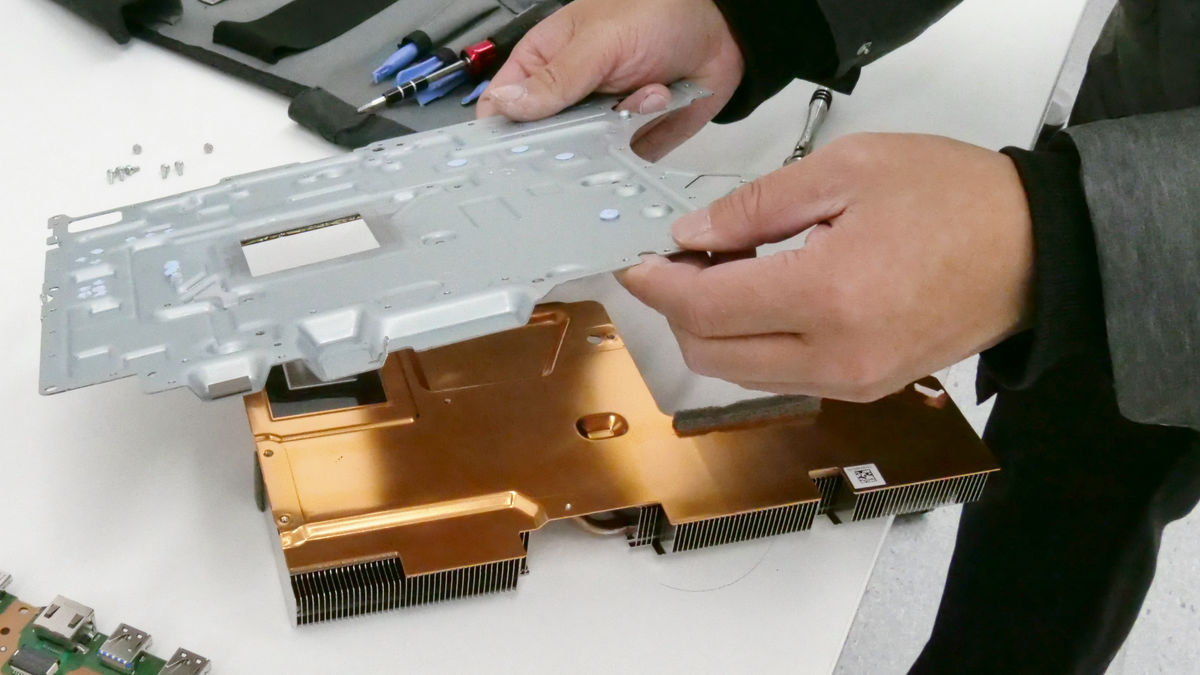
So, to check the surface of the board, remove the board, shield and heat sink. There are no screws to secure them, they are just attached with heat dissipation silicone.
I mustered up the courage to take a bite with my hands.
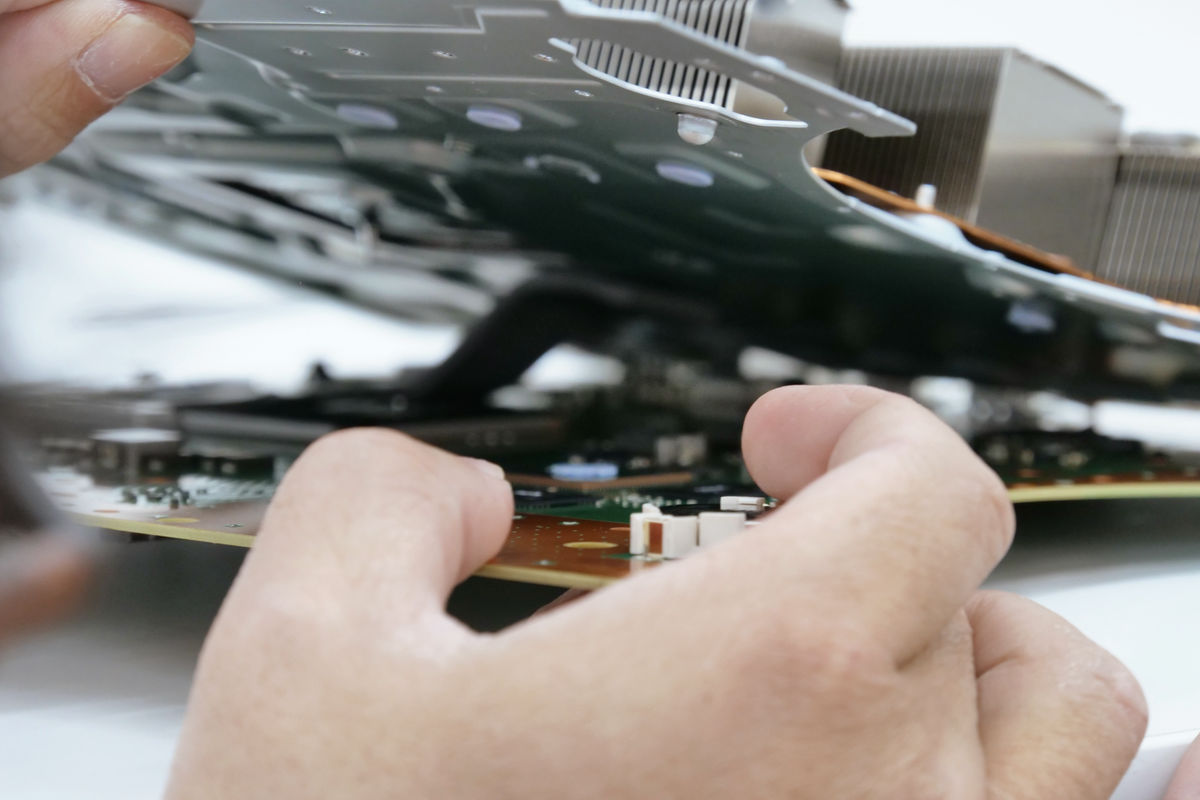
It looks like this.
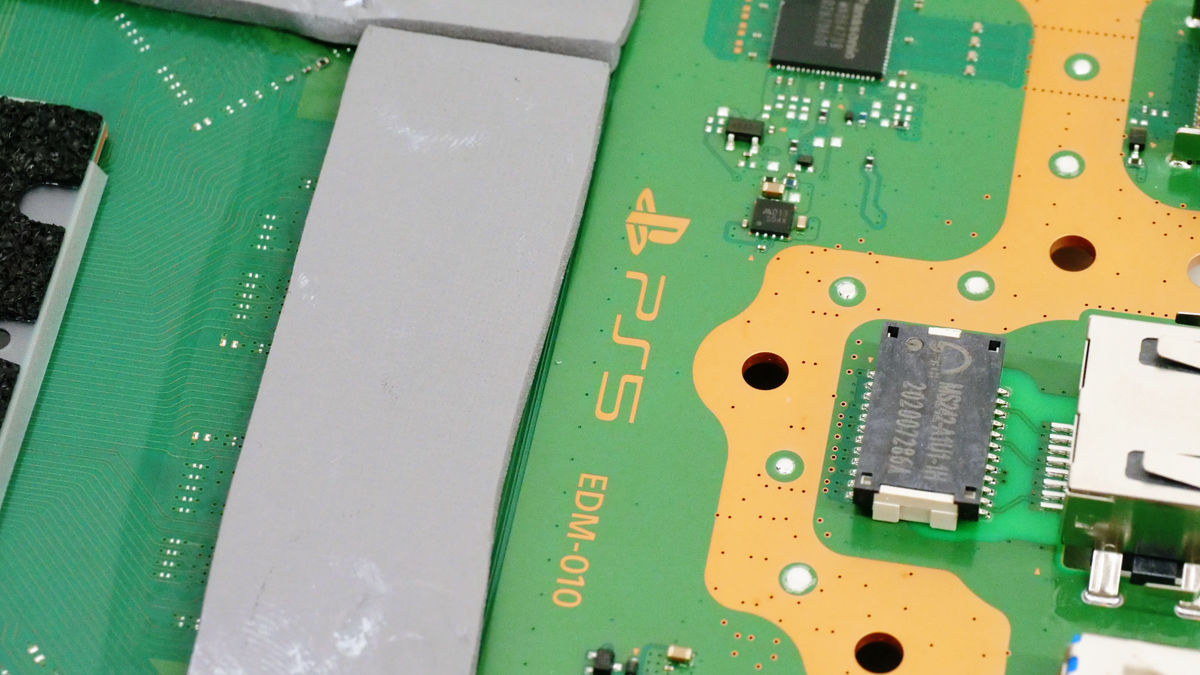
'PS5' logo on the board.
The PS5's SSD has an ultra-fast read speed of 5.5GB per second in raw data transfer. This custom SSD is what makes it possible, and it also contributes to shorter loading times when playing games on the PS5. By using a custom controller instead of standard specifications like PCIe, it appears that the bandwidth can be increased while keeping costs low.
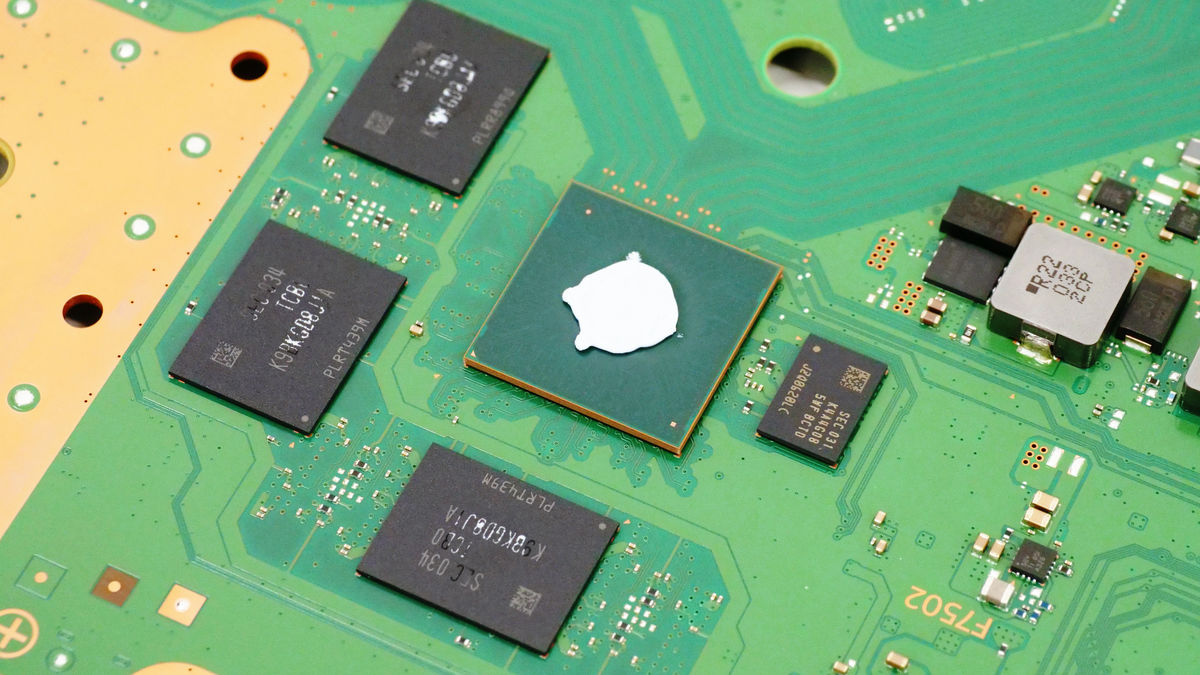
The custom SSD controller is located in the center of the SSD. It has heat dissipation silicon on it, but when you remove it you can see the 'SIE' logo.

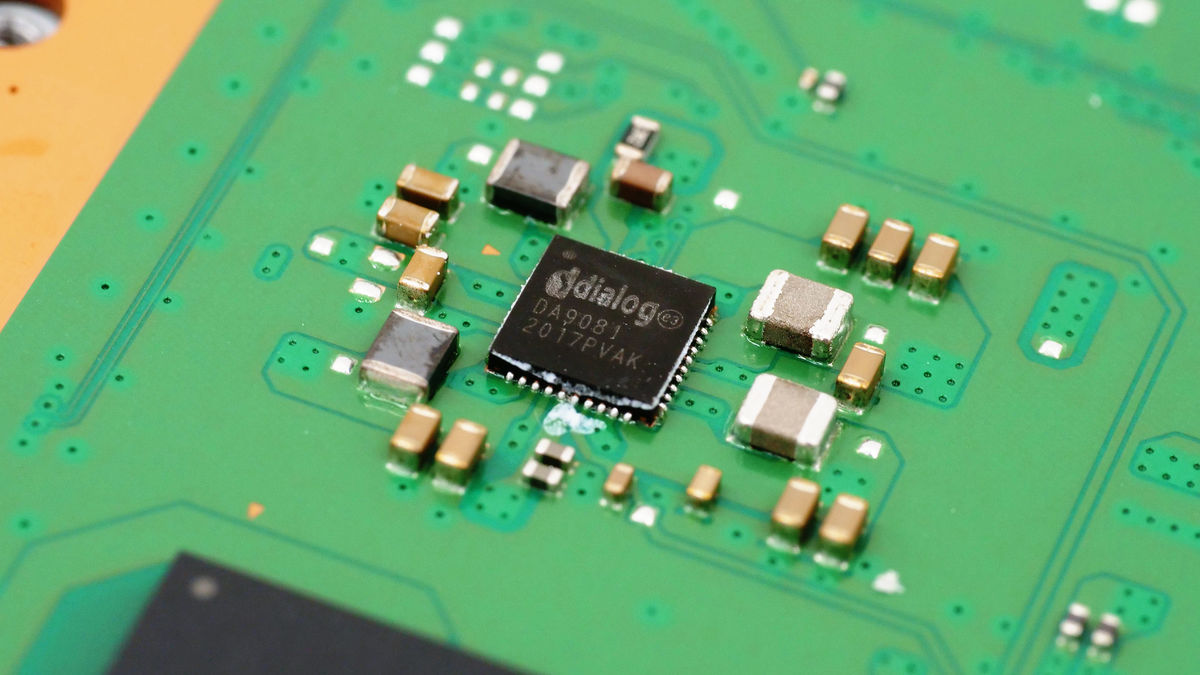
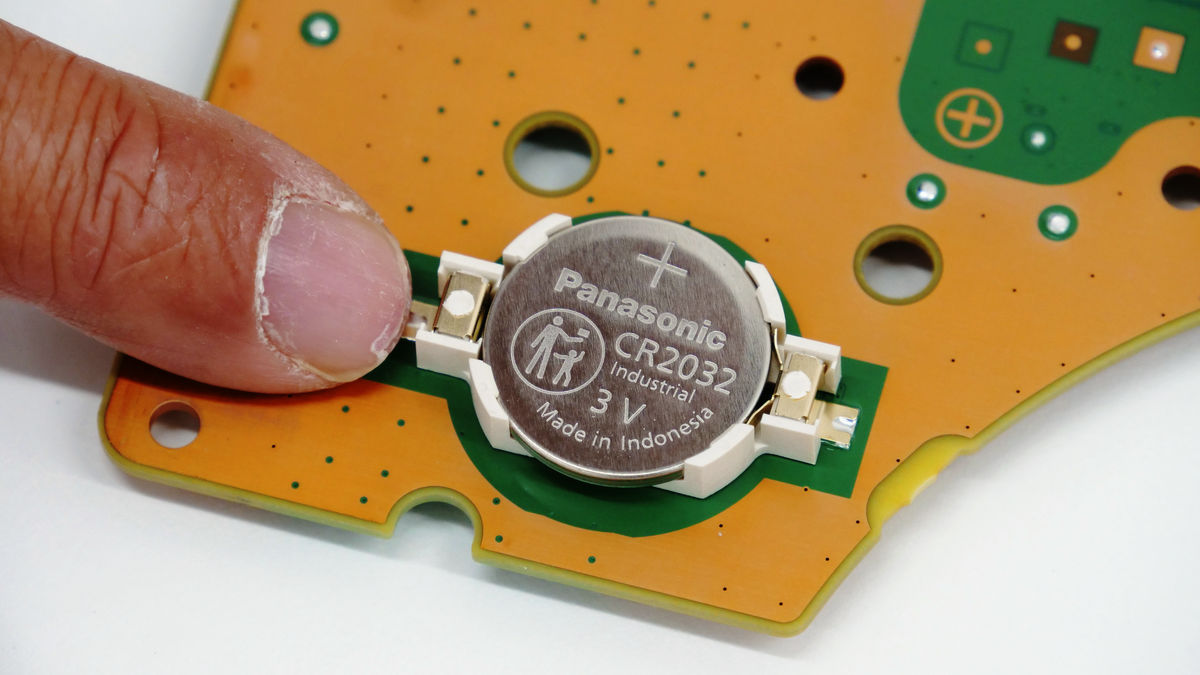
Also on the board are Panasonic coin-type lithium batteries (
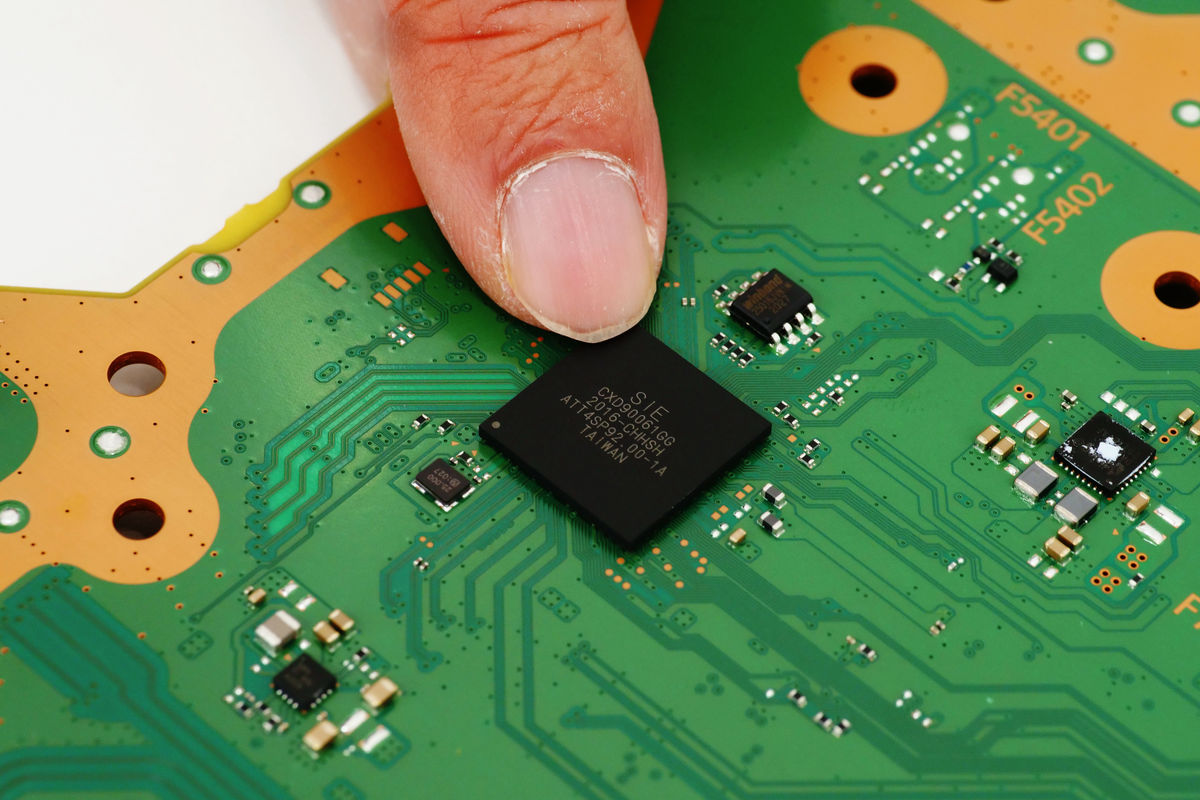
Custom chip made by SIE
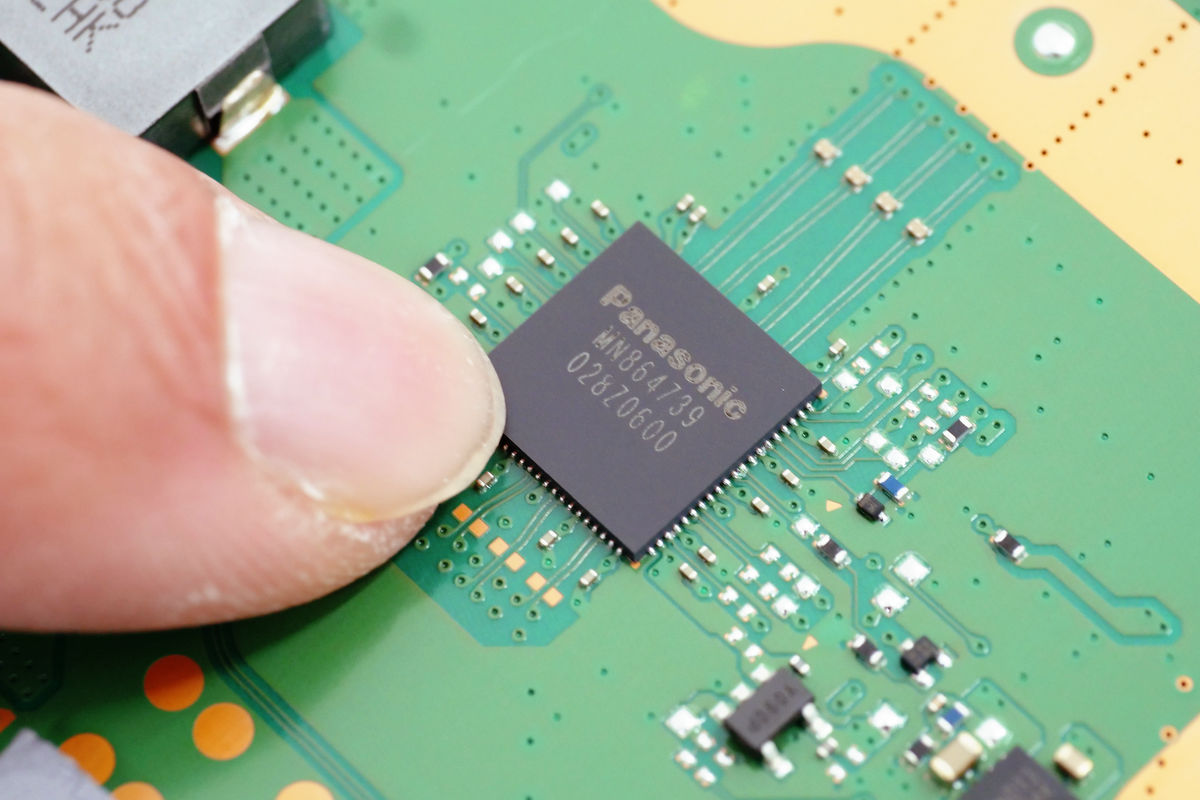
The HDMI terminal has a Panasonic chip

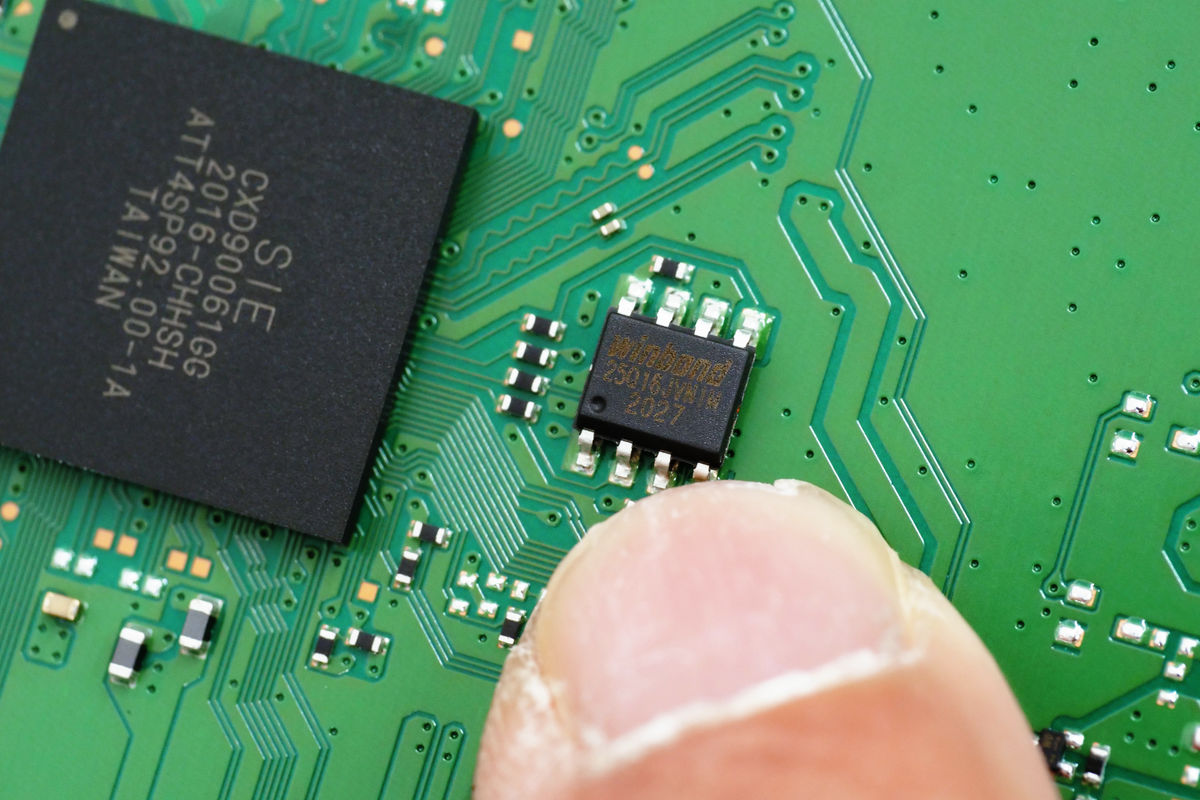
There is also a chip made by
The following parts protruding from the board are terminals connected to the built-in power supply.
The built-in power supply looks like this...
The terminals on the board fit into the holes below.

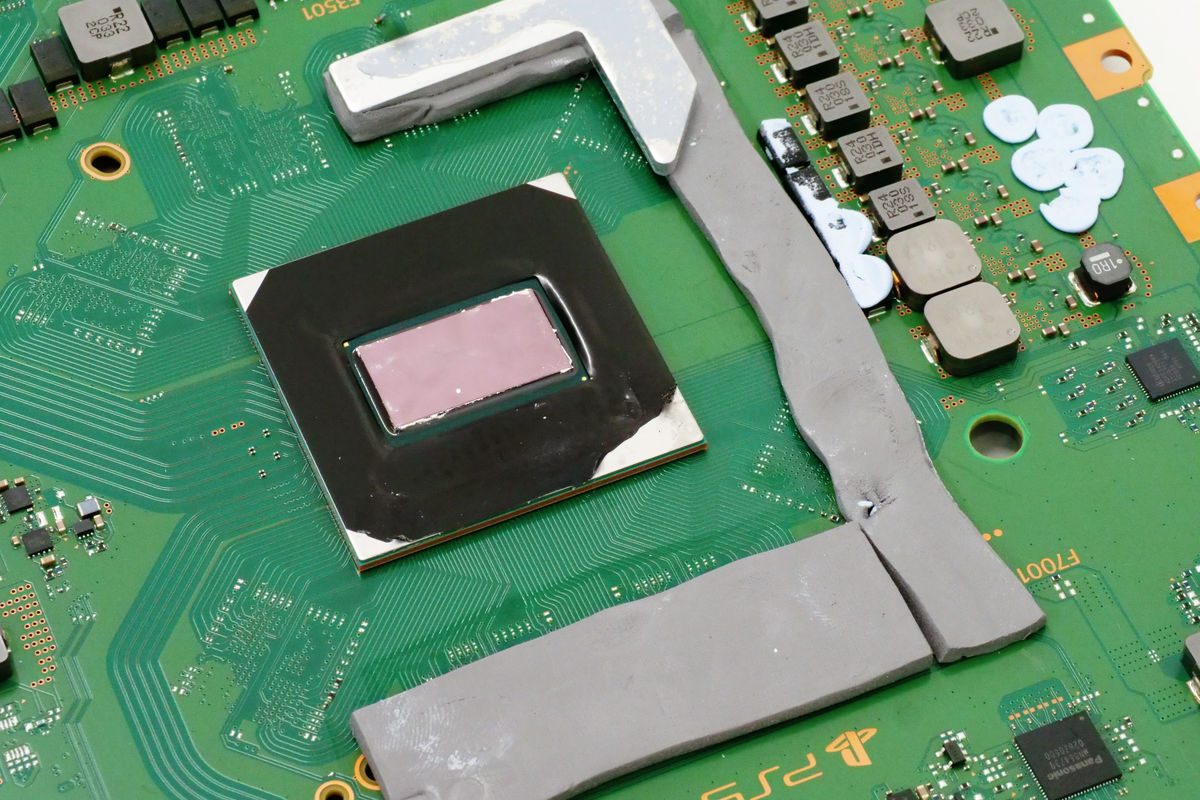
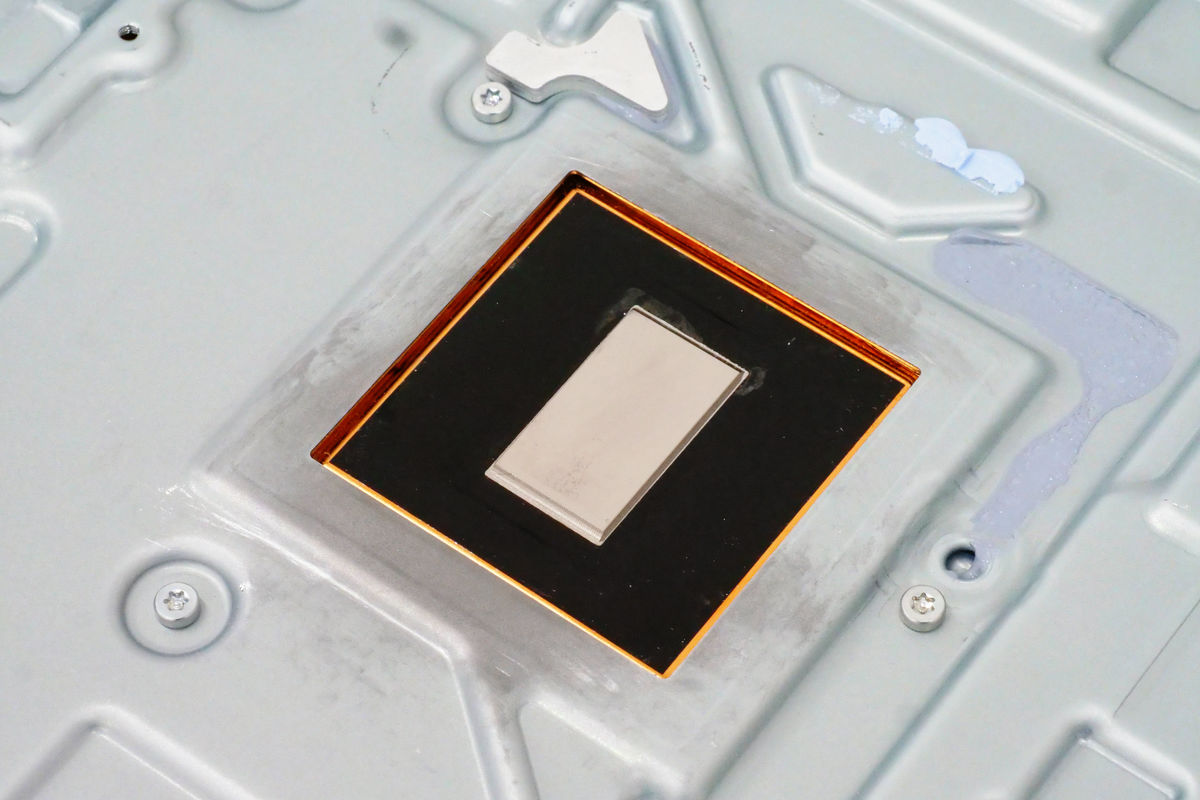
There is a thick layer of gray heat dissipation silicon around the custom SoC.

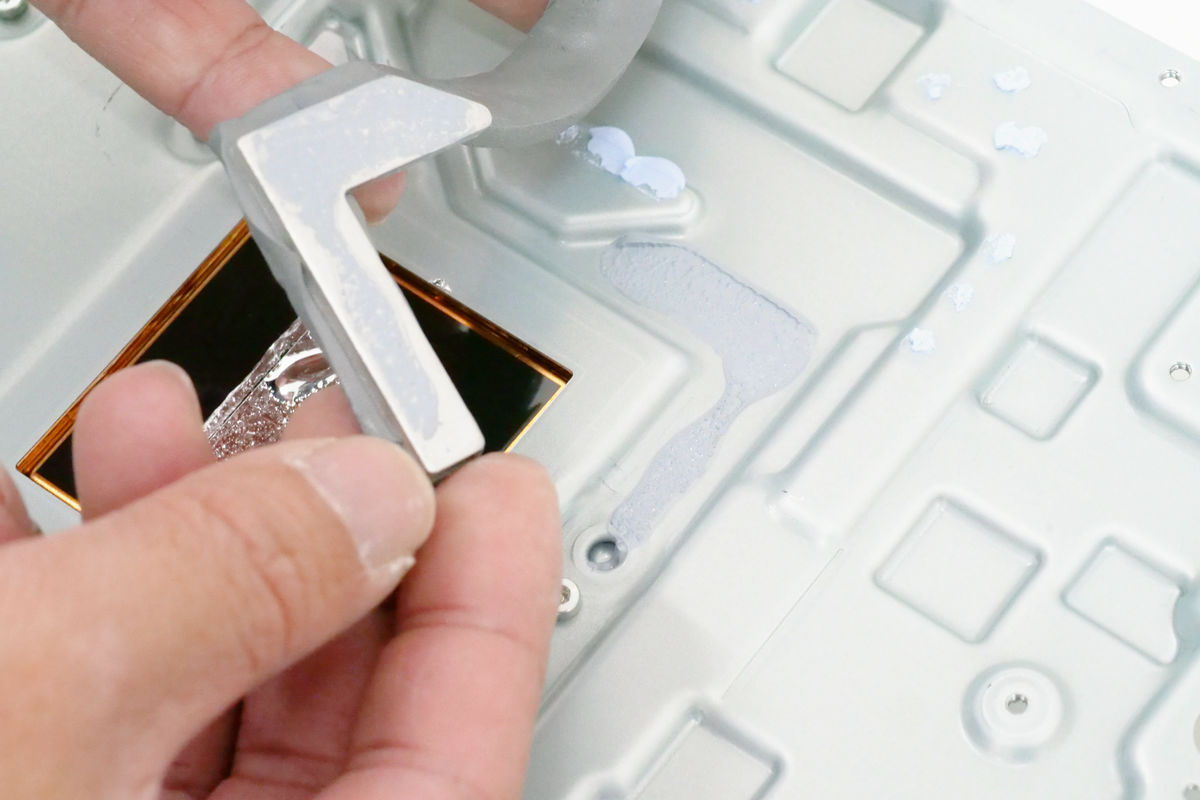
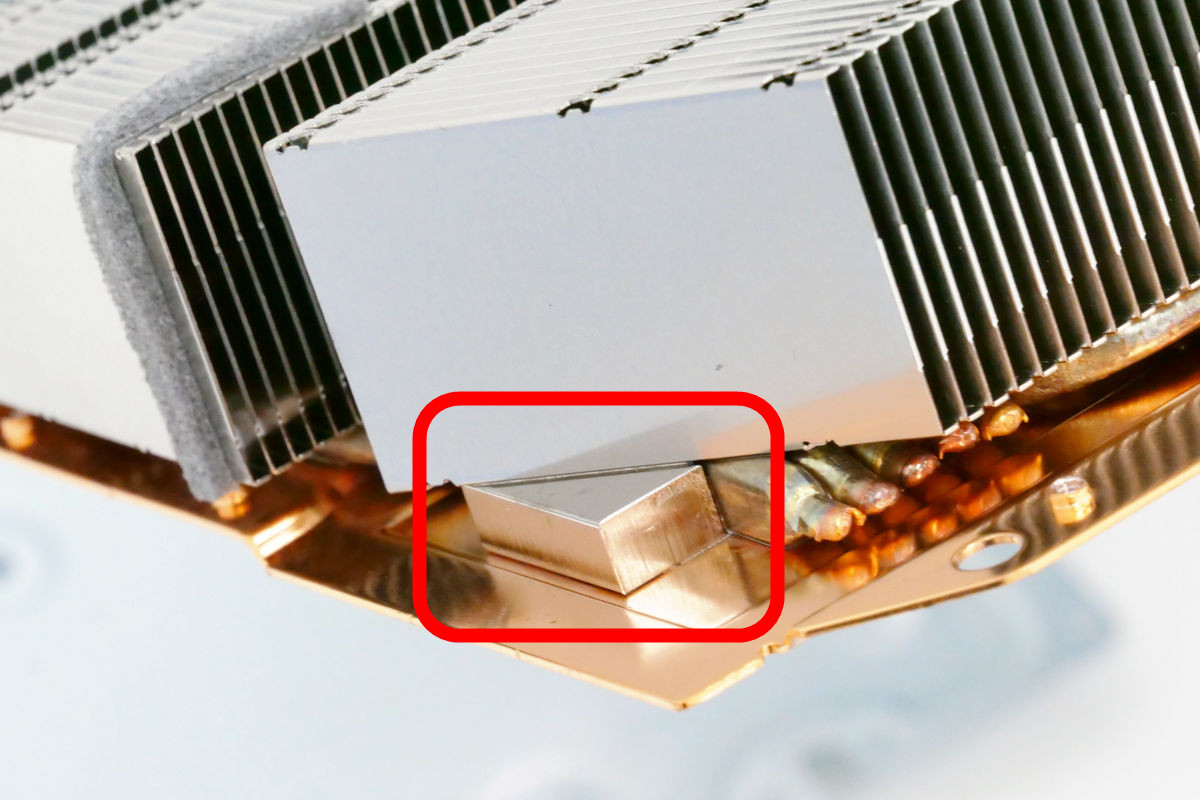
This heat-dissipating silicone also has a mysterious piece of metal attached to it.
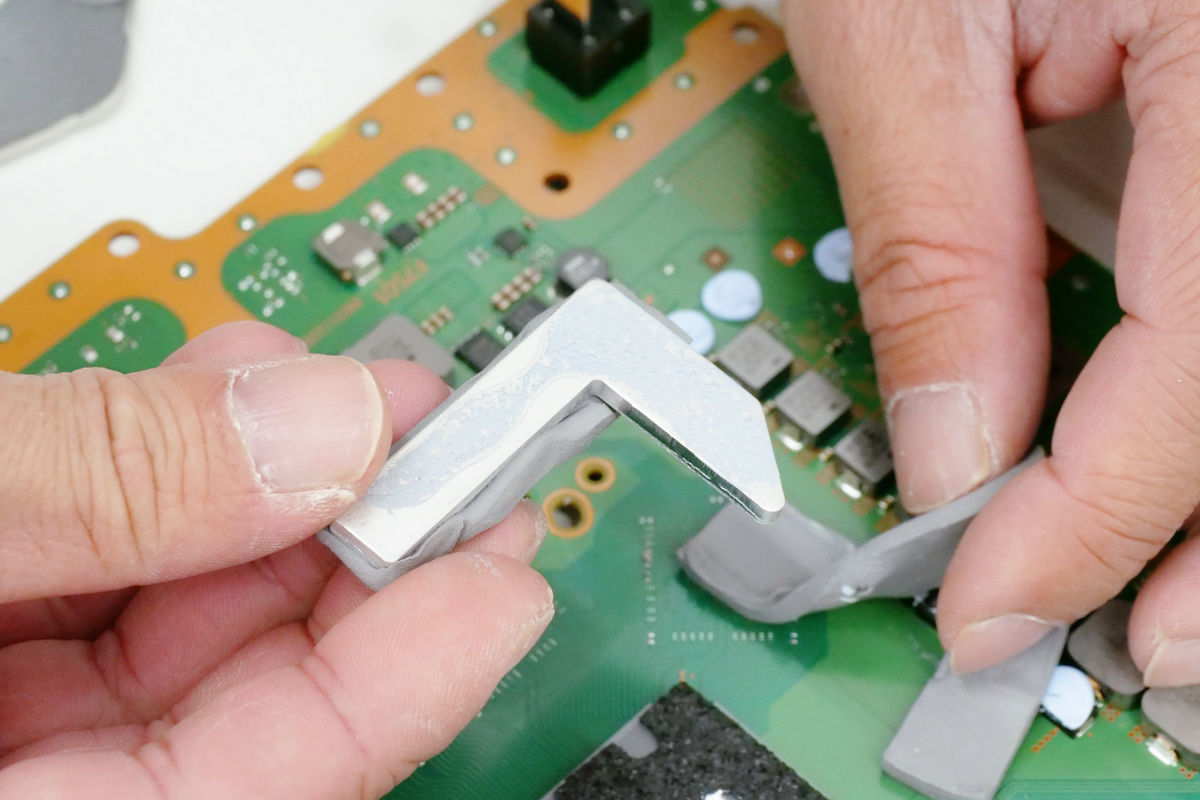
This piece of metal was also stuck tightly to the shield.
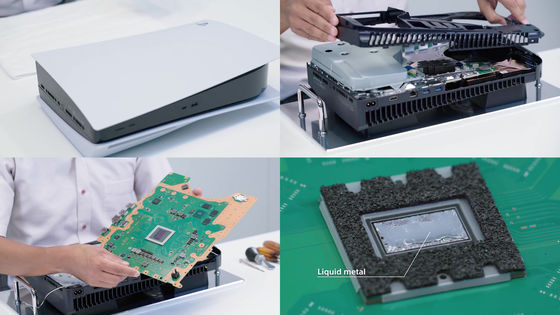
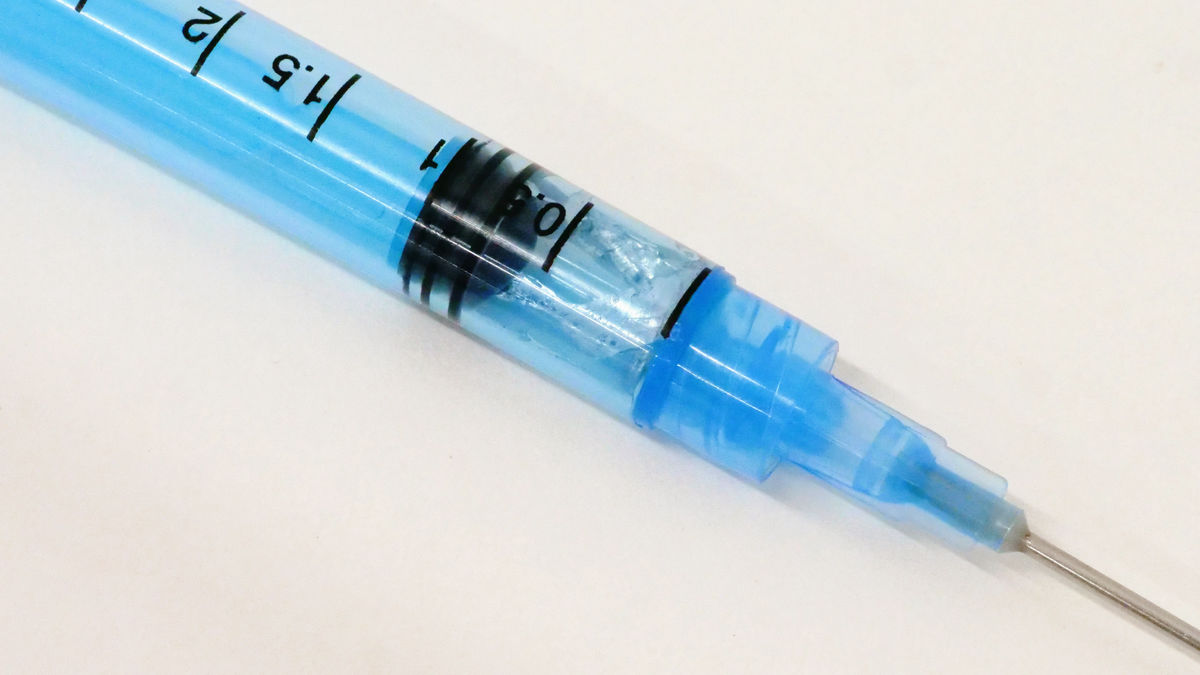
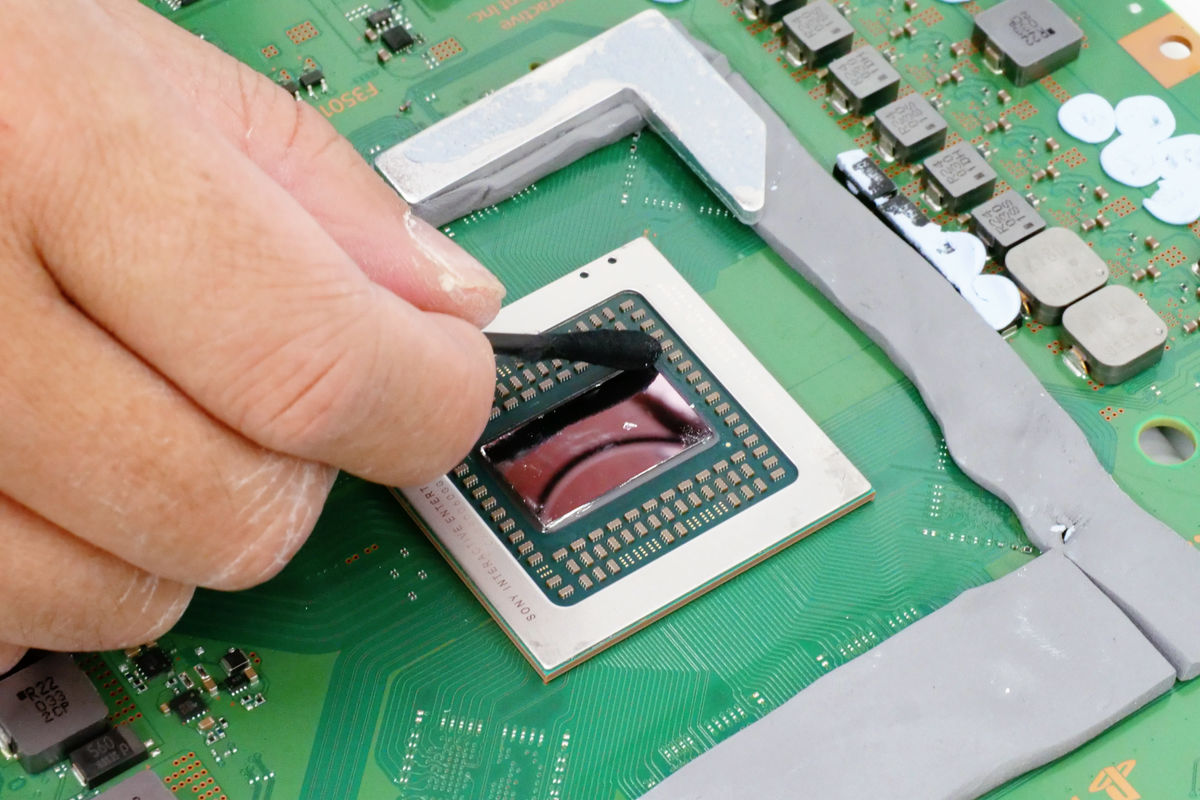
To check the custom SoC, we first used Silimmer to suck up the liquid metal. However, this took a very long time. It's unclear whether this was because the liquid metal was heavy or because the Silimmer was purchased at a 100 yen store and had poor sealing properties.
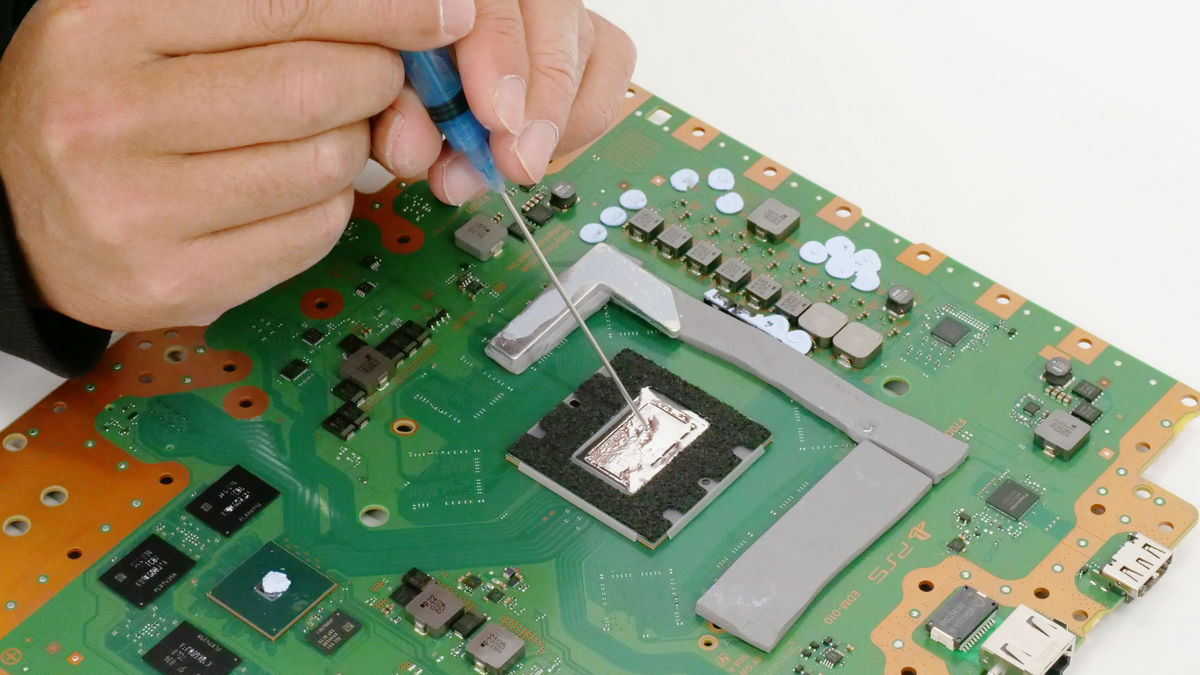
This was the only thing I could absorb.
The rest is removed using a black cotton swab.
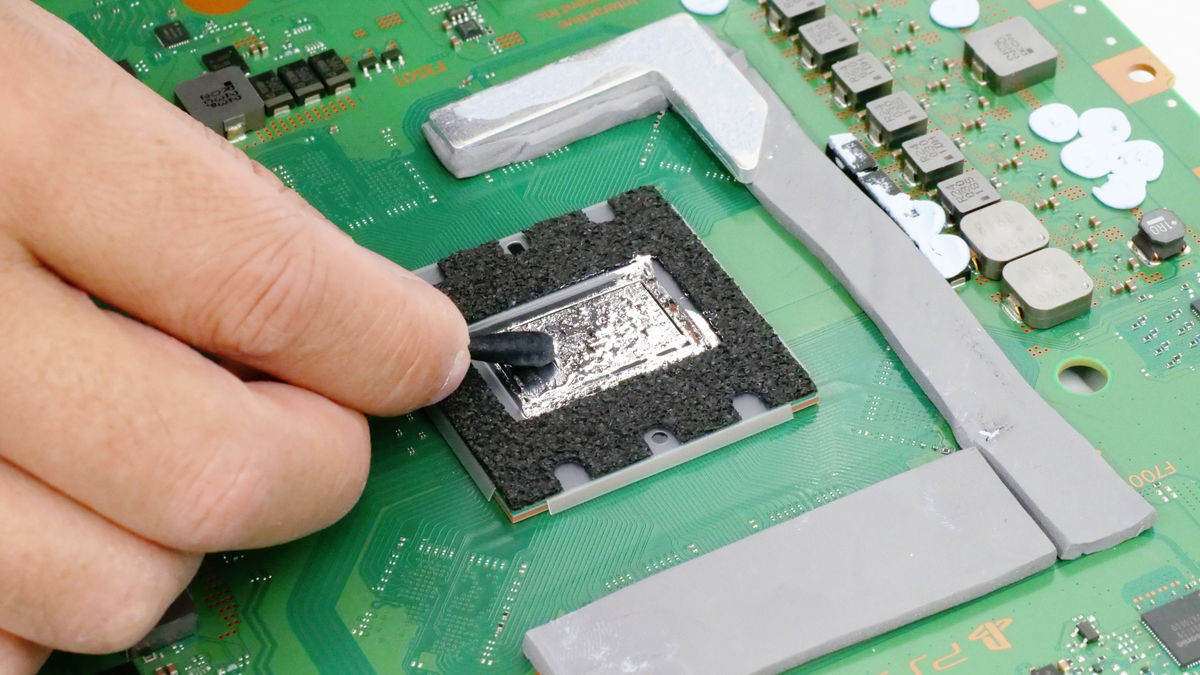
After patiently wiping and cleaning, the die surface finally became visible. If the liquid metal gets on other parts of the board, it will corrode and cause malfunctions, so we wipe it off thoroughly. Using a black cotton swab makes it easy to see where the liquid metal is, reducing the chance of accidentally touching other parts, which makes the process a little easier.
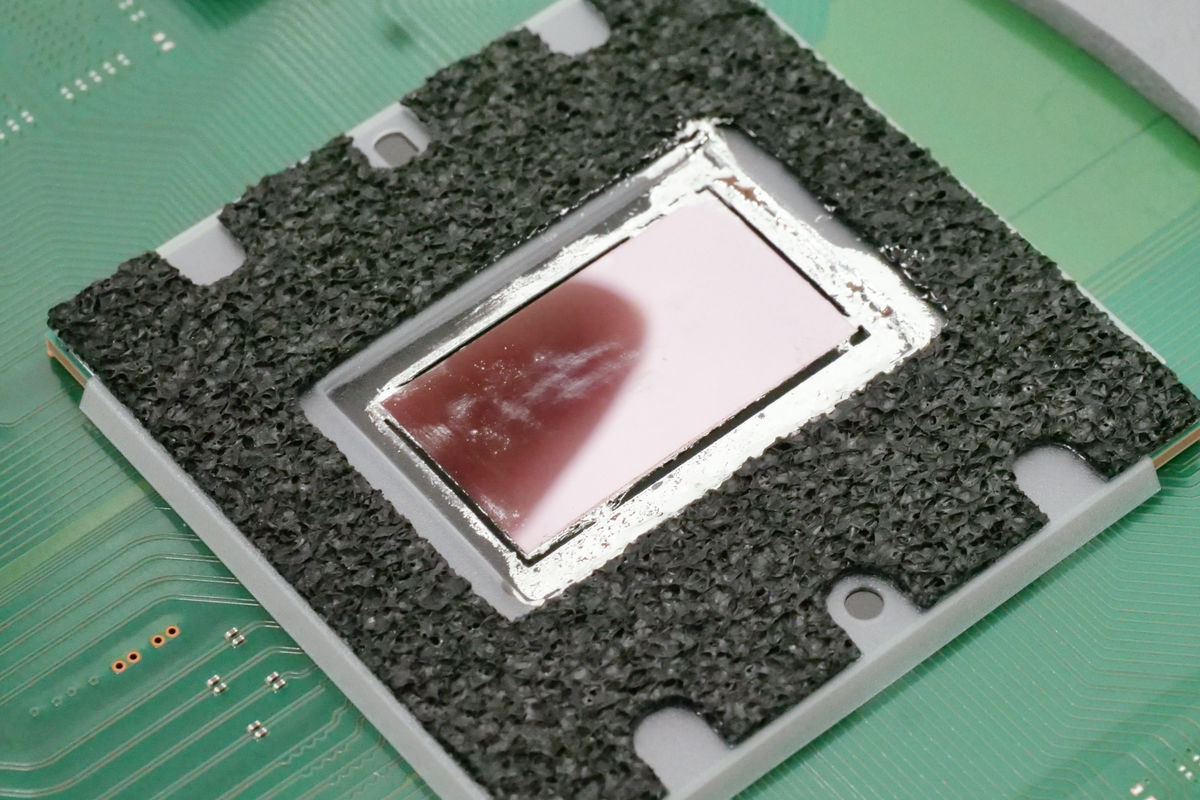
When you remove the cover that is attached to cover the SoC ...
It turns out that the die is caulked to prevent liquid metal from dripping around it.
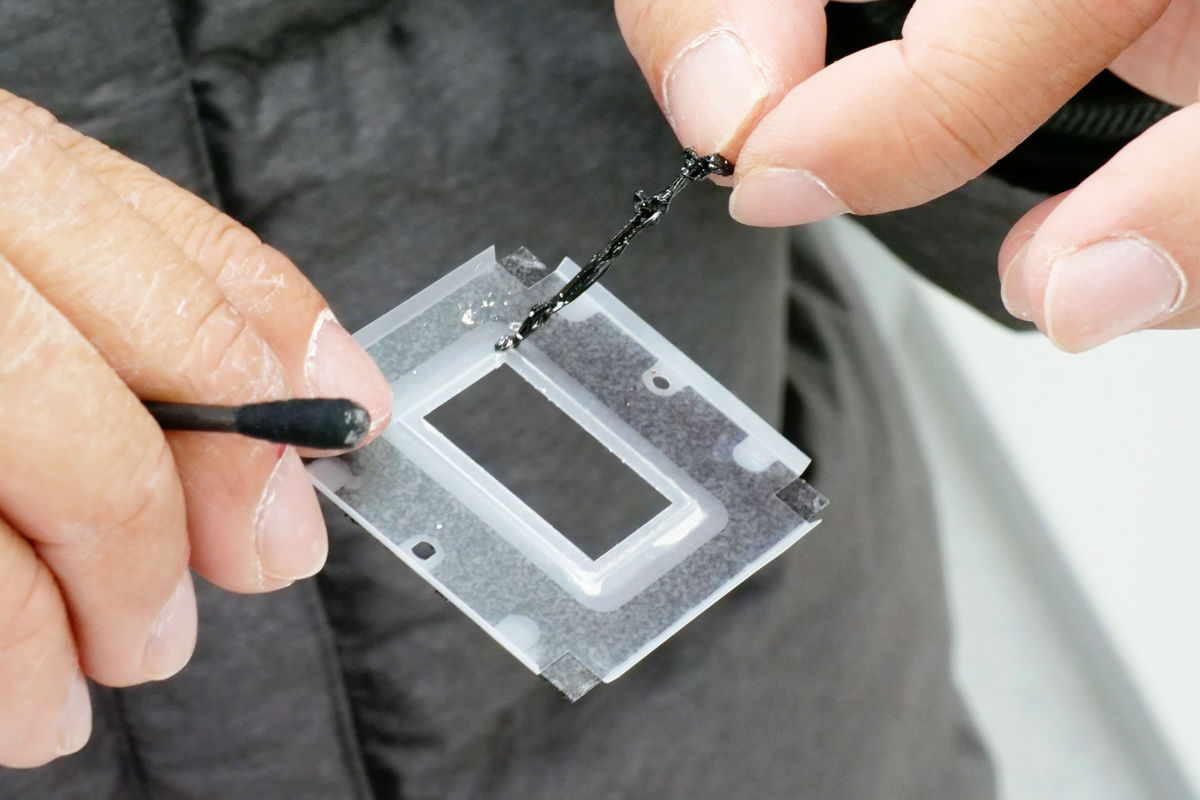
A hard seal is attached to protect the capacitor, so when you peel it off...
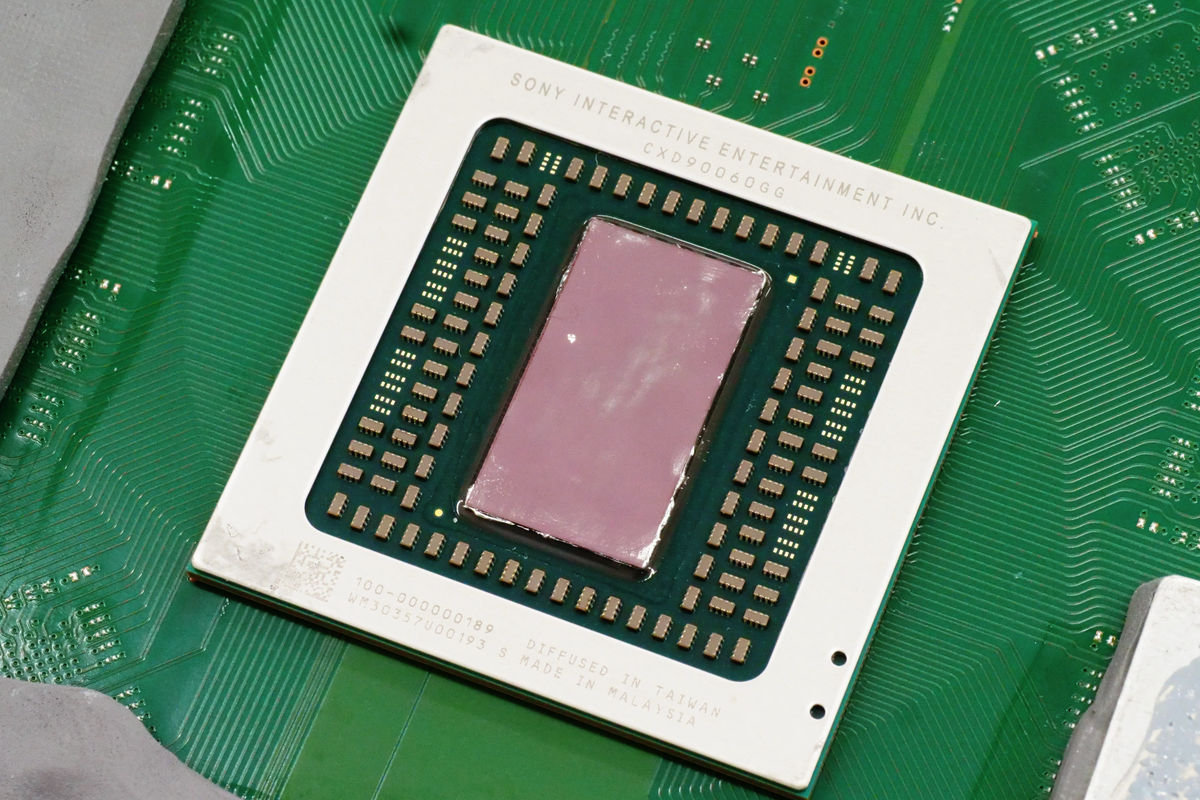
The custom SoC has finally been unveiled. While there is nothing written on the surface of the die, the name of
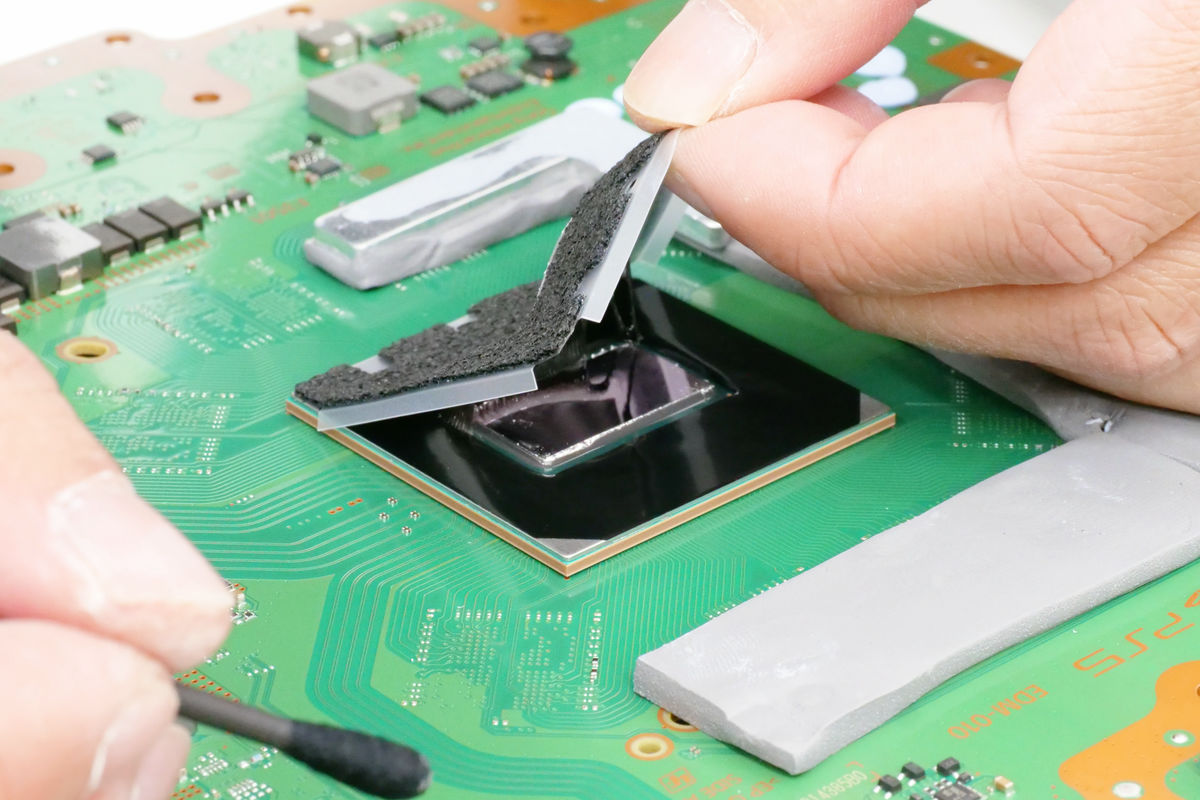
Even if it looks like it's been wiped clean, when you run a cotton swab over it, liquid metal comes out from the edges etc. It needs to be cleaned very carefully.
Liquid metal is poured between the board and the shield, so there is a lot of liquid metal stuck to the shield.
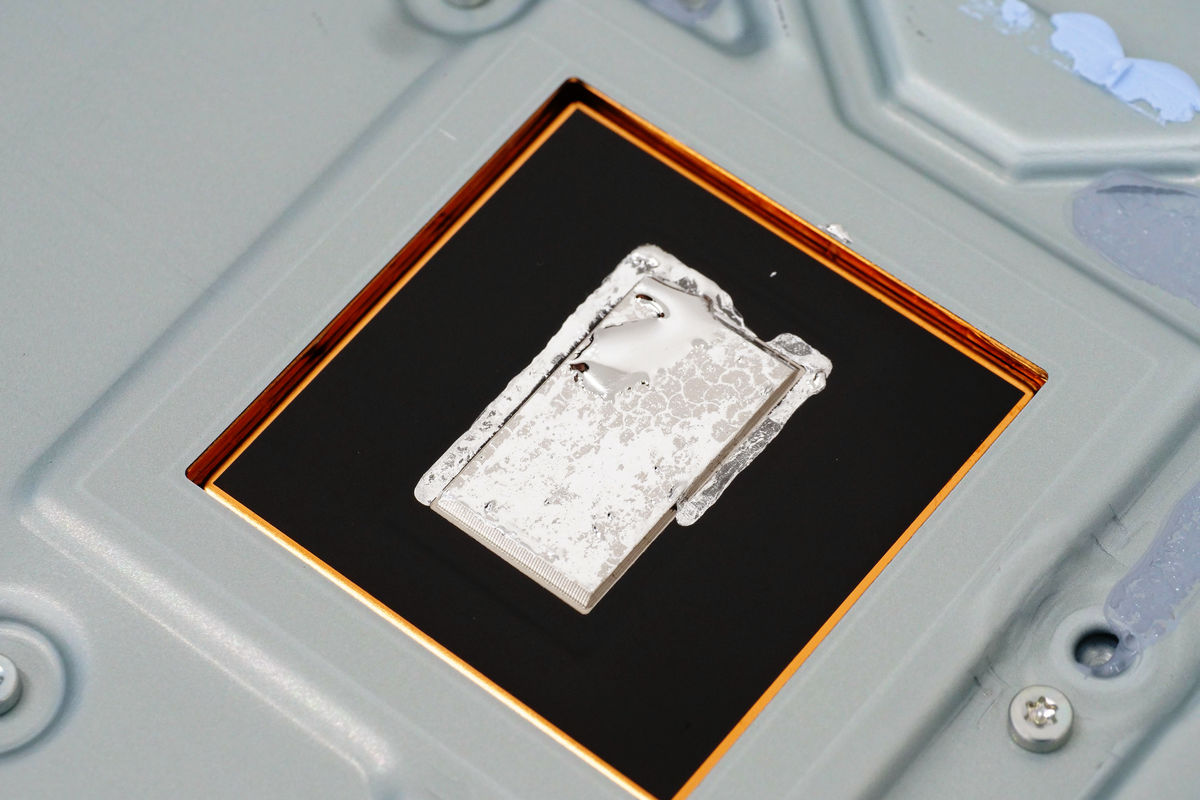
It looks like this. The silver object in the middle is a heat sink called 'TIM (
Remove the seven screws around it...
Separate the shield and heat sink.
This is the heat sink.

The TIM that comes into contact with the SoC comes into contact with the aluminum heat sink plate like this.
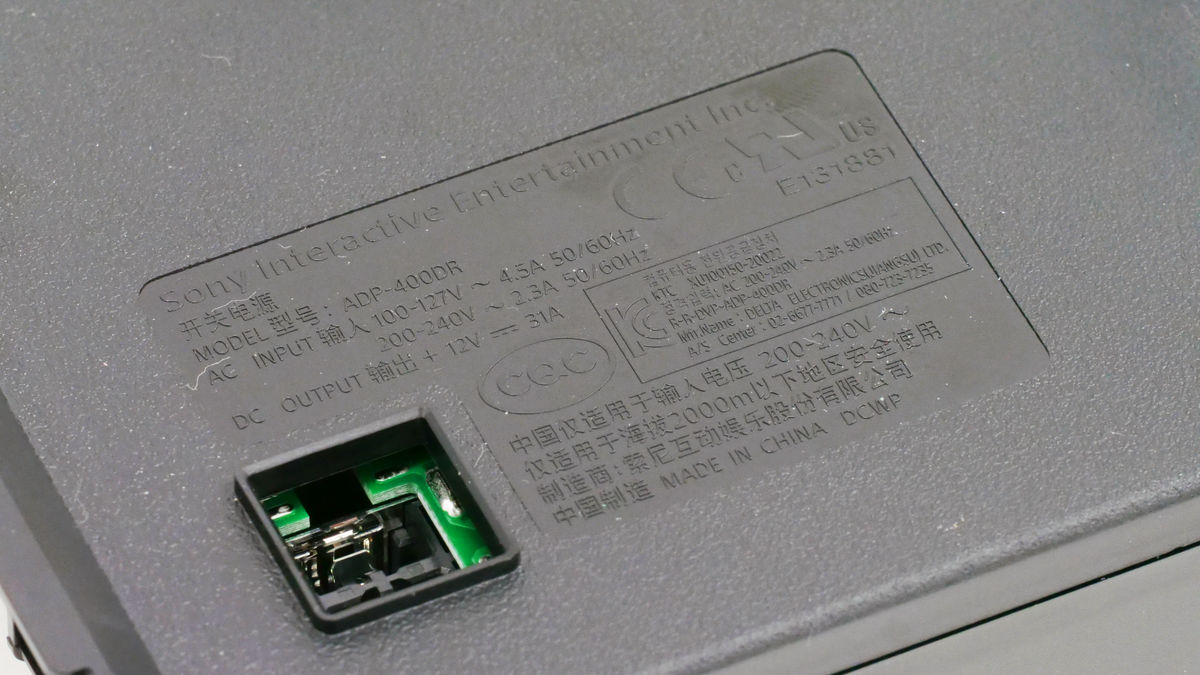
Next, disassemble the internal power supply.
The model number and input/output details of the built-in power supply are as follows:
First, remove the metal plate with the cable connecting the board and power supply ...
Remove the screws that secure the power supply case.
I tried to insert a spatula or something into the gap in the case, but it was very tightly fixed and I had a lot of trouble opening it.
I managed to disassemble it successfully.
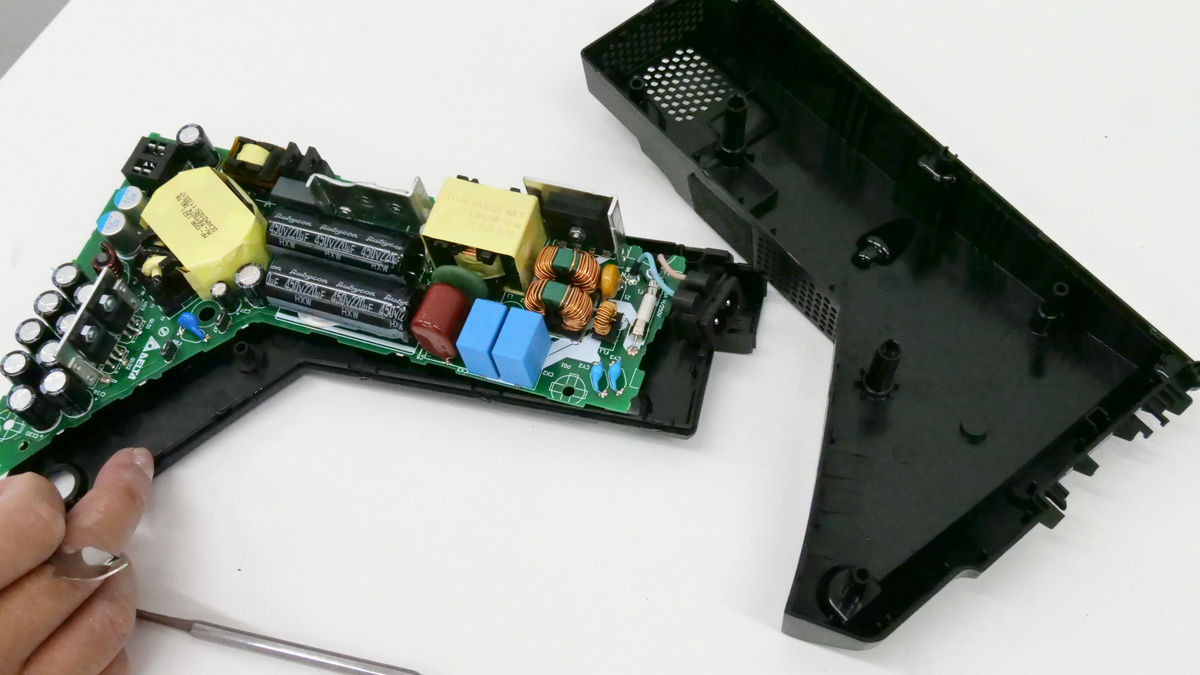
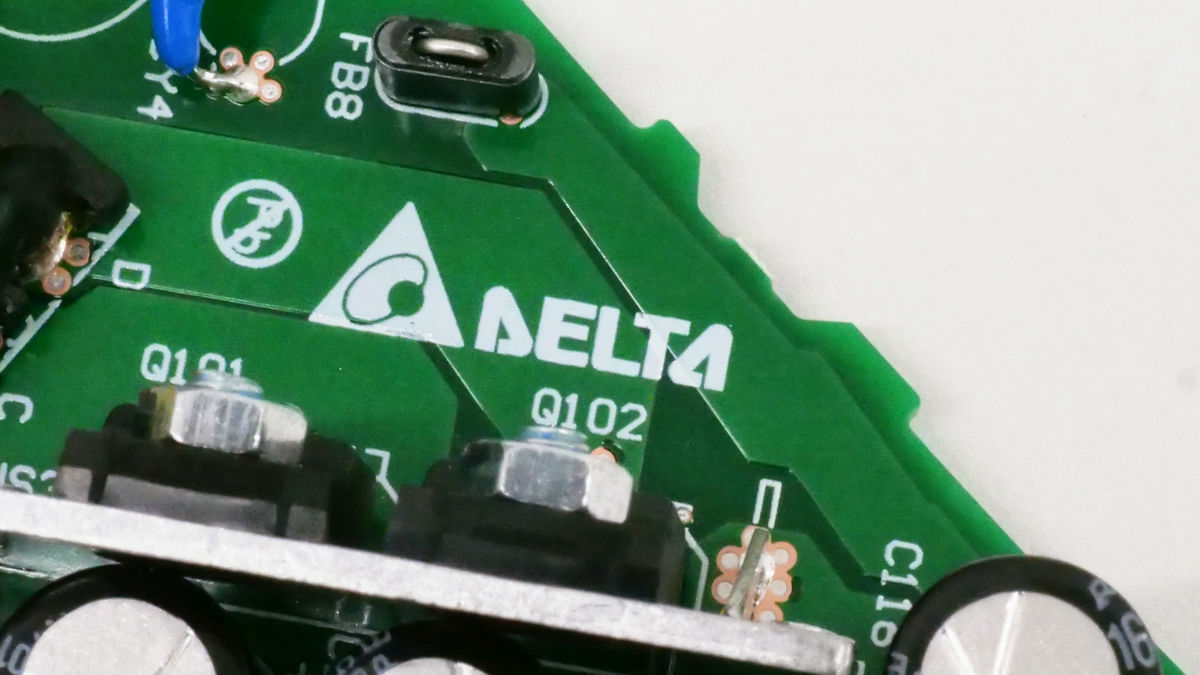
Many of the internal parts were made by

However, the board has the word
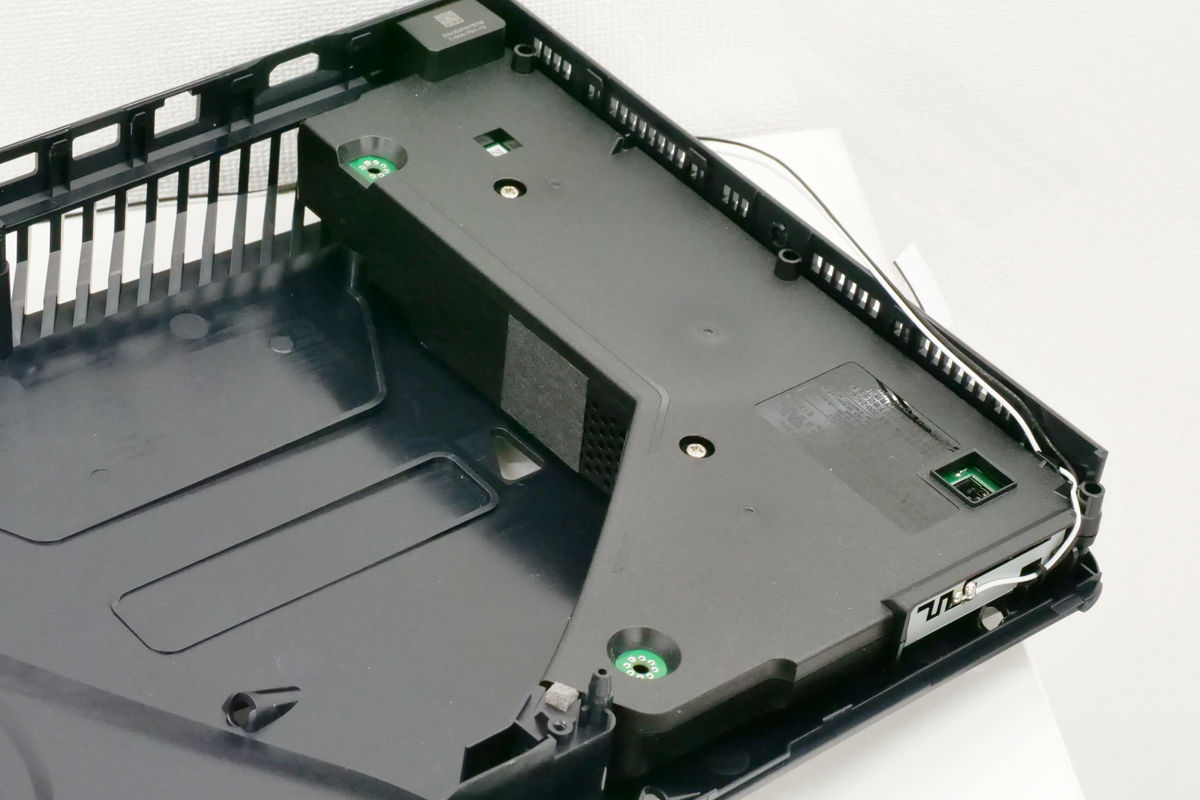
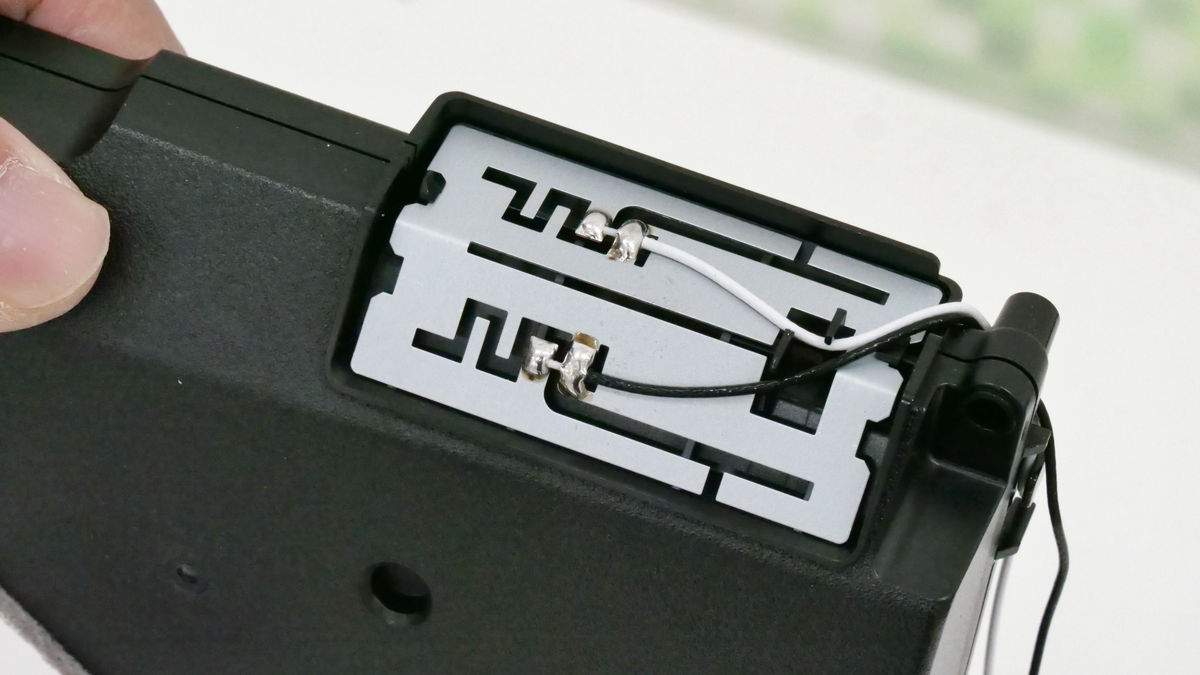
Finally, disassemble the panel on the side of the PS5.
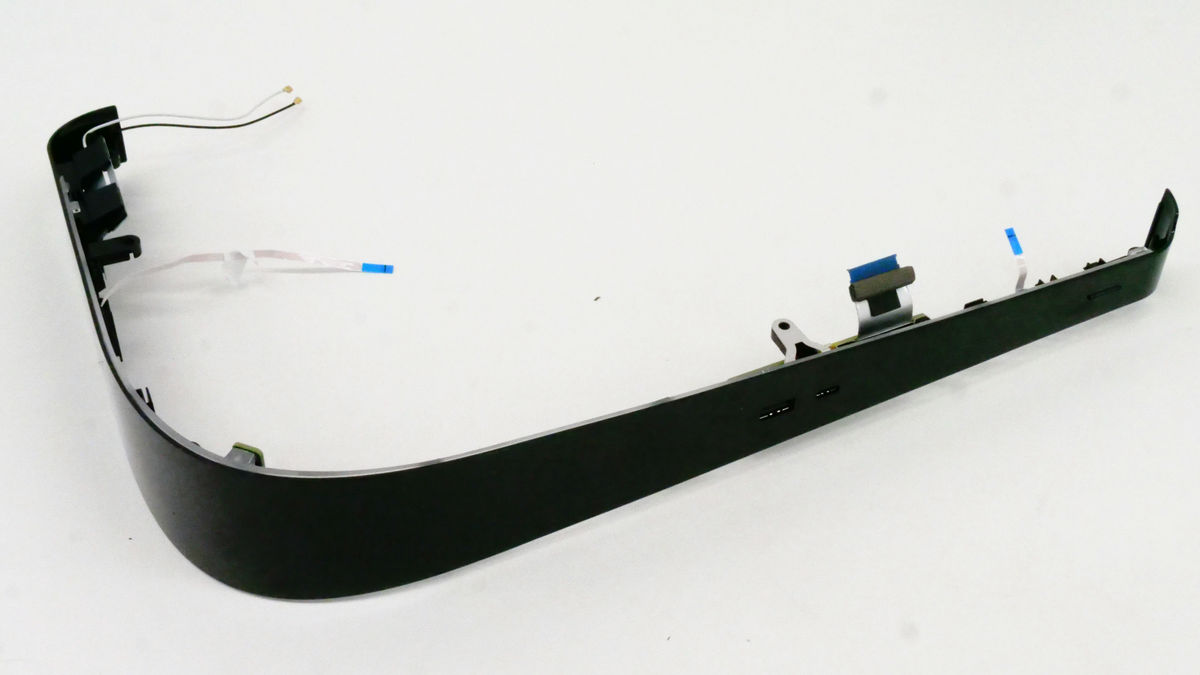
The three boards are attached like this.
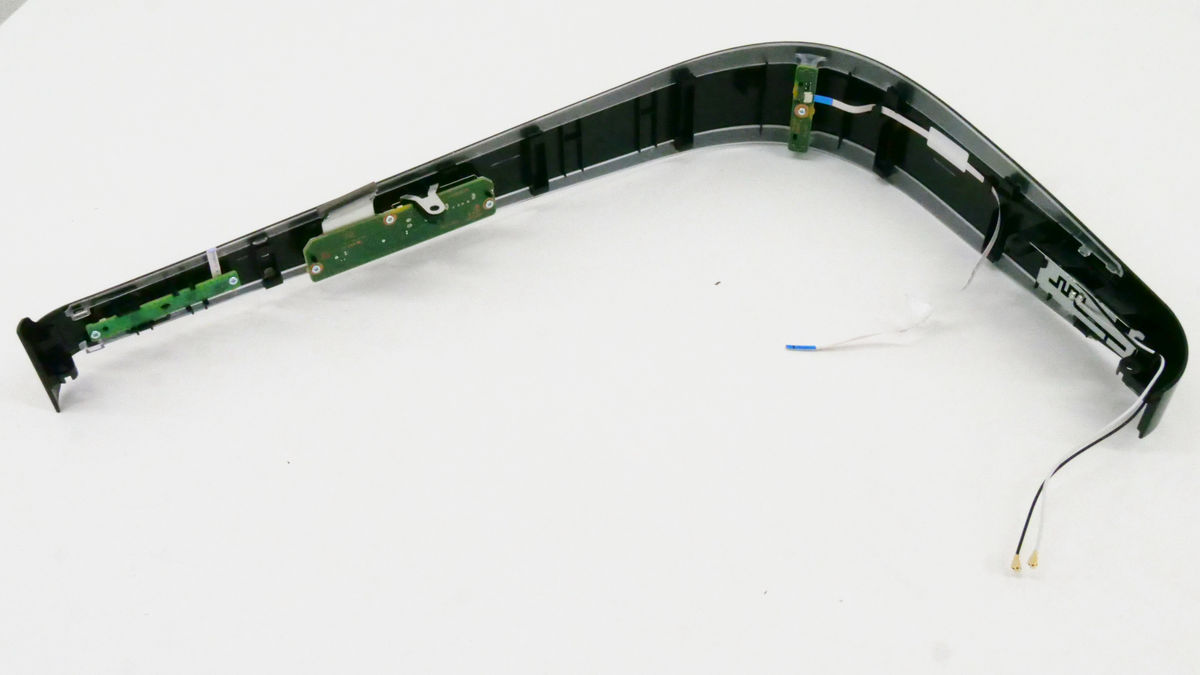
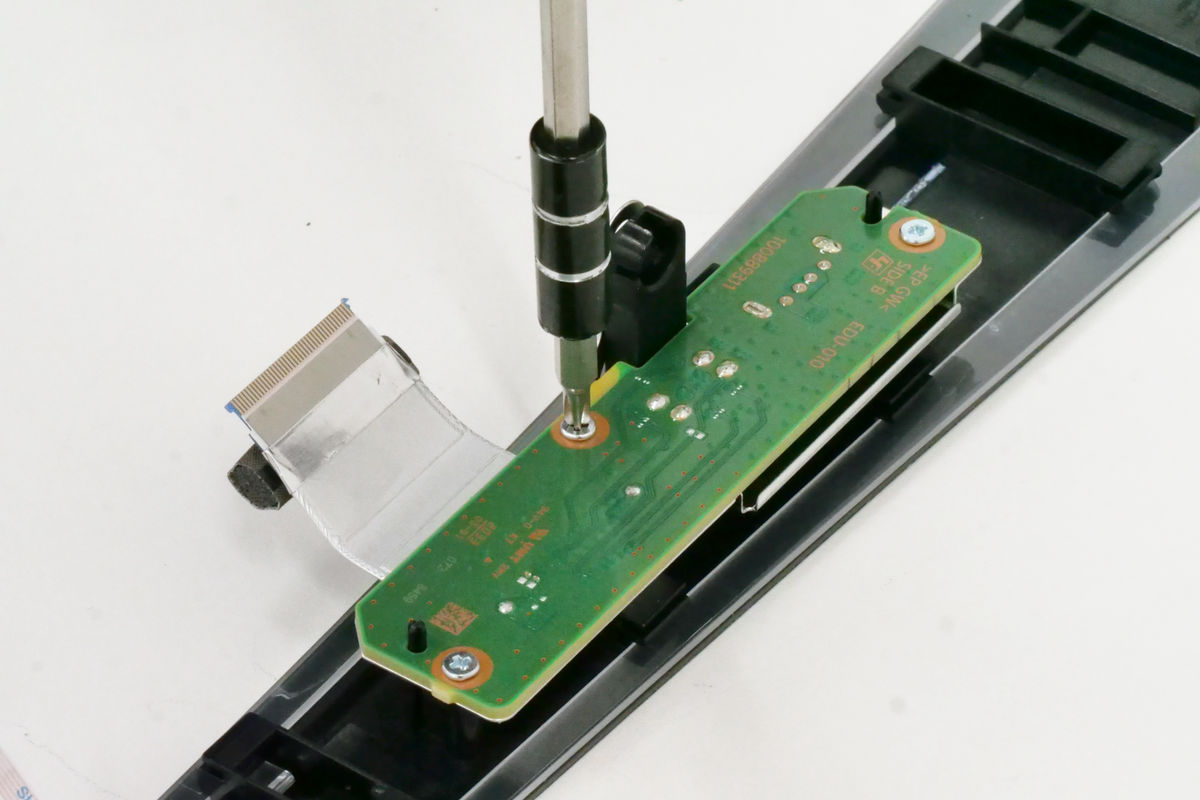
A board connecting a USB 2.0 compatible Type A port and a USB 3.1 compatible Type C port
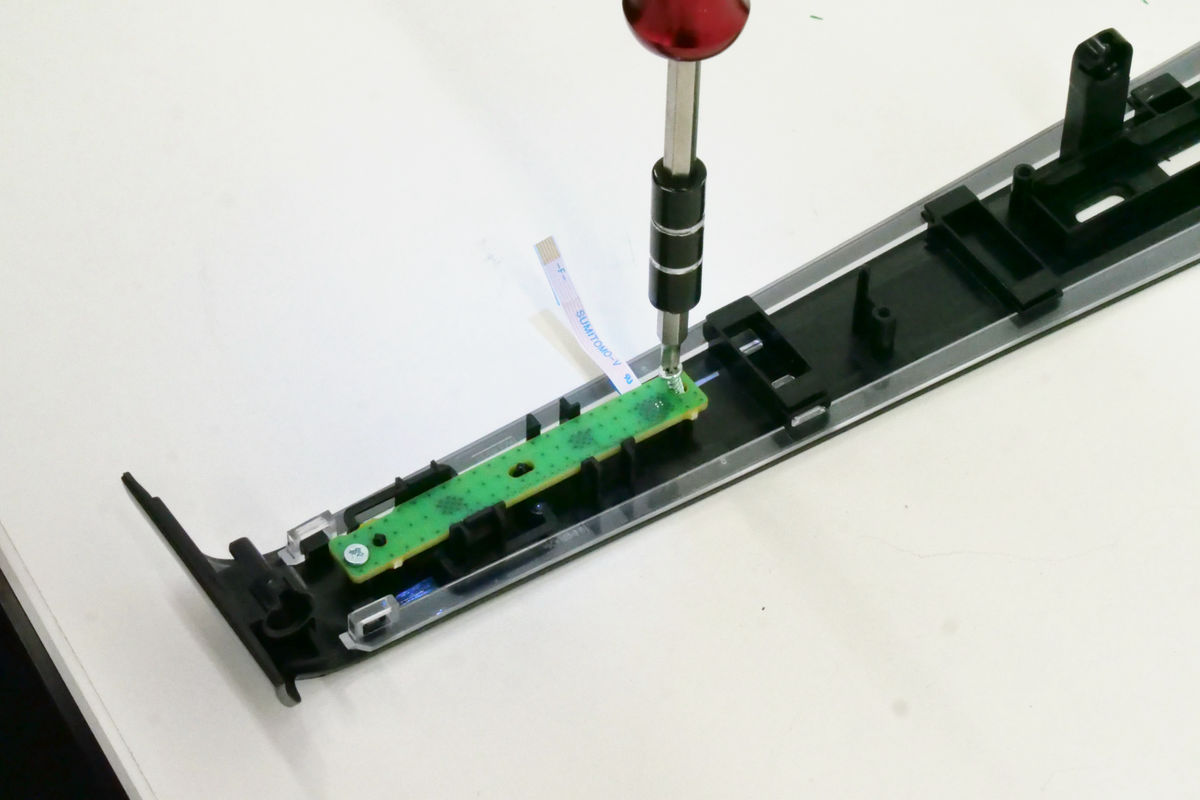
The circuit board behind the power button
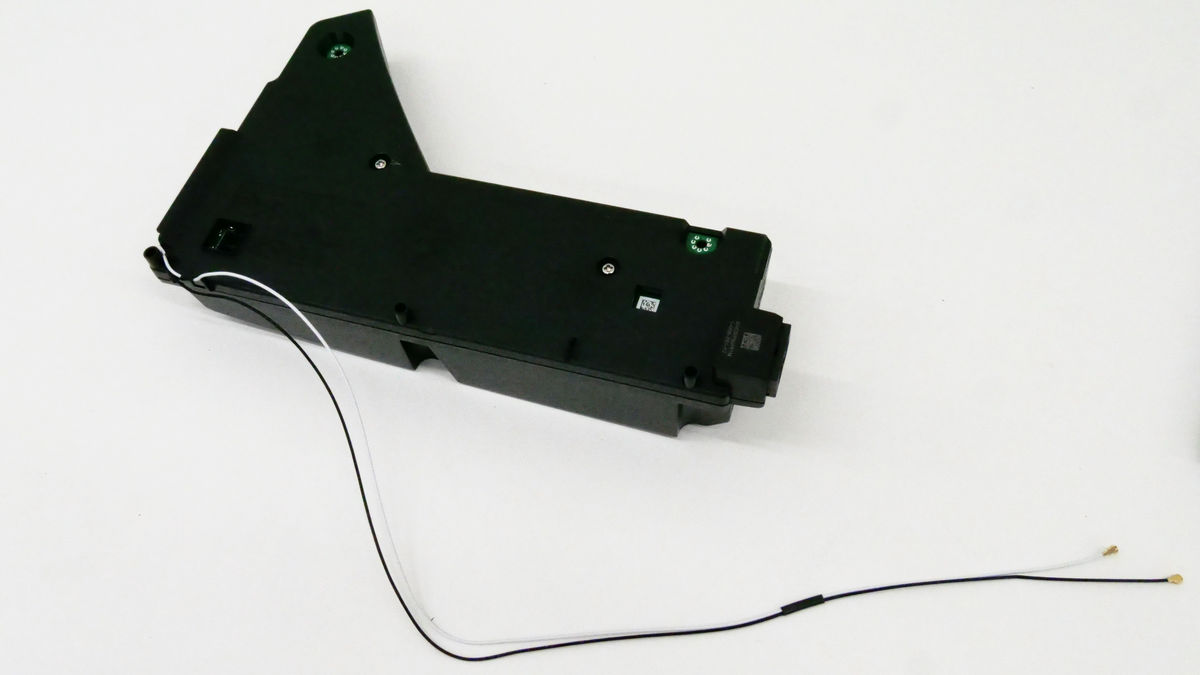
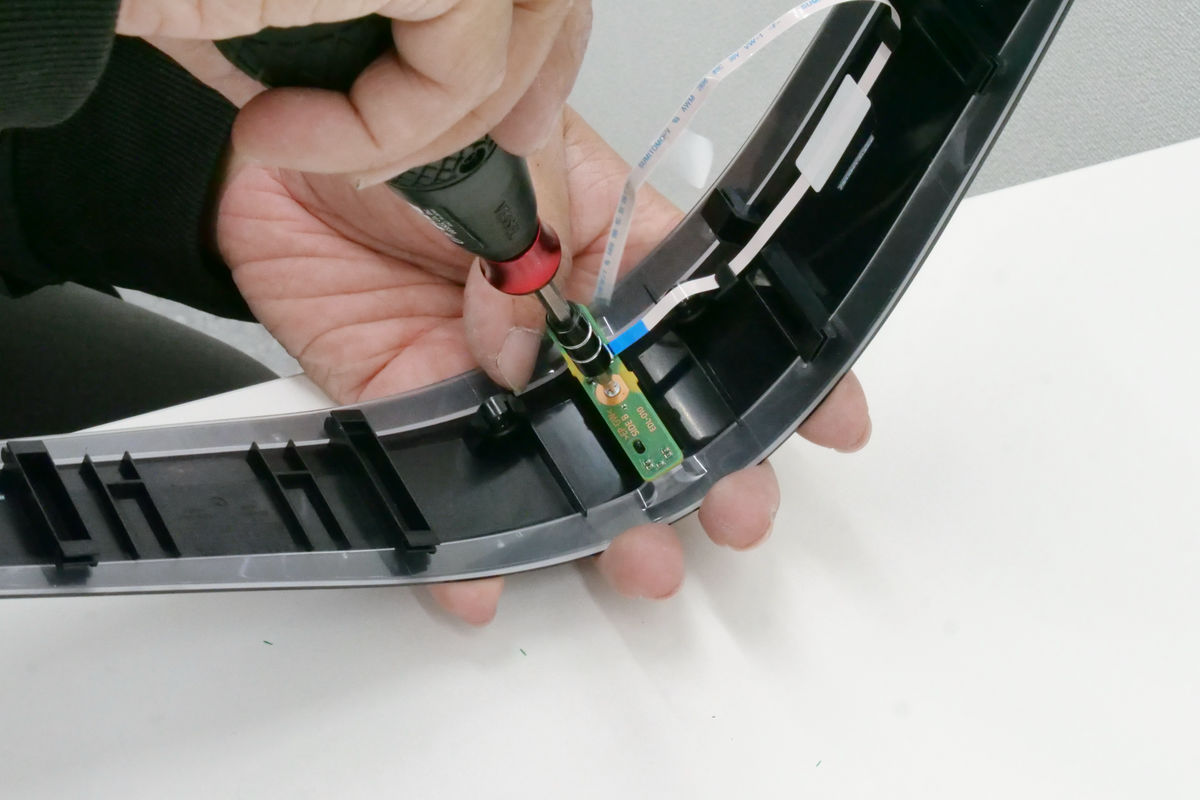
Then remove the wireless antenna board.
This allowed us to successfully disassemble all the parts. It took just under two hours to disassemble all the parts. It was relatively easy to disassemble except for the liquid metal part, but the difficulty increased dramatically due to the liquid metal, and even the editorial staff in charge of disassembly said, 'It's impossible to reassemble!' Even before we put the parts back together, we thought it would never work...
We replaced the liquid metal with
Related Posts: